原料
椰子蛋白饼:: , 杏仁粉: 28g, 椰茸: 28g, 糖霜: 56g, 蛋白: 75g, 砂糖: 25g, 芒果芝士慕斯:: , 新鲜芒果肉: 150g, 砂糖: 75g, 马斯卡彭芝士(mascarpone): 225g, 鲜奶油: 200g, 吉利丁片: 8g, 芒果镜面:: , 新鲜芒果肉(打泥): 40g, 镜面果㬵: 80g, 其他(装饰):: , 新鲜芒果: 1个, 薄荷叶: 适量, 食用金箔: 适量, 草莓、蓝莓: 适量
步骤
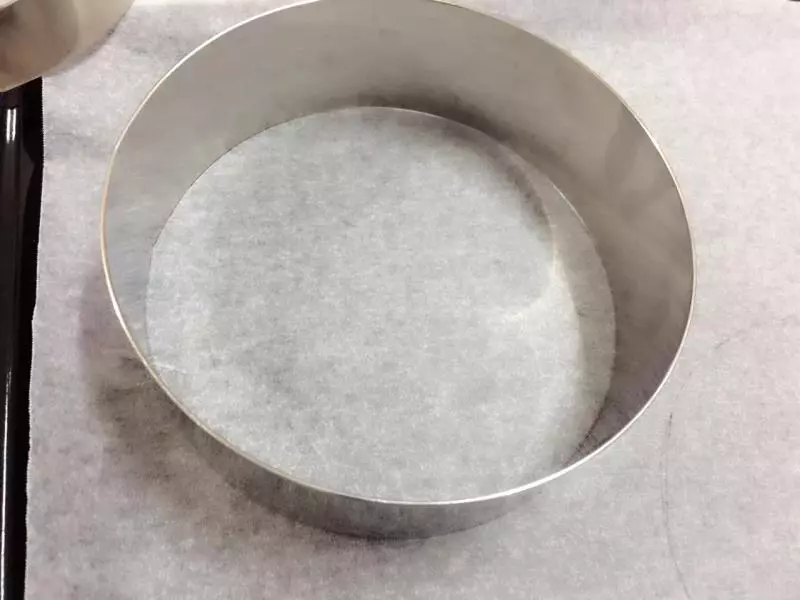
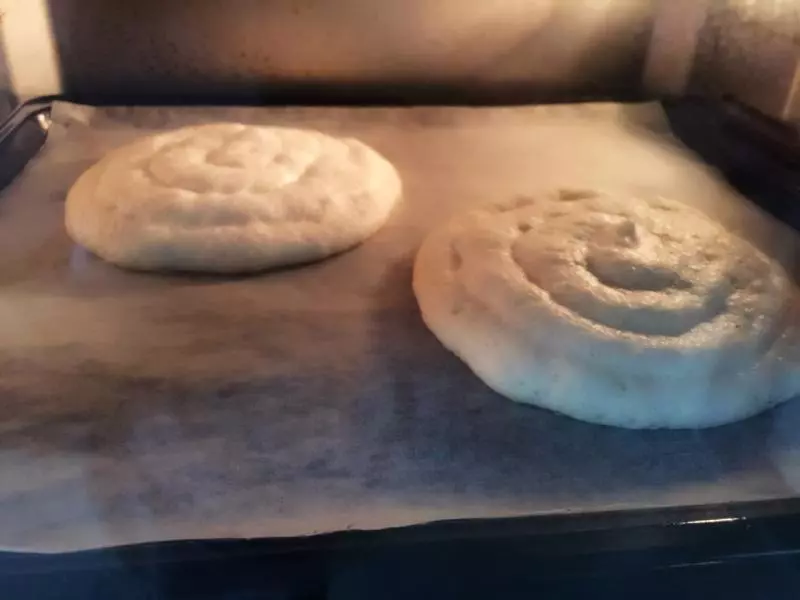
1制作椰子蛋白饼:准备好烘焙纸 用模具和笔画出两个圆形 把烘焙纸反过来 垫烤盘上备用
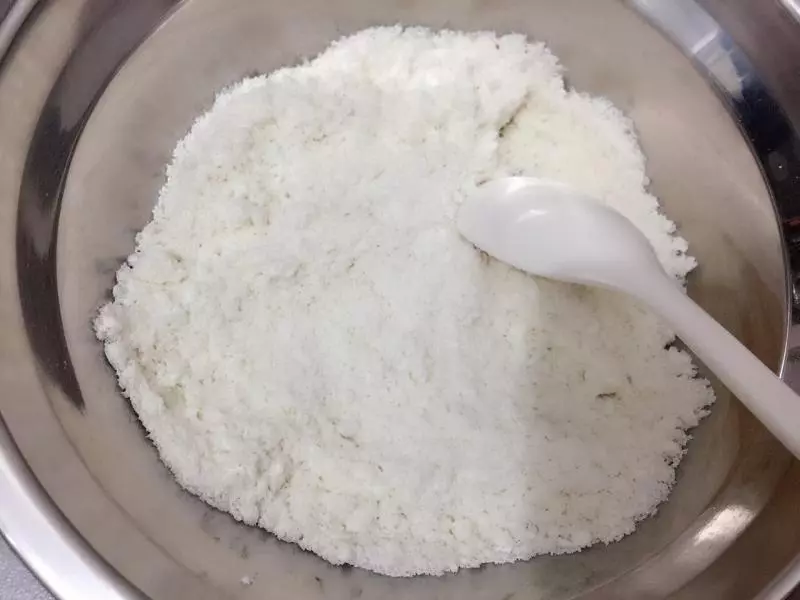
2将杏仁粉、糖霜一起过筛 加入椰茸拌匀
3烤箱预热170度 将蛋白加入砂糖打至细腻 提起搅拌头 蛋白呈弯勾状

4将杏仁糖霜混合物分2次倒入蛋白中 翻拌均匀

5装入圆嘴裱花袋中 在烘焙纸上挤螺旋形圆饼浆x2个(这个大小要比画的圆小约1寸 不然成品会影响外观)
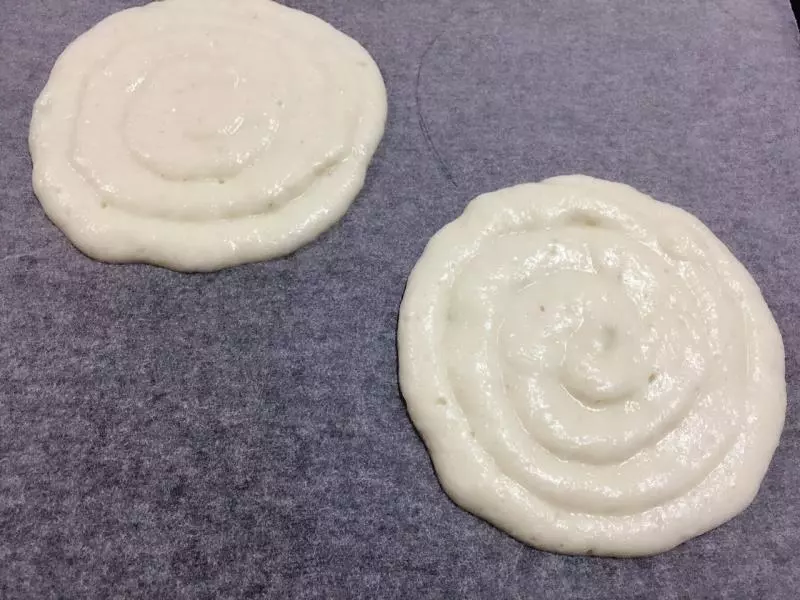
6送入已预热170度烤箱中烤约20分钟 出炉待凉备用
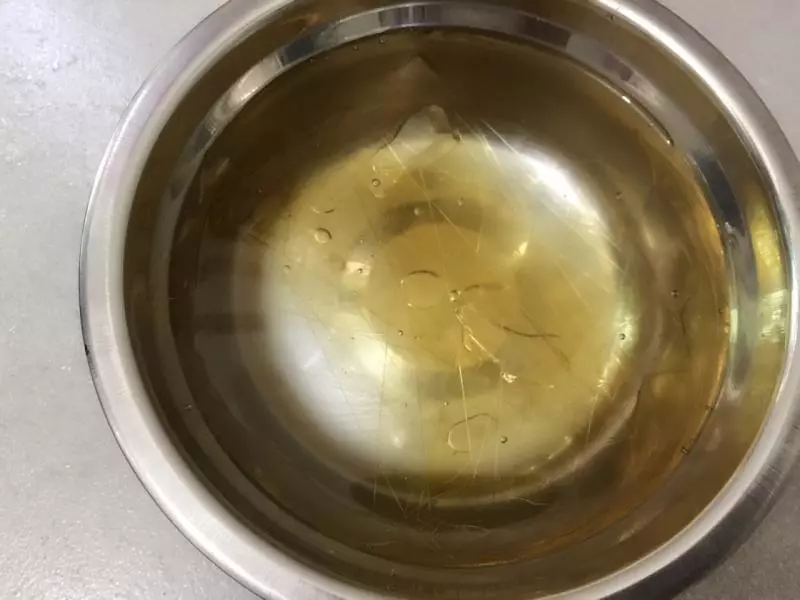
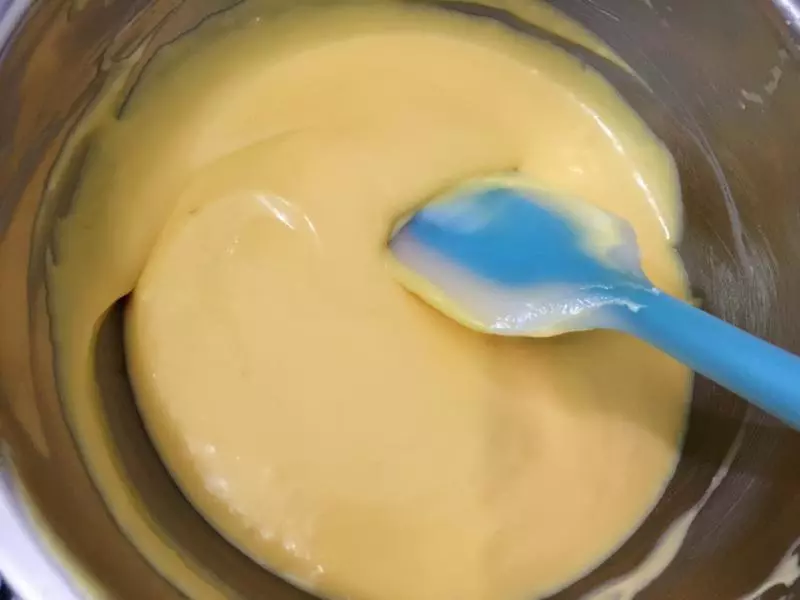
7制作芒果芝士慕斯:将吉利丁片泡冰水中泡软备用
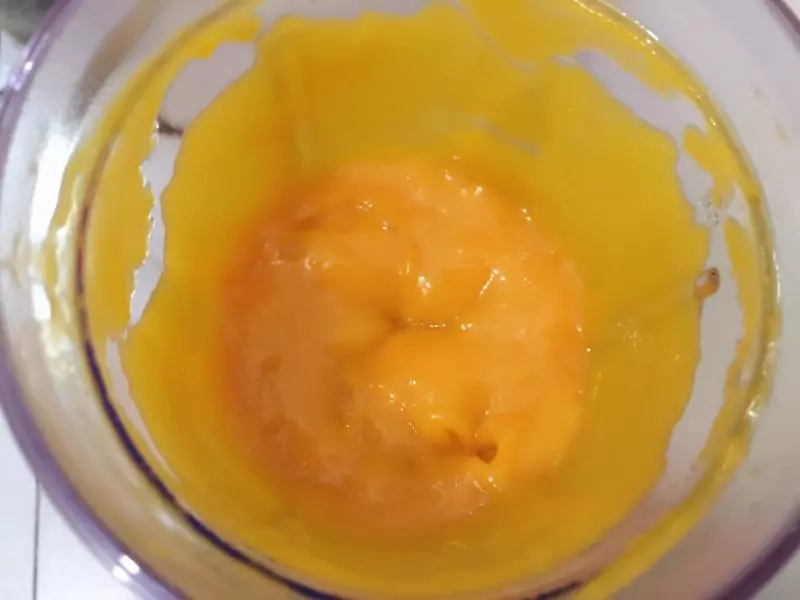
8用料理机将芒果肉打成芒果泥
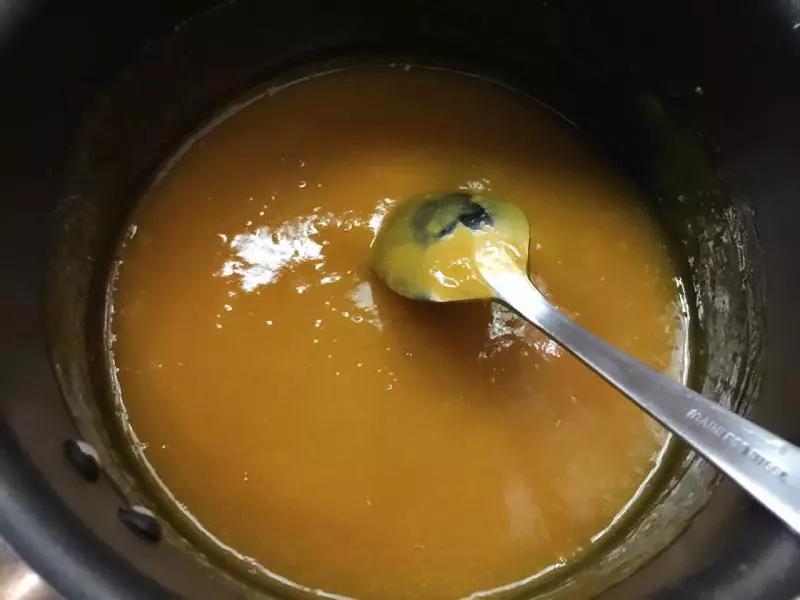
9将1/2芒果泥倒锅中 加入砂糖煮至糖溶解 把吉利丁片取出挤掉水分加入芒果泥中拌匀 再加入剩下的1/2芒果泥拌匀离火
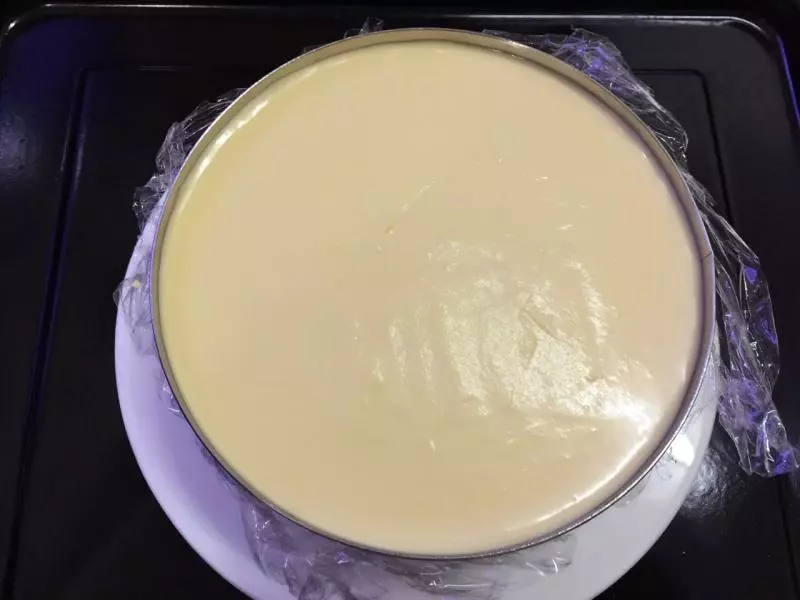
10将马斯卡彭芝士搅至顺滑 芒果泥分3次加入搅拌至顺滑无颗粒
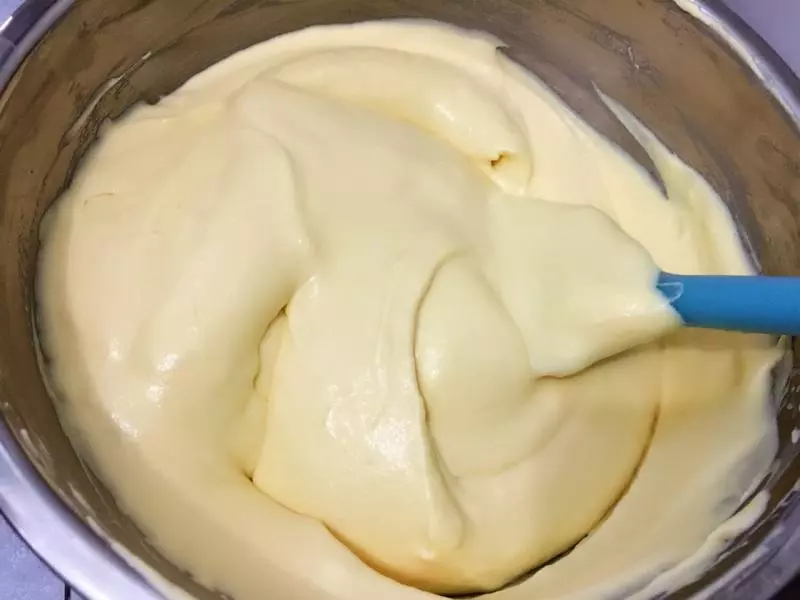
11将鲜奶油打发至7分 与芝士混合均匀
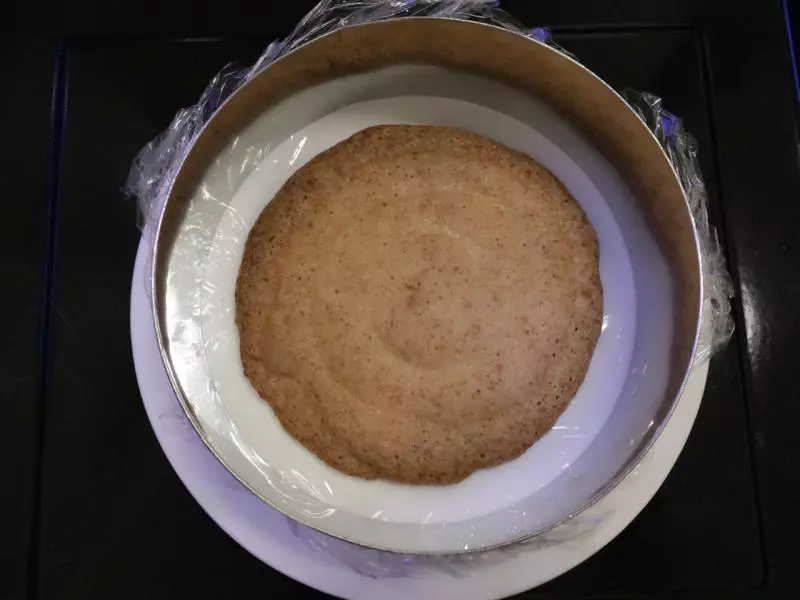
12取6寸圆形慕斯圈 外底包好保鲜膜 放1片椰子蛋白饼在底部
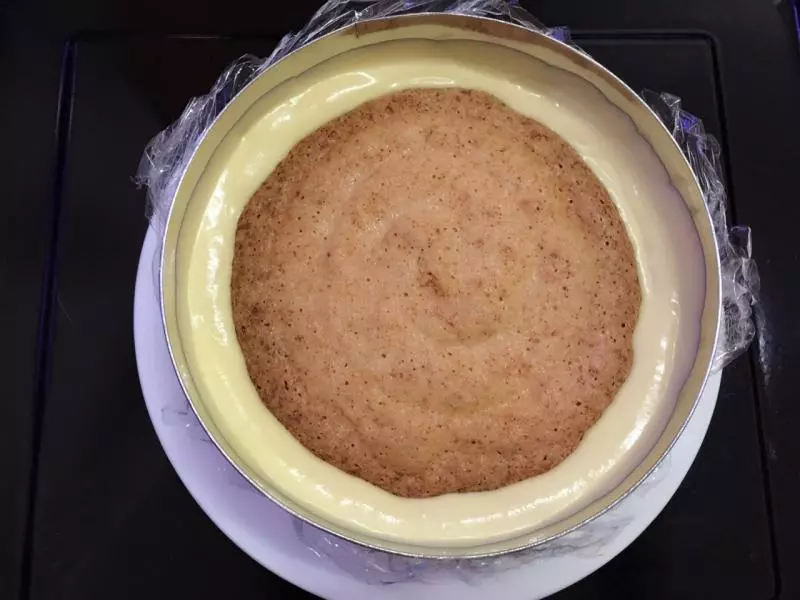
13倒入1/2芒果芝士糊(尽量填满空隙)再放入另一片椰子蛋白饼
14将剩下的芒果芝士糊倒入 抹平 送入冰箱冷藏4小时以上
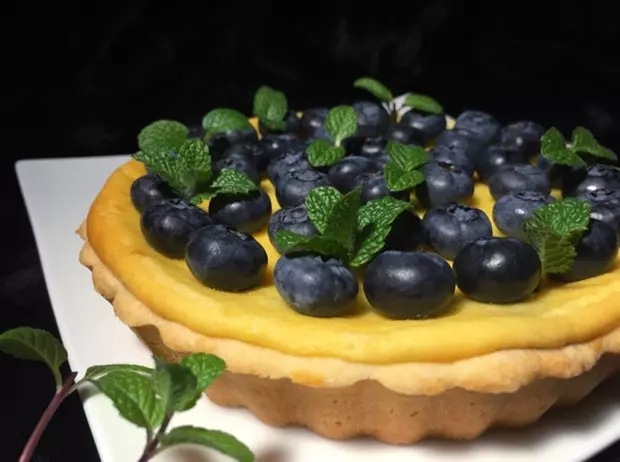
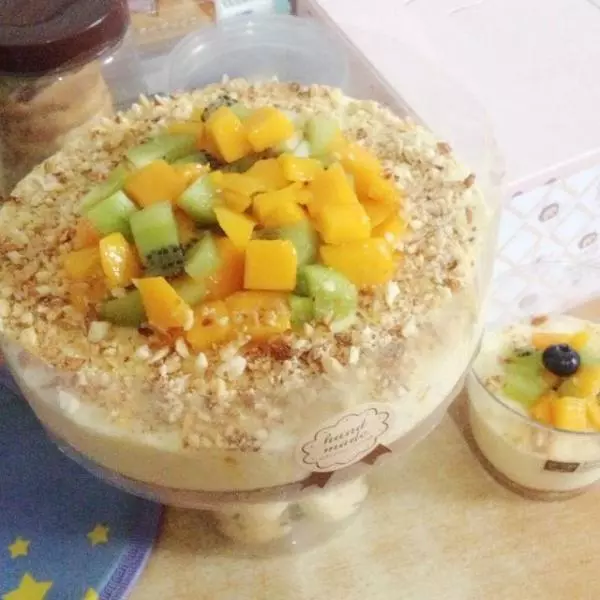
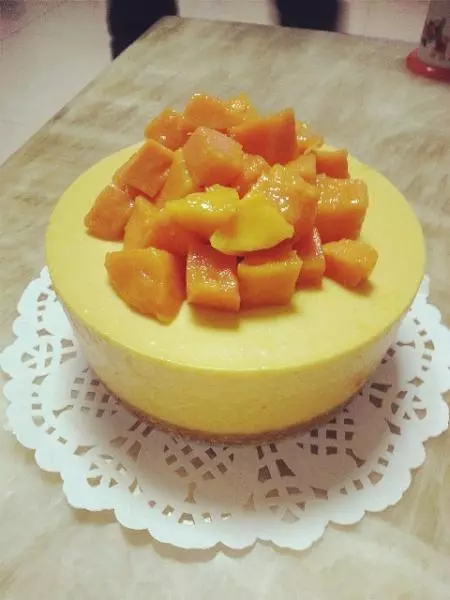
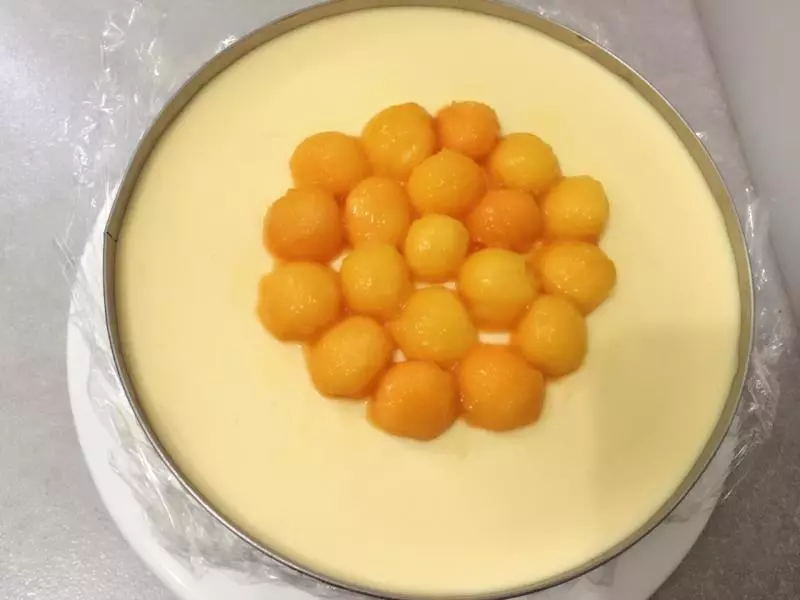
15将芒果切半 用挖球器挖出数个芒果小半球 放在蛋糕表面
16制作芒果镜面:将芒果泥与镜面果㬵混合 加热煮至摄氏50度离火 待降温至摄氏35-40度
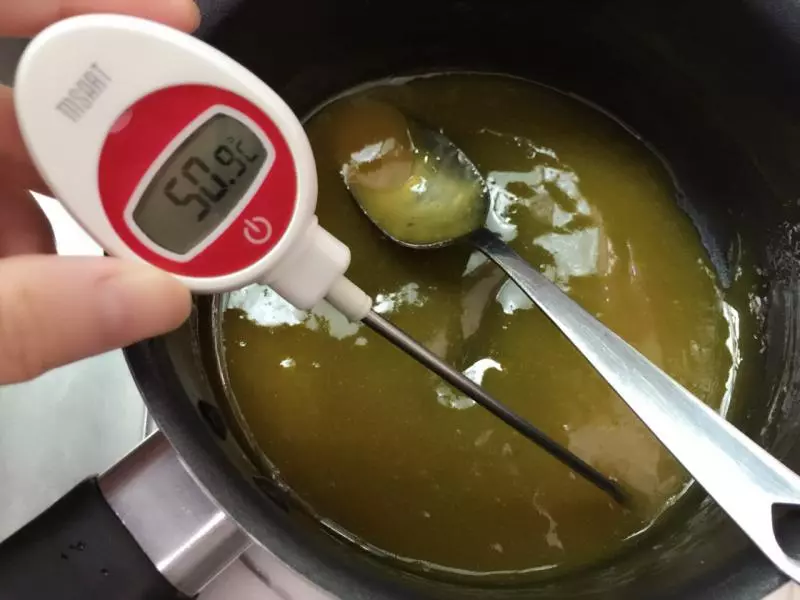
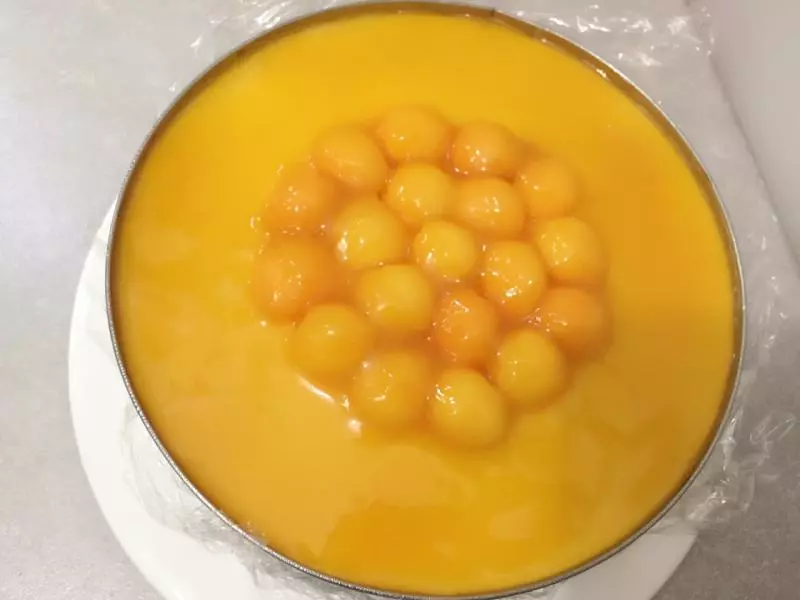
17将摄氏35-40度的镜面倒在蛋糕表面 再送入冰箱冷藏30分钟
18加热四周脱模 放上装饰即可