原料
蛋黄糊: , 蛋黄: 3个, 糖: 7g, 油: 30g, 牛奶: 70g, 低粉: 65g, 蛋白糊: , 蛋白: 3个, 糖: 33g, 柠檬汁: 几滴
步骤
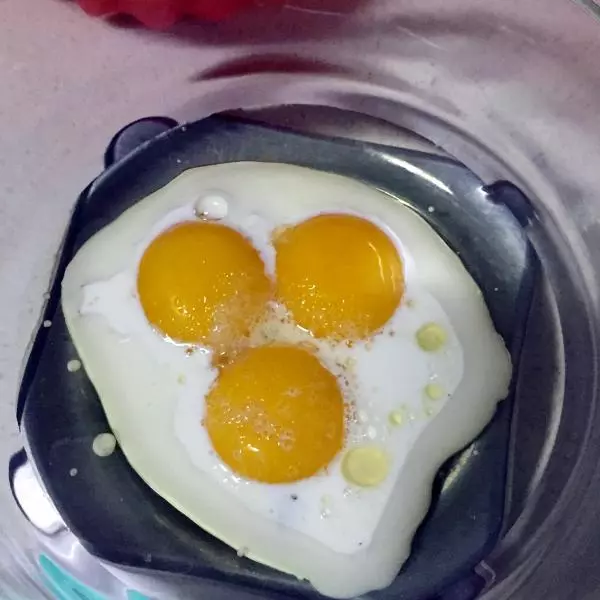
1蛋黄加糖,油,牛奶用手动打蛋器z字形搅拌至乳化
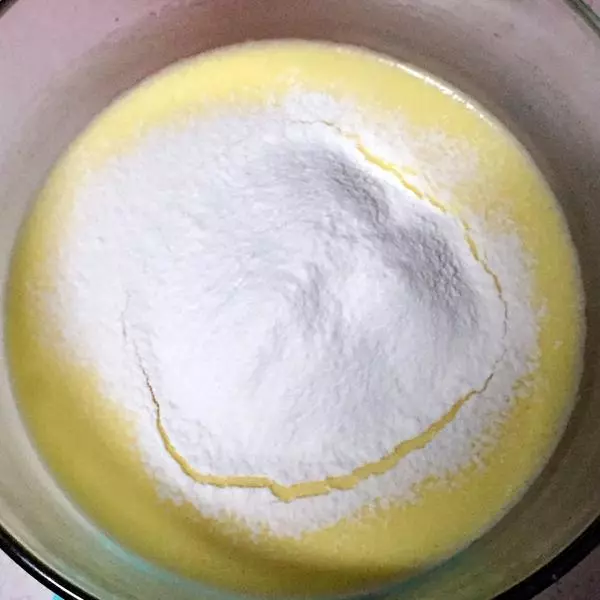
2筛入低粉翻拌均匀
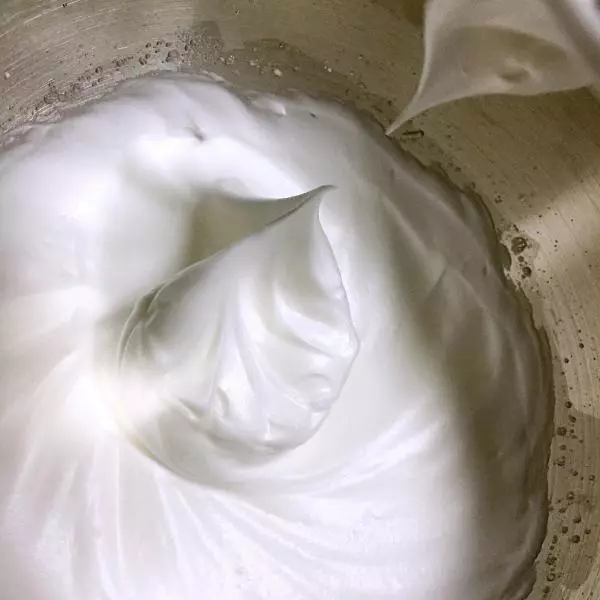
3蛋白滴入柠檬汁,分三次加入糖。第一次,打发至蛋白呈鱼眼泡状态。第二次,打发至蛋白浓稠。第三次打发至蛋白暗淡无光出现明显纹路。蛋白能拉出一个直立的小尖角,为干性发泡状态,打发完成
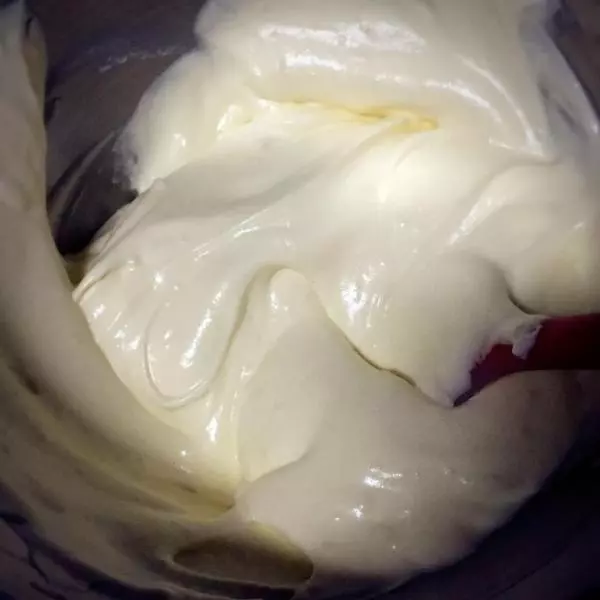
4将1/3蛋白加入蛋黄糊,用刮刀J字形手法翻拌均匀

5将拌好的蛋糊倒入剩下的蛋白糊中,用刮刀J字形手法翻拌均匀,翻拌次数不用超过30次
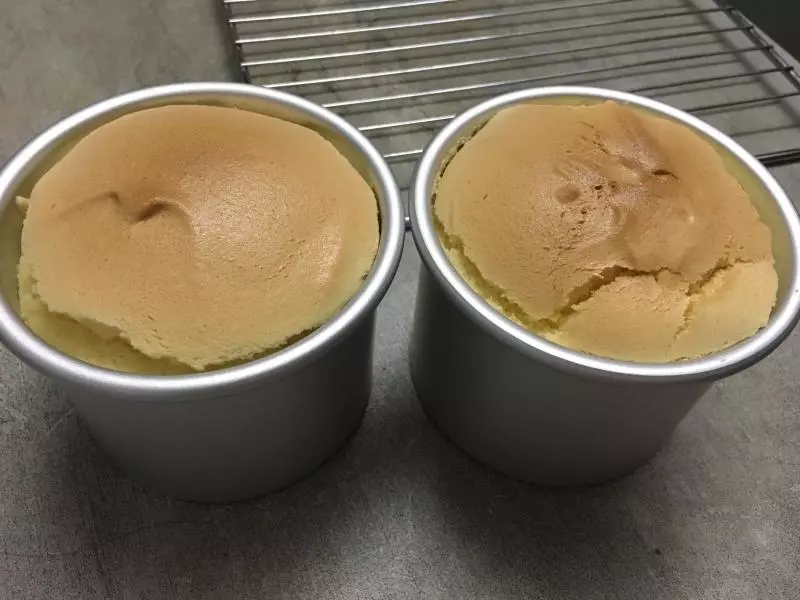
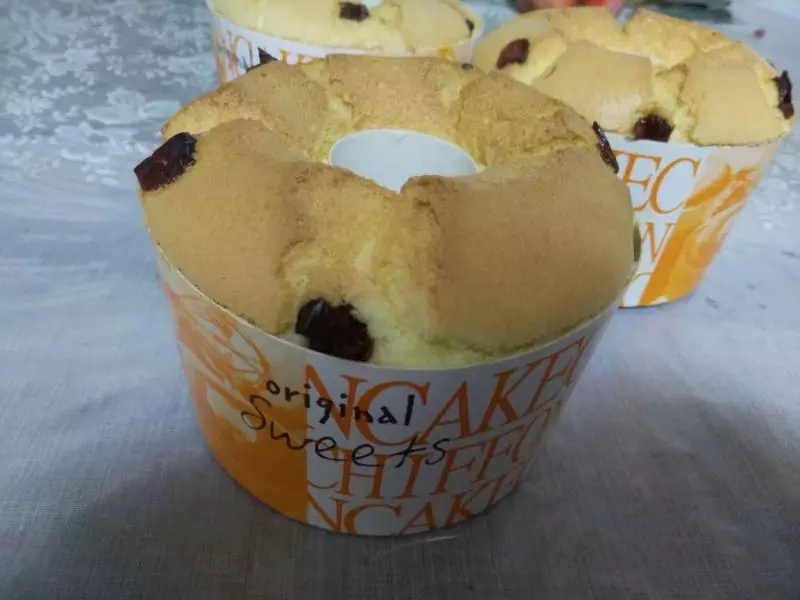
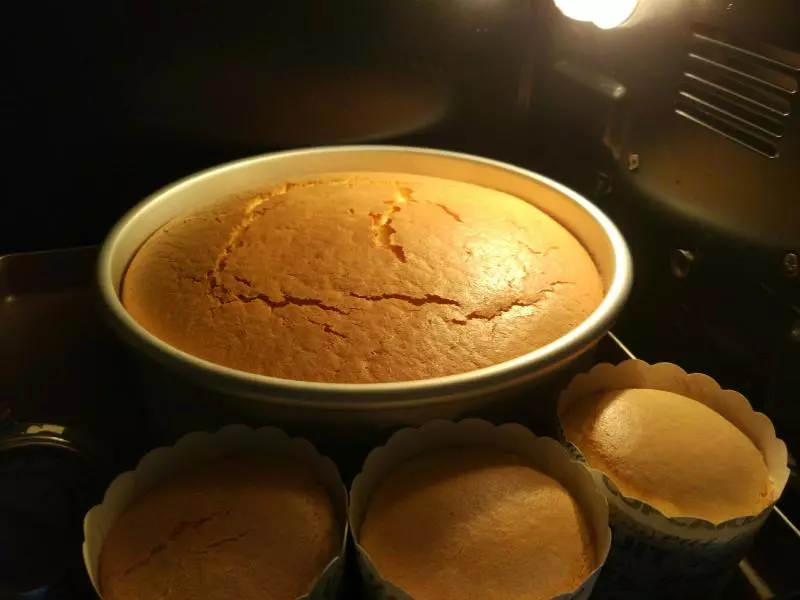
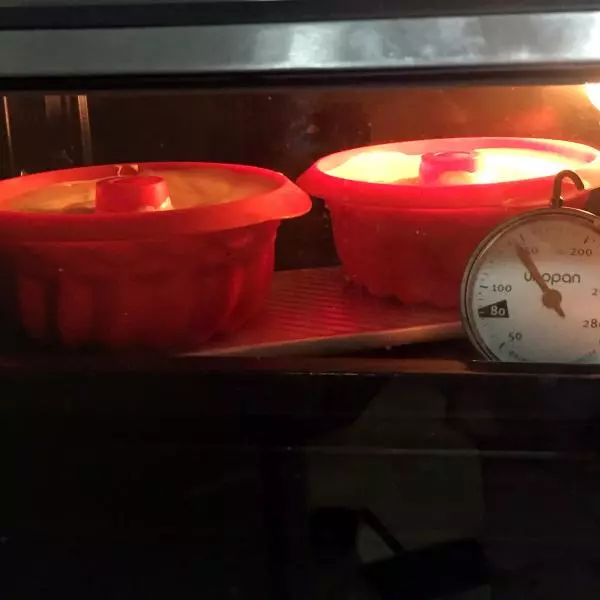
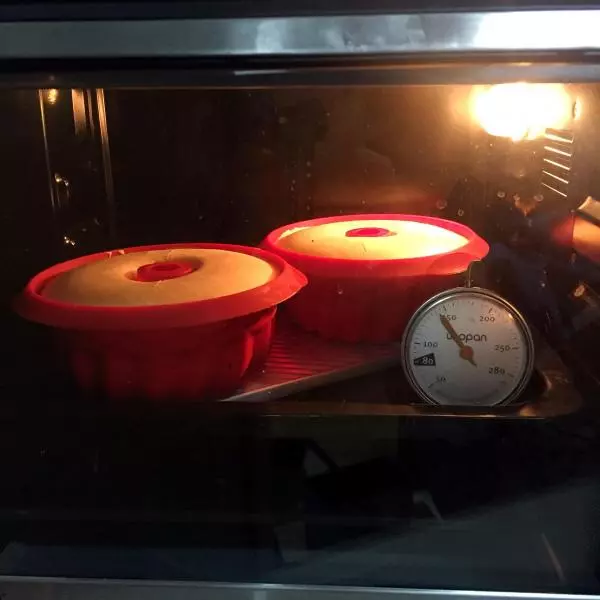
6将蛋糊倒入裱花袋,剪个比较大的口子。绕圈挤入模具中。模具抬到15cm高向下砸几次震平蛋糊,用1根木筷插入模具,顺时针打圈一周,去除小气泡。烤箱预热140度左右中层烤50分钟
7中途待上色完成盖锡纸
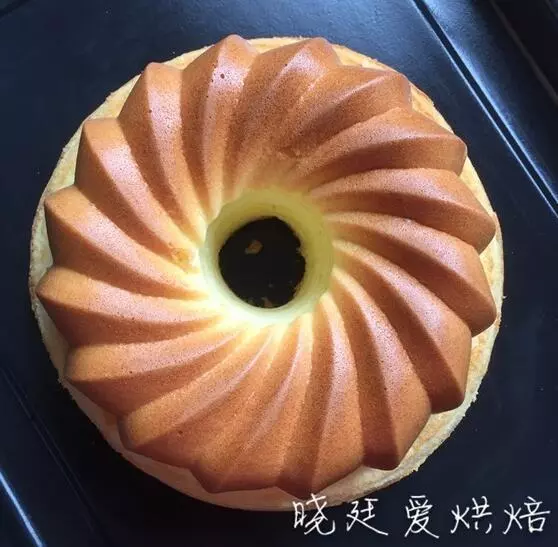
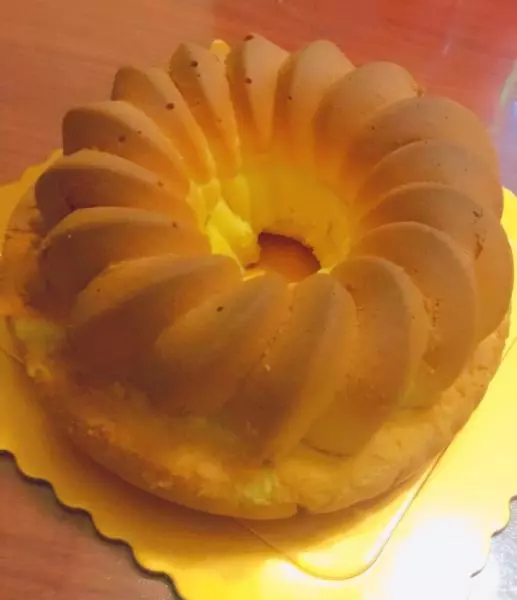
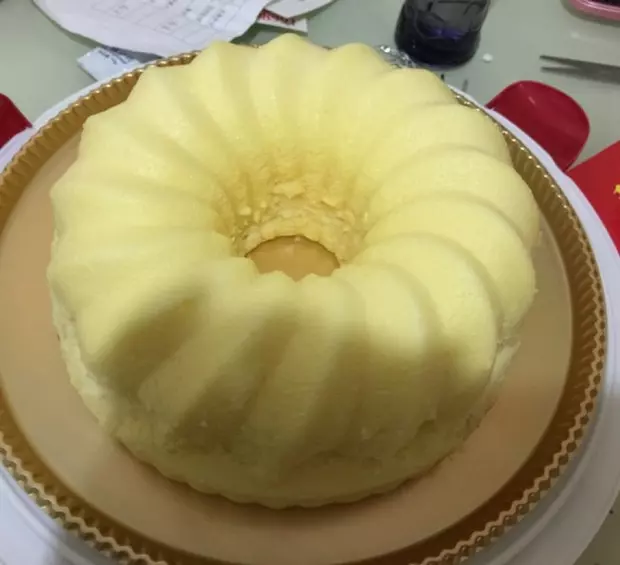
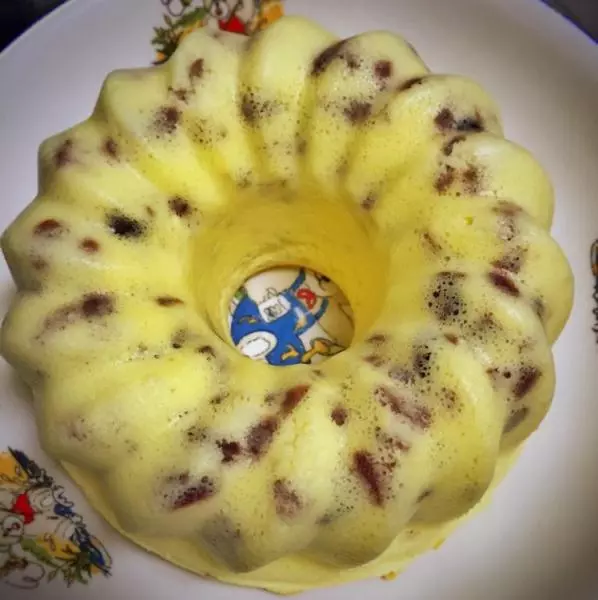
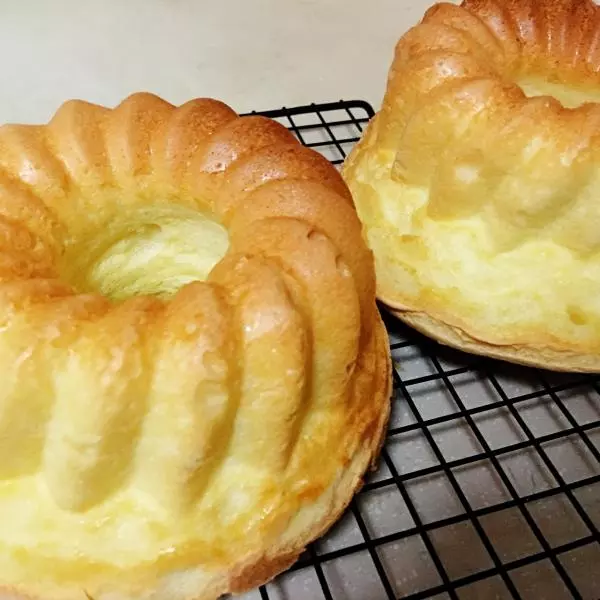
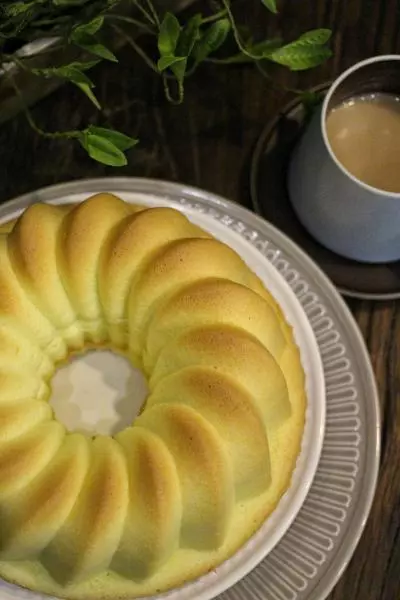
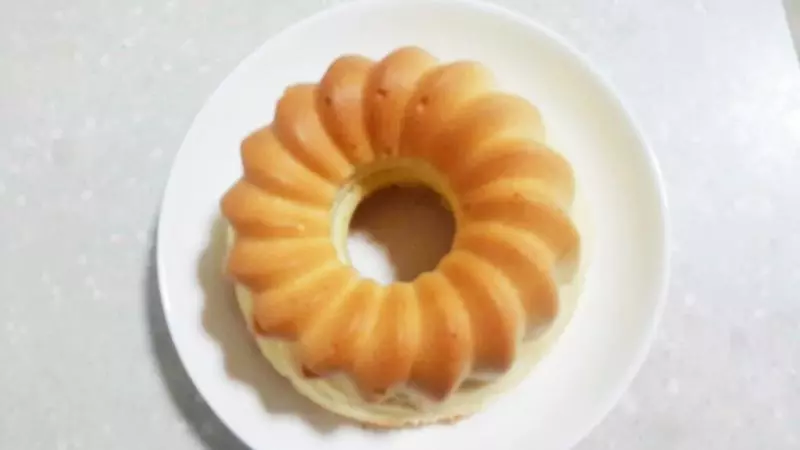
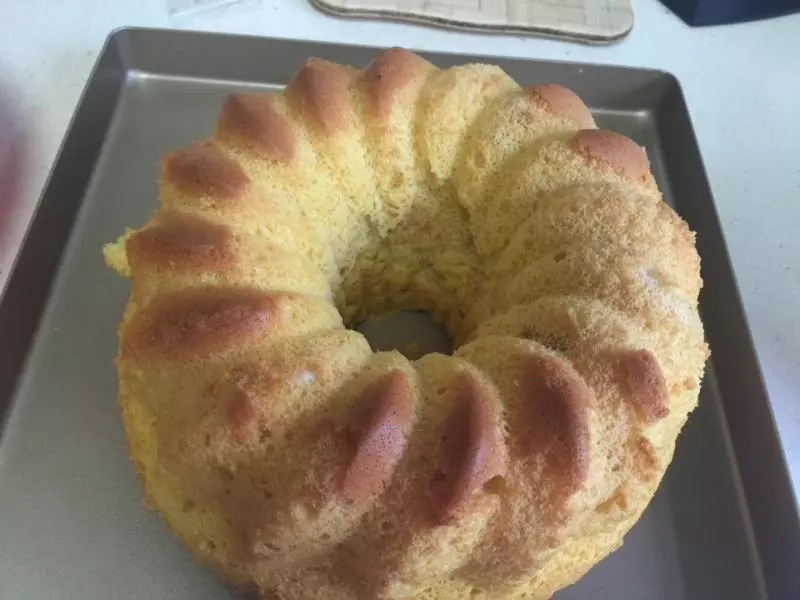
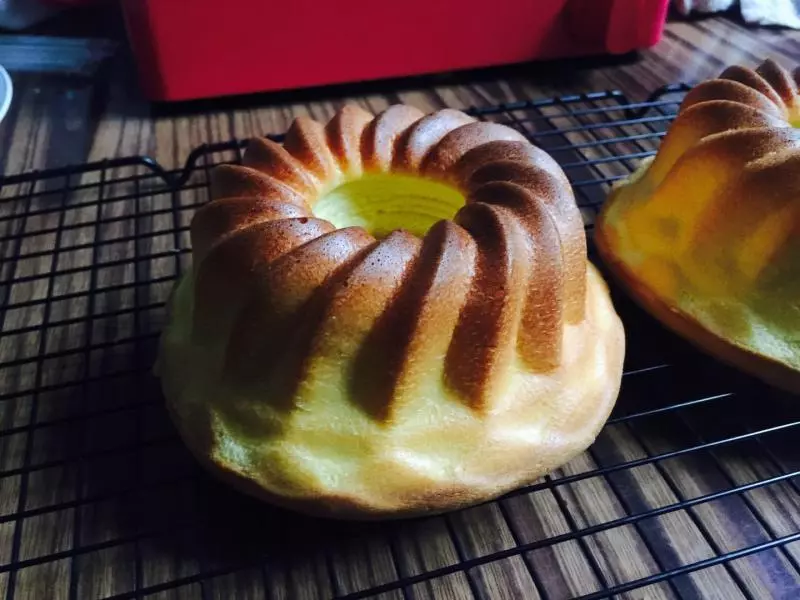
8取出模具,抬至15cm向下砸一次,倒扣至蛋糕凉透。轻压模具侧着在桌面滚一圈即可脱模。
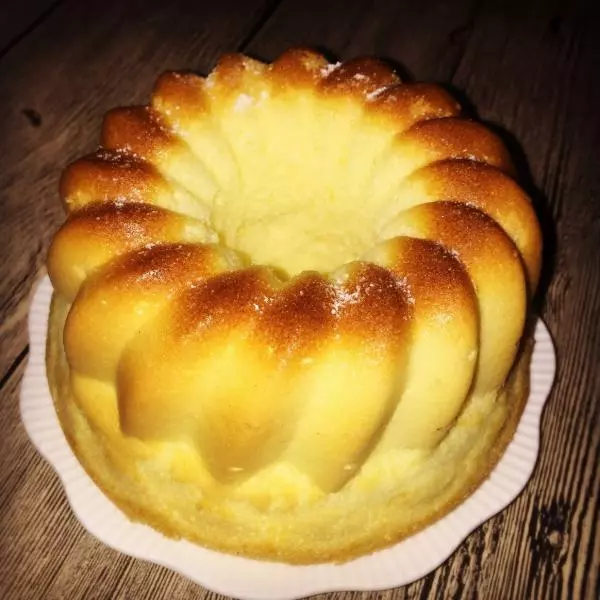
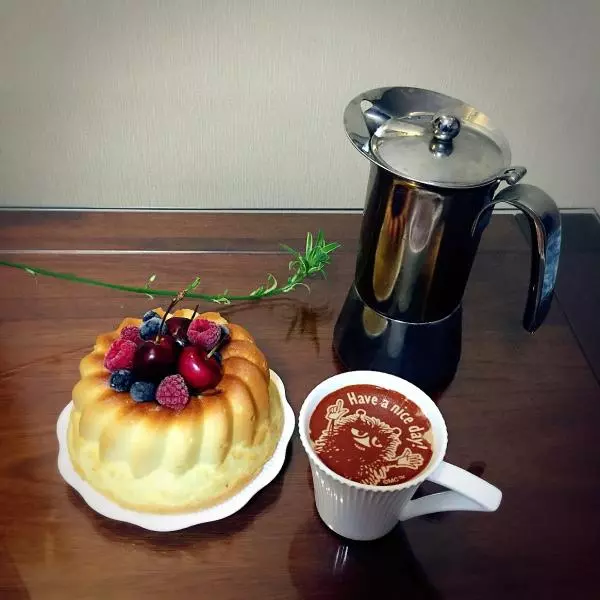
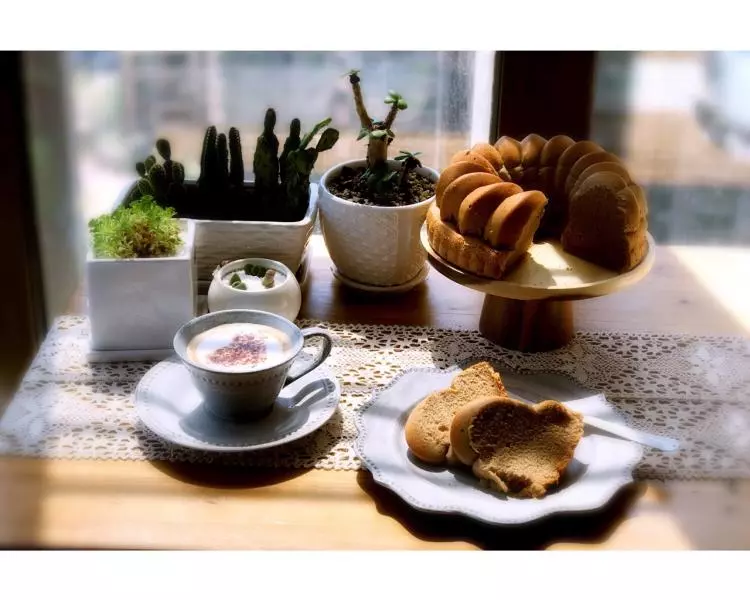
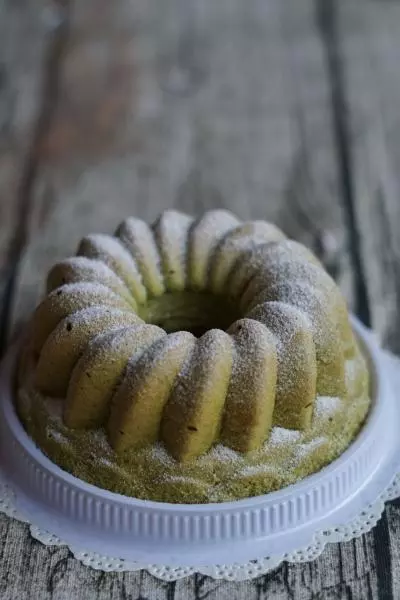
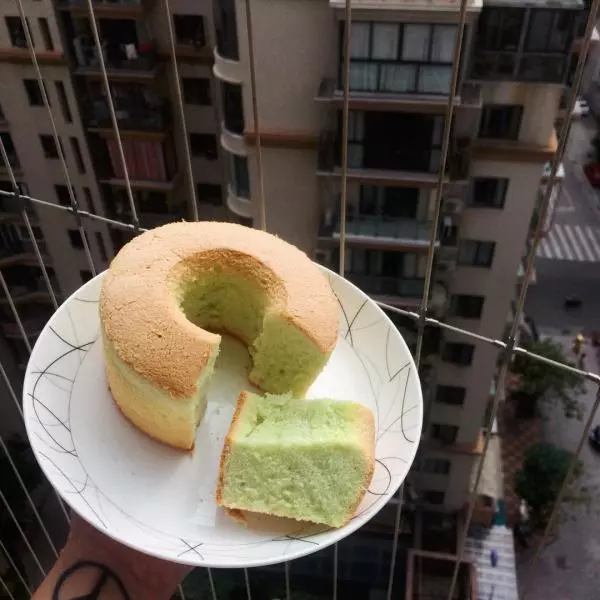
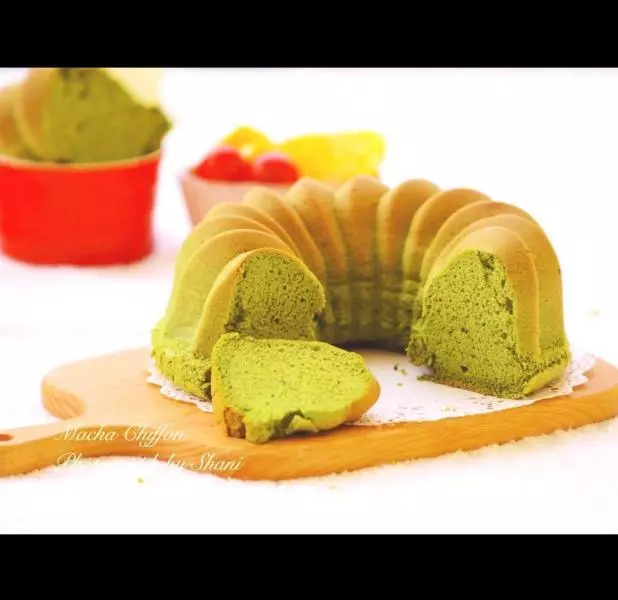
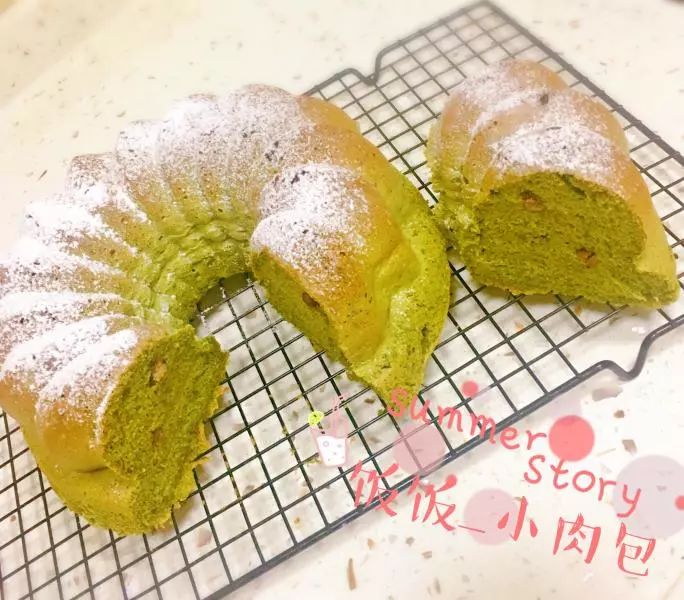
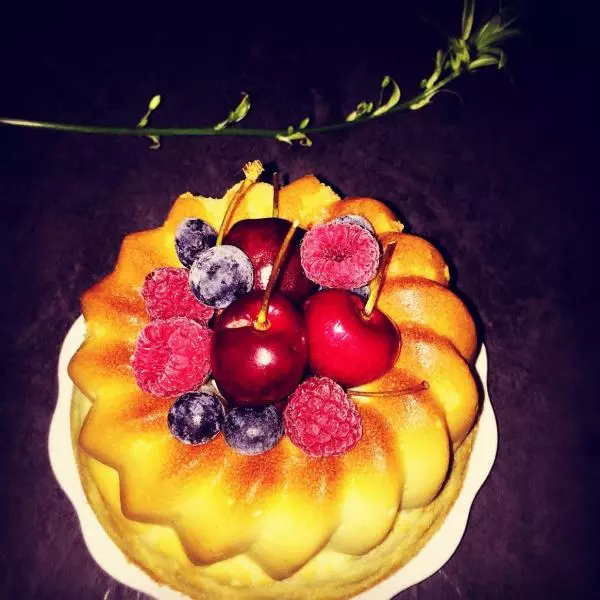
9撒糖粉,加上各式水果
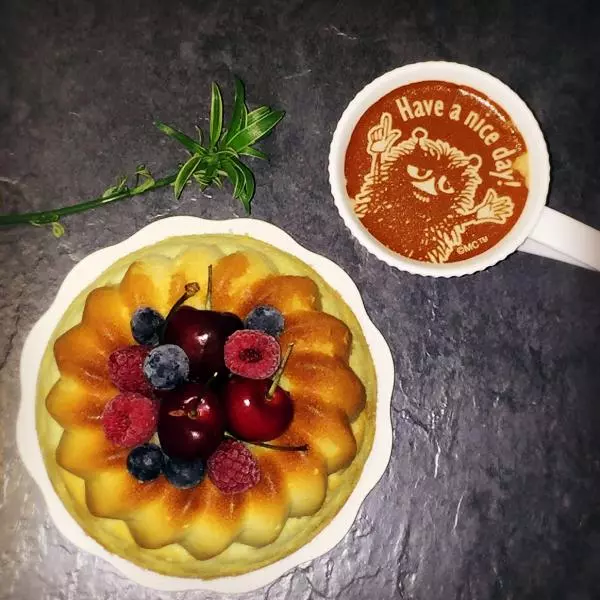
10美美哒,开次