原料
消化饼干: 80克, 黄油: 40克, 芒果泥: 300克, 芒果丁: 300克, 淡奶油: 200克, 白砂糖: 40克(根据芒果甜度增减), 吉利丁片: 2片(10克), 原味酸奶: 100克
步骤
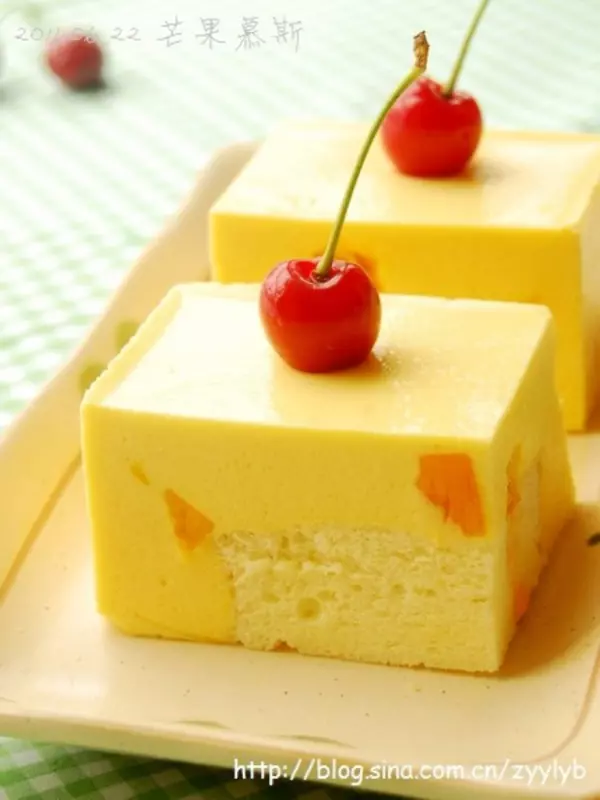
1将消化饼干放进保鲜袋,用擀面杖碾碎,拌入黄油液混合均匀,铺在蛋糕模的底部,压实入冰箱冷藏备用。

2取300克左右的芒果果肉用料理机打成果泥,备用。

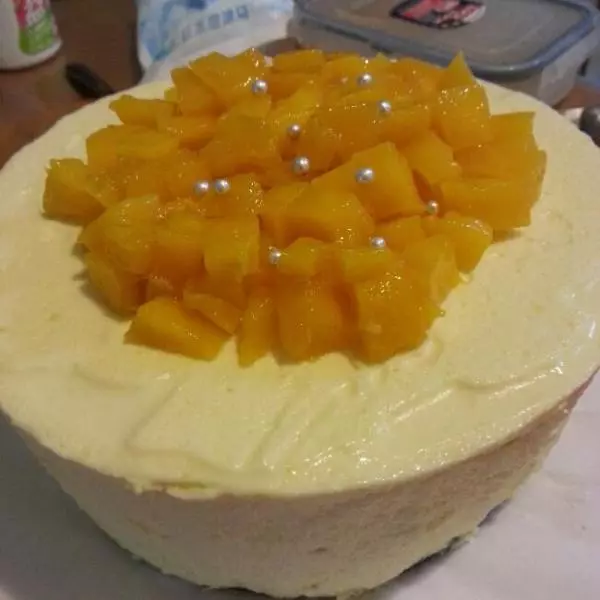
3300克芒果果肉切丁备用。

4吉利丁片用凉水泡软。

5芒果果泥加热至温热,放入泡软的吉利丁片,搅拌至融化。

6淡奶油加入白砂糖,电动打蛋器高速打发。

7打至7成发,整体淡奶油比液体浓稠些即可。

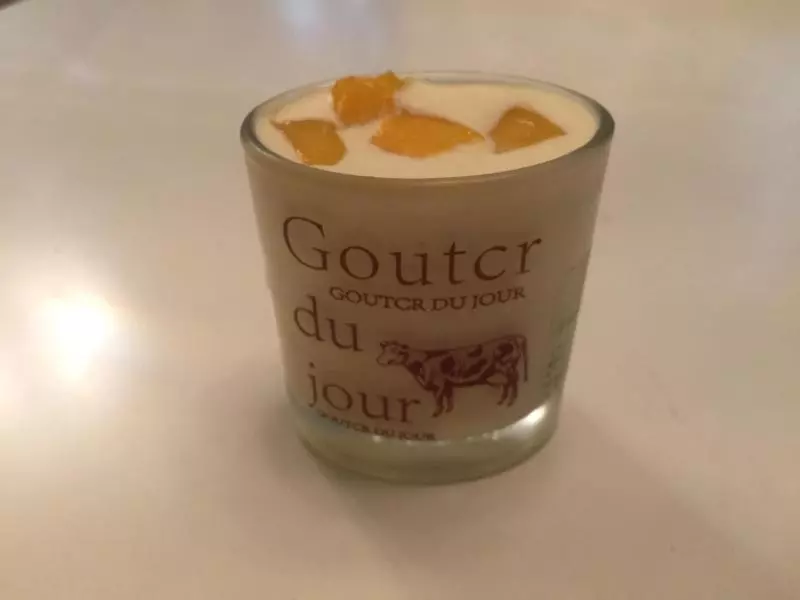
8加入酸奶和芒果泥,切拌均匀,即成芒果慕斯液。

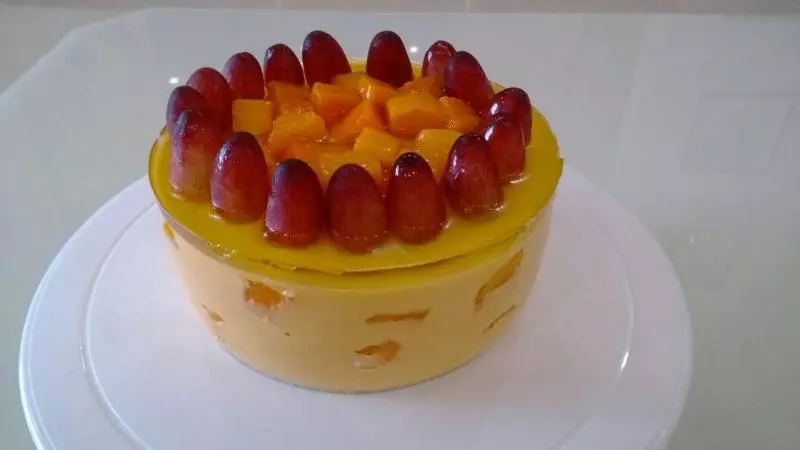
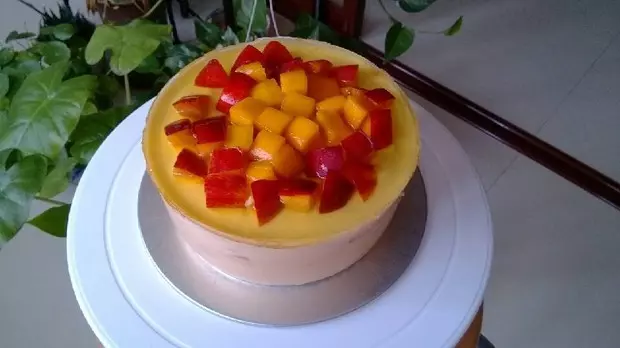
9一层慕斯液,撒一些芒果丁,直至满模。

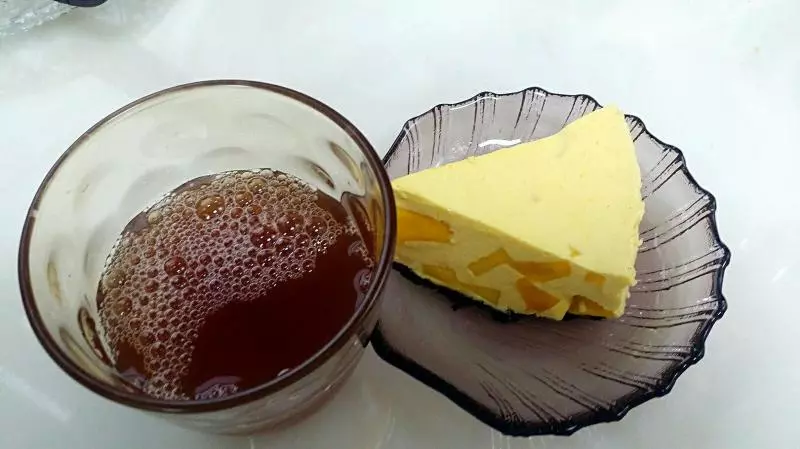
10轻震蛋糕模具,入冰箱冷藏4小时以上,一夜最好。

11亦可留少许芒果泥,挤在慕斯液表层,用筷子划圈出花纹,再入冰箱冷藏4小时以上。

12夏天吃这款冰冰凉的蛋糕,太带感了。

小技巧
1,此配方是6寸模具,8寸需翻倍,建议用活底模具或慕斯圈制作,也可倒入杯子制作,别有风情。 2,蛋糕底也可换做奥利奥饼干,去掉夹心即可。 3,水果亦可换做木瓜、火龙果等。 4,蛋糕做好后,用吹风机热风模式围着模具吹一会儿,脱模很容易。