原料
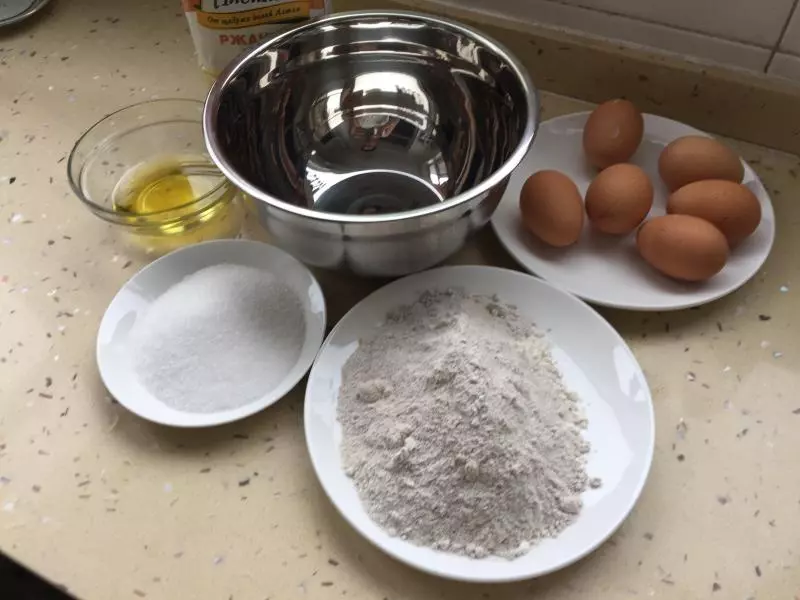
鸡蛋: 6个约300g, 细砂糖: 150g, 黑麦低筋面粉: 120g, 低筋面粉: 80g, 软化黄油/色拉油: 50g
步骤
1准备食材
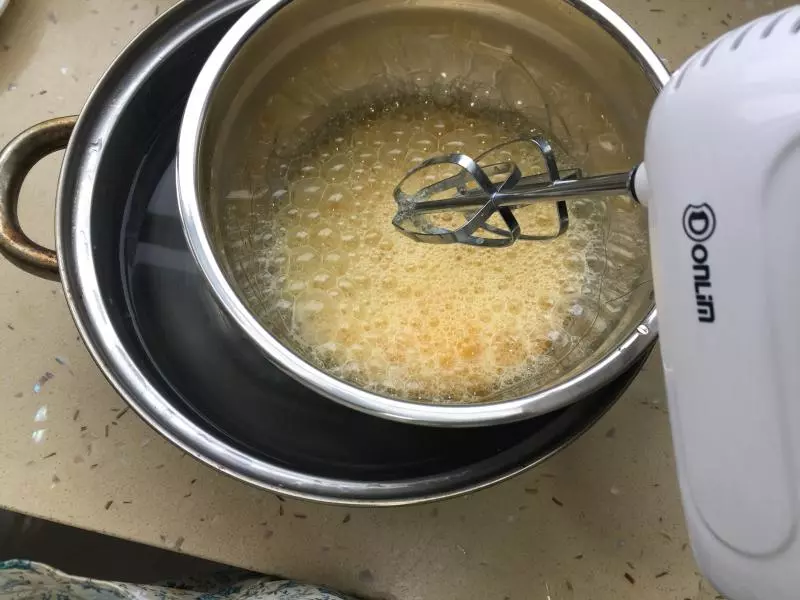
2准备一个稍大一点的盆,鸡蛋打入盆里(建议先打鸡蛋到小碗,一个一个检查无臭蛋后再入盆)将白砂糖一次性倒入。取一个锅,锅里放入热水,把打蛋盆放到锅里,用打蛋器将鸡蛋打发。
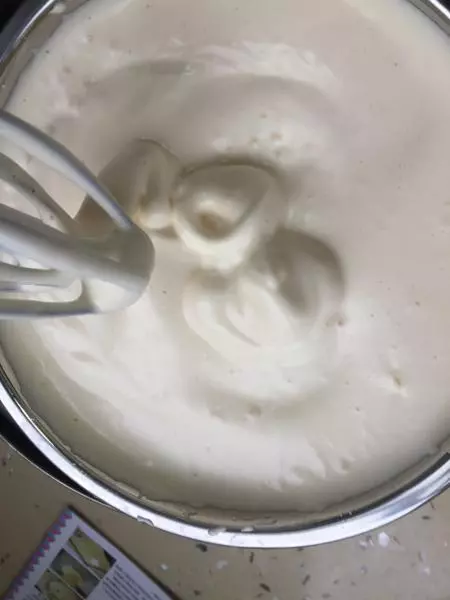
3随着不停的搅拌,鸡蛋会渐渐出现浓密的泡沫,变得越来越稠。将鸡蛋打发到提起打蛋器,滴落下来的蛋糊不会马上消失,可以在蛋糊表面形成清晰的纹路,就可以了。(一般15分钟就差不多了)
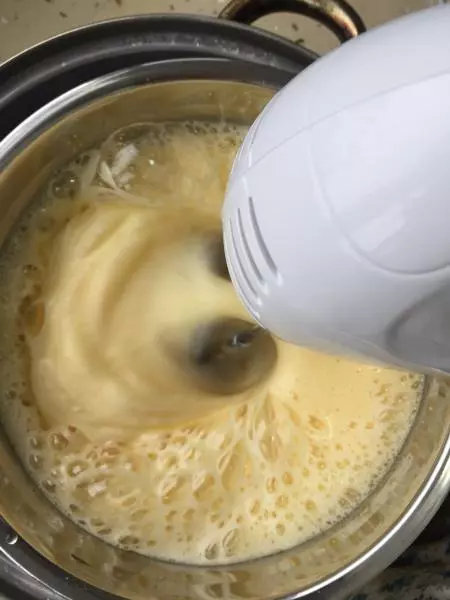
4差不多这样子
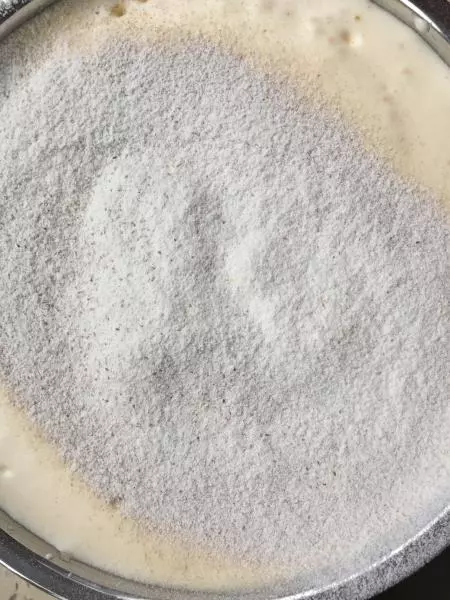
5分三到四次筛入低精面粉,用橡皮刮刀小心翼翼的从底部往上翻拌,使面糊盒面粉混合均匀。切记!不要打圈,那样子鸡蛋会消泡的!用切拌的方式来。(烤箱预热180度)
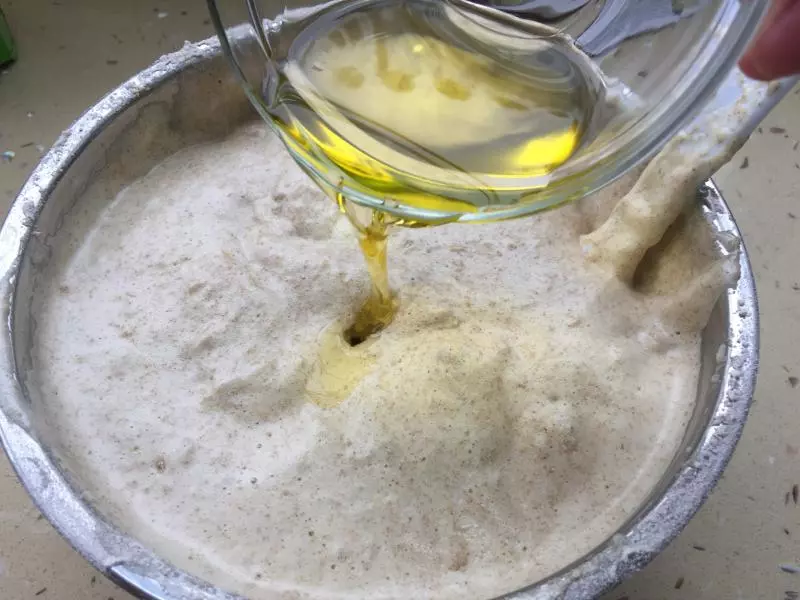
6在搅拌好的面糊里加入植物油,或者融化的黄油,继续搅拌。
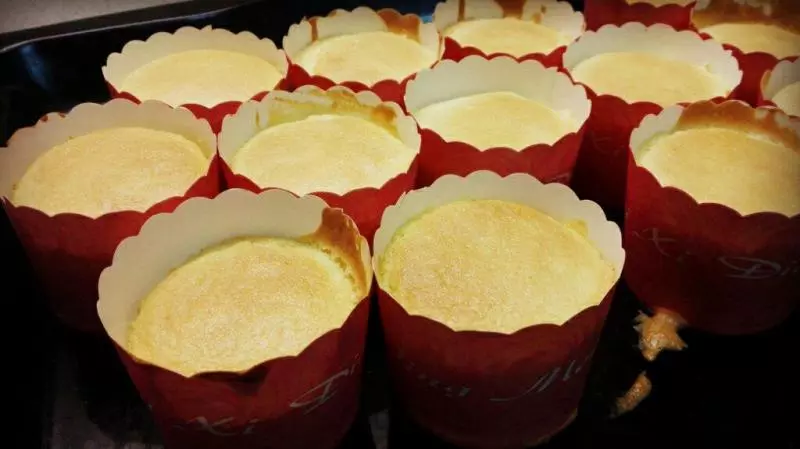
7在烤盘里铺上油纸,将拌好的蛋糕糊全部倒入烤盘。把蛋糊表面抹平,端起来在台面上用力震几下,既可以让蛋糕表面平整,又可以把大一点的气泡震出来。

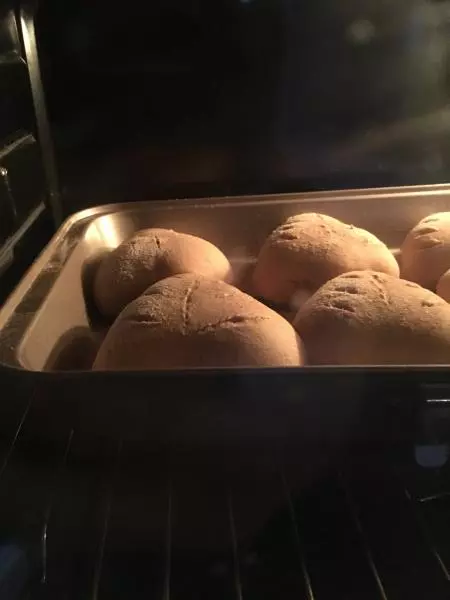
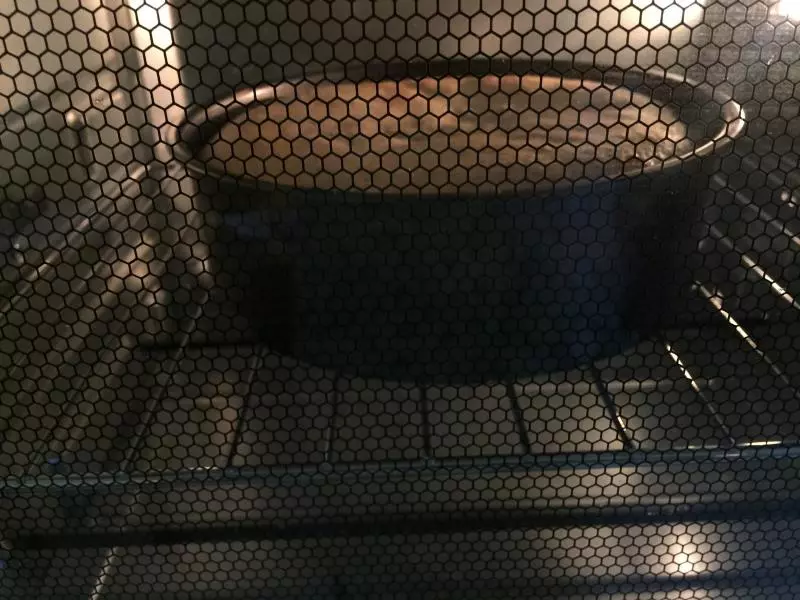
8把烤盘送入预热好180度的烤箱,烤15-20分钟,用竹签插入蛋糕内部,拔出来没有沾上蛋糕就可以了。 具体时间没办法写,温度也要按各位小主家的烤箱脾气来定,我家烤箱温度偏高,我一般会在170左右来考会比较合适。
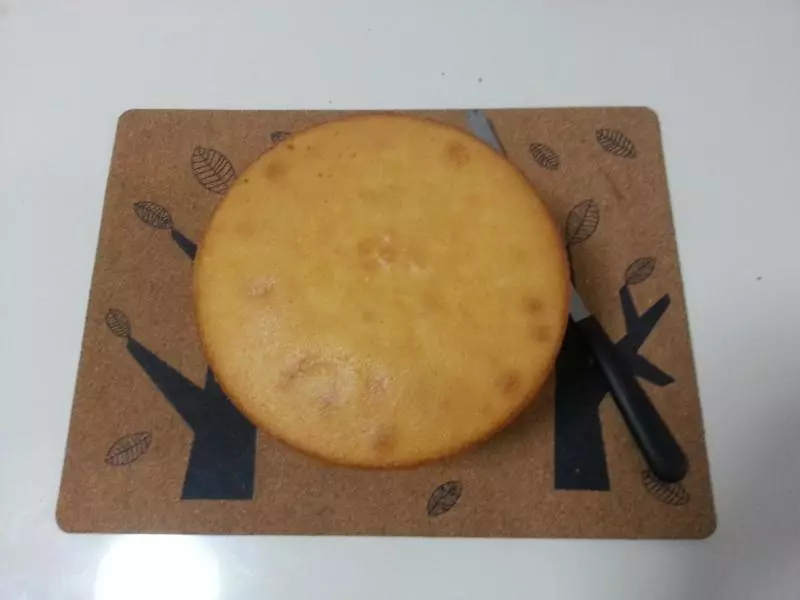
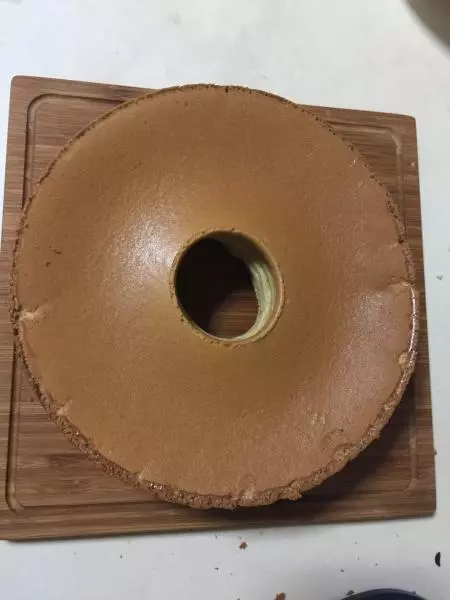
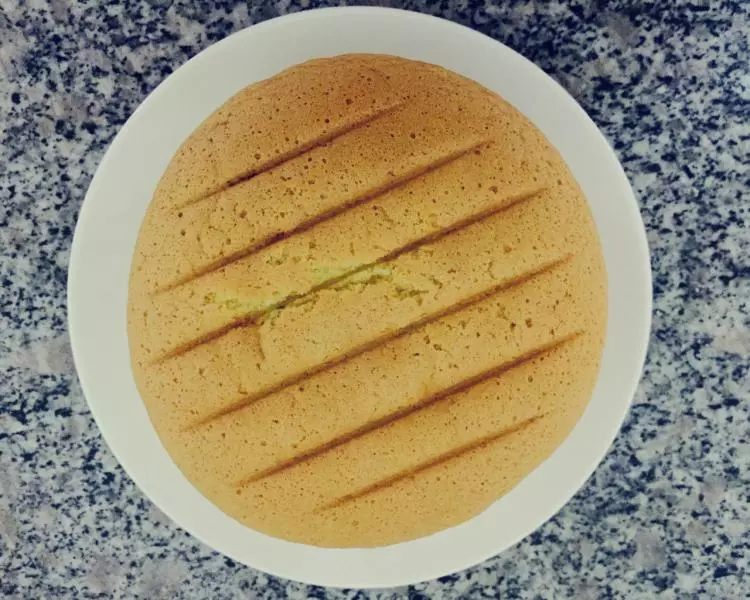
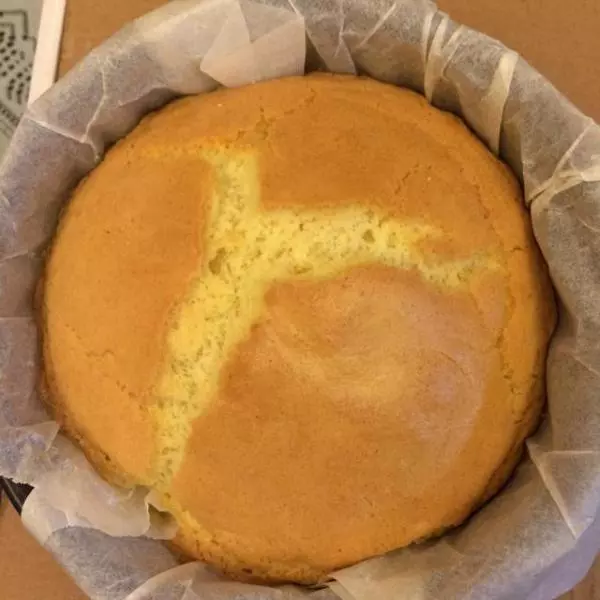
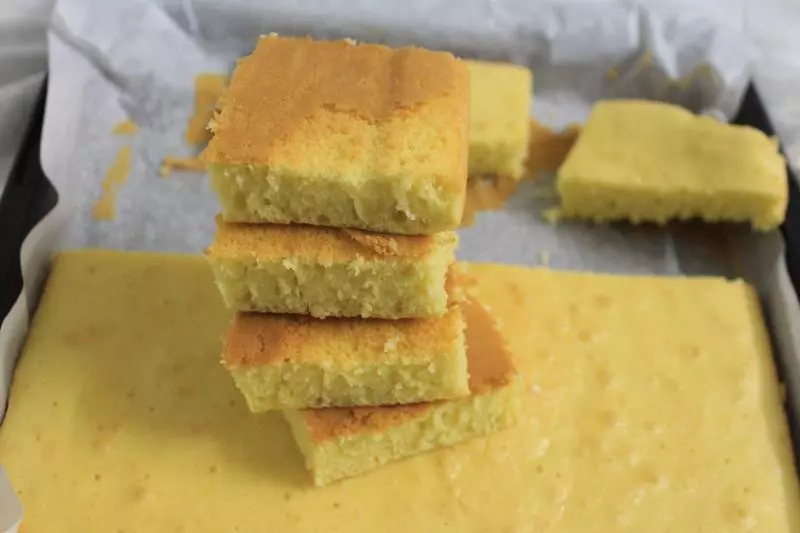
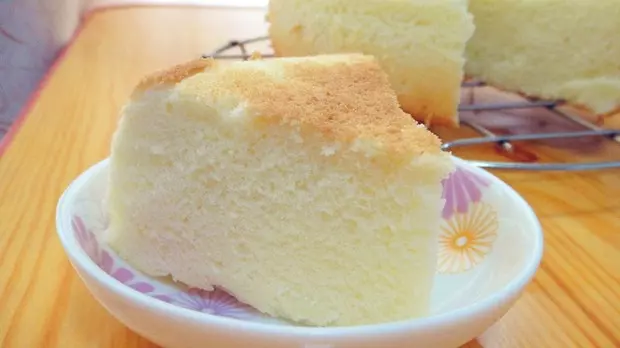
9脱模
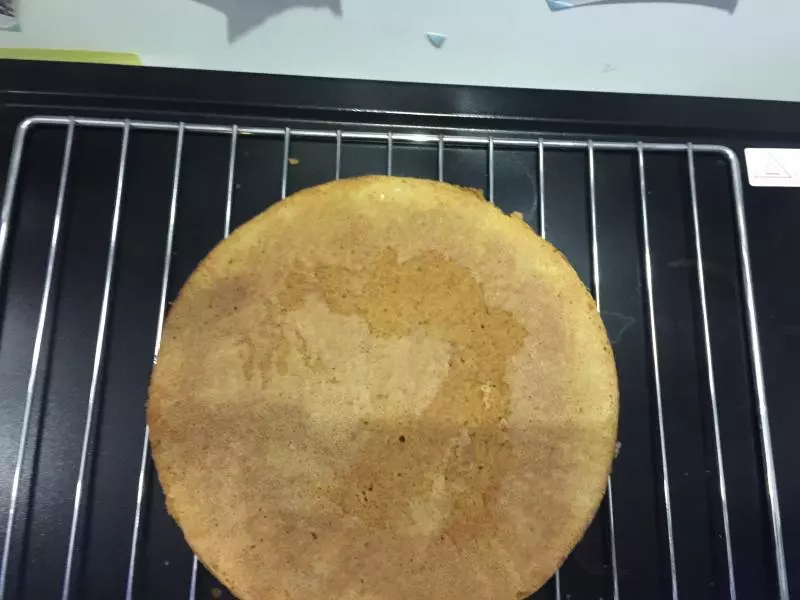
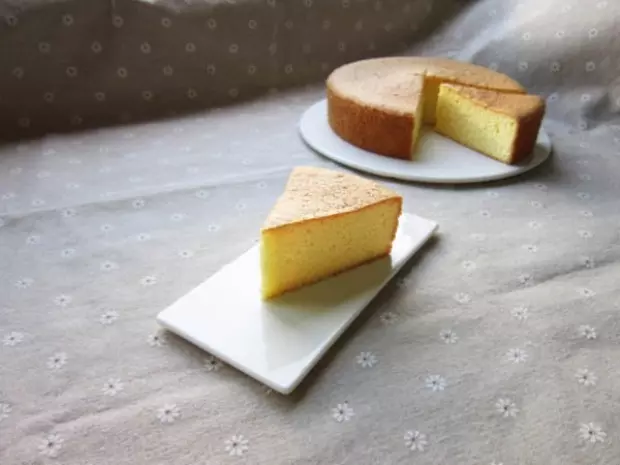
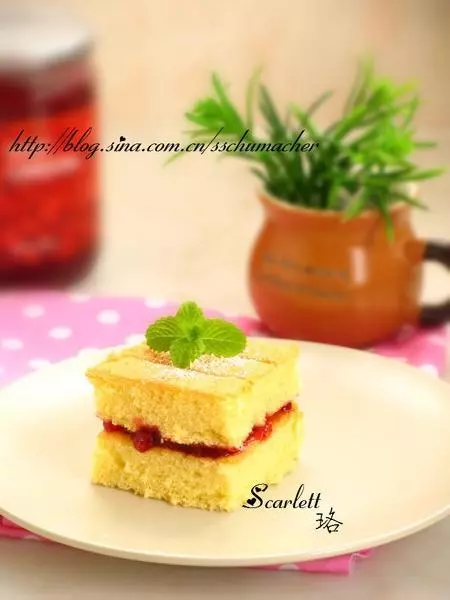
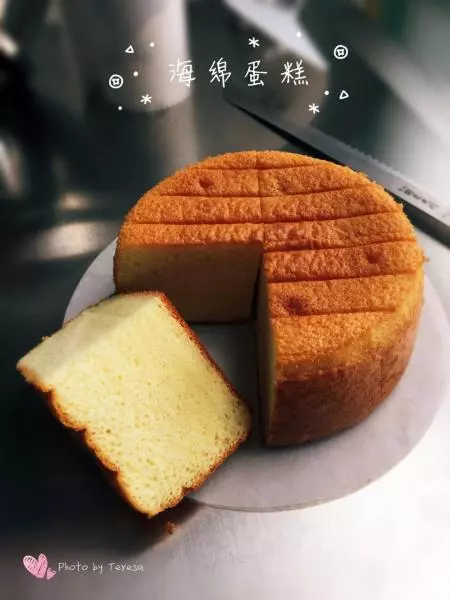
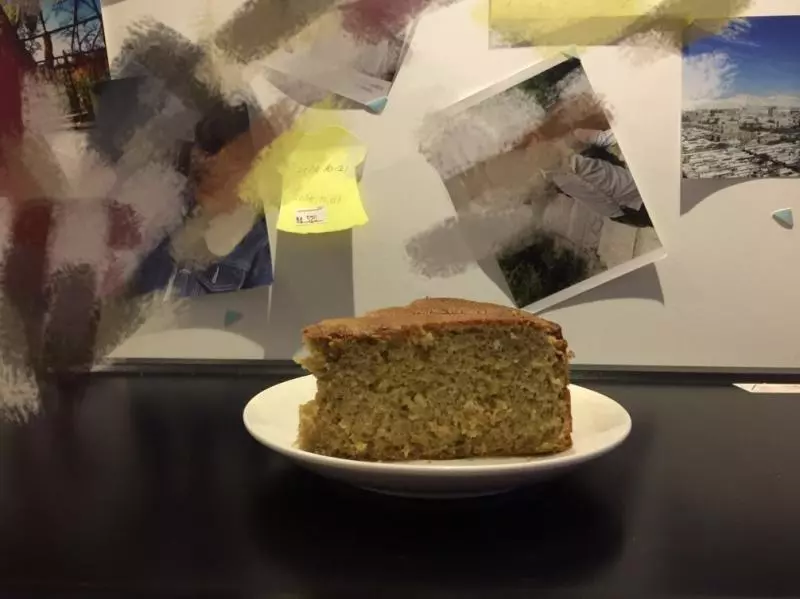
10真的好好次=吃

小技巧
1,搅拌时不要打圈,要切拌的方式,以免蛋白消泡 2,看自己家烤箱主子的脾气,每家的烤箱脾气都不一样的。