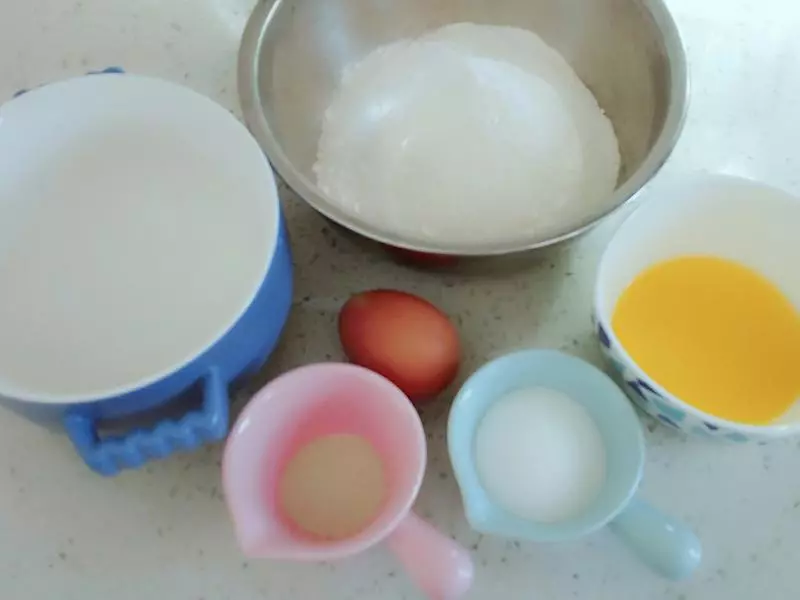
原料
中筋面粉: 300克, 鸡蛋: 1个, 砂糖: 20克, 酵母粉: 4克, 黄油: 25克, 温水: 140克
步骤
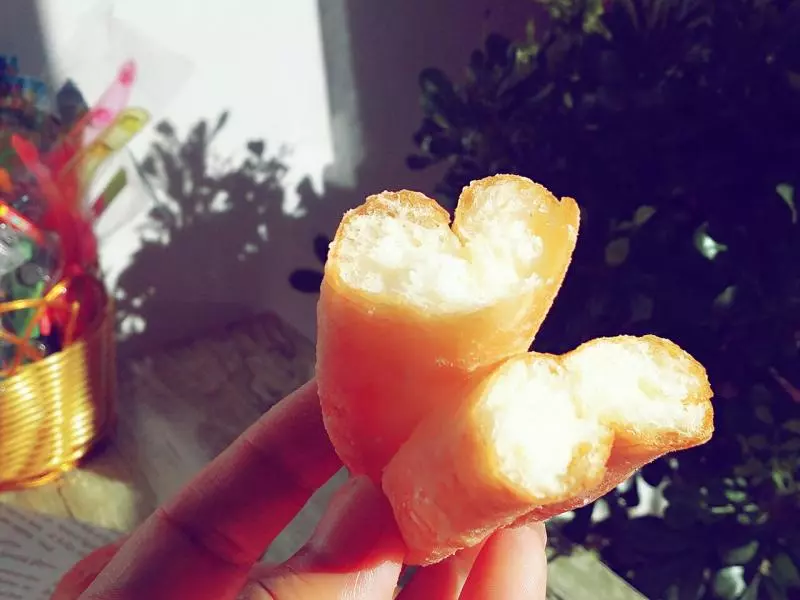
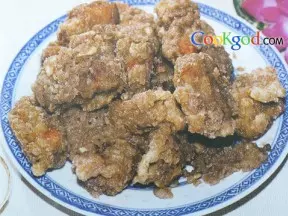
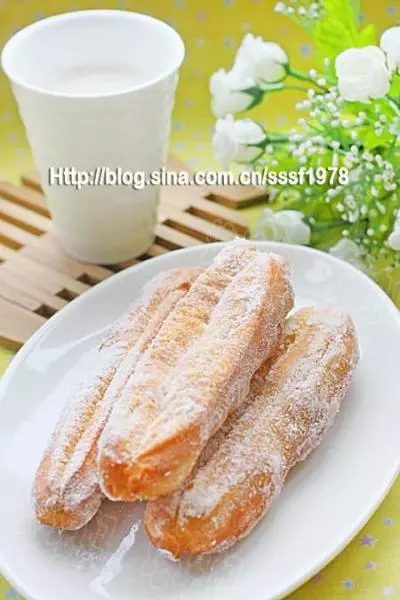
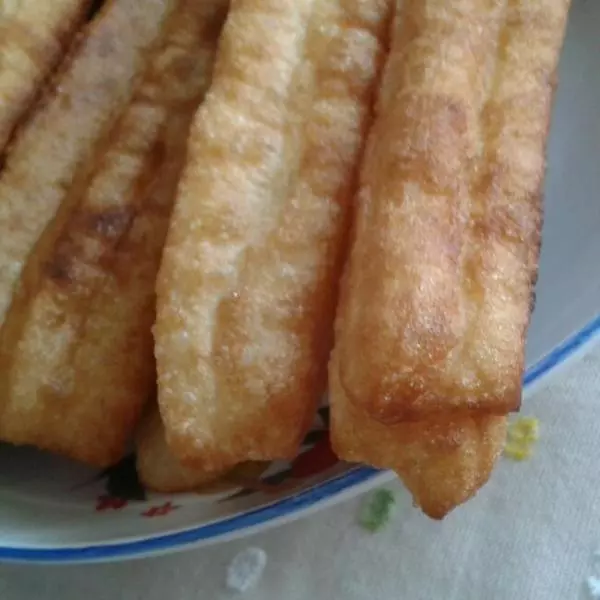
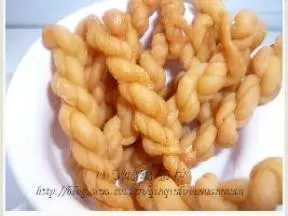
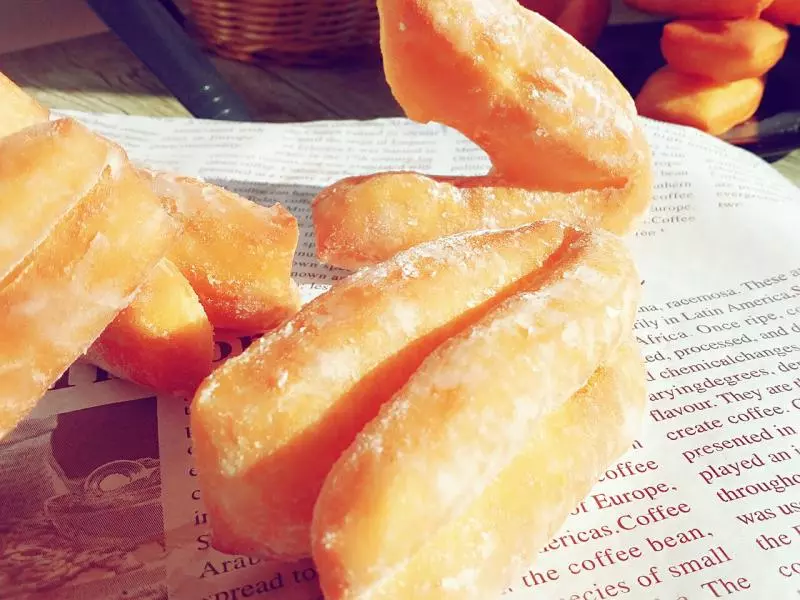
1先来个成品看看?诱惑?

2所有食材称重备用
3温水里倒入酵母粉给稀释开
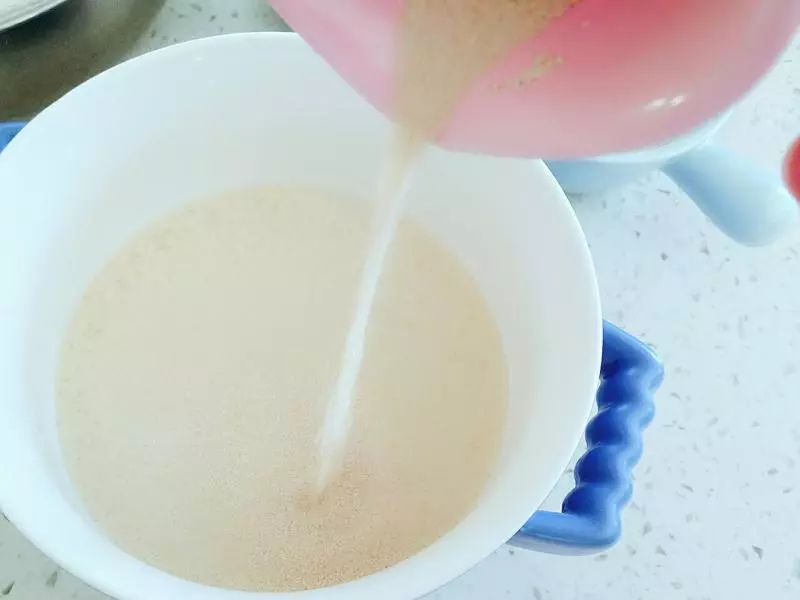
4稀释好的酵母水里倒入砂糖,搅拌至砂糖融化
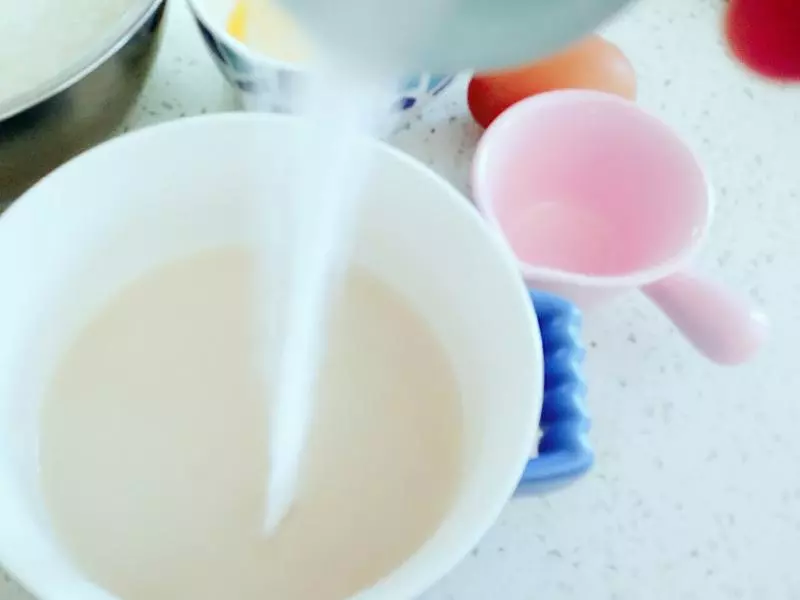
5接着打入一个鸡蛋
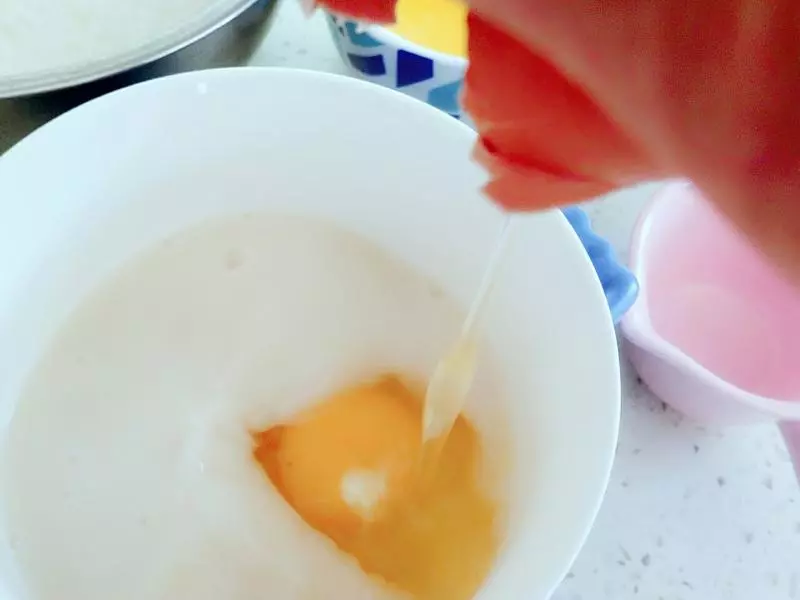
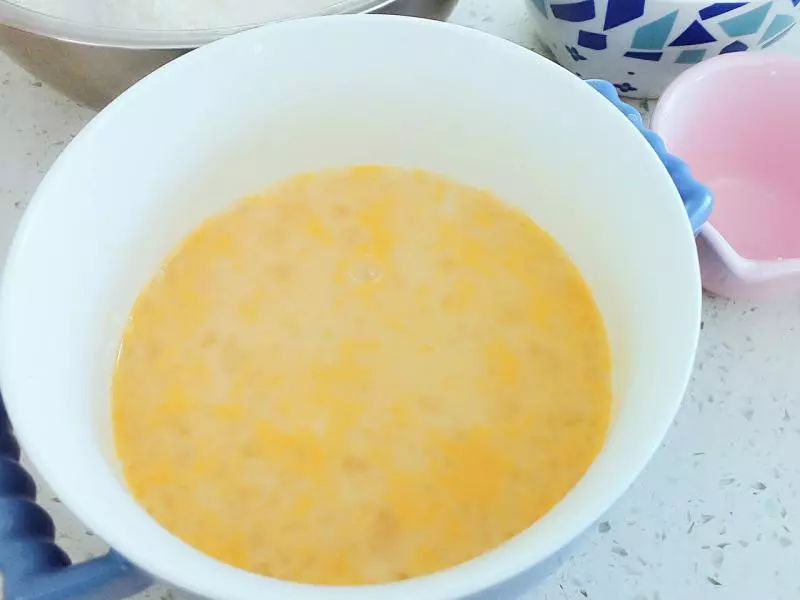
6搅拌均匀的鸡蛋水静置2分钟
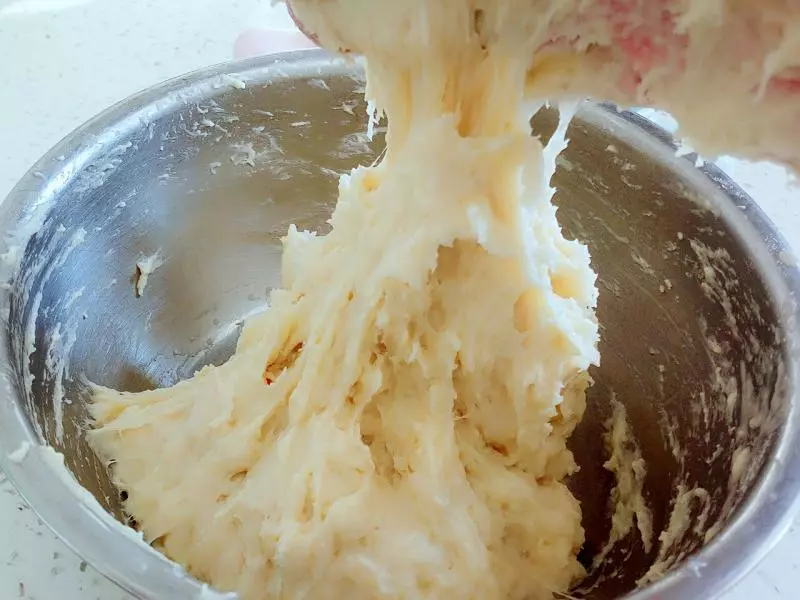
7提前化好的黄油倒入面粉里搅拌开
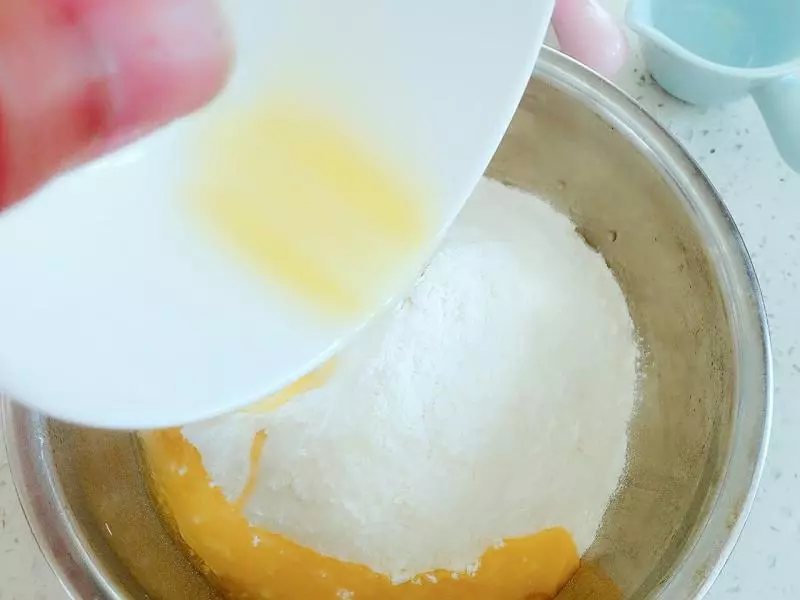
8再加入鸡蛋水(要一点一点的往面里加)
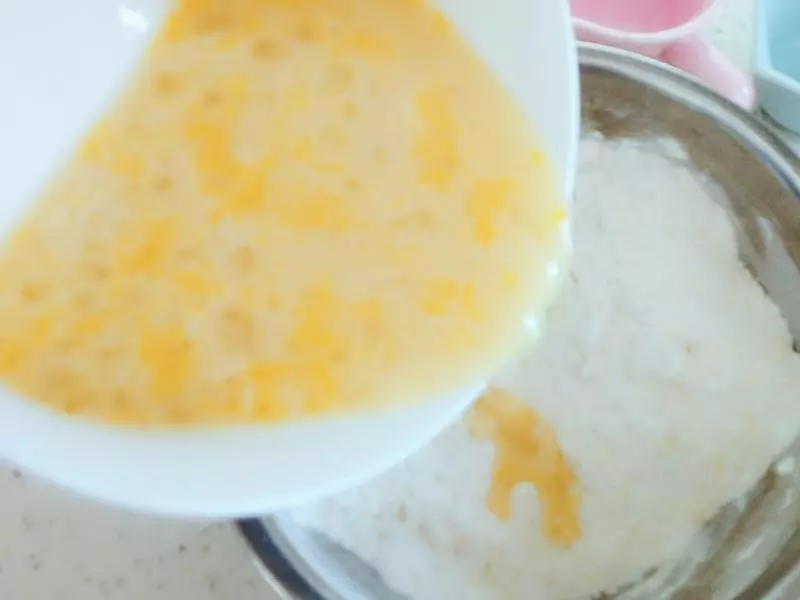
9加到和成这样的状态(瞅着虐心不)黏手是正常哈,不要往里加干粉
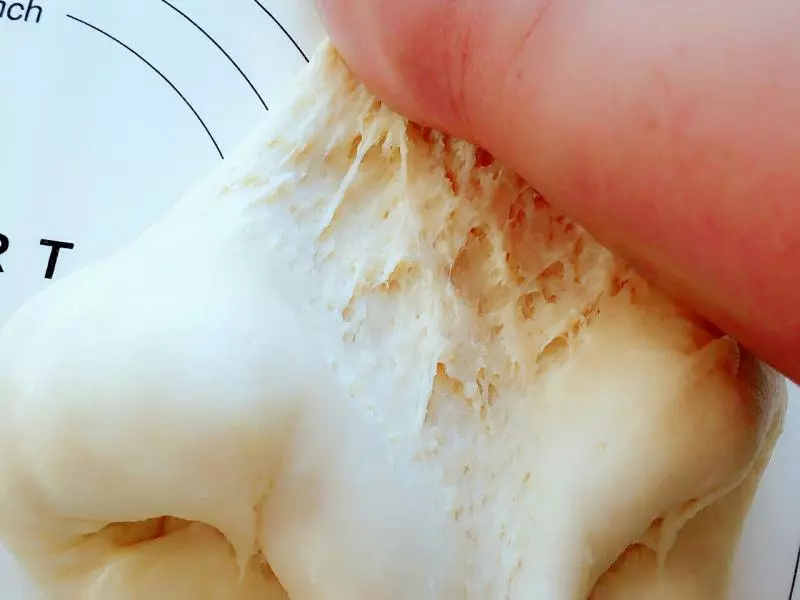
10案板抹少许的油(是不点儿不点儿油哈)?左手拿刮板,右手你就揉吧,粘手的面借助刮板刮掉,直至揉到面的表皮光滑不粘手为止
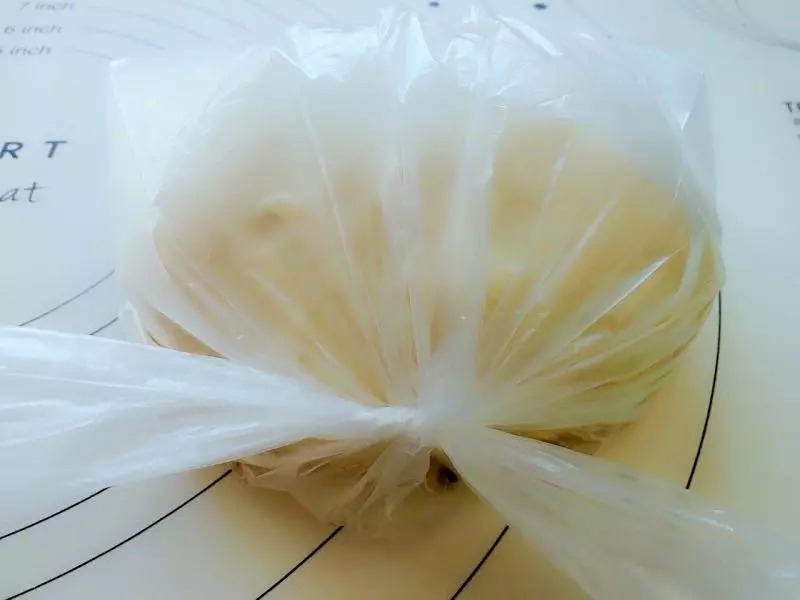
11揉光滑的面团整出长条型,抹少许油装入保鲜袋,封口醒5---10分钟
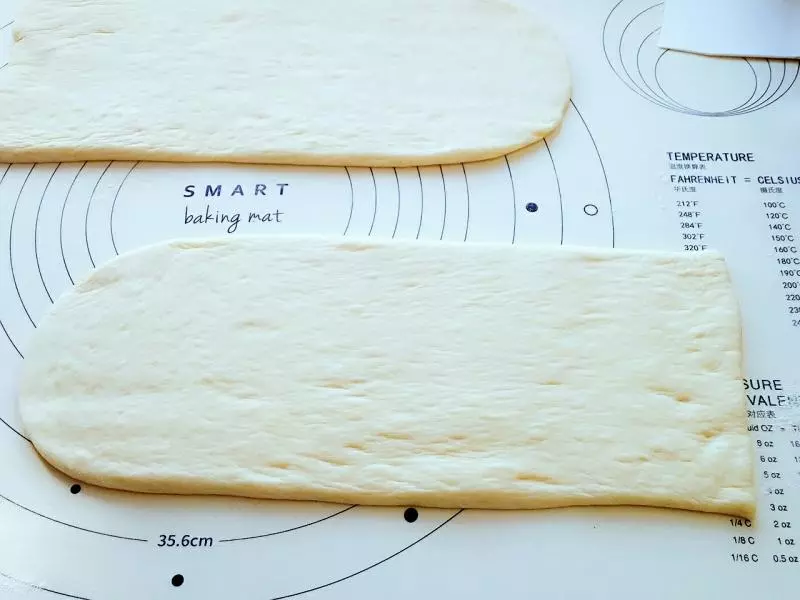
12案板撒少许干粉,醒好的面团倒出,擀成长条
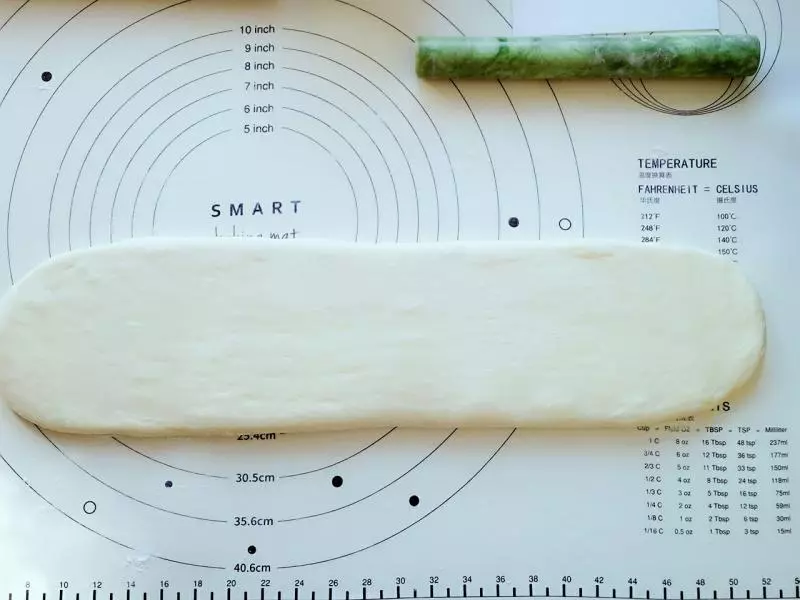
13面片擀成筷子的薄厚,宽度在15公分
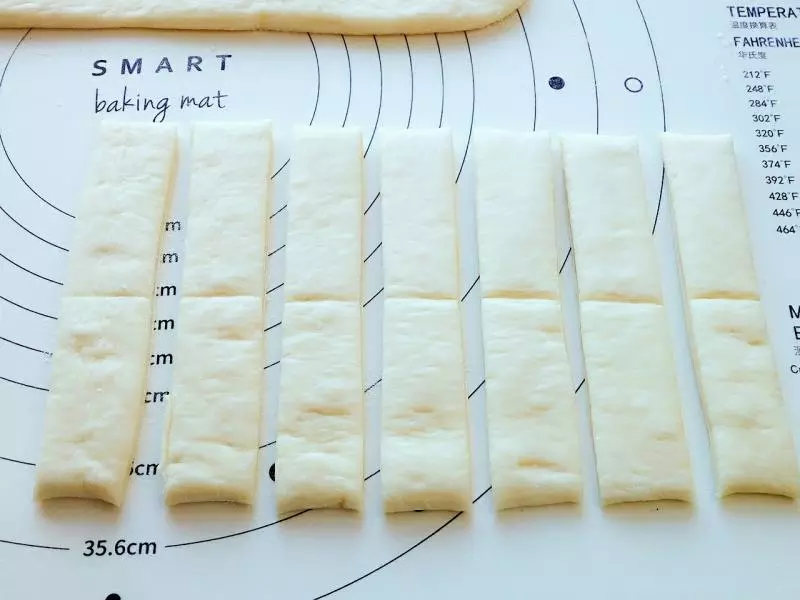
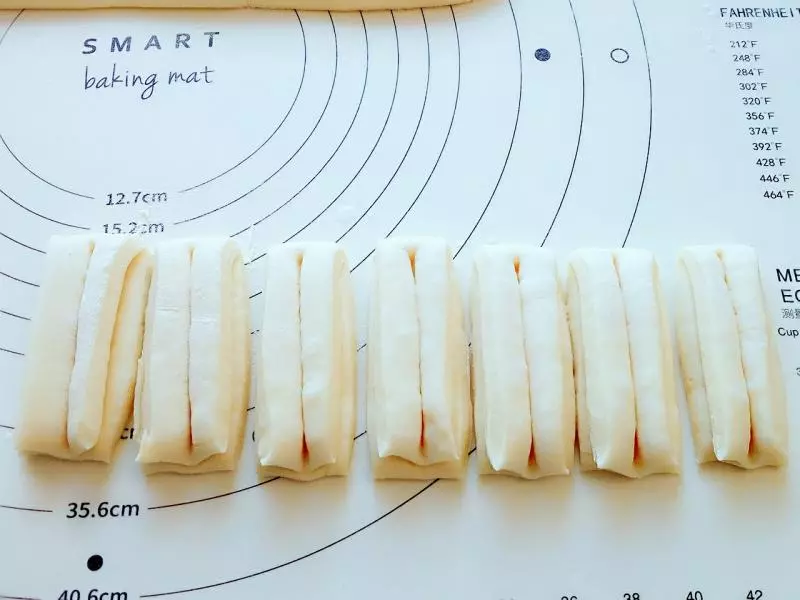
14面片中间压上一道印儿(别压断)在切成小段儿
15筷子沾水
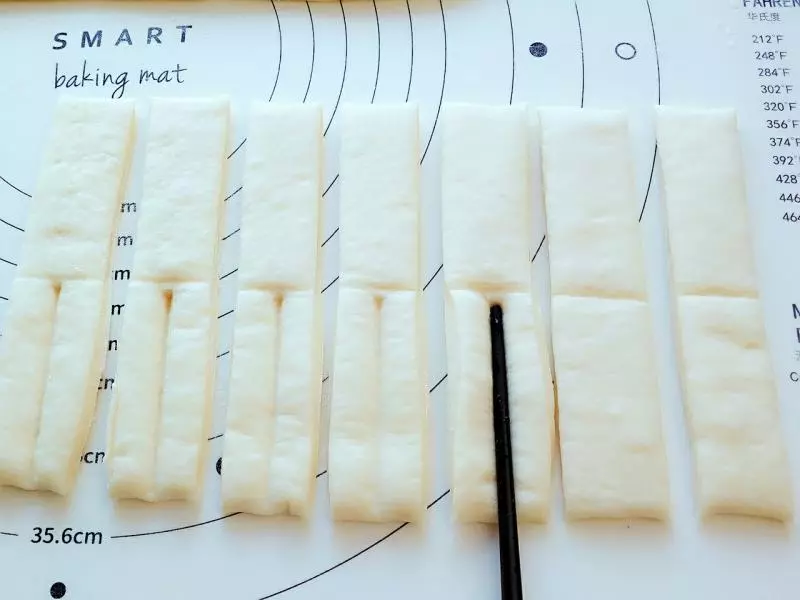
16从上翻下来对齐
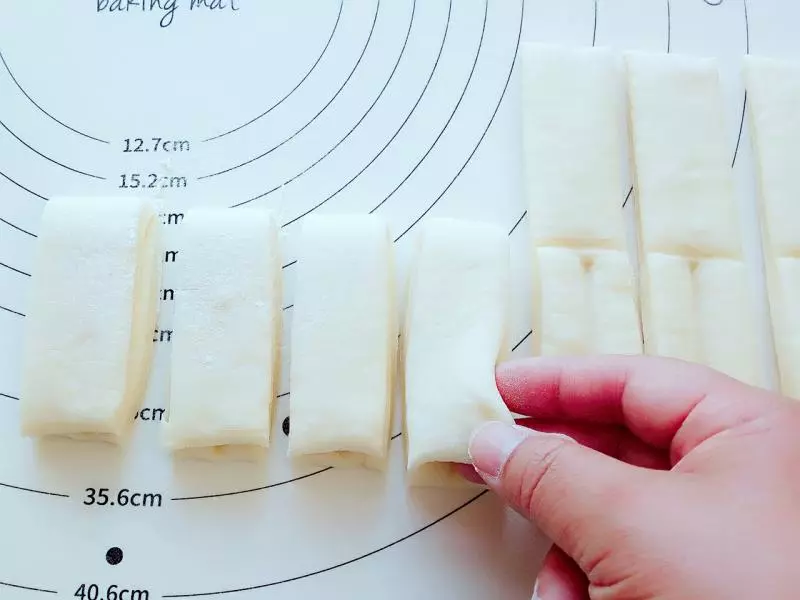
17用筷子在压出型
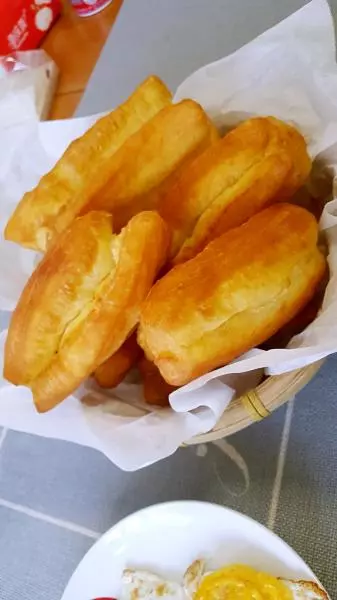
18压好后不用醒面,不用抻拉,锅温150,直接下锅炸
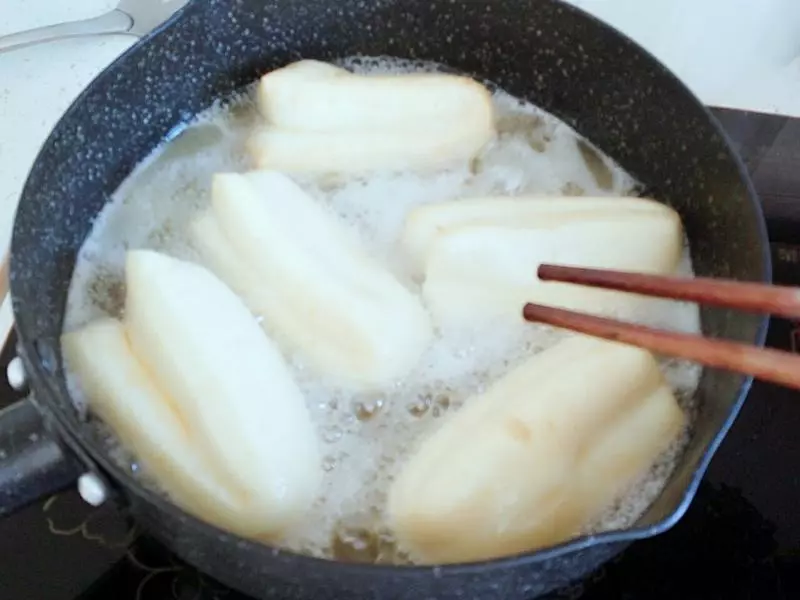
19用筷子不停的翻动每一个小油条,这样受热均匀,炸出来都一样
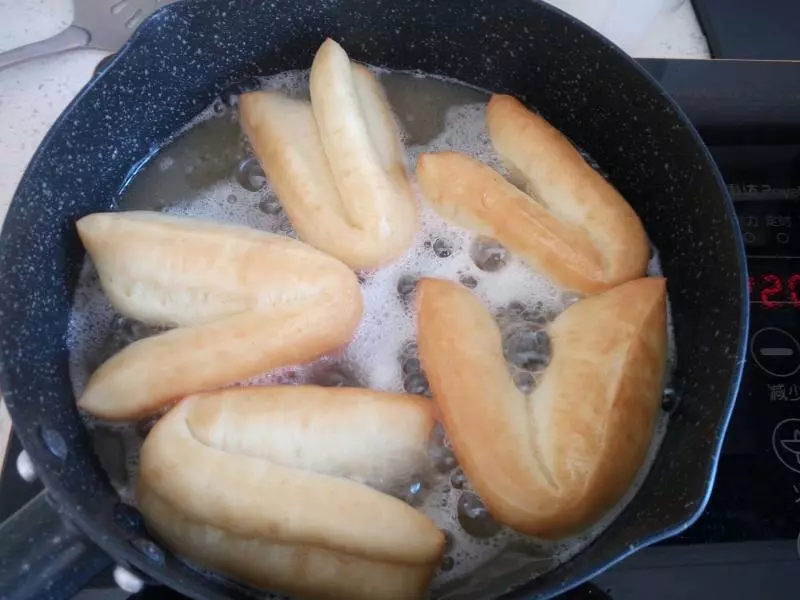
20炸至四面金黄,捞出~
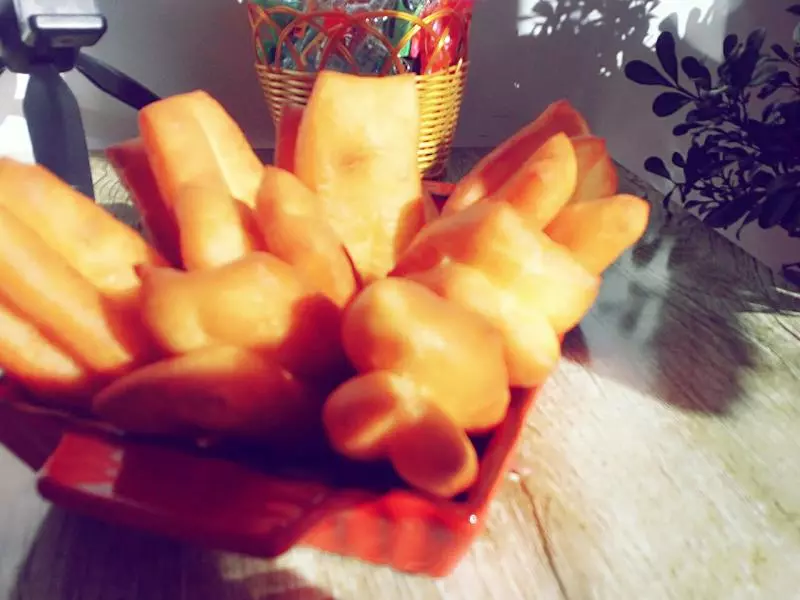
21趁有余热蘸糖粉! 刮霜小油条做好啦?
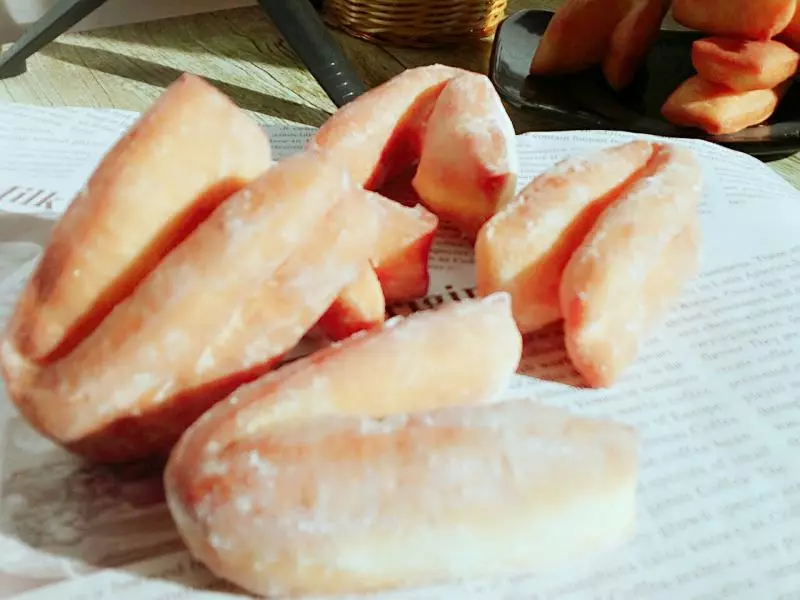
22这是款软妹子迷你小油条?