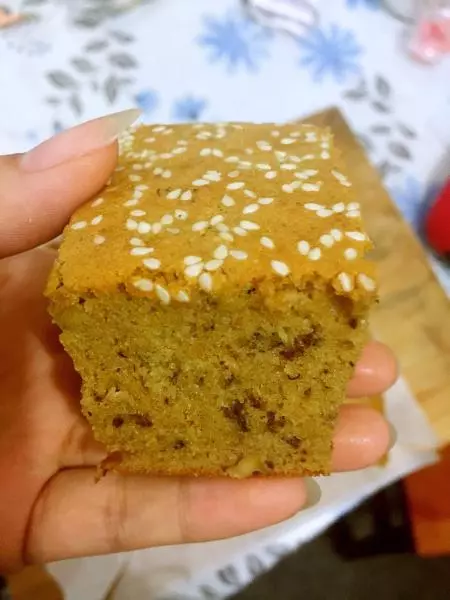
简介
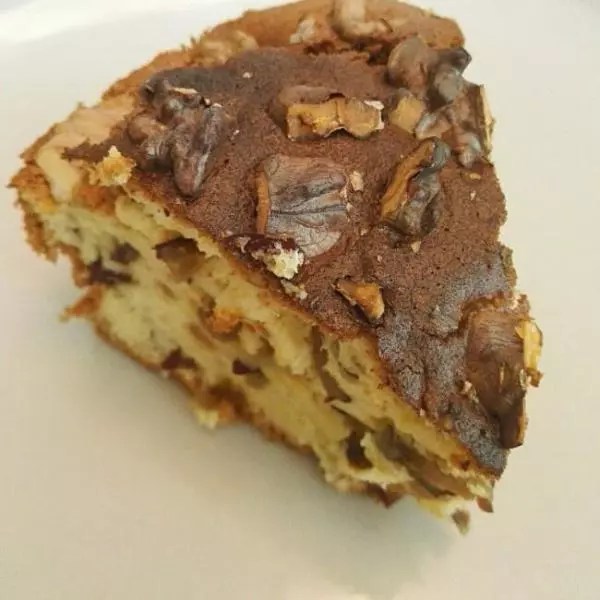
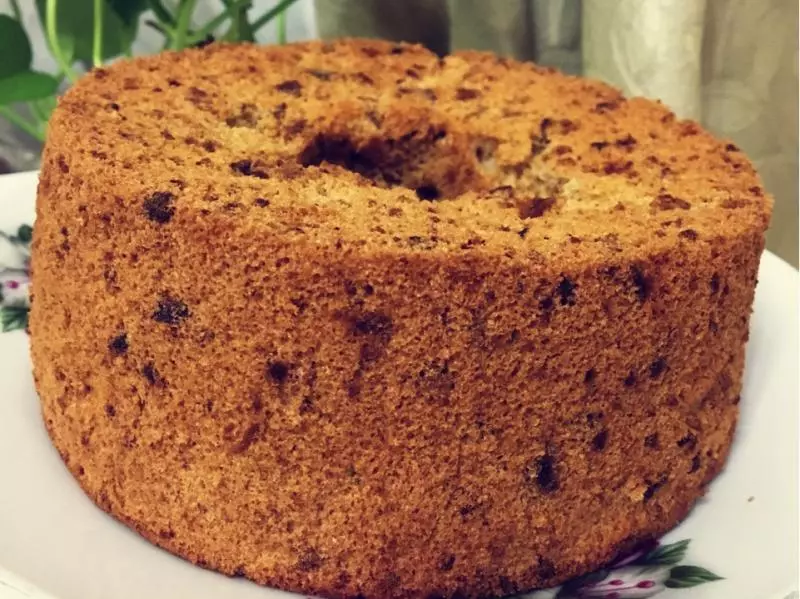
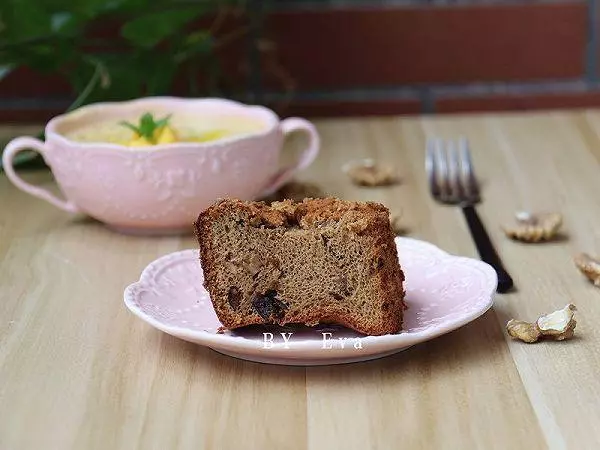
一直以来很想做红枣核桃蛋糕,虽然红糖、红枣的味道早就盖过了鸡蛋的味道,但是它香醇的枣味和湿润的口感让我停不下口。此方子根据圆猪猪老师书上换算出来,稍微改动一下
原料
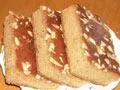
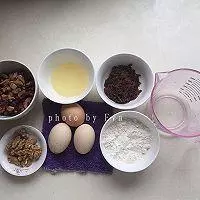
鸡蛋3个, 红枣68g, 水36g, 色拉油28g, 低筋面粉45g, 红糖37g, 核桃仁20g
步骤
1 把需要的材料分别称好备用
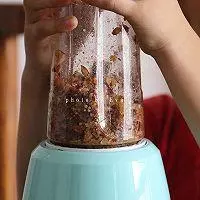
2 红枣去核,切丁、分一半出来,加入36克水清水搅拌成泥状
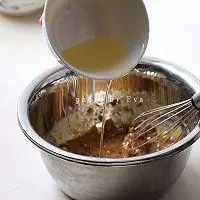
3 盘中加蛋黄、色拉油、红枣泥、红枣丁搅拌均匀
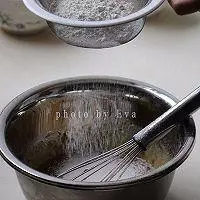
4 筛入低筋面粉,用打蛋器搅拌均匀
5 蛋白打发至鱼泡眼
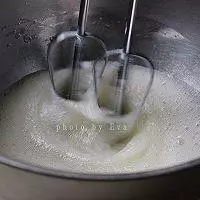
6 分三次加入红糖打到硬性发泡,提起打蛋头,看到打蛋头上拉起短而小的尖峰
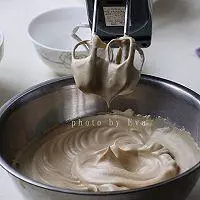
7 用刮刀取一半蛋白糊,放入打好的蛋黄糊里搅拌均匀
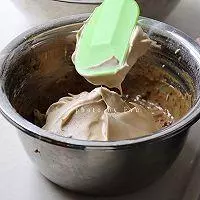
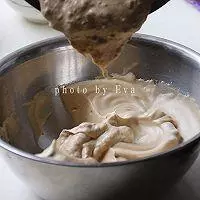
8 混合均匀的蛋黄糊再倒剩余蛋白里搅拌均匀
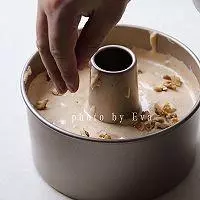
9 蛋糕糊倒入模具内,双手捧起模具,在桌面上摔几次以震去大气泡
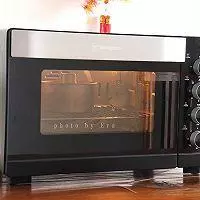
10 模具放在烤网上,放入预热好的烤箱中下层,160度上下火烤40分钟左右
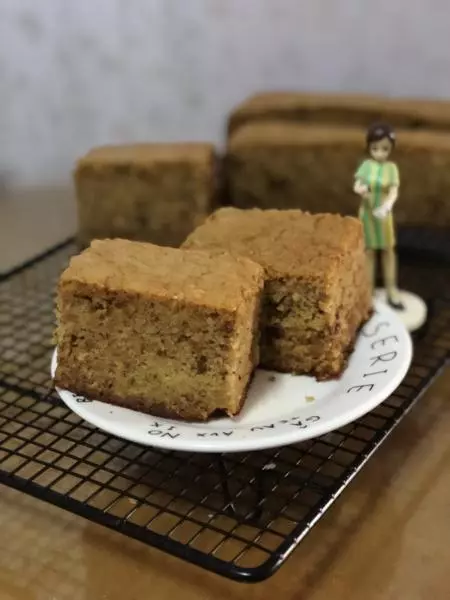
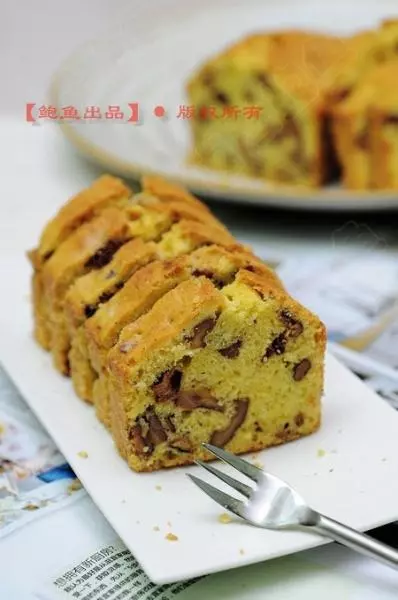
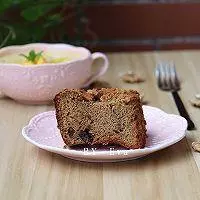
11 烤好的蛋糕取出,连同模具一起倒扣在烤网上放凉。
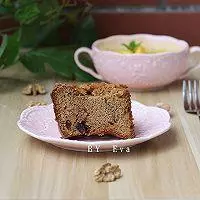
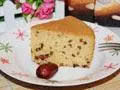
12 蛋糕还没凉彻底,小朋友就直接撕来吃。只留下一小块给我拍照了
小技巧
1、我用的是大鸡蛋,每个大概65克左右。2、根据烤箱温度调整,给出的温度、时间只是参考