简介
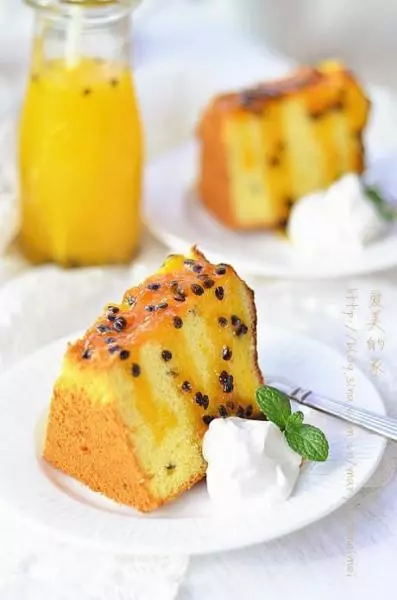
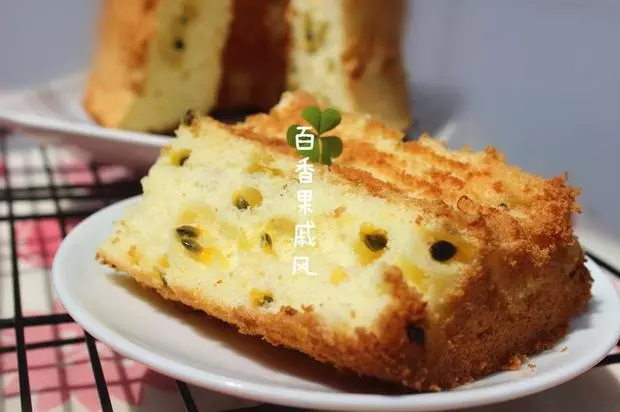
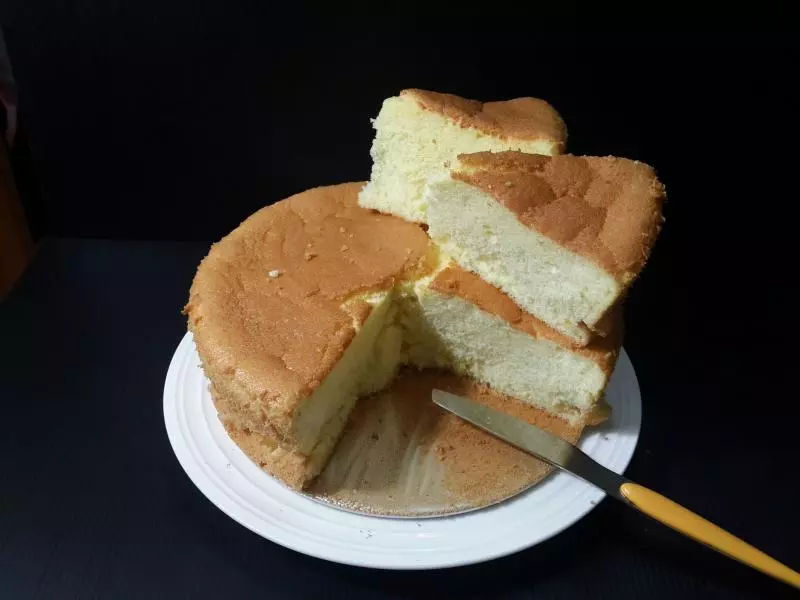
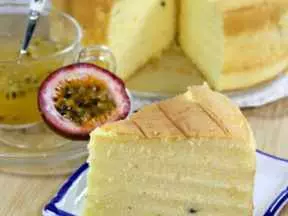
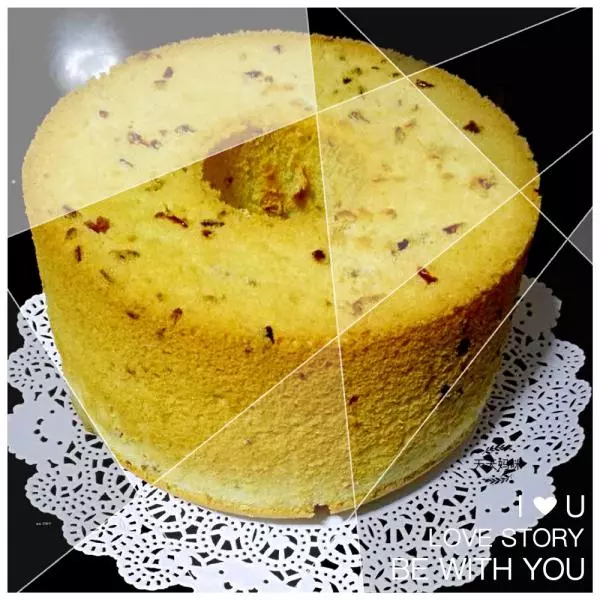
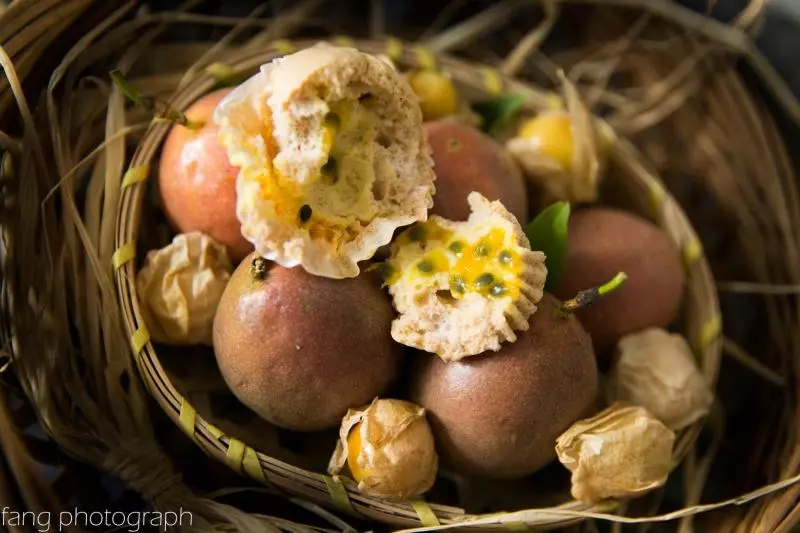
前几天做了一次带籽的百香果戚风,结果两个小家伙不喜欢。今天去掉籽在做一次,不仅味道好,而且做出了我做戚风以来最满意的成品!
原料
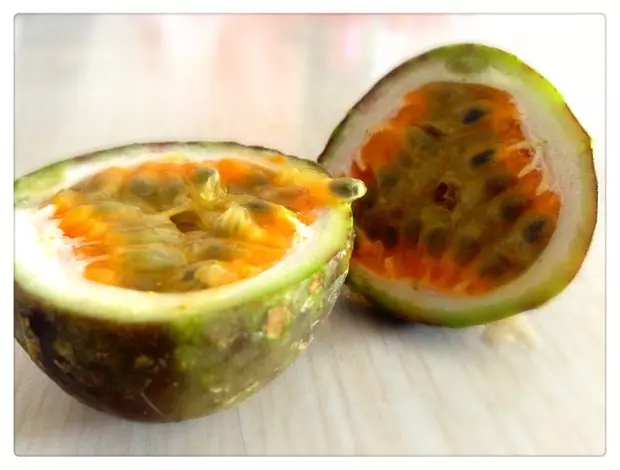
主料, 鸡蛋(每个带壳约60克) (4个) 色拉油 (30克) 百香果汁 (60克) 细砂糖 (60克) 高筋粉 (40克) 玉米淀粉 (40克), 辅料, 柠檬汁 (几滴)
步骤
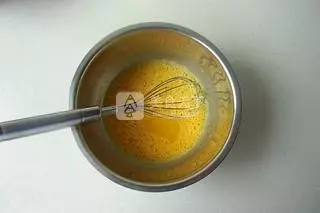
1百香果汁,色拉油,砂糖20克和蛋黄放入盆中,用打蛋器搅打至混合均匀。
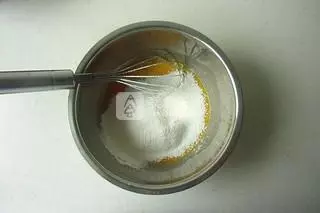
2高筋粉和玉米淀粉(我没有低筋粉了,就用高粉和玉米淀粉)混合均匀,过筛到蛋黄中。呈Z字型拌成细腻的面糊
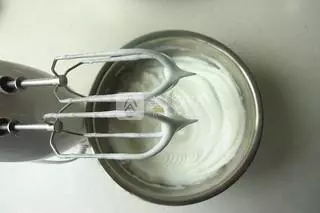
3蛋清放入干净的盆中,粉三次加入40克砂糖打发至硬性发泡。
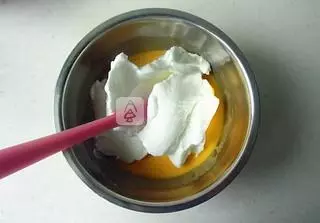
4取一半的蛋白到蛋黄糊中,翻拌均匀。这时预热烤箱,160度。
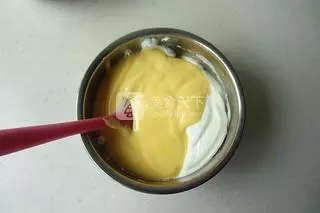
5将拌好的蛋黄糊倒入蛋白中,翻拌均匀。
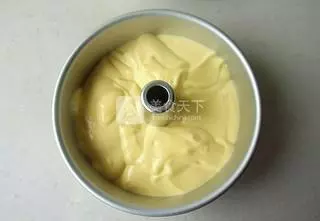
6将蛋糕糊倒入8寸中空模中,轻震几下,震出大气泡。
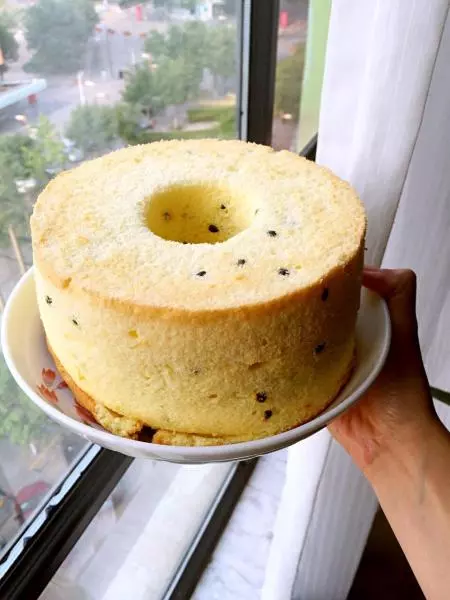
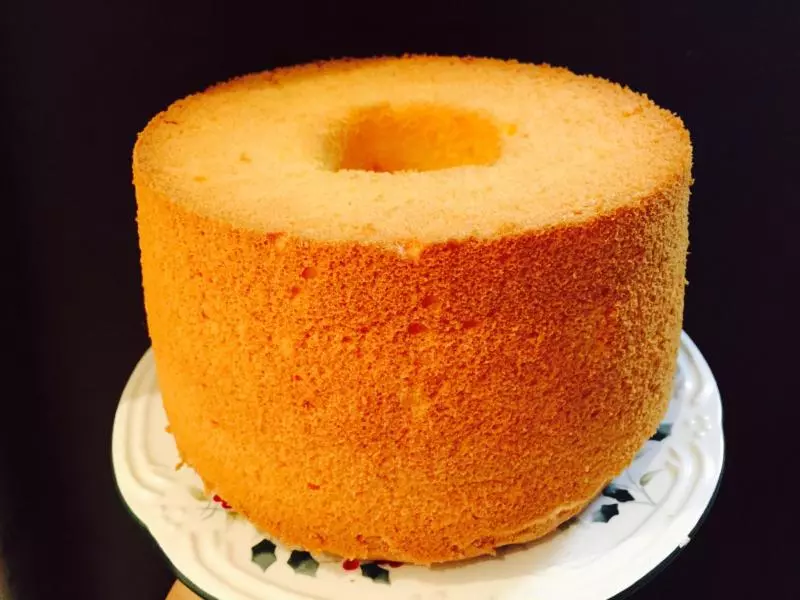
7入烤箱,160度,上下火,最下层,烤45分钟左右。出炉后震两下,立刻倒扣冷却。
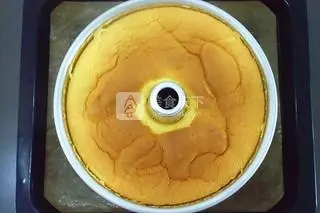
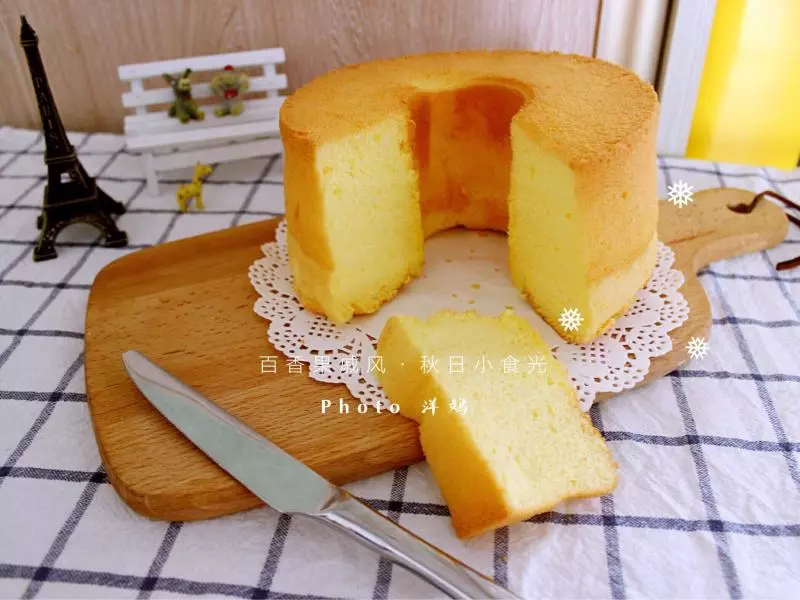
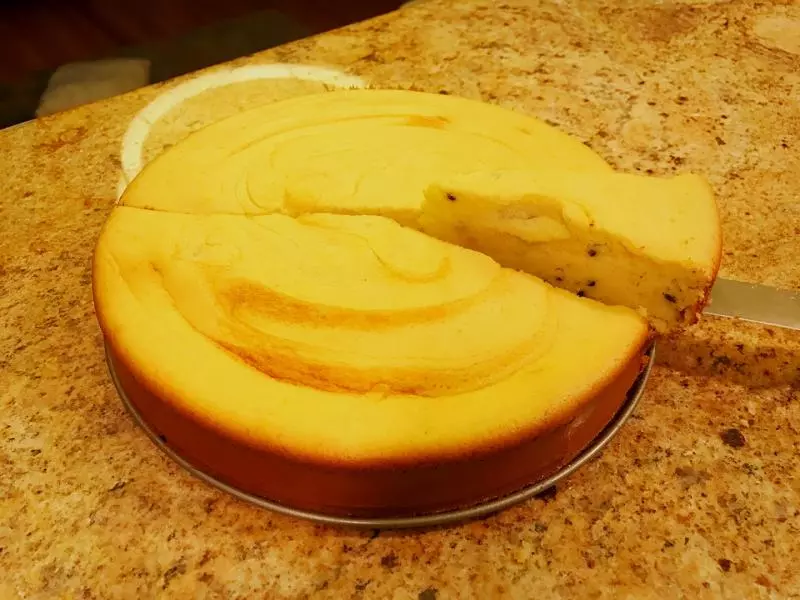
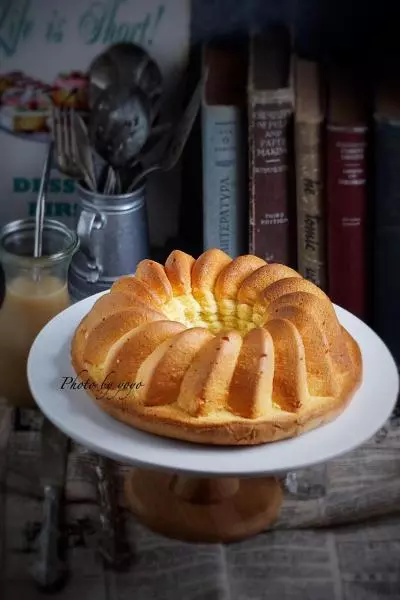
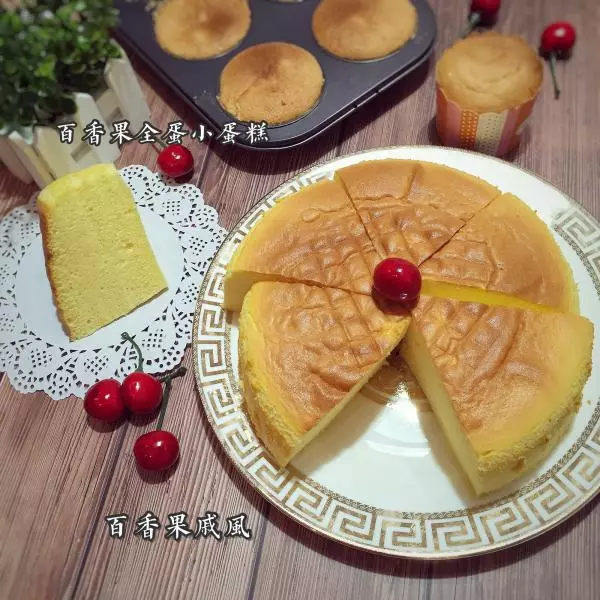
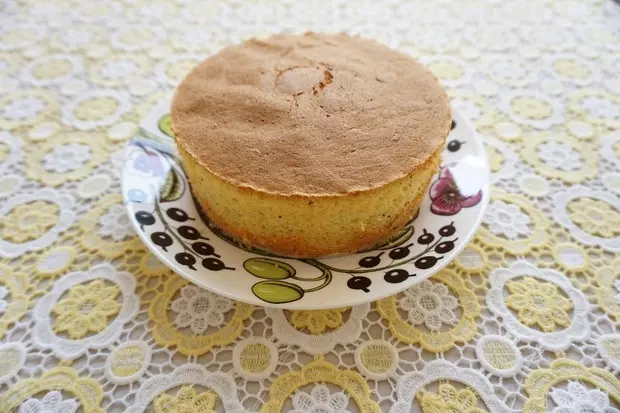
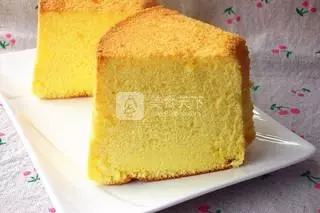
8完全冷却后,脱模
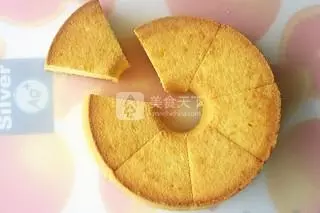
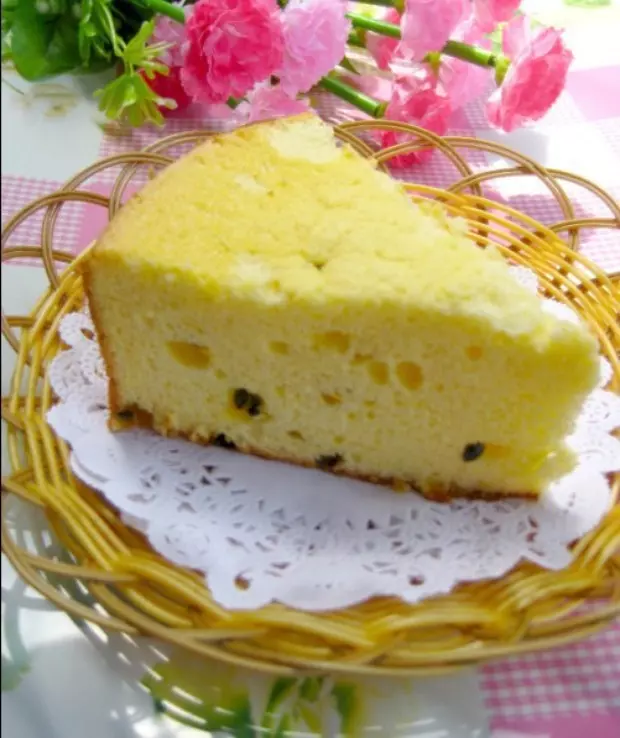
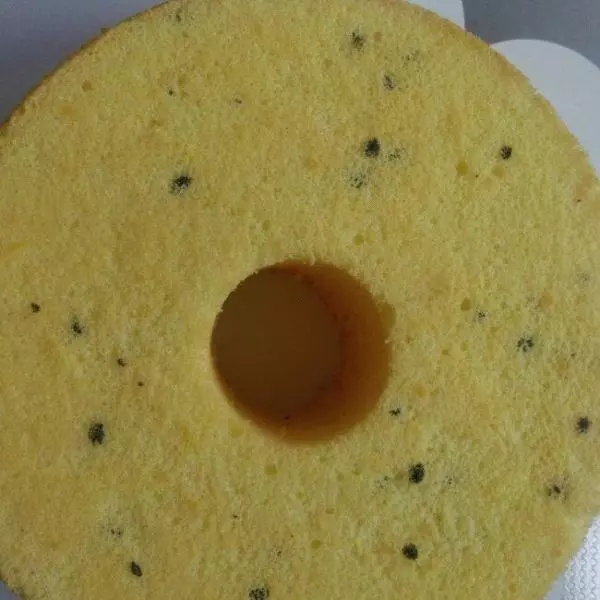
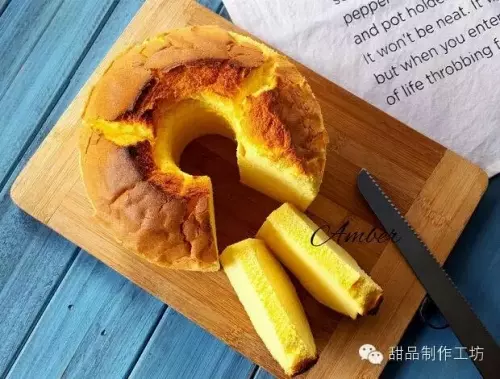
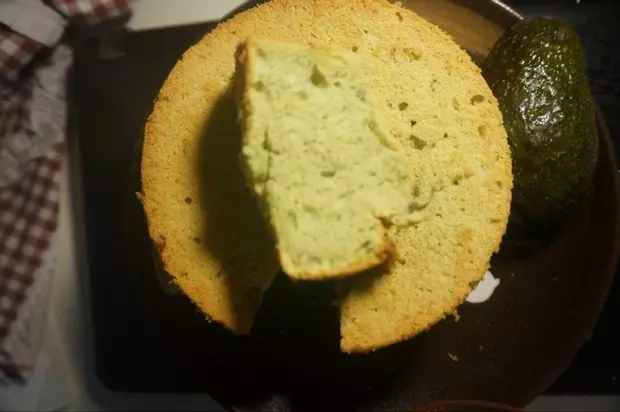
9内部组织。