原料
鸡蛋 5只, 砂糖(蛋白) 60g, 砂糖(蛋黄) 30g, 牛奶 40g, 色拉油 40g, 低筋面粉 85g
步骤
1准备材料

2分离蛋白

3蛋黄金灿灿漂亮!

4蛋清加入器皿

5蛋清打到鱼眼泡加入1/3的砂糖

6等到蛋白均匀再加入1/3砂糖,蛋白打发细腻再加入剩下的1/3砂糖

7蛋白打发到小尖角程度就可以了

8蛋黄加入砂糖

9搅拌均匀

10再加入牛奶

11加入色拉油

12继续搅拌均匀

13筛入低筋面粉

14刮刀从下往上翻挑

15切勿打圈,这样会使面粉起筋

16蛋白分三次加入蛋黄糊

17自下往上翻挑

18直到面糊均匀

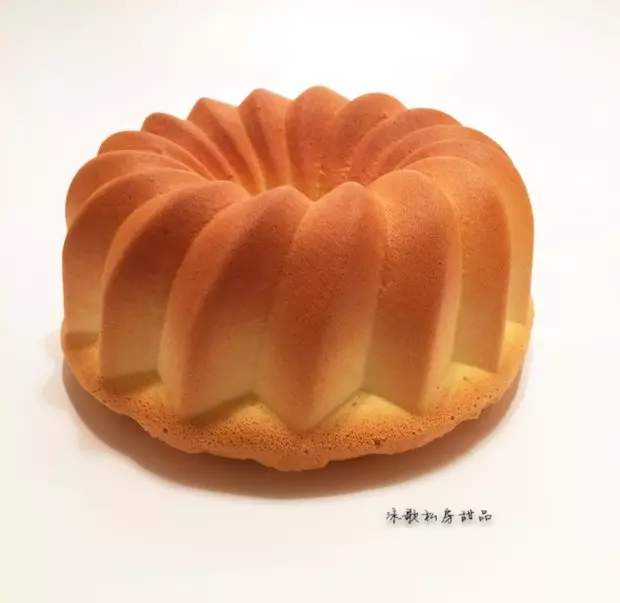
19加入蛋糕模具

20大力颠两下去掉大气泡

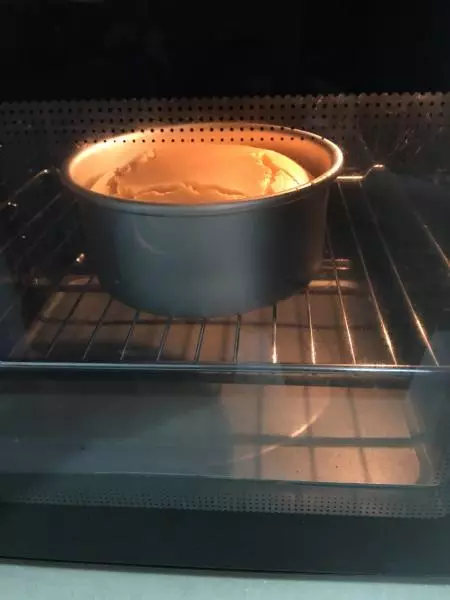
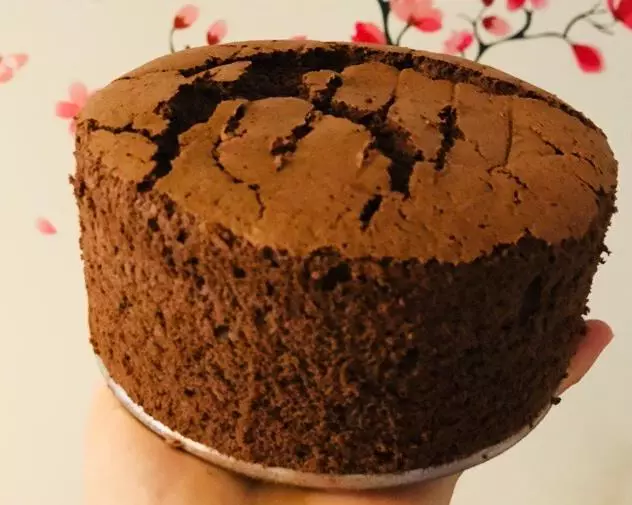
21烤箱预热160度烤制1个小时

22烤制过程中观察表面的颜色

23如果烤制颜色过度就要覆盖锡纸

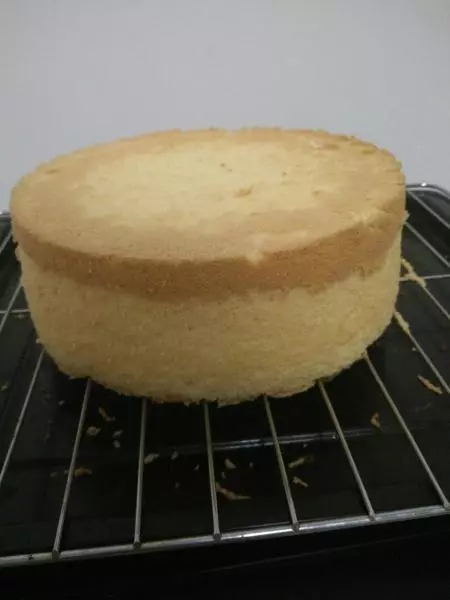
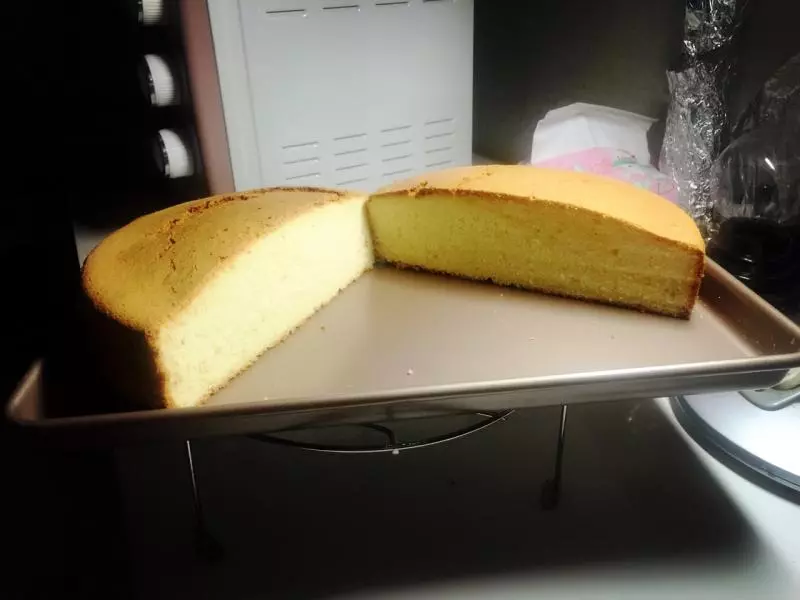
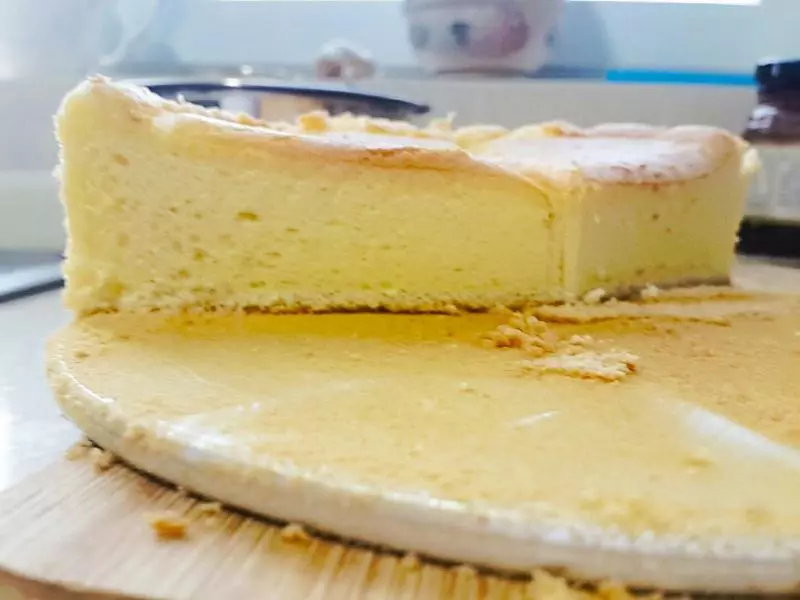
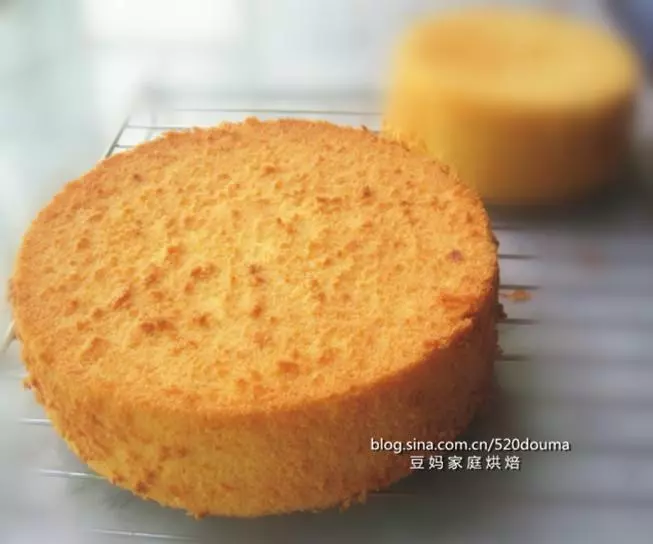
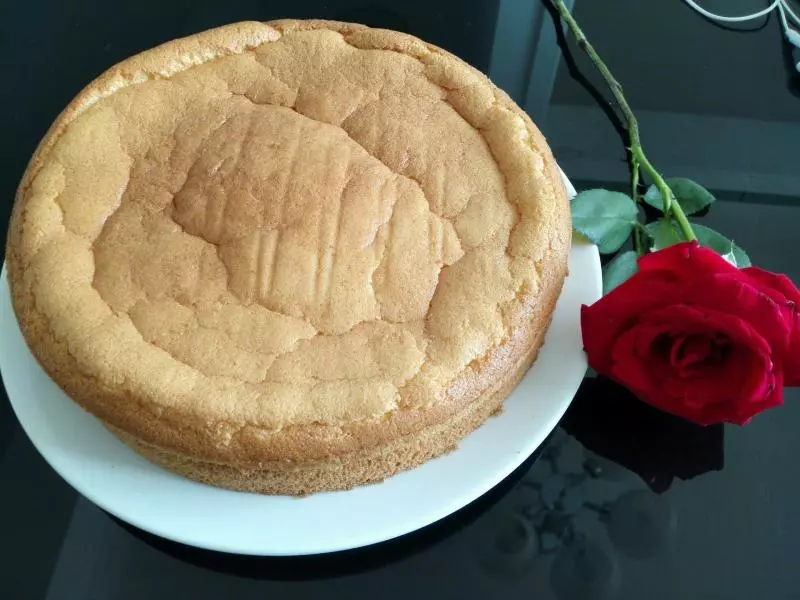
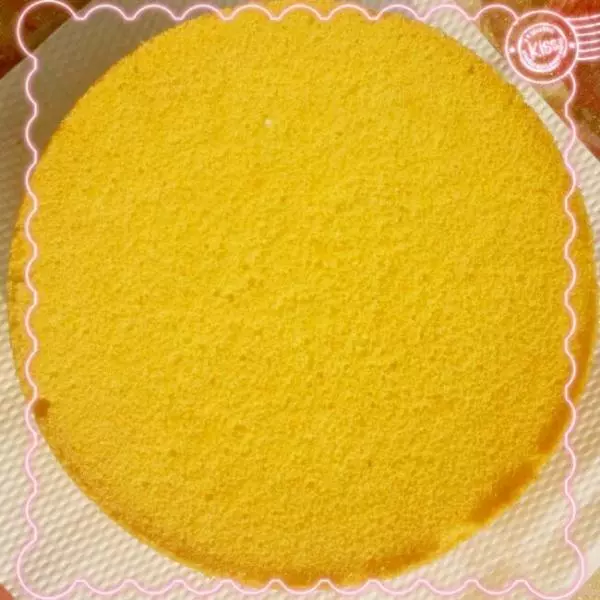
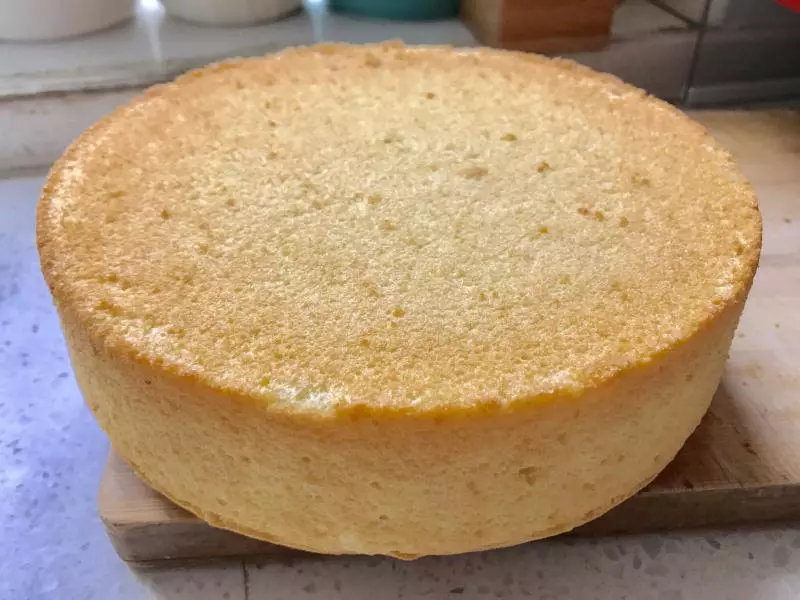
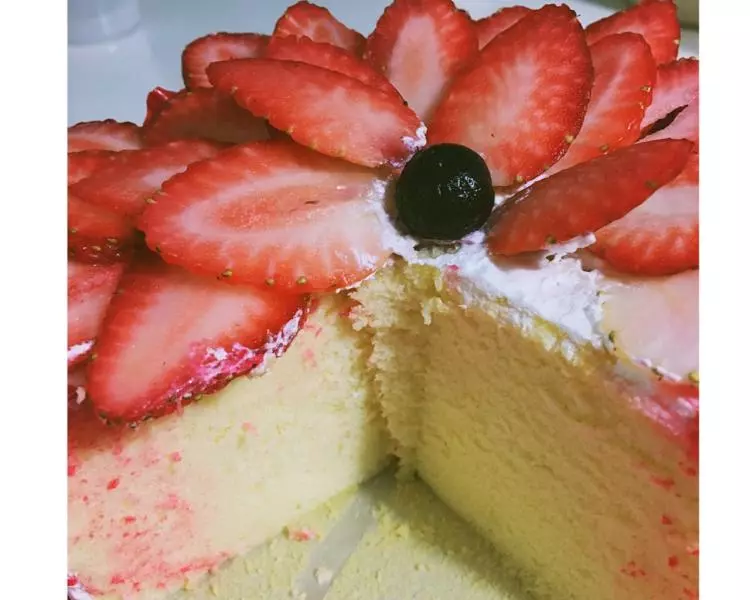
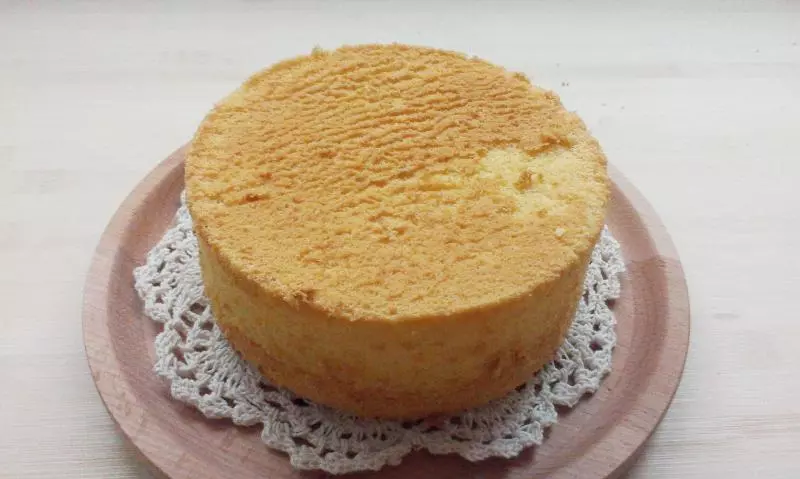
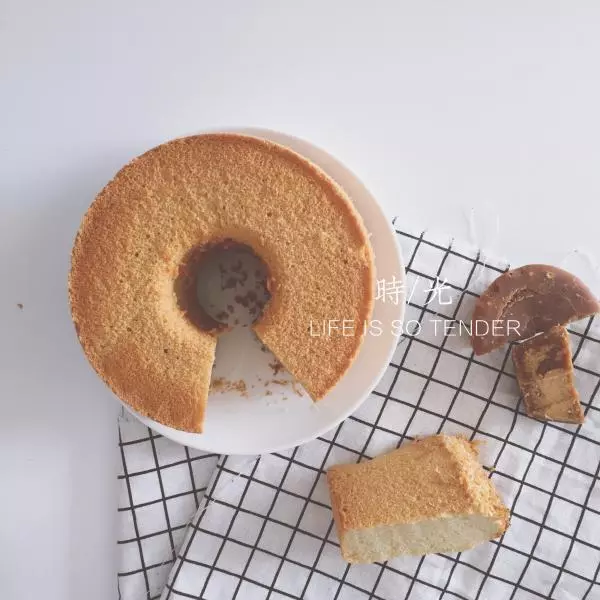
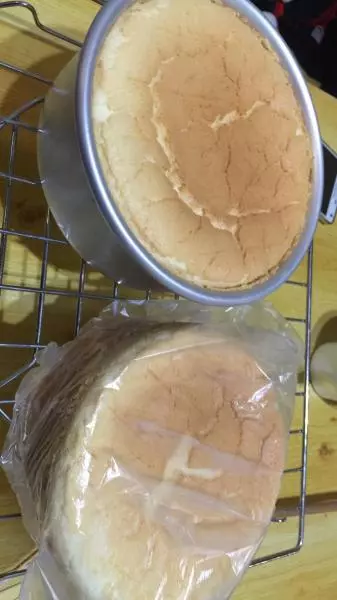
24出炉,好美的蛋糕哇!嘻嘻