简介
我们来做美味的水果花边披萨吧(实在不爱吃青椒红椒各种椒,还有那个青豆也不爱)!个人感觉自己动手做披萨,不用局限于有无披萨盘(虽然我用的是9寸披萨盘,但操作时可以把面皮擀成圆形,用个大碗倒扣在面皮上切去多余的面皮,也可以擀成方或长方的,用刀切去不规则的四边,都行),也不用纠结于薄底还是厚底(爱吃薄的就擀成薄面皮呗),如果有剩下的面皮也不要浪费,加酱添料也可以做个迷你披萨,反正就是铺上各种你爱吃的水果,自由发挥,各种DIY,适合自己的口味就成!那接下来我们就开始吧……
原料
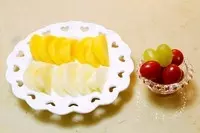
A披萨饼底用料:, 1.高筋面粉 200克, 2.牛奶 120克, 3.细砂糖 10克, 4.酵母 3克, 5.盐 1克, B披萨馅用料:, 1.新鲜黄桃或脆桃(手感硬) 2个, 2.圣女果 5-8粒, 3.绿葡萄 2粒, 4.虾仁 15只, 5.培根 35克, 6.香肠 3-4根, 7.番茄酱 40克, 8.马苏里拉芝士 120克, 9.蜂蜜水 1小勺
步骤
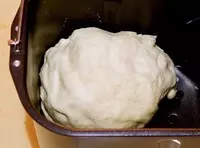
1把所有A材料混合,揉成面团并至温暖处发酵成两倍大
2在等待面团发酵时,将虾仁与培根分别放入不粘锅中炒热,煸去些水分

3将桃子去皮切成片状待用
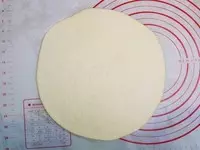
4将发酵好的面团揉成光滑的面团,切下1/3,将2/3面团用擀面杖擀成圆形面饼
5将清洗干净并擦干水分的披萨盘放在圆形面饼上,沿着盘底边缘用小刀切下多余的面饼
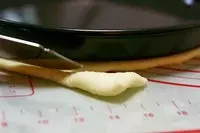
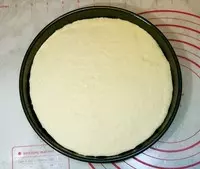
6将圆面饼放入涂满油的披萨盘中
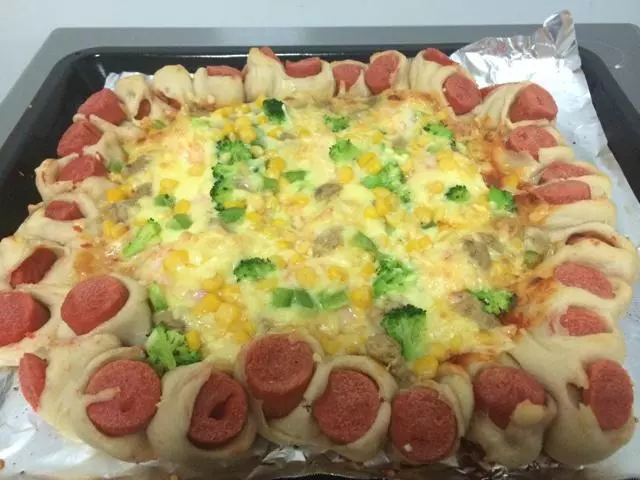
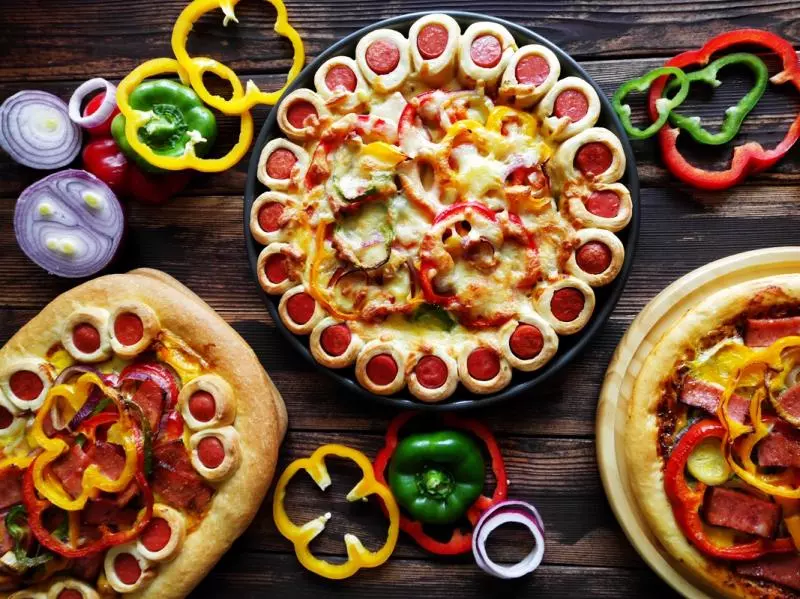
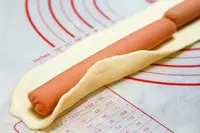
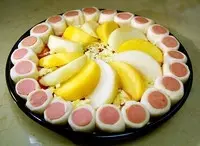
7将切下的多余面饼与之前切下的1/3面团混合成光滑的面团,擀成长条面饼(宽度以能裹住香肠为准),将香肠放入,卷起
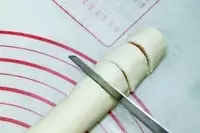
8将香肠卷静置5分钟

9用刷子沾清水沿披萨饼边缘刷一圈

10用小刀将香肠卷切成2cm左右的小段
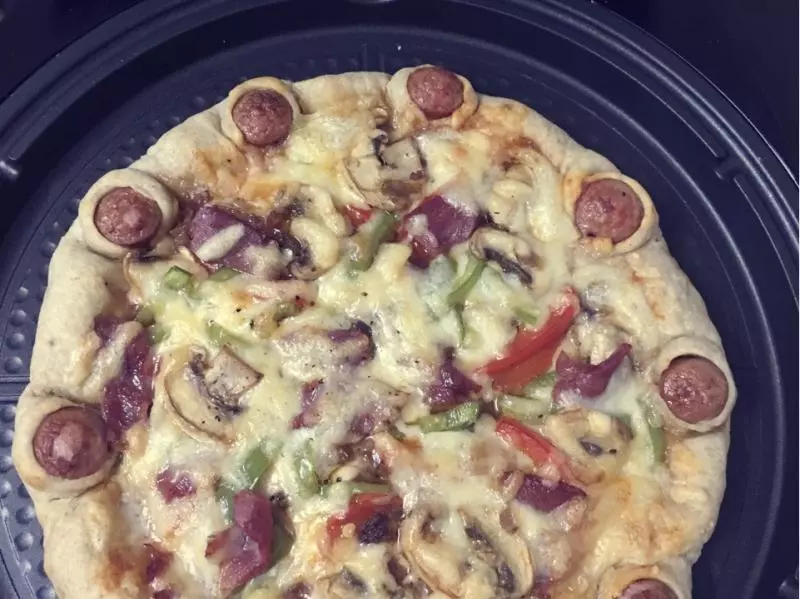
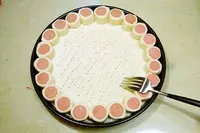
11排列在披萨饼外圈

12用叉子在披萨面饼上叉些小孔
13涂上番茄酱
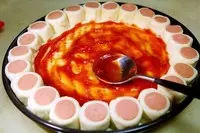
14摆上培根条

15撒上一半的马苏里拉芝士(也可以先撒芝士再摆培根)

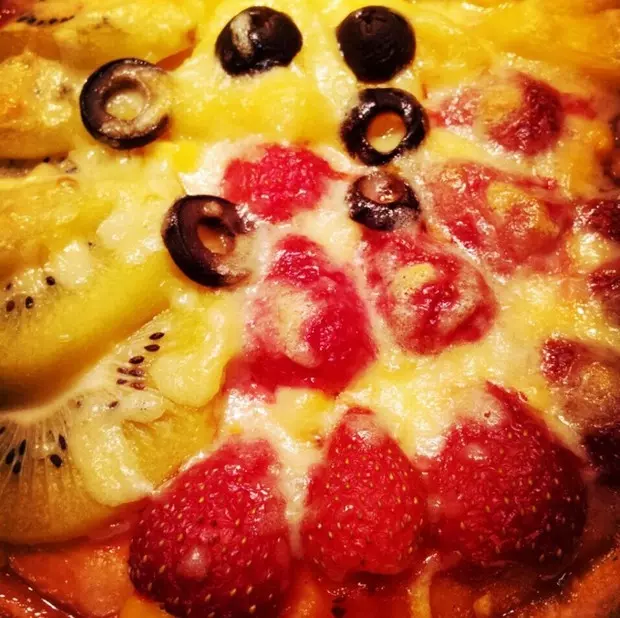
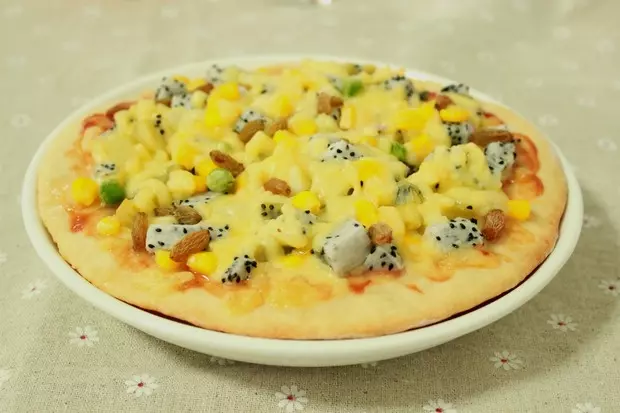
16摆上桃片
17摆上虾仁、圣女果、绿葡萄

18撒上剩余的马苏里拉芝士,以一比一的比例调好蜂蜜水,刷在披萨饼外圈上(可使饼皮色泽金黄)

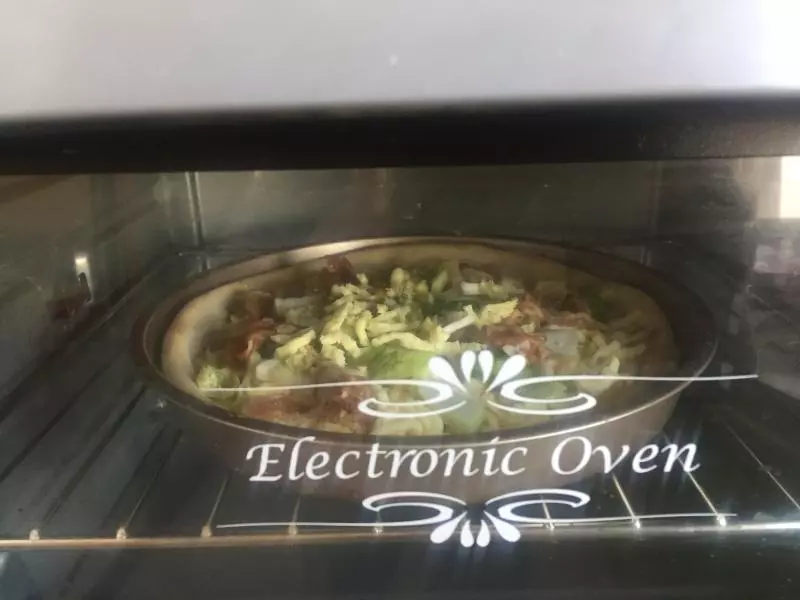
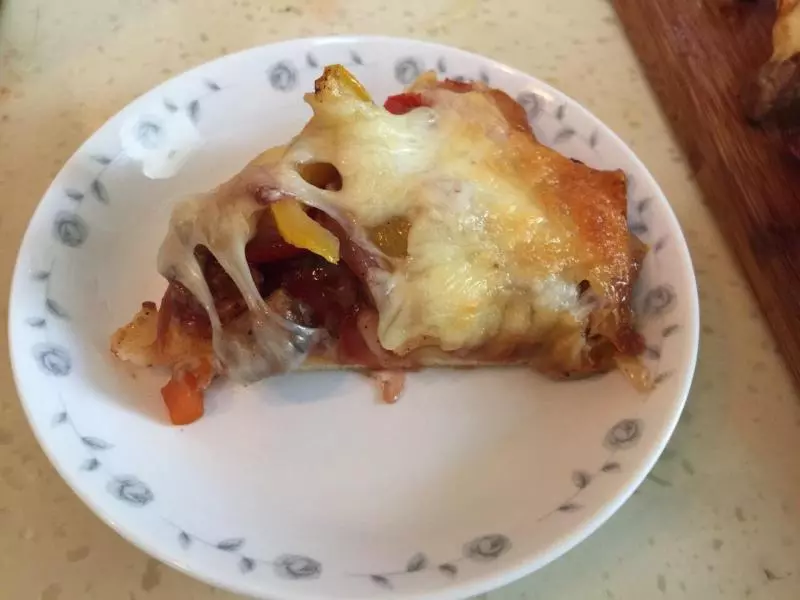
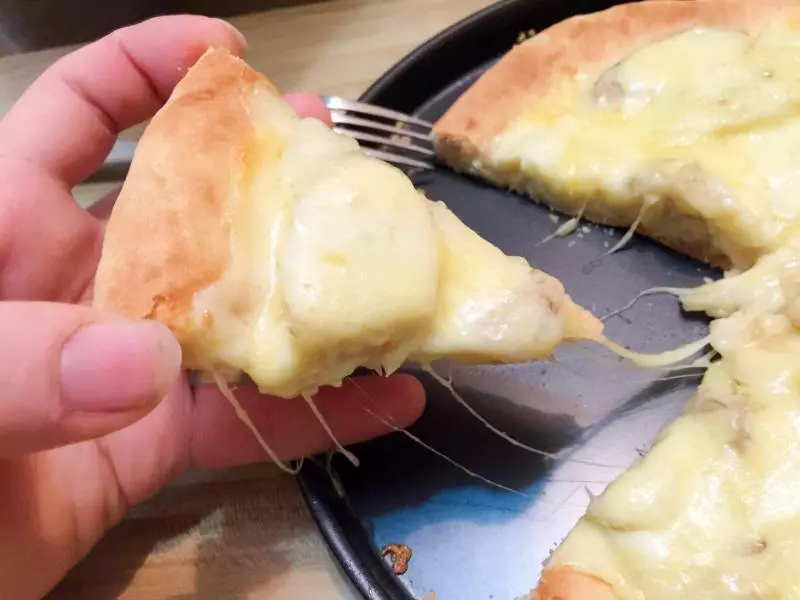
19将披萨放入预热好的烤箱中层180度烤15-20分钟(视各家烤箱脾气啦),看到表面的马苏里拉芝士融化且披萨饼上色即可出炉

小技巧
1.在选择桃子时,尽量选择手感硬些的,因为软桃子水分多,在进烤箱后会出水导致馅料及面饼变湿,影响口感,同样,圣女果切成片后也不要放多,因为水分多。 2.为何虾仁和培根要放入不粘锅煸炒,原因同上面一样,控制水分,而且煸炒过的培根更香哦!