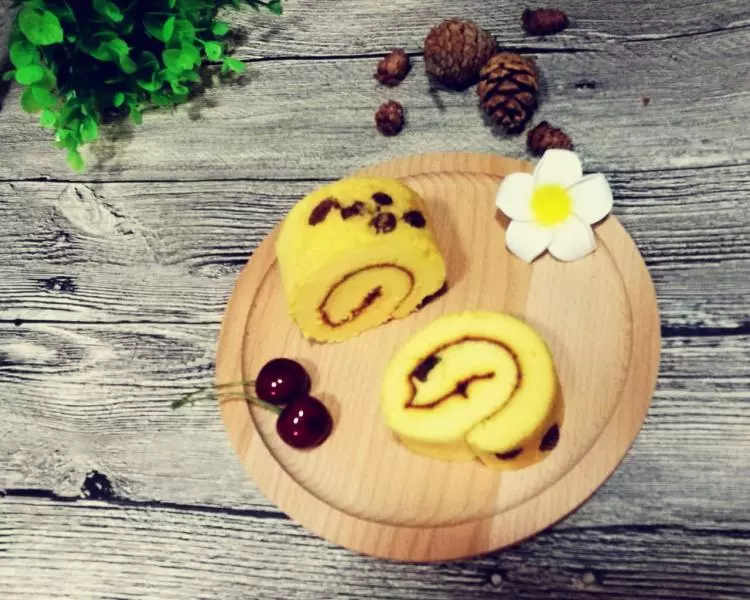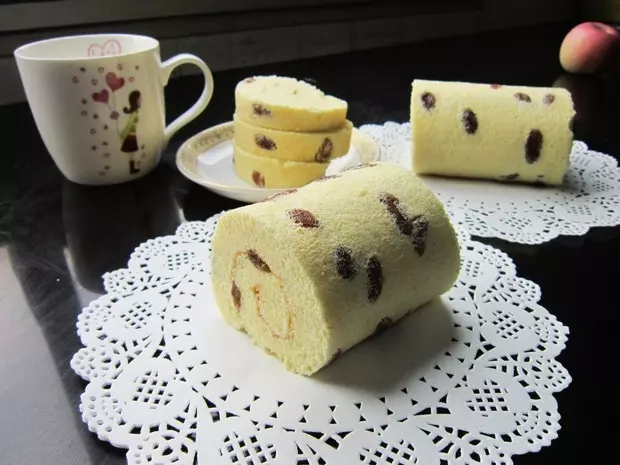
简介
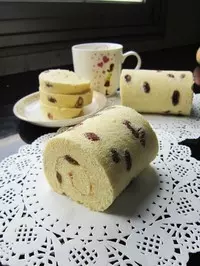
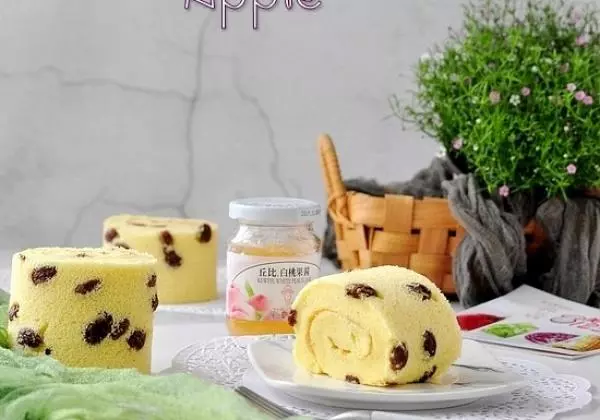
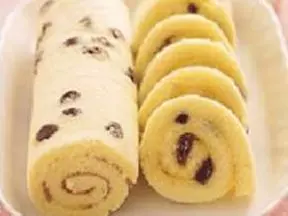
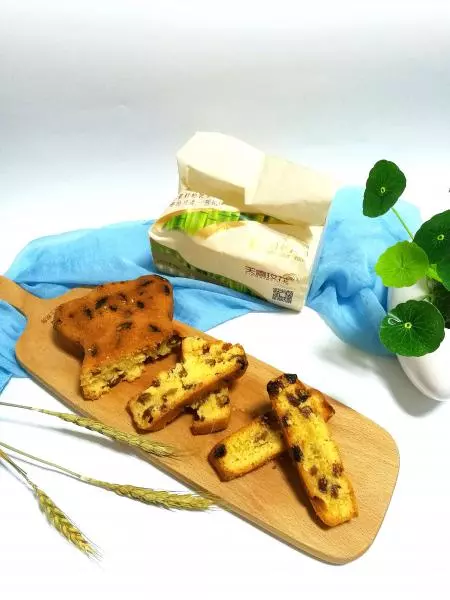
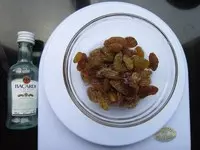
用朗姆酒浸泡过的葡萄干,经过烘烤散发出醉人的芳香!
原料
材料A, 蛋黄5颗 80g, 色拉油 50g, 牛奶 50g, 细砂糖 20g, 低筋面粉 85g, 材料B, 蛋白5颗 160g, 柠檬汁 5滴, 细砂糖 60g, 材料C, 葡萄干 35g, 朗姆酒 30g
步骤
1朗姆酒浸泡葡萄干2小时待用
2将油纸放在烤盘下,从油纸四角向烤盘四角剪开
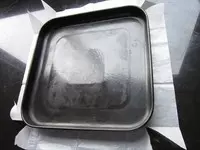
3油纸放入烤盘,将四个角收拢

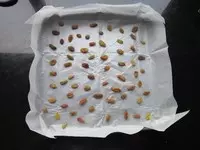
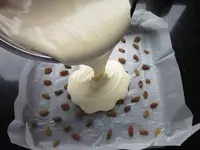
4将沥干的葡萄干均匀撒入烤盘内(为什么要讲以上这几个步骤,因为提前准备可以避免蛋糕糊准备好后还要做这些工作而导致蛋糕糊消泡)
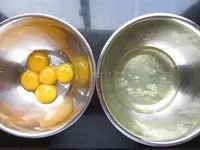
5按戚风蛋糕分蛋法制作,首先将蛋黄蛋白分离
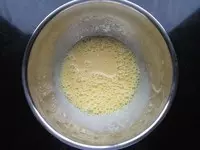
6色拉油加牛奶,打至油水融合,加入蛋黄搅匀,加入细砂糖搅匀
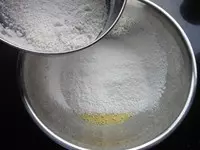
7低粉过筛,分两次加入,每次加入都要混合均匀,不要过度搅拌避免起筋,但必须无颗粒
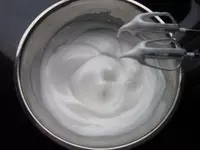
8蛋白加入柠檬汁,分三次加入细砂糖,直至打到9成发
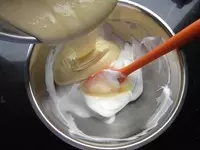
9将1/3蛋白霜放入蛋黄糊翻拌均匀

10回倒入剩下的2/3蛋白霜内翻拌均匀
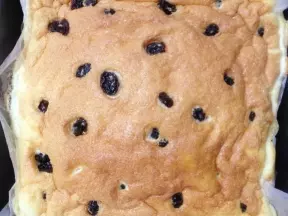
11将蛋糕糊均匀倒入事先准备好的烤盘内,震模使之均匀
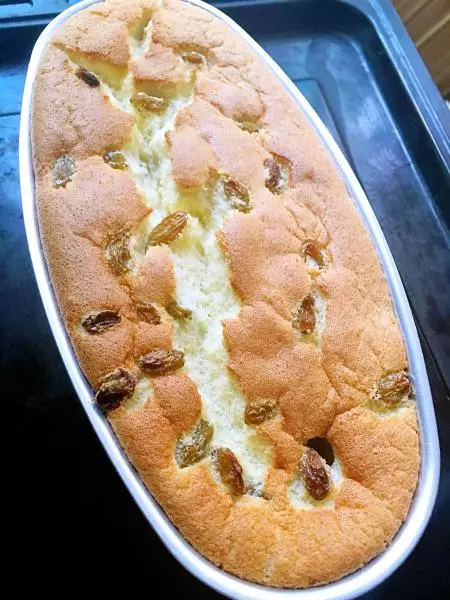
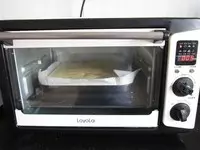
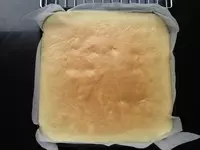
12预热后用135℃烤30分钟即可
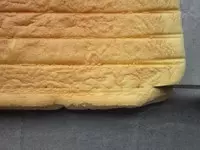
13出炉后尽快脱离烤盘(烤盘余温会让蛋糕底部变干影响成品效果)
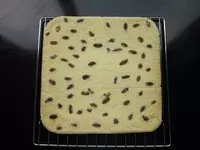
14脱去油纸倒扣在烤网上(倒扣压出的横印有助于蛋糕卷起),晾至温热,表面朝上放置于干净油纸上
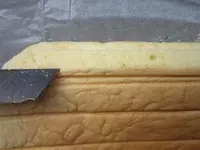
15蛋糕前端,用小刀划两道浅口
16蛋糕后端,用小刀斜切剖面(这两个步骤更利于卷起和收口)
17蛋糕前端的油纸卷住擀面杖,借卷擀面杖之力,卷起蛋糕(注意用力要均匀,否则中间部分卷不拢)
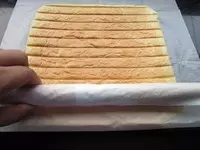
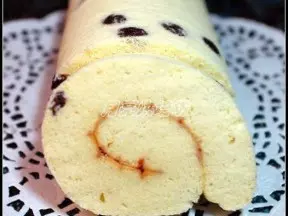
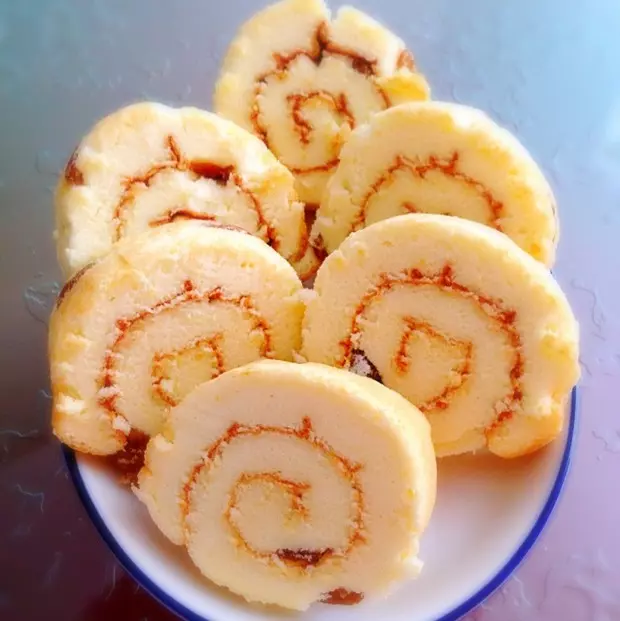
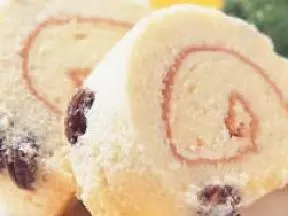
18卷好后定型10分钟

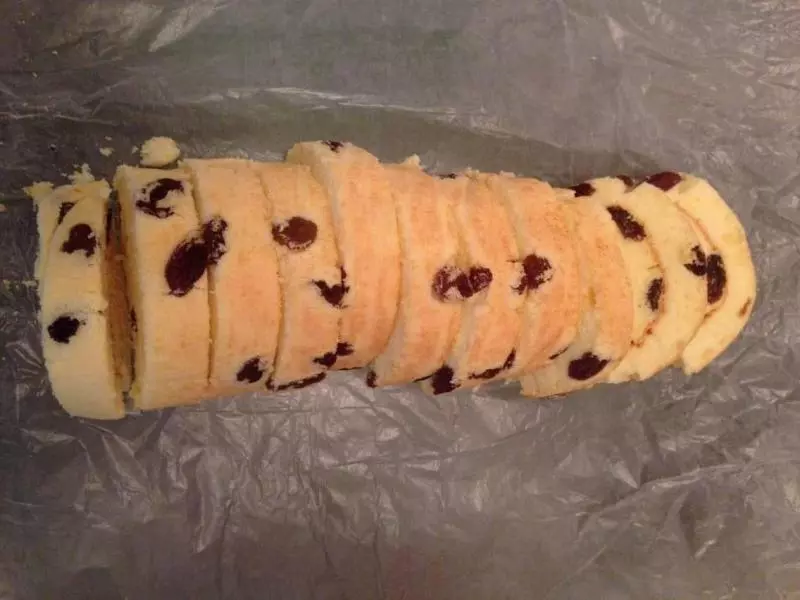
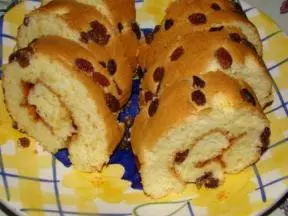
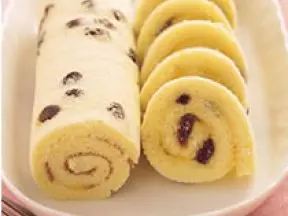
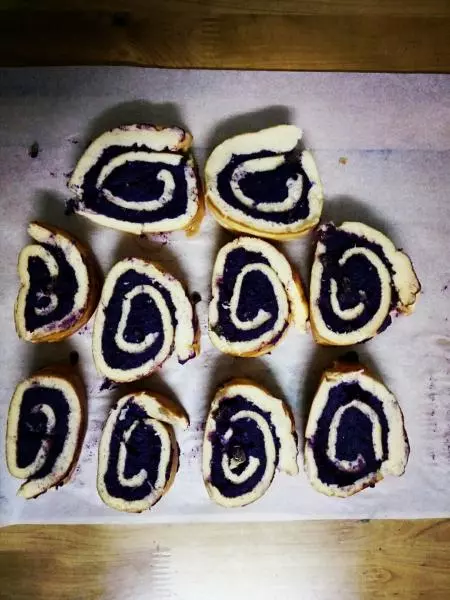
19脱去油纸切去两头不规则部分即可