原料
普通面粉 80克, 猪油 30克, 糖粉 10克, 盐 1/4小勺, 水 35克, 普通面粉 80克, 猪油 35克, 红豆沙 150克, 咸蛋黄 10个, 蛋黄 一个,装饰, 黑芝麻 适量,装饰
步骤
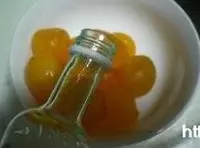
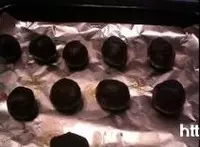
1买回来的袋装咸蛋黄,都是生的,在用以前,我们要先用朗姆酒浸泡一下,然后放烤箱中,上下火150度,烤五分钟!蛋黄不用考的时间太长,这个时间,这个温度,蛋黄刚刚熟,而蛋黄的油还都含在咸蛋黄里边,等最后烤出的蛋黄酥才会最香
2将所有水油皮的配料放盆中,揉成光滑的面团,盖上保鲜膜松弛30分钟
3将所有的油酥面团配料放盆中,揉成油酥面团
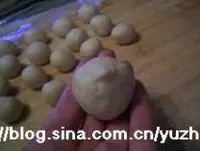
4将水油面团平均分成十份,用手揉圆
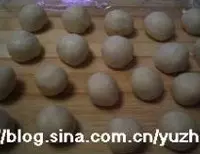
5将油酥面团也平均分成十份
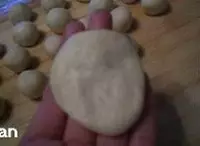
6取一个水油皮按扁
7上边放油酥面团
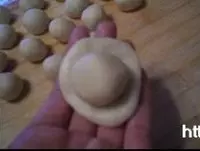
8然后捏紧封口
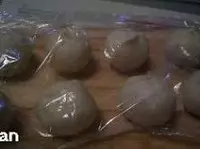
9封口朝上放案板上,暂时不用的盖保鲜膜
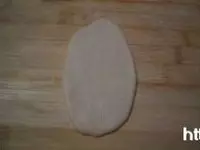
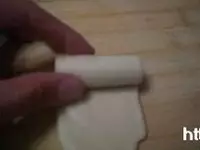
10面团封口朝上,擀面杖擀成长椭圆形
11从上而下卷起来
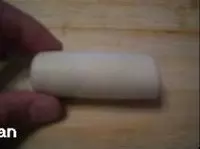
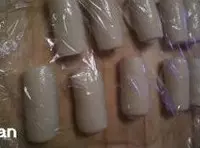
12将所有面团卷完
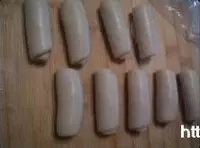
13然后再将面卷稍微按一下

14用擀面杖再擀成长椭圆形
15然后从上而下卷起来
16所有面团擀卷完以后,盖保鲜膜松弛30分钟(一共是擀卷两次)
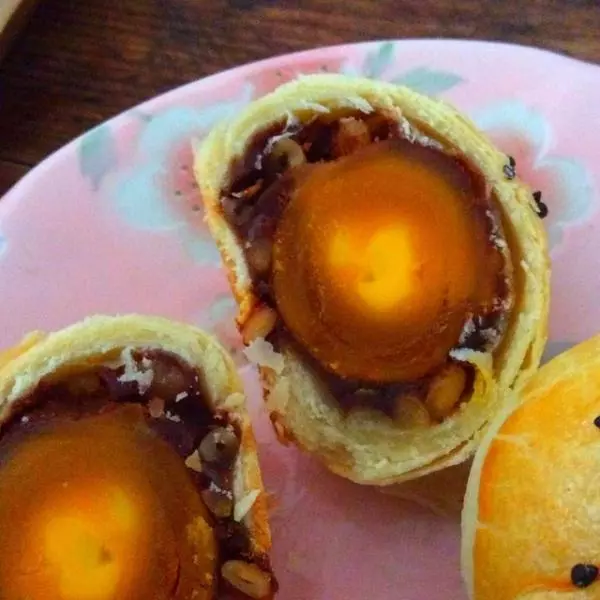
17松弛面团的时候,将150克豆沙馅平均分成十份
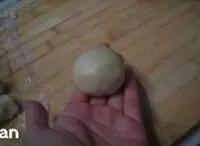
18拿一份豆沙馅按扁

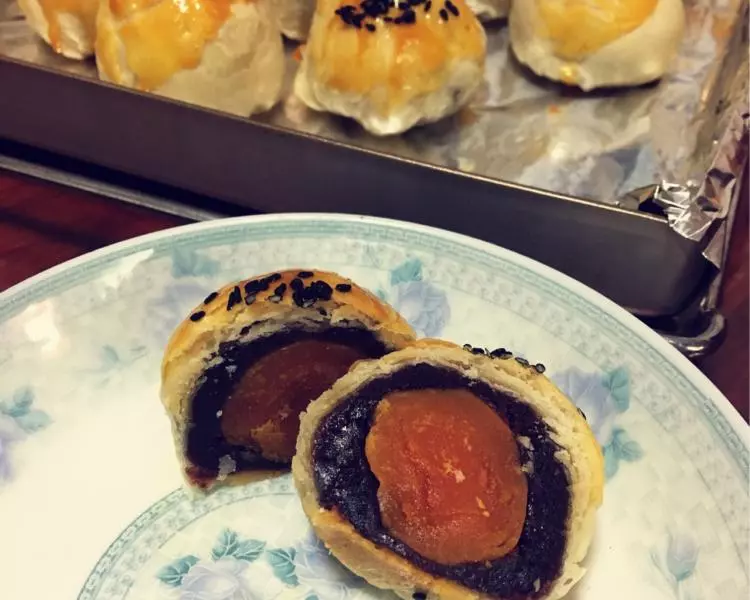
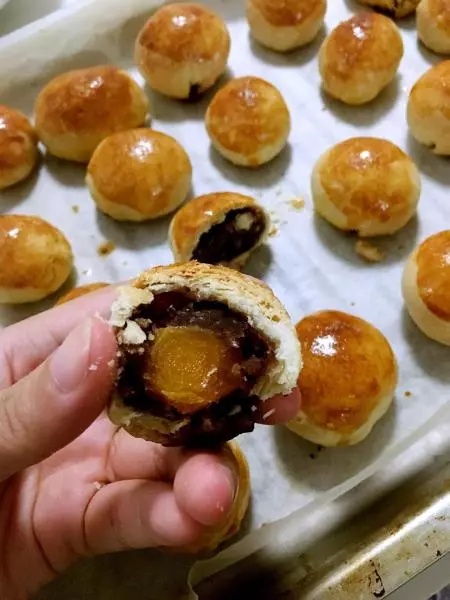
19里边包上晾凉的咸蛋黄

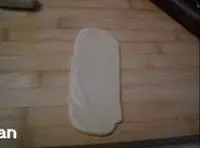
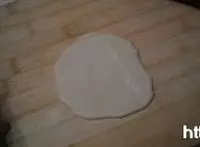
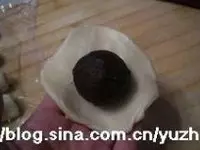
20面卷擀成圆形的面片
21中间包上豆沙蛋黄馅
22收口朝下
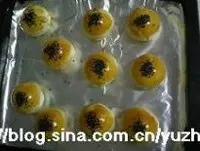
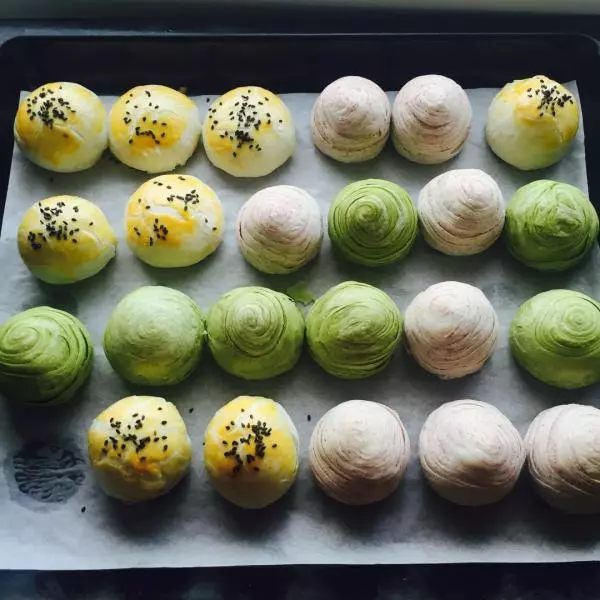
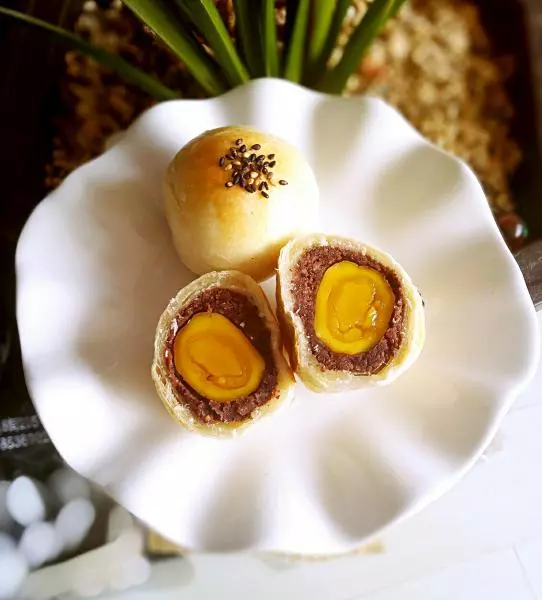
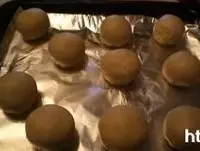
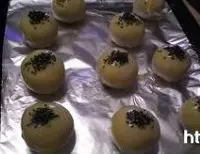
23放铺了锡纸的烤盘上
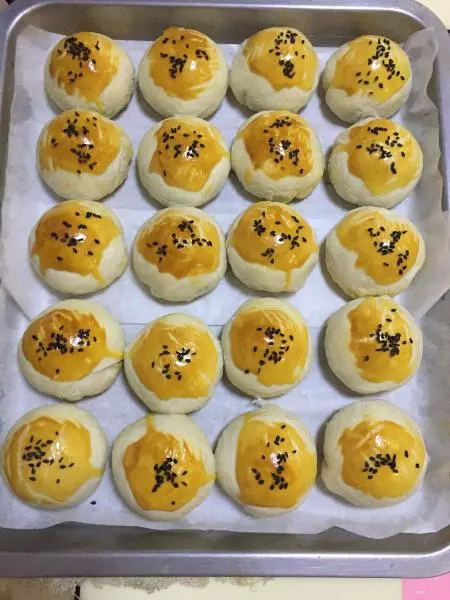
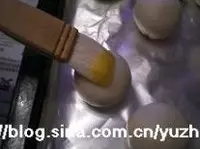
24一个蛋黄打散,刷在包好的蛋黄酥上,先将所有的蛋黄酥刷一遍蛋液,稍微晾两分钟,然后再刷一遍蛋液
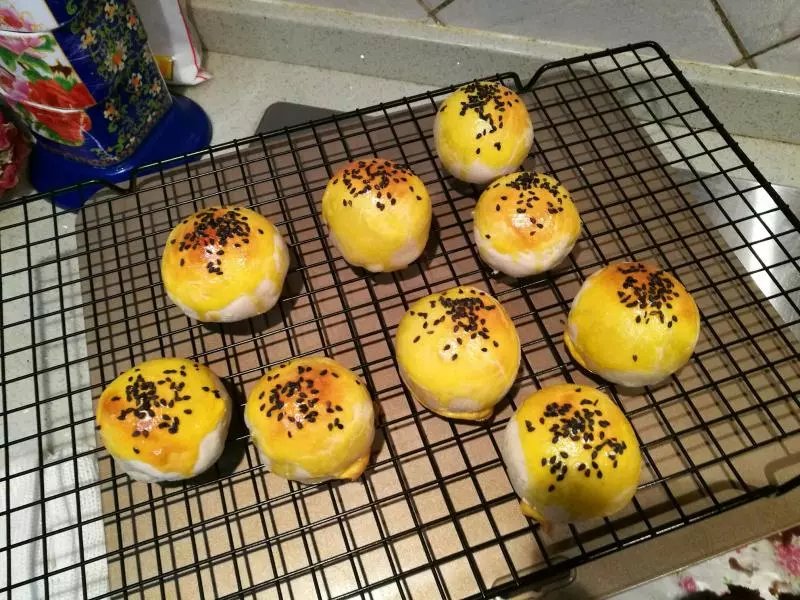
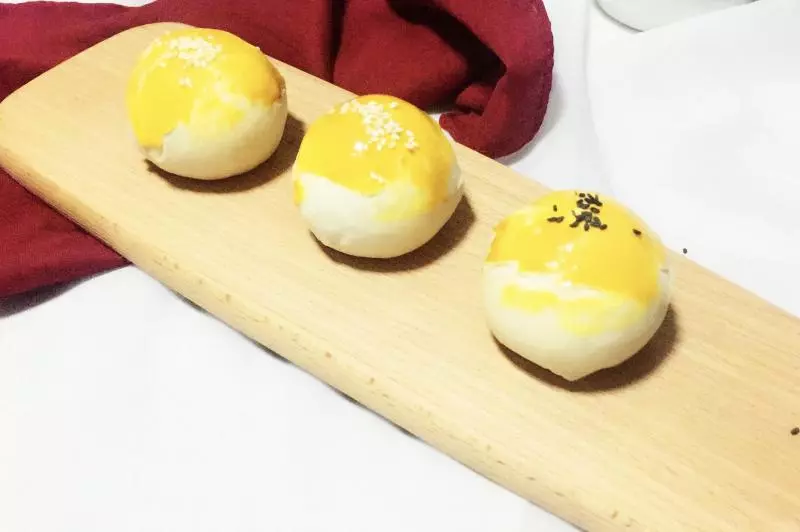
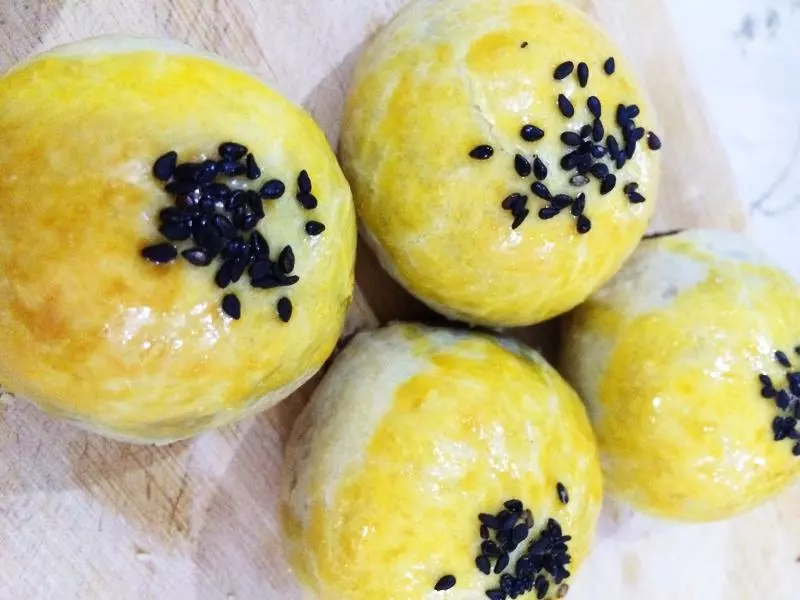
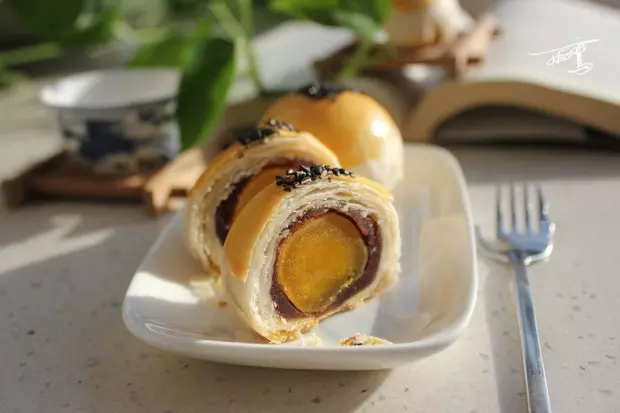
25最后在顶上撒黑芝麻,刷两遍蛋液的蛋黄酥,烤出来以后是非常漂亮的颜色
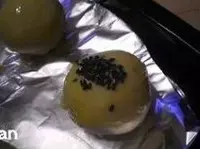
26烤箱预热186度,包好的蛋黄酥放烤箱中层,烤25分钟
27如果看蛋黄酥在烤箱中烤的颜色差不多的时候,蛋黄酥表面盖一层锡纸,继续烤。防止蛋黄酥颜色烤的过深