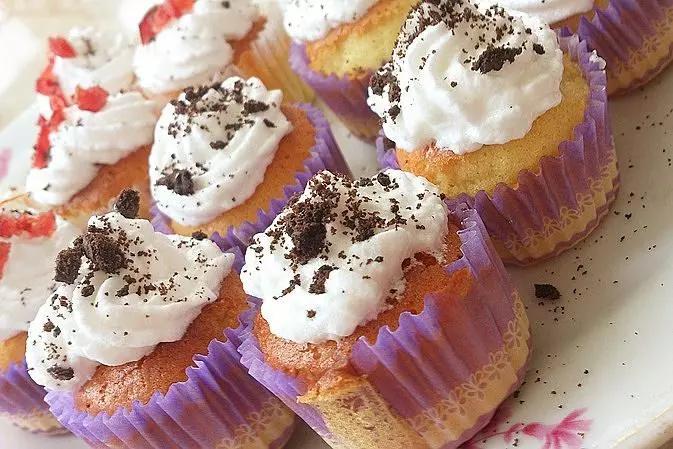
简介
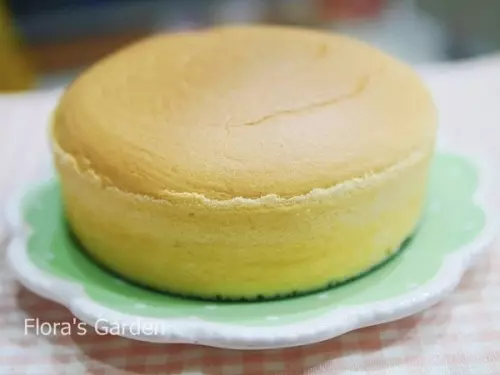
真材实料的水蜜桃果酱做成的杯子蛋糕,就是一整个香,淡淡的甜,果香、蛋香。湿度、软度适中。我相当满意。 为什么有人照着食谱做馒头或蛋糕,有时候就是比例拿不准呢?因为有些食材是属于泥状的时候就得靠经验拿捏。例如:地瓜泥、南瓜泥、水果泥.........。这些泥状食材本身有硬件+水分,每一次的含水量都不同。这个时候就要以做出来的蛋黄糊来拿捏;蛋黄糊的浓稠度与蛋白霜的稠度差不多就可以。所以这次蛋糕没加水。
原料
蛋黄 5颗(, 水蜜桃果酱 约200公克, 油 40-45公克, 低筋面粉 100公克, 蛋白霜, 蛋白 6颗, 糖 60公克, 柠檬汁 1大匙
步骤
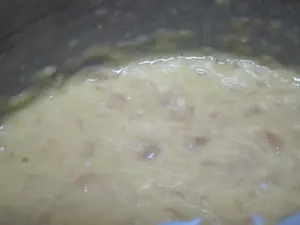
1蛋黄+水蜜桃果酱(朋友送我的果酱先用)+油轻拌匀,加过筛的低筋面粉,轻拌匀,成蛋黄糊。
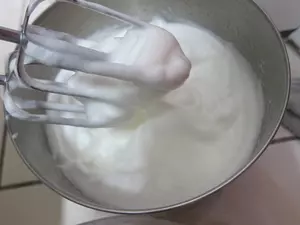
2蛋白+柠檬汁起泡后加糖,糖分3次加入,打成湿性发泡。成蛋白霜。
3蛋白霜取1/3入蛋黄糊,轻又快拌匀。

4作法3拌好,倒进剩下的2/3蛋白霜,一起全部轻又快拌匀。成蛋糕糊。

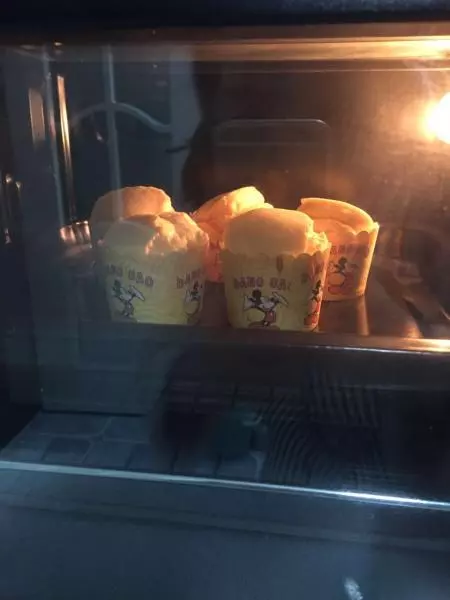
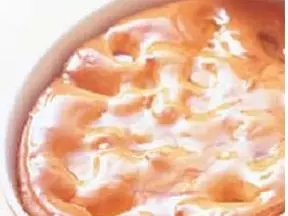
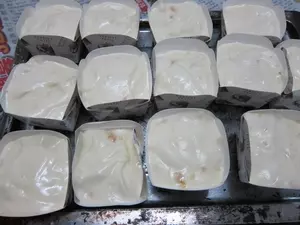
5蛋糕糊倒入烘焙纸杯里,8分满即可。整烤盘举起,用力拍2下,空气拍出。
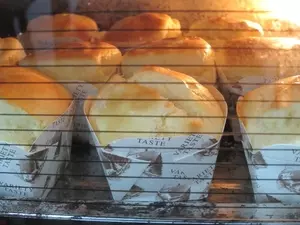
6放入事先预热烤箱155度,温度155度约烤18-20分钟。
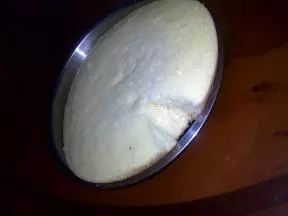
7烤好在架子的不沾烘焙纸上倒扣,等凉。刚倒扣的时候,约3或5分钟的时候,先稍微移动一下蛋糕,怕蛋糕有蒸气,蛋糕表面沾粘烘焙纸上。

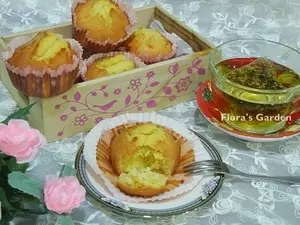
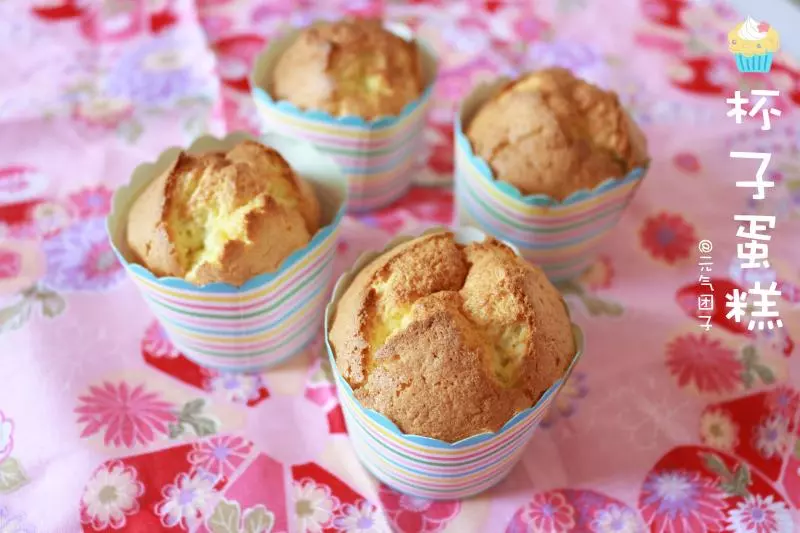
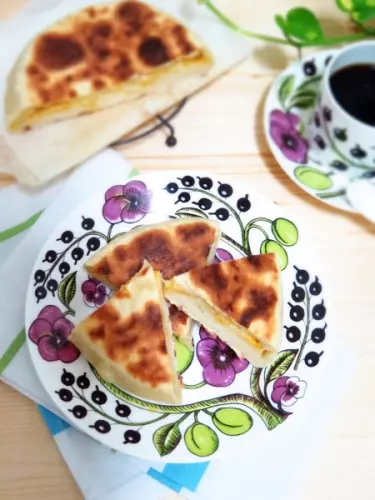
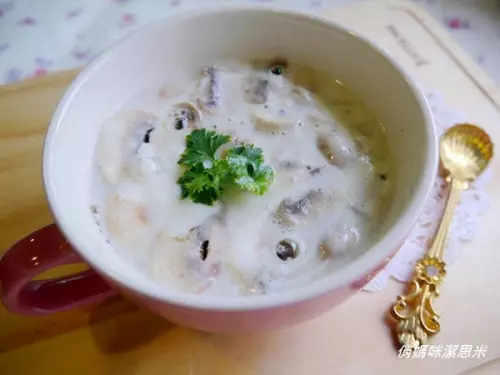
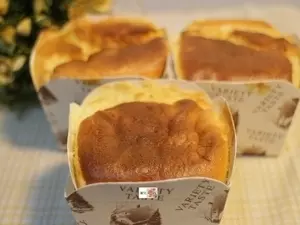
8蛋糕的正面就是如此。
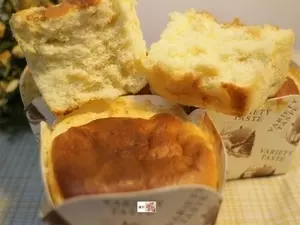
9这是蛋糕的剖面图。一整个香。
小技巧
真材实料的水蜜桃果酱做成的杯子蛋糕,就是一整个香,淡淡的甜,果香、蛋香。湿度、软度适中。