原料
洛馍材料: , 面粉: 适量, 温水: 适量, 素卤锅材料: , 干海带丝: 适量, 干豆角: 适量, 鸡蛋: 若干个, 食用油: 适量, 八角: 两个, 香叶: 两片, 小茴香: 一小把, 花椒: 一小把, 干辣椒: 若干, 姜: 若干片, 料酒: 一勺, 生抽: 两勺, 老抽: 一勺, 糖: 半勺, 郫县豆瓣酱: 一勺, 甜面酱: 两勺, 盐: 适量, 鸡精: 适量
步骤
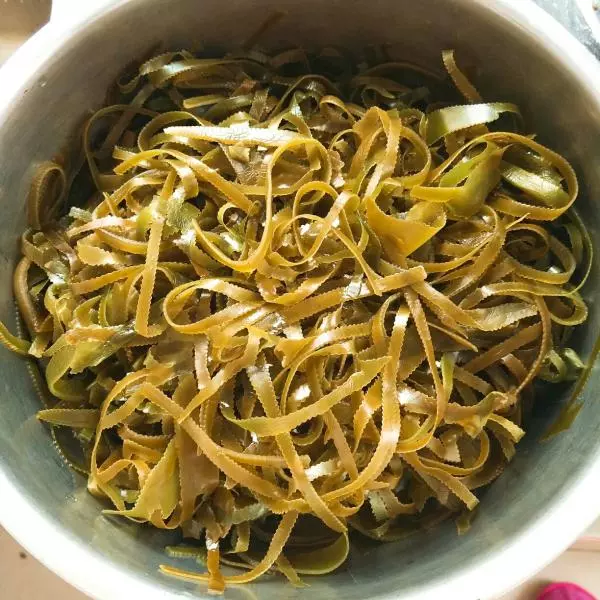
1干海带头天晚上用热水泡着 要多洗几遍,洗的干干净净
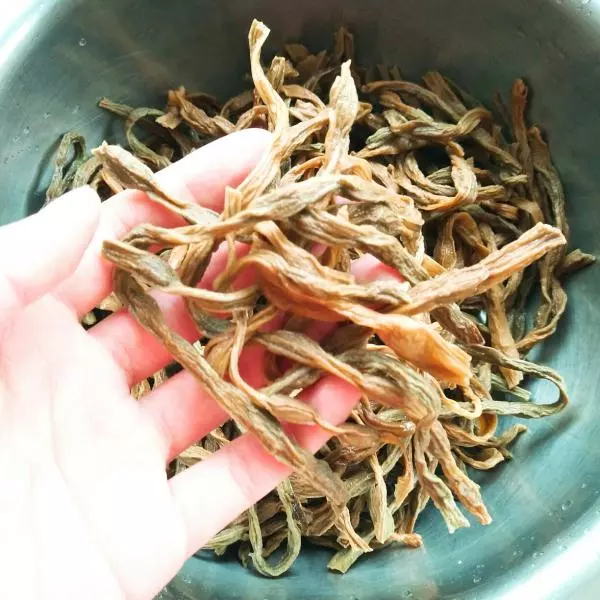
2干豆角也头天晚上泡着
3 鸡蛋洗干净煮熟 咕嘟咕嘟~
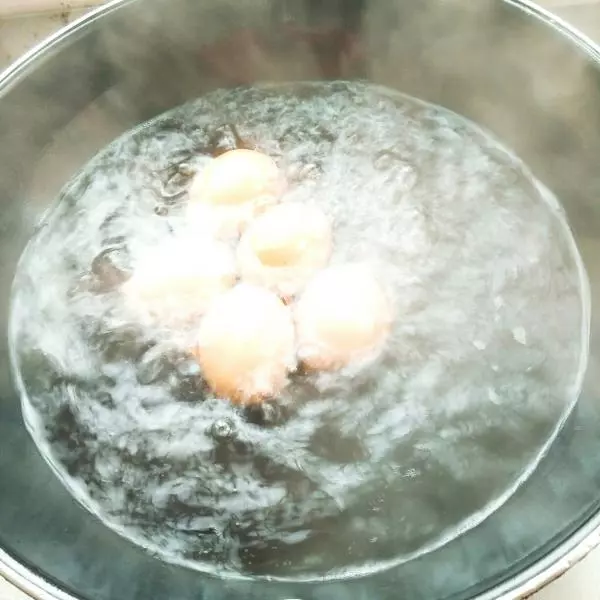
4煮熟了 放在凉水里冰一下把壳剥干净 (一定要放凉水里冰一下哦,这样好剥而且不烫手) 好了,就把它放一边晾着吧!

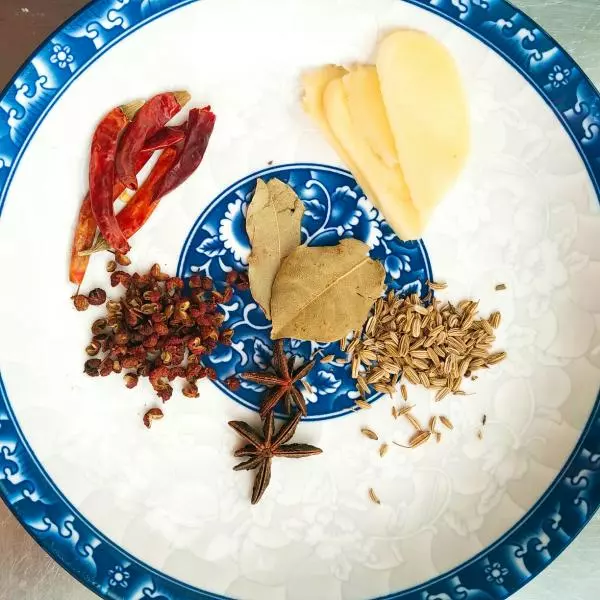
5准备香料…… (这一步就不废话了,看图)
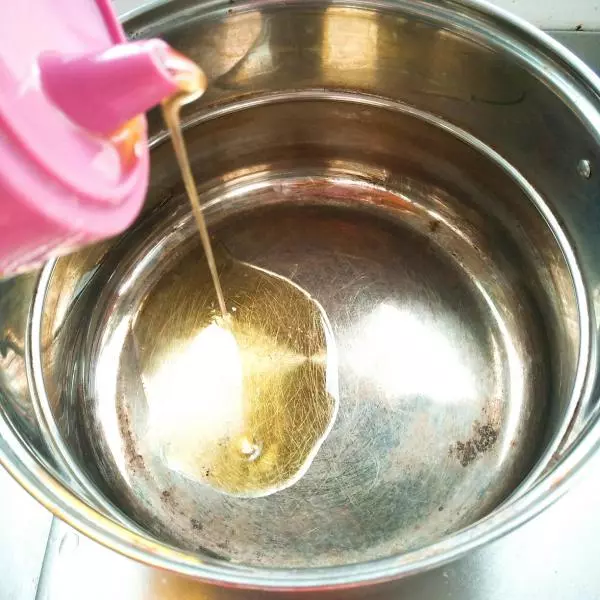
6准备一口大锅 锅热倒油
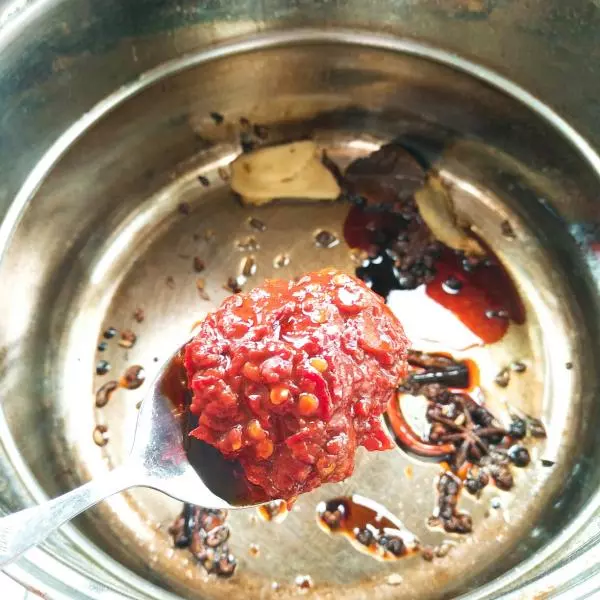
7把刚刚准备的香料都倒进去炒出香味(哇~我只闻到呛香味) 咳咳~ 一勺料酒 两勺生抽 一勺老抽 半勺糖 一勺郫县豆瓣酱 两勺甜面酱 随意炒炒加热水(这一步骤忘拍了,你们也就别看了)
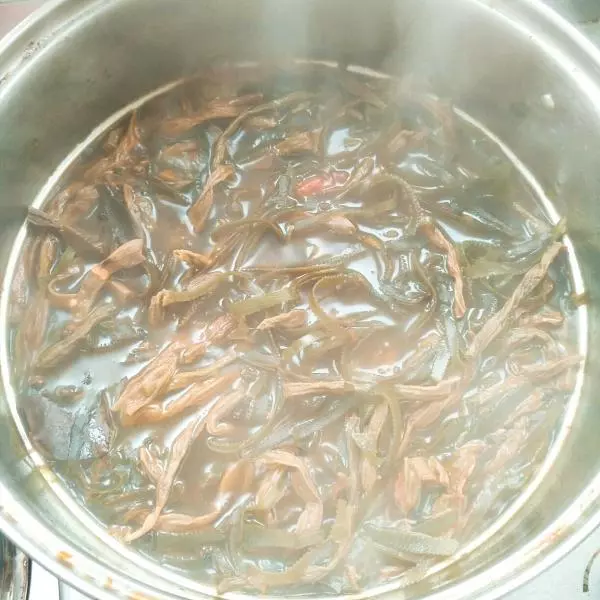
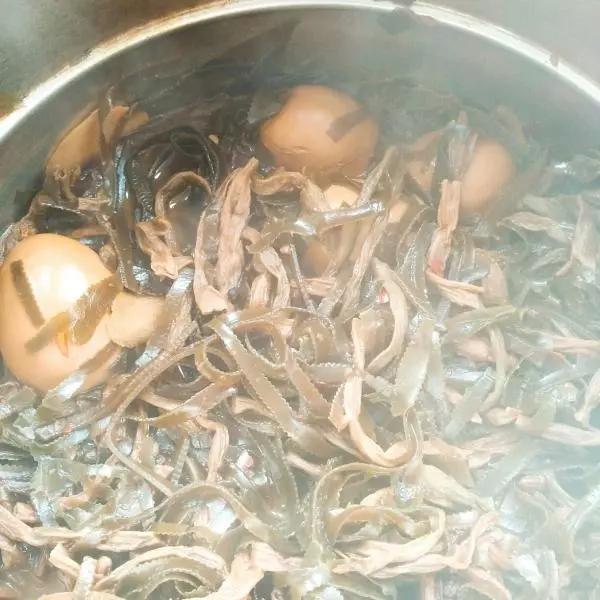
8水开了,加点盐(别加太多,会越煮越咸,最后味道淡了可以再加) 把海带丝,干豆角,鸡蛋放进去 中小火煮煮煮 不对,是卤卤卤 一直卤到汤汁仅剩三分之一
9哇塞!好了耶 尝下味道 有点淡,再加点盐 别忘了加鸡精 嗯,素卤锅就做好了
10准备面粉和温水 开始和面(不要太多,吃多少做多少,不然第二天就干巴了) 和面时水一点一点加别猴急
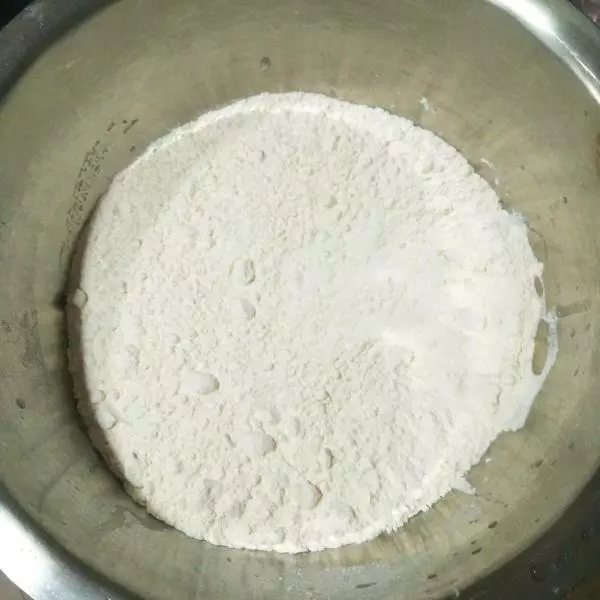
11面粉搅拌成絮
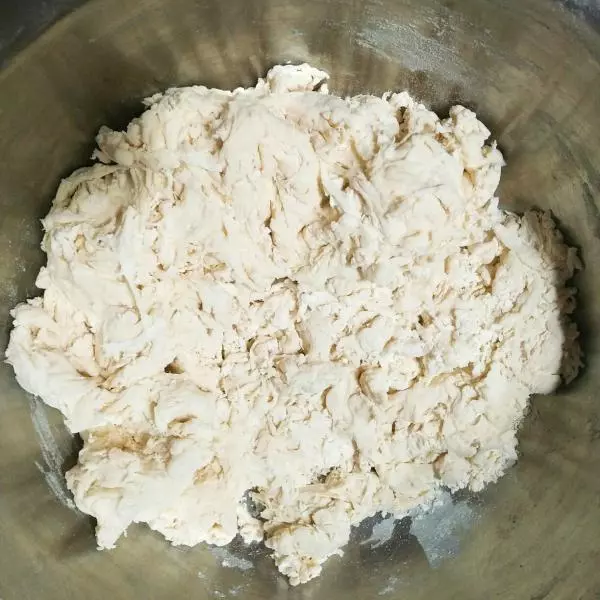
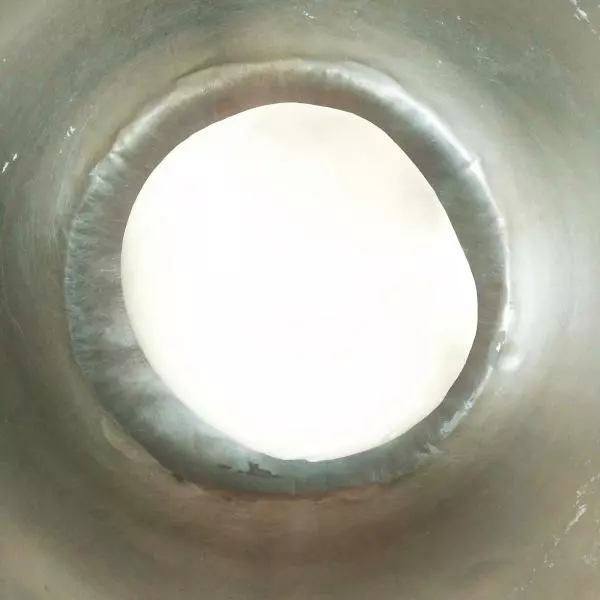
12把面絮揉成面团(面团要软一点) 盖上保鲜膜醒15分钟
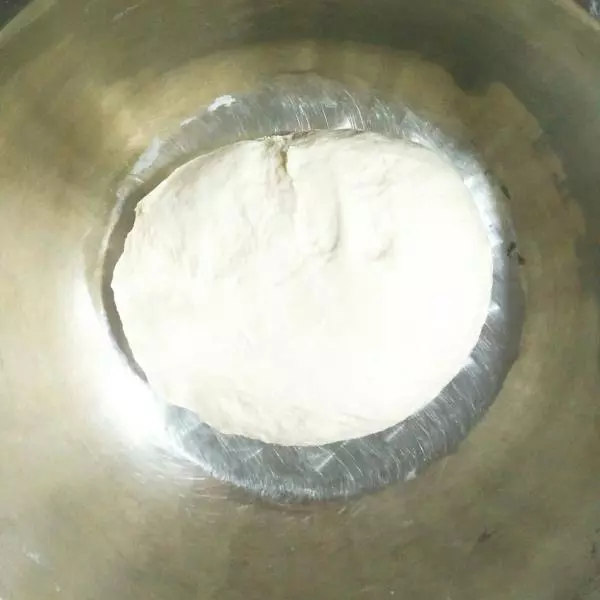
13再次揉至光滑
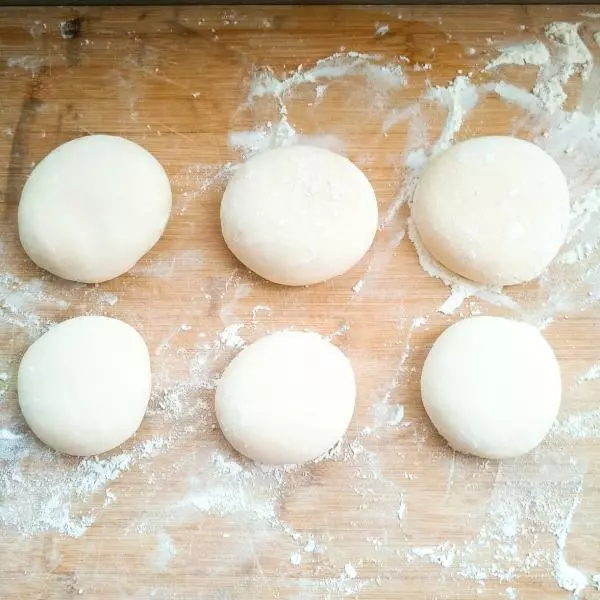
14揉好的面团分成大小均匀的小面团 (为什么大小不一样?因为我要做不同的饼,不过今天只教洛馍)
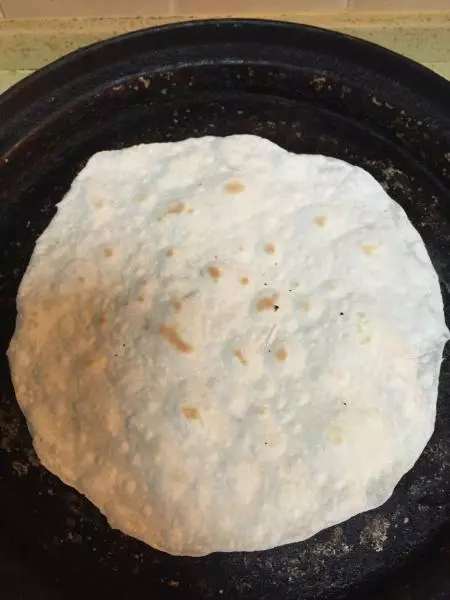
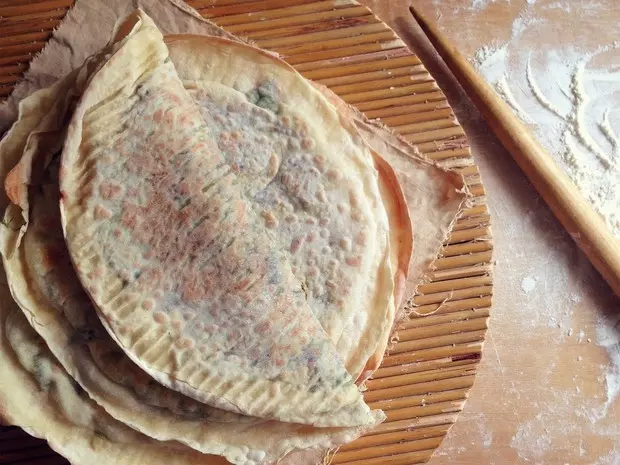
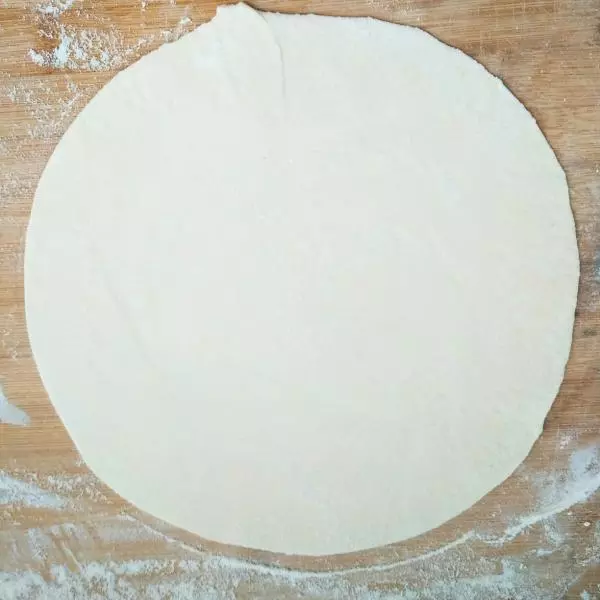
15好了,开擀吧 擀成一个大圆饼,不要太厚,大约一毫米
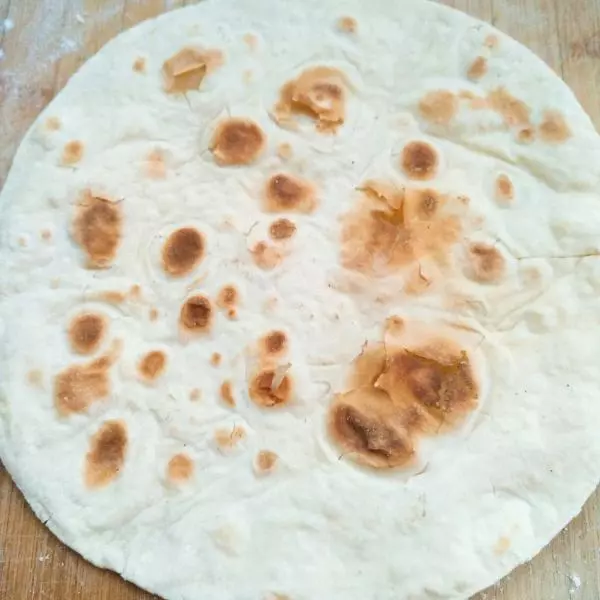
16开中小火 上锅烙 烙的时候表面会鼓起来 没关系,这是正常的 拿上你的大锅铲狠狠摁下去? 让它受热均匀

17烙成这样就可以出锅了
18卷起来开吃吧! 哈哈,终于吃到嘴了~

小技巧
这次是要卷饼吃所以用了海带丝,顺便扔了几颗鸡蛋进去。 平常吃用海带结,藕片,千张结就可以,都超级好吃。 烙饼时不用放油,锅热就放进去烙,火不要太大,一不留神容易糊。 好了,结束了。