原料
糖桂花: 120克, 糯米粉: 70克, 水: 60克, 冬瓜糖: 40克, 猪油: 35克, 白芝麻: 30克, 中筋面粉: 100克, 水: 45克, 绵白糖: 15克, 猪油: 10克, 蛋液: 10克, 中筋面粉: 90克, 猪油: 45克, 蛋液: 适量
步骤
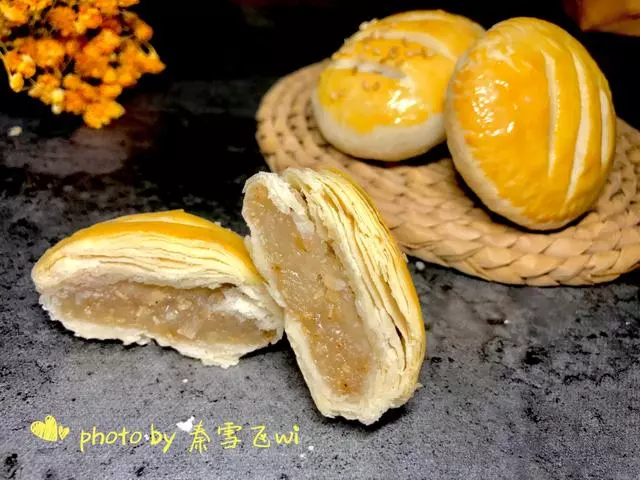
1首先制作桂花糯米馅: 提前称量好糯米粉,炒熟的白芝麻,冬瓜糖切成小丁,备用

2糖桂花、水、猪油倒入小锅大火煮沸后,转小火

3一次性倒入全部糯米粉,快速用刮刀拌匀

4倒入白芝麻和冬瓜糖继续拌匀

5拌好的桂花糯米馅表面覆盖保鲜膜放入冰箱冷藏备用

6待馅料冷却不粘手后即可将其分成16等份备用

7老婆饼的酥皮是由水油皮包入油酥后擀卷两次制成的,先制作水油皮:将水油皮的材料混合成团

8将成团后的水油皮面团反复揉搓摔打,揉成表面光滑,质地柔软的面团

9最好揉出筋,以手指测试,可以拉出薄膜

10揉好的水油皮面团分成16等份,搓成小圆球,表面盖保鲜膜静置松弛20分钟

11松弛水油皮的时候制作油酥,将油酥材料混合均匀成团后,分成16等份,搓成小圆球备用,油酥的软硬程度和水油皮面团是差不多的,如果油酥太干硬则需加少许猪油使其变软,太软则需加少许面粉

12水油皮静置好以后,便可以开始包酥,取一个水油皮小球,按扁

13放上一枚油酥

14用水油皮将油酥包起,捏紧收口

15收口朝下放置,以擀面杖将其擀长

16自上向下卷起

17卷成小卷后,盖保鲜膜松弛,依次卷好16个小卷

18将卷好的小卷纵向擀长,比第一次会擀得更长些

19再次自上而下卷起卷成小卷

20卷好的小卷盖保鲜膜,依次卷好16个

21取一枚小卷,收口朝上,按扁后,擀开成中间厚四周薄的圆形面片

22面片中间放置一枚馅料

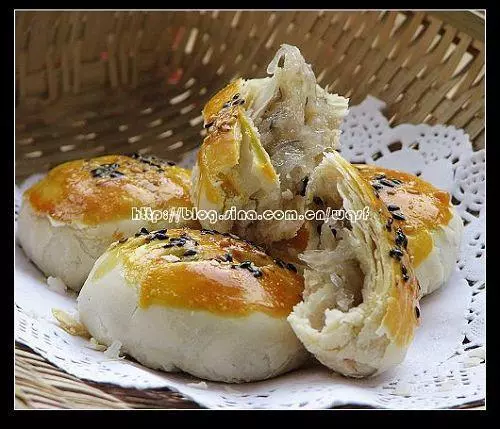
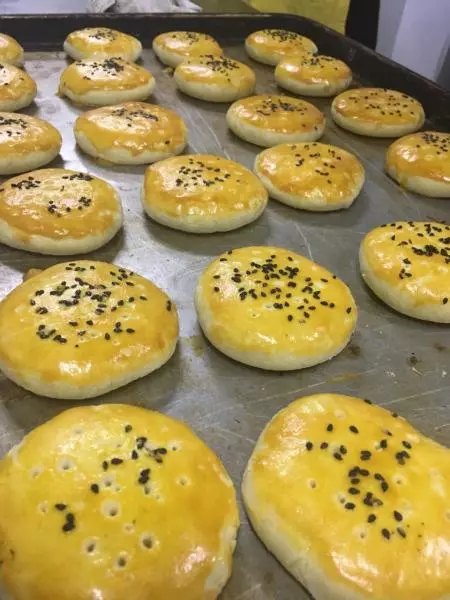
23用面片将馅料包起,收口朝下放置,表面盖保鲜膜,依次包好16个老婆饼胚

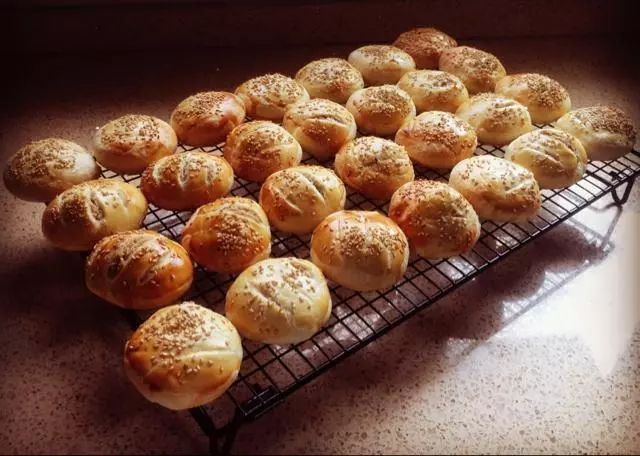
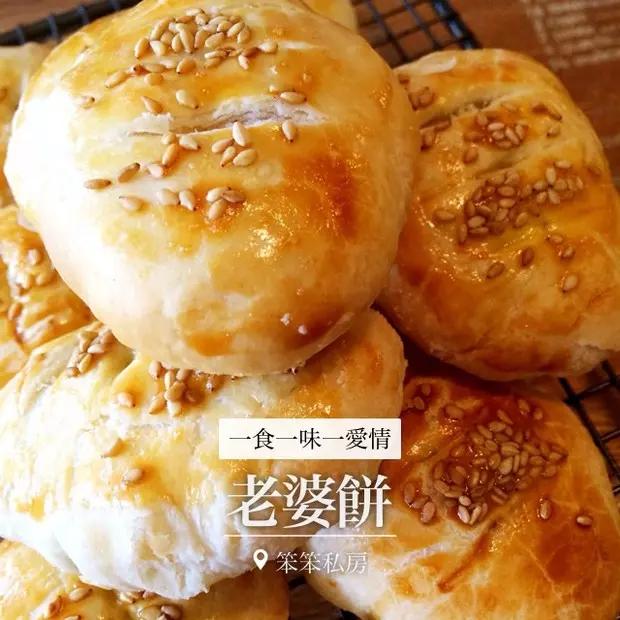
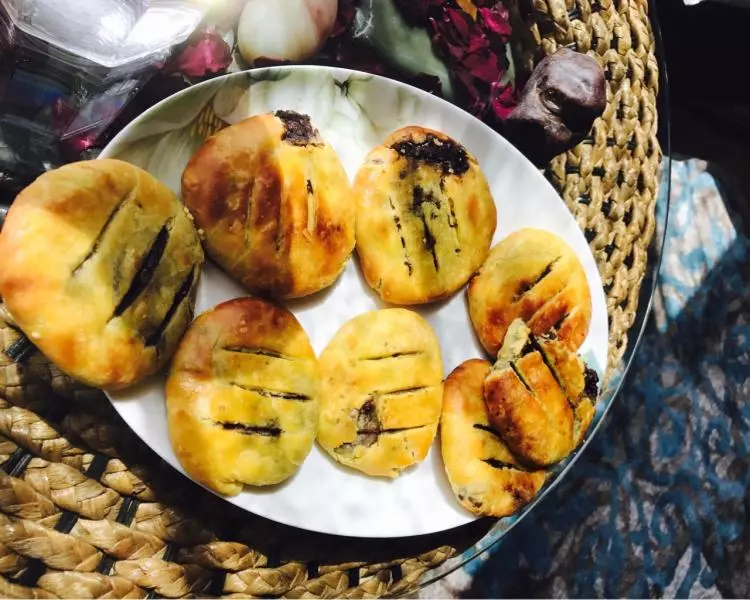
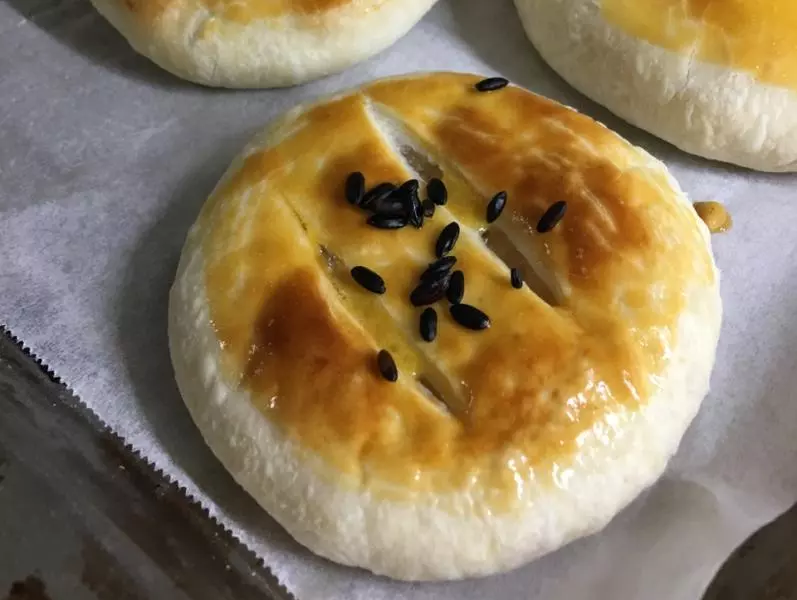
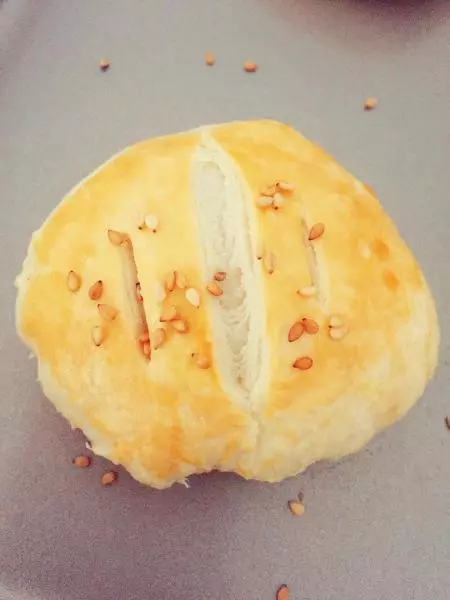
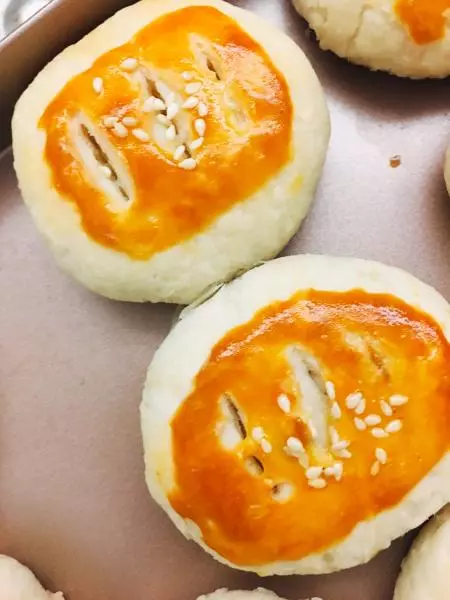
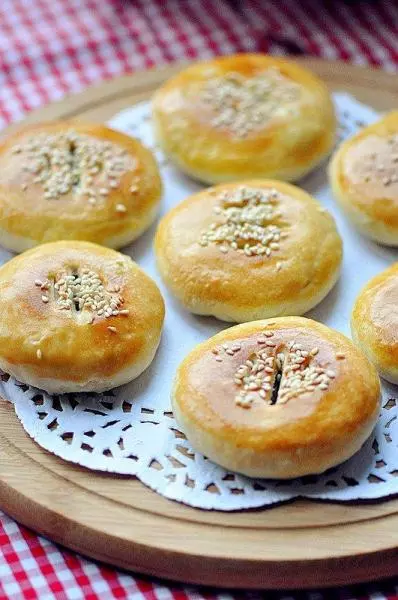
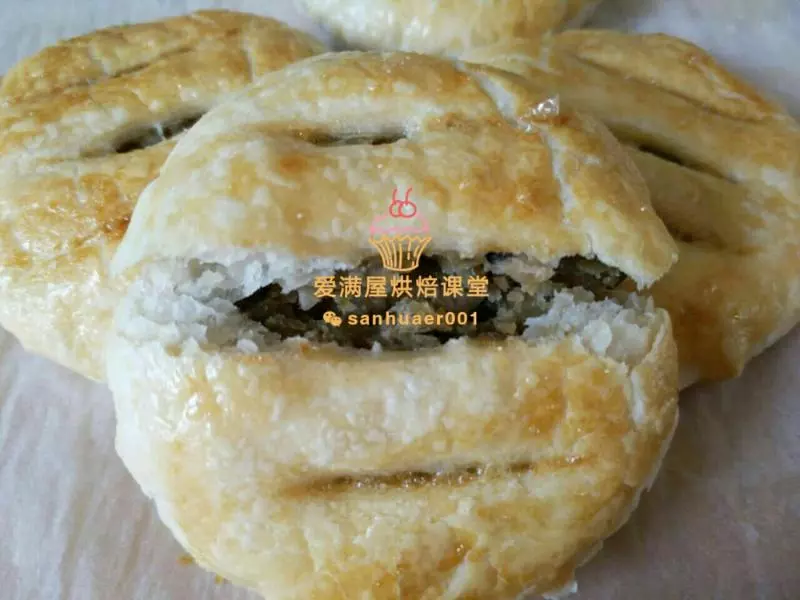
24将包好的饼胚按扁,放入已经垫好烘焙纸的烤盘

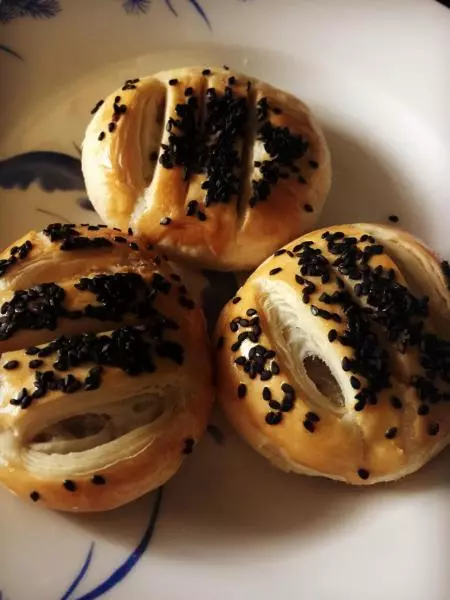
25饼胚表面刷蛋液

26用锋利的小刀在饼胚表面割出纹路,刀需要划穿饼皮,然后将饼胚再静置松弛一会儿

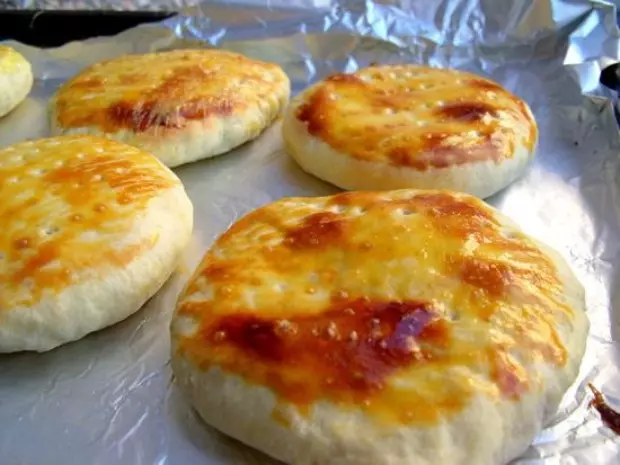
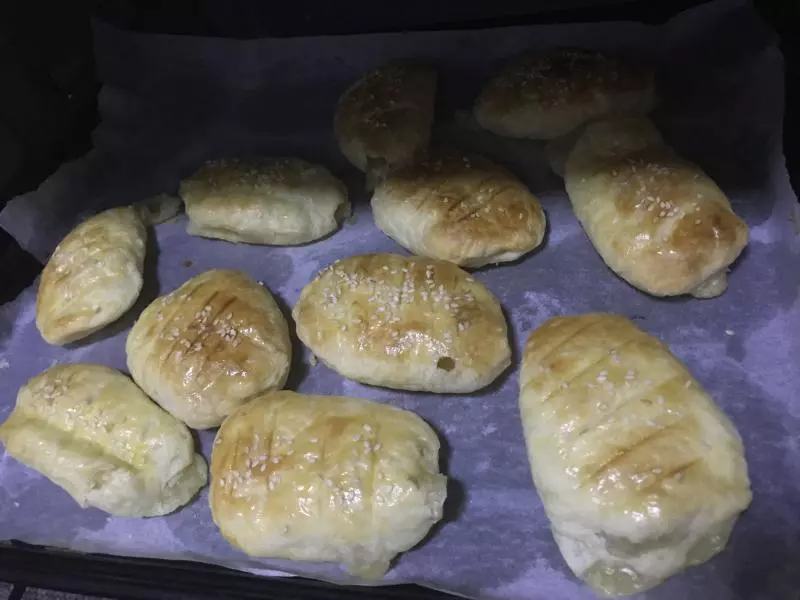
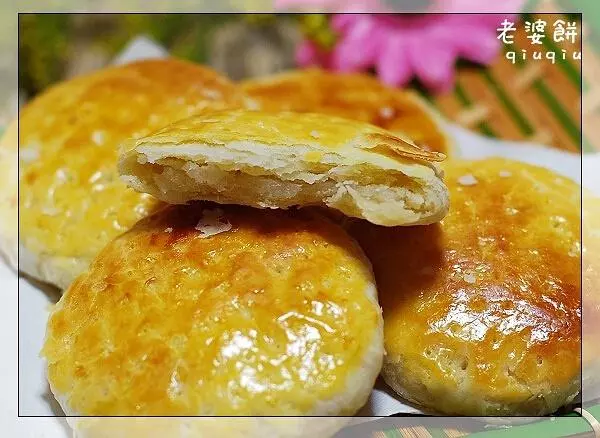
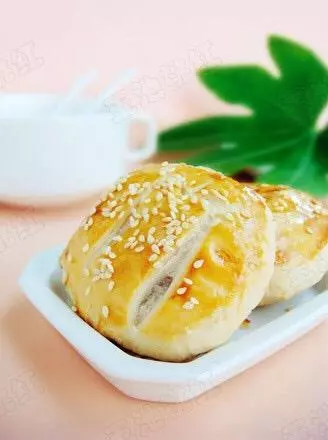
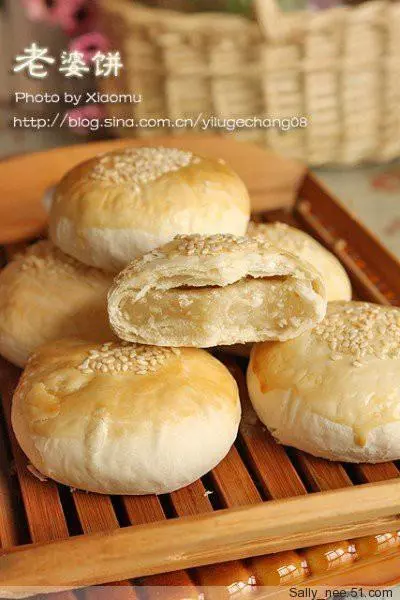
27此时可以预热烤箱至200°C,烤箱预热好以后,将盛放着饼胚的烤盘放入烤箱烘烤15-20分钟至饼身膨胀,色泽金黄即可出炉

小技巧
1.水油皮需要揉到出膜的状态,后面擀卷起来会比较顺手 2.油酥的软硬程度和水油皮是差不多的,不能太软也不能太干,冬天和夏天同样的配方可能做起来感觉会不太一样,要根据具体情况调整 3.酥皮擀卷的时候需要注意松弛足够长的时间,擀卷两次,一般一次擀卷做完最后一个的时候,第一个松弛的时间已经够了 4.制作的时候一定要注意覆蓋保鲜膜,以免面皮风干,尤其是在北方环境干燥的室内