原料
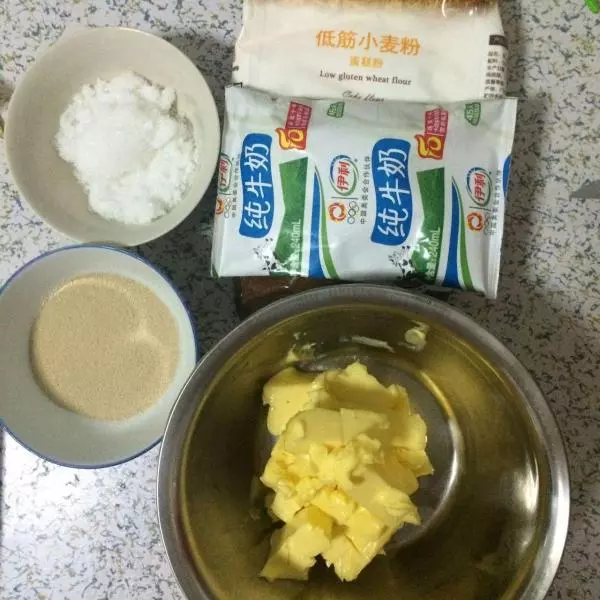
黄油: 227g, 低筋面粉: 620g, 牛奶: 220ml, 白砂糖: 30g, 泡打粉: 30g, 盐: 如果是无盐黄油加12g
步骤
1准备材料
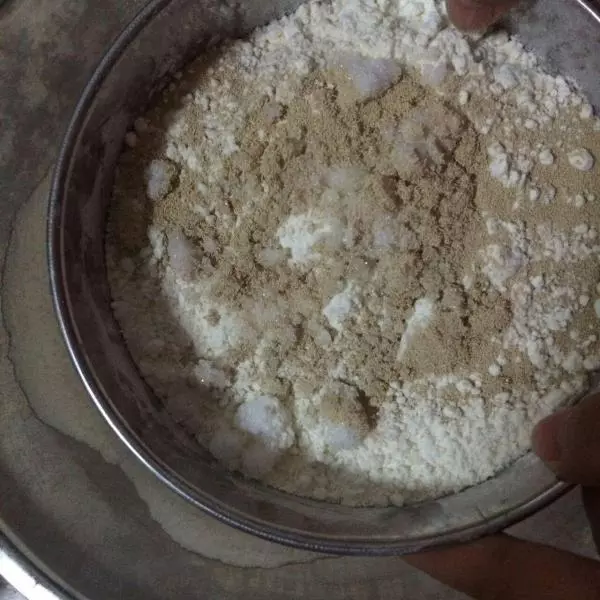
2将面粉、糖、泡打粉一起过筛,目的是让空气进入制造面粉的蓬松感,我用的是酵母,因为家里泡打粉没了。同时预热烤箱218°C
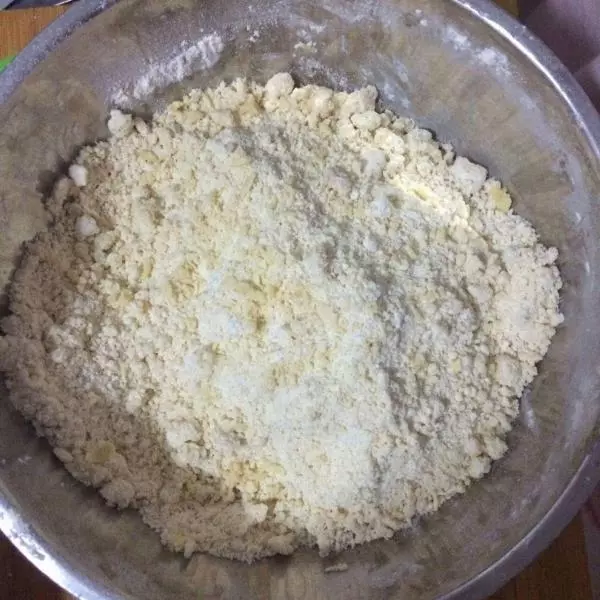
3倒入块状的黄油,不需要融化,这个才能制造蓬松,然后用手在面粉里捏开,捏到像疙瘩汤一样的就行了,大约一分钟完成,不要过度捏散,然后倒入牛奶,轻轻搅拌均与
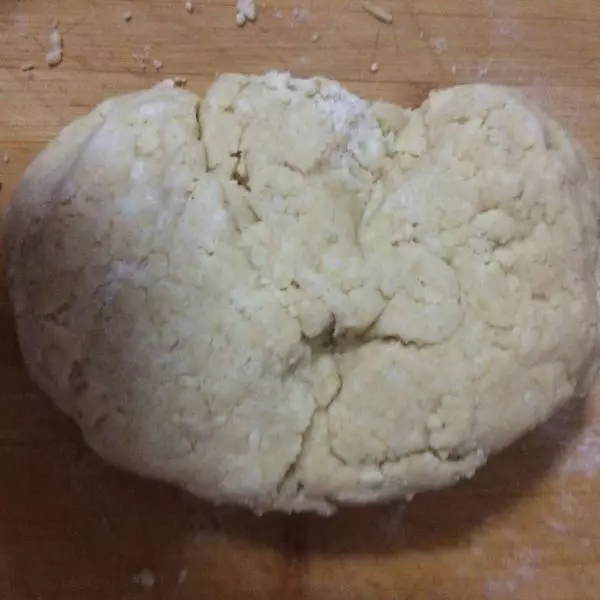
4面板撒一层面粉,倒入捏好的面,用手轻轻的揉8下,千万别揉多了,因为会挤掉空气和层次感。
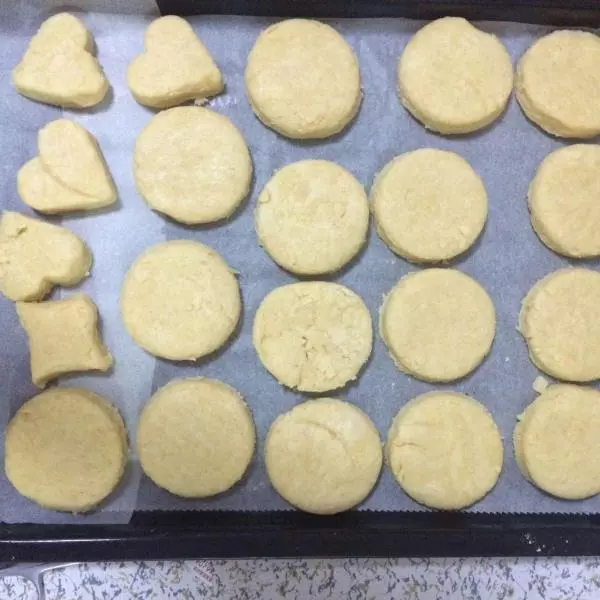
5然后用擀面杖擀四下,厚度大约1.2厘米,用饼干模具压出形状,注意模具不要在面里面拧,要直上直下,否则会使边缘封住,没有层次

6烤盘上铺一层油纸,然后摆上饼干送入217°c的烤箱15分种,如果想让饼干颜色加深,可以在饼干上现在刷一层蛋液
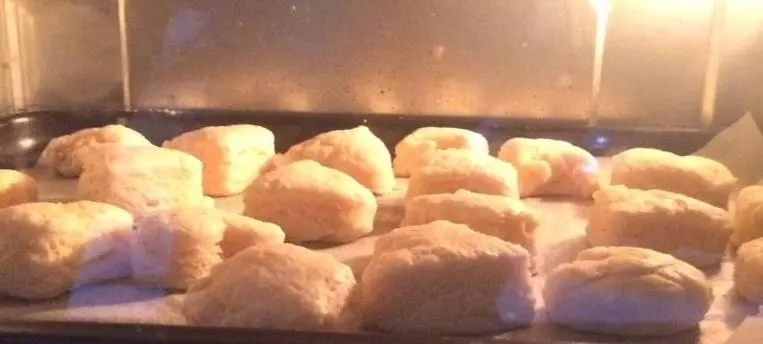
7强调一下,温度一定要达到217°C,如果温度低了,饼干膨起会弱,如果温度再高,则会外面糊了,里面还没熟,照片为正在烤的饼干,这是第二锅,也就是边角料。
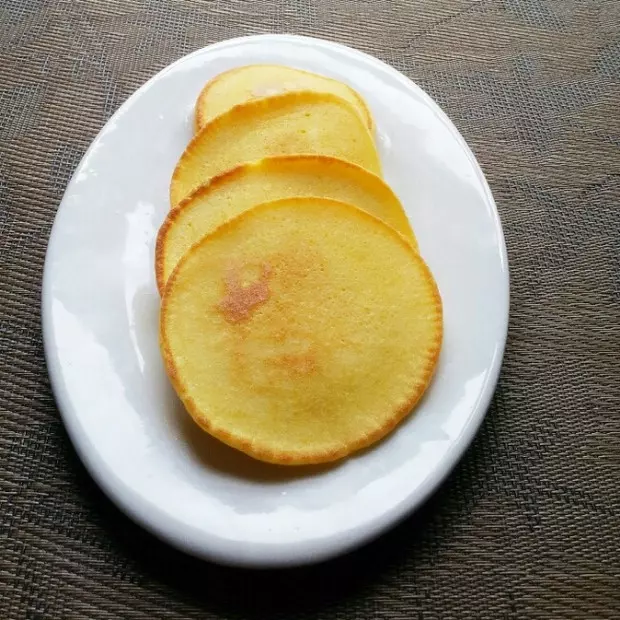
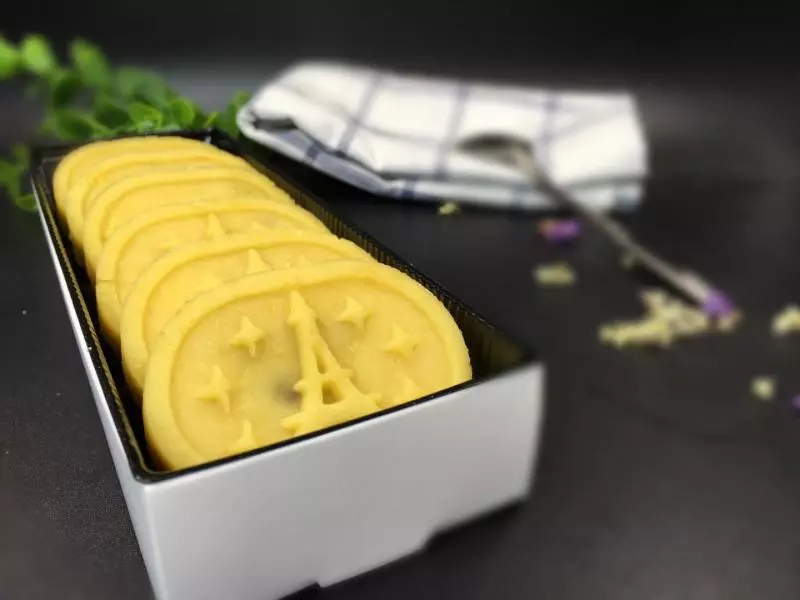
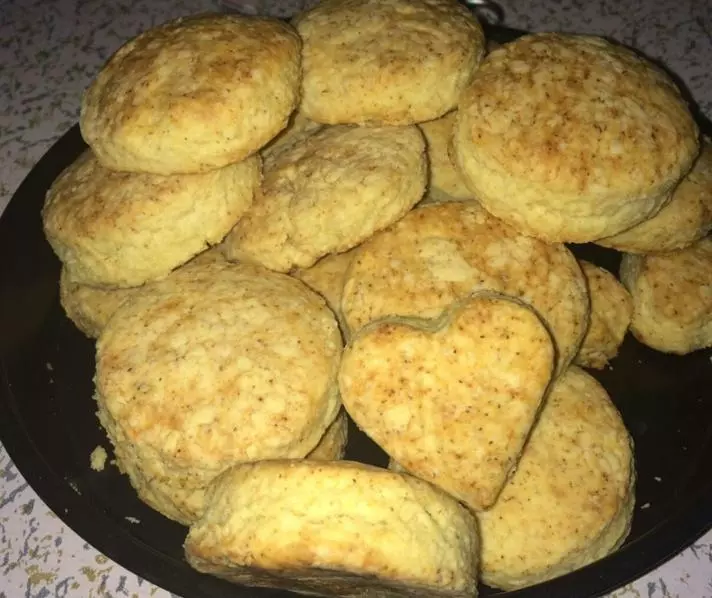
815分钟出炉就是这个样子,非常的酥脆,也可以在上面刷一层熔化的黄油,会起到软化的作用,口感就变成酥软酥软的。
9然后用擀面杖擀四下,厚度大约1.2厘米,用饼干模具压出形状,注意模具不要在面里面拧,要直上直下,否则会使边缘封住,没有层次