原料
低筋粉: 240g, 黄油: 120g, 淡奶油: 120g, 糖: 60g, 坚果: 适量
步骤
1备料,黄油室温软化

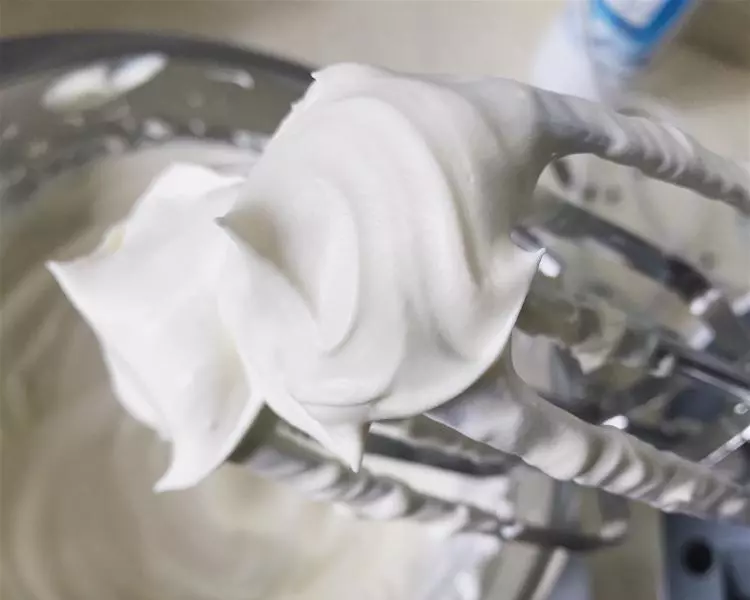
2黄油加入糖打发,糖要打化至无颗粒哦

3再分3-5次加入淡奶油继续打发

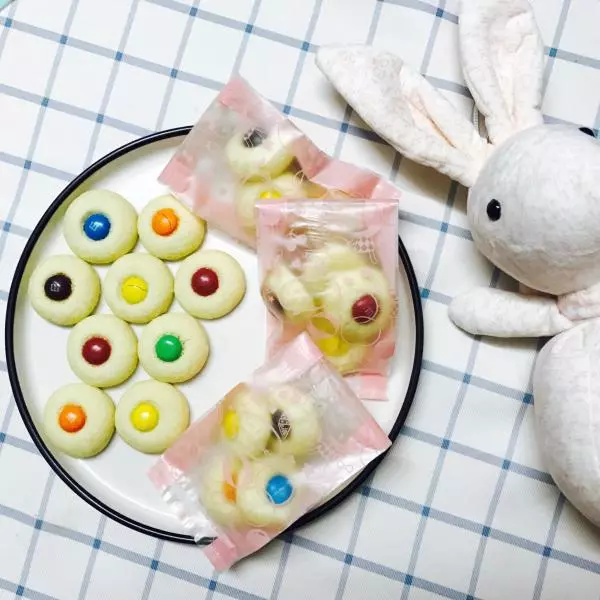
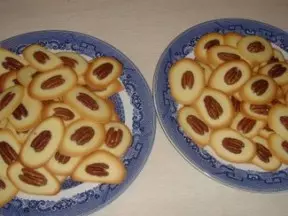
4加入坚果,这次用了腰果,装在保鲜袋里用擀面碾碎碎,只提香放少了些,也可以用花生,扁桃仁,葡萄干,蔓越莓干…要碎哦

5低筋粉过筛加入

6用勺拌匀,从较分散的小团粒状拌至有结合度的大团块状

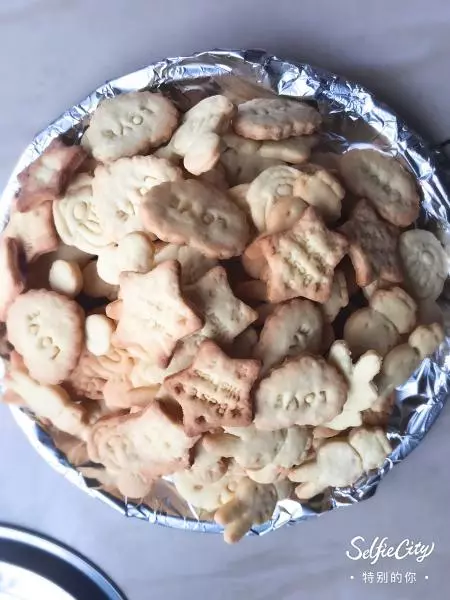
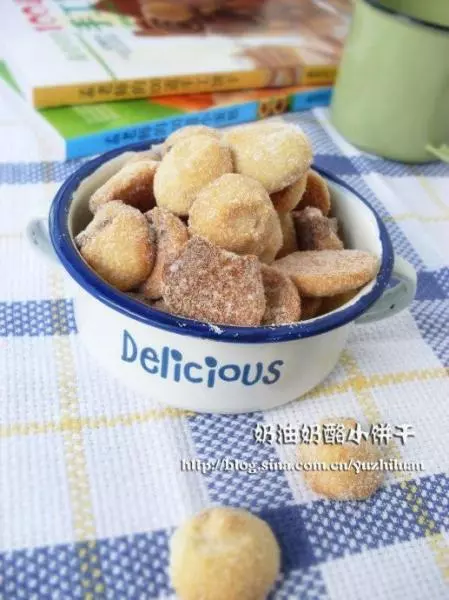
7可覆膜冷藏一小时更好,揉成小球,这么大约5克,也可揉更小的

8烤箱预热190度

9中层,上火180下火150烤10分钟,上火160下火100再烤10分钟,若追求口感酥,可再降低温度慢烤一段时间,密切关注随时调整,可白润可上色,勿焦黑哦

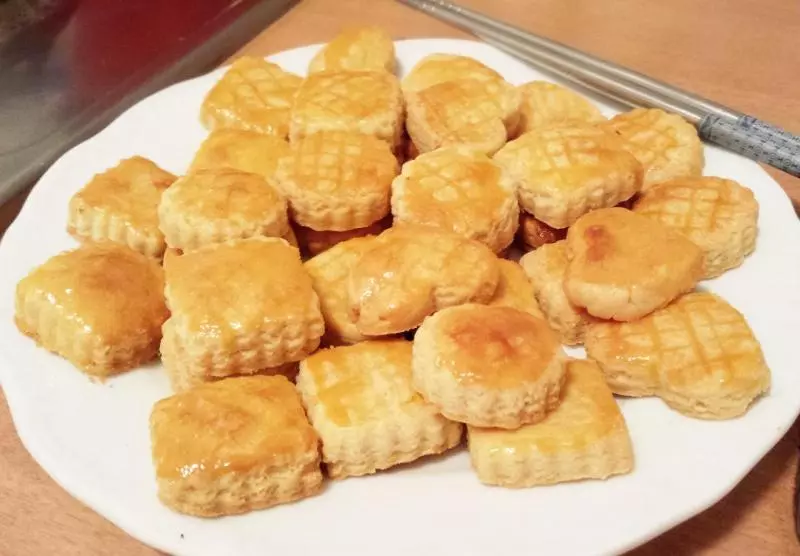
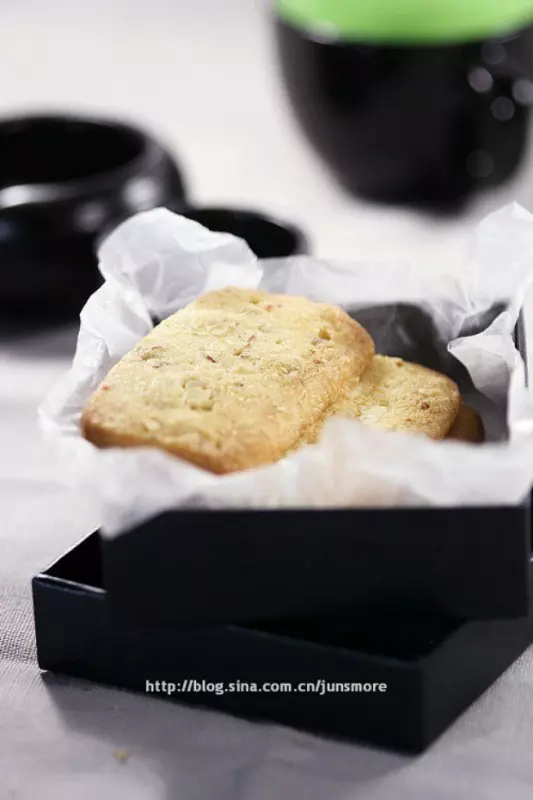
10晾凉,很好吃呀,等第一盘烤时揉了迷你的,更酥呢,只是时间缩短些。

小技巧
1,喜欢油酥口感的可增加黄油用量, 2,慢烤时我把酥豆翻了一面,所以有个上色点,呵呵, 3,酥豆小,烤箱各不同,烘烤时密切关注,随时调整,只要至少烤到手轻按不软即可, 4,反正肯定是超简单易成功型,试试吧。