原料
去骨鸡腿肉: , 洋葱: , 菇: , 红萝卜: , 青豆: , 清酒: , 酱油: , 白砂糖: , 味林: , 鸡汤: , 葱花: , 葱段:
步骤
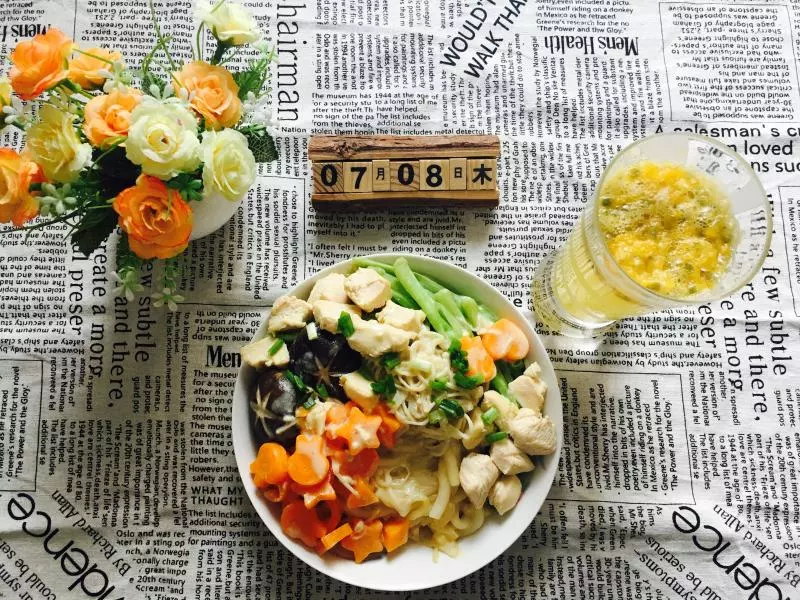
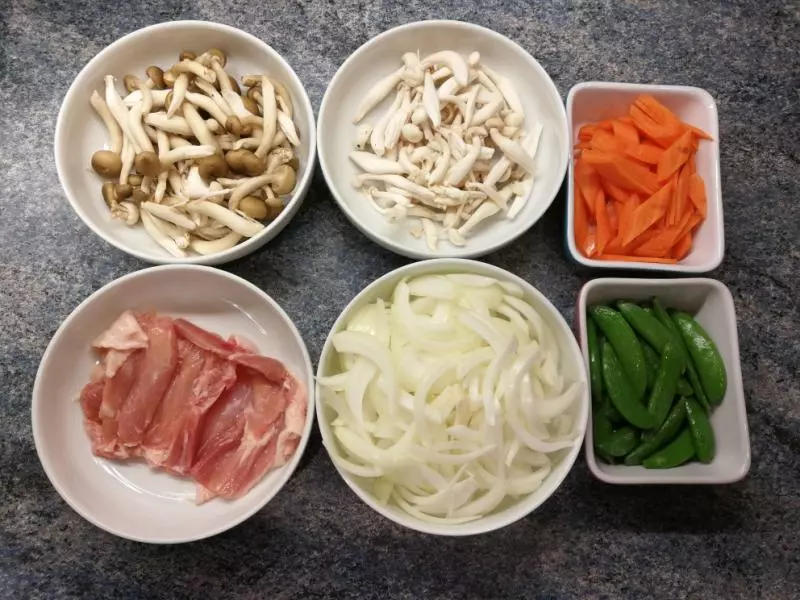
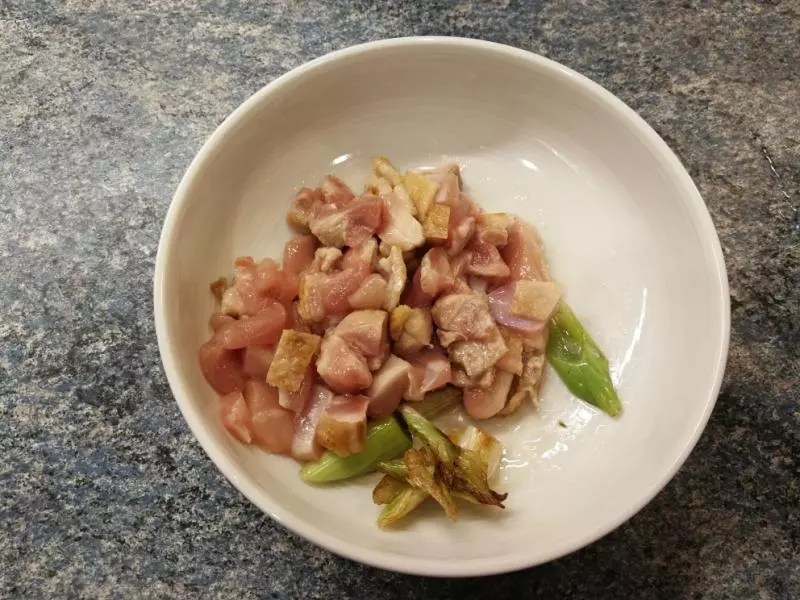
1材料如图所示
2佐料:生抽、味林、清酒、白砂糖、葱段、葱花、咖喱粉

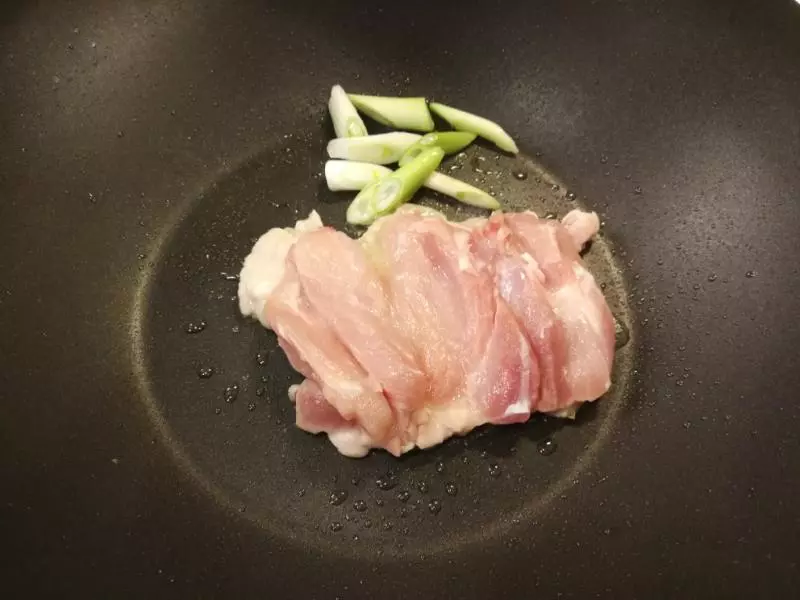
3热锅,不加油

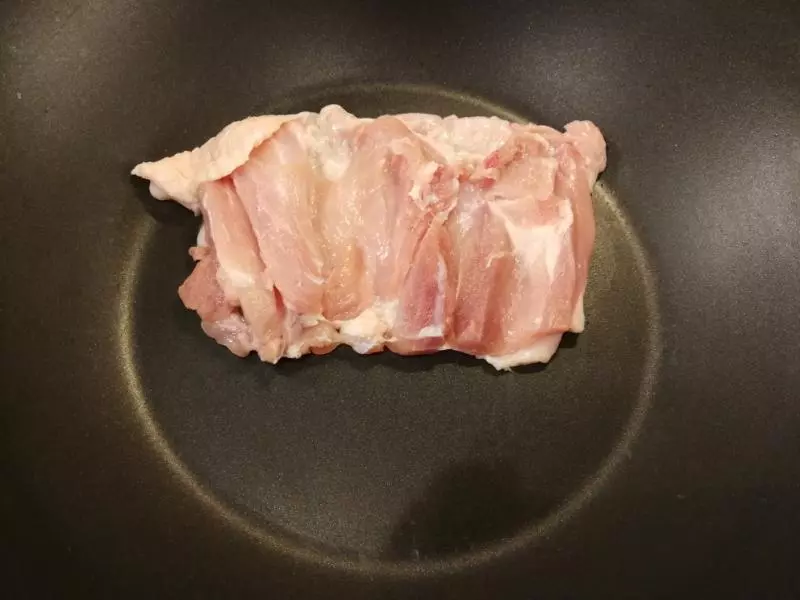
4将带有鸡皮的鸡腿肉朝下,煎至金黄色
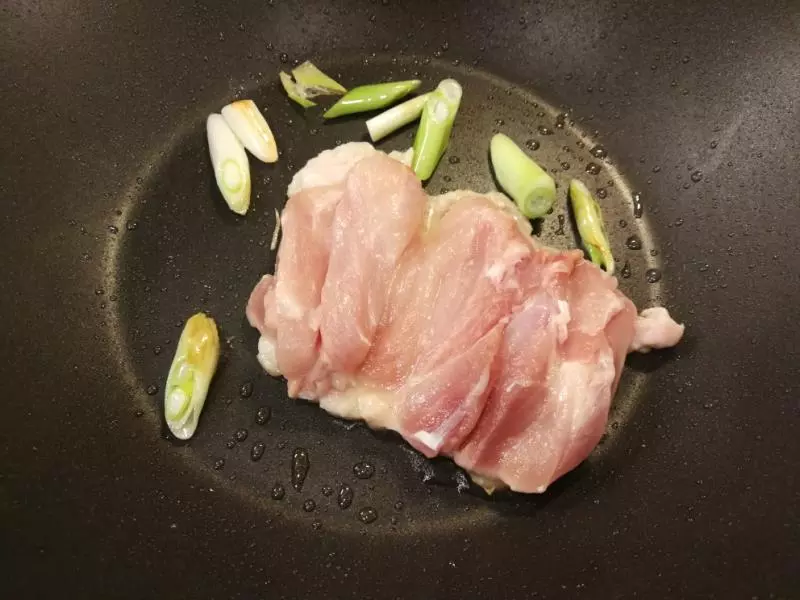
5煎至鸡腿肉的时候会出一些鸡皮的油,把切好的葱段倒入,用鸡皮煎出的油煸呛葱段成微微焦状即可
6如图所示
7煎至(如图)就可以出锅
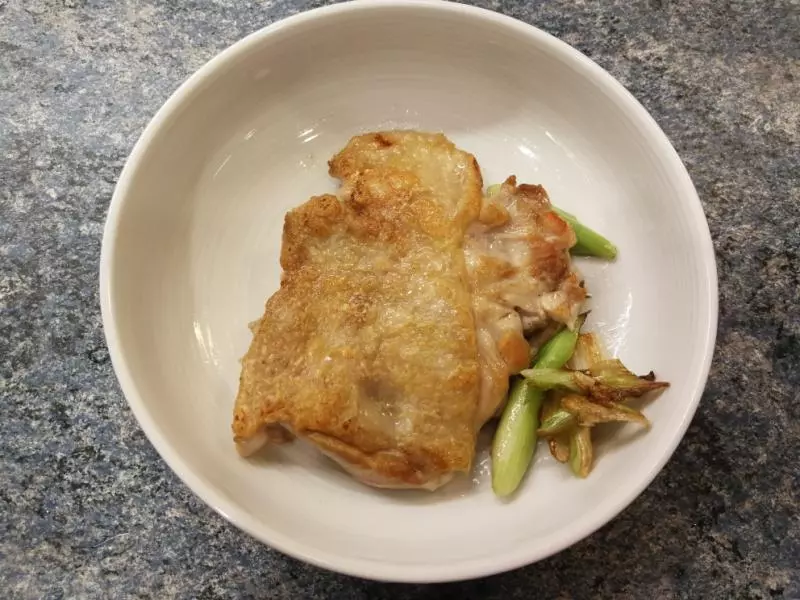
8煎至的鸡腿肉只需煎一面就可以,另一面不要煎
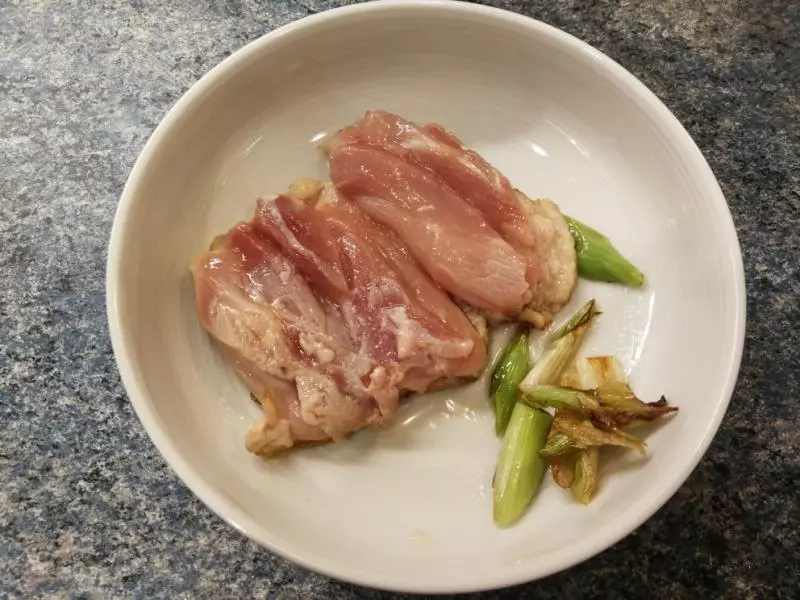
9煎好的鸡腿肉切成丁或段都可以,备用
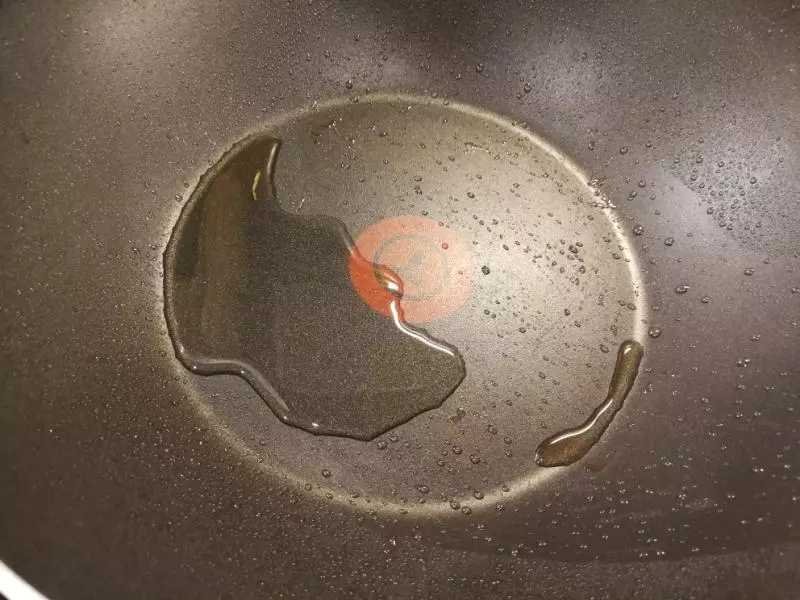
10利于刚才煎出的油再加一点的色拉油热锅
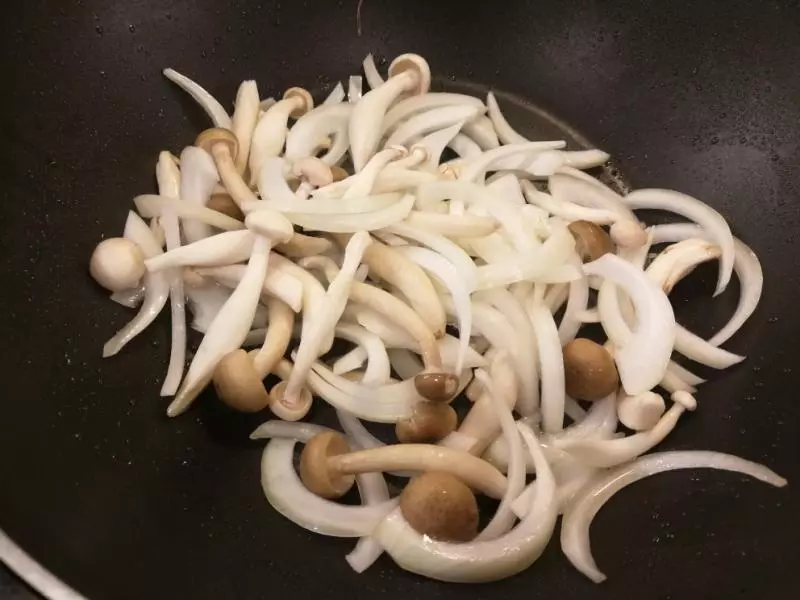
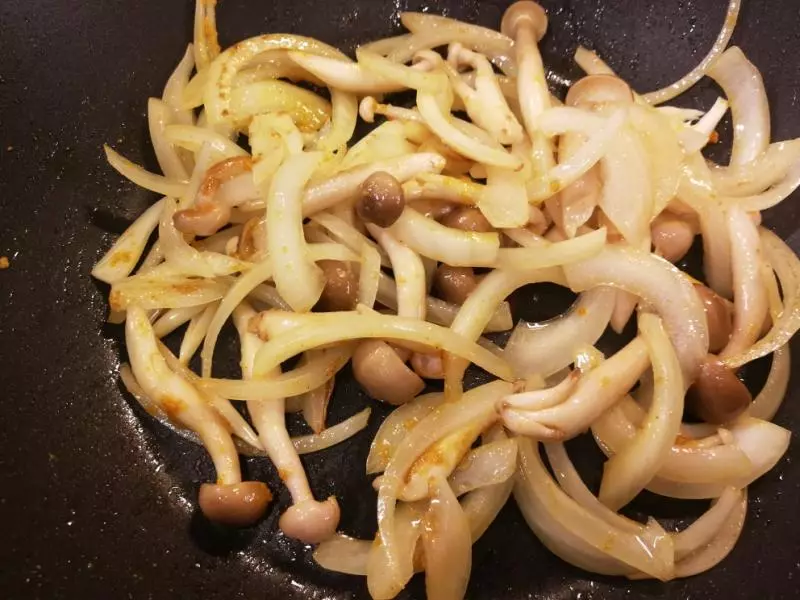
11倒入(如图)材料,翻炒均匀
12加入一小勺的咖喱粉炒香
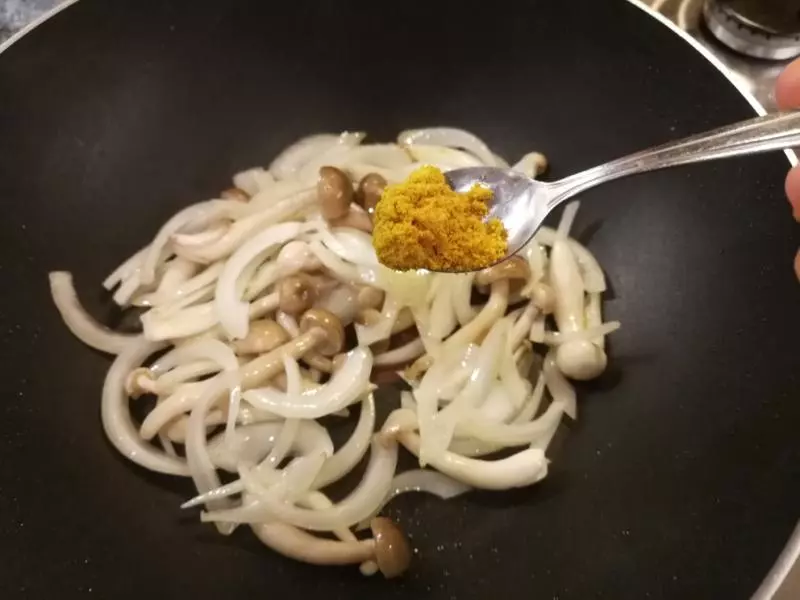
13如图所示
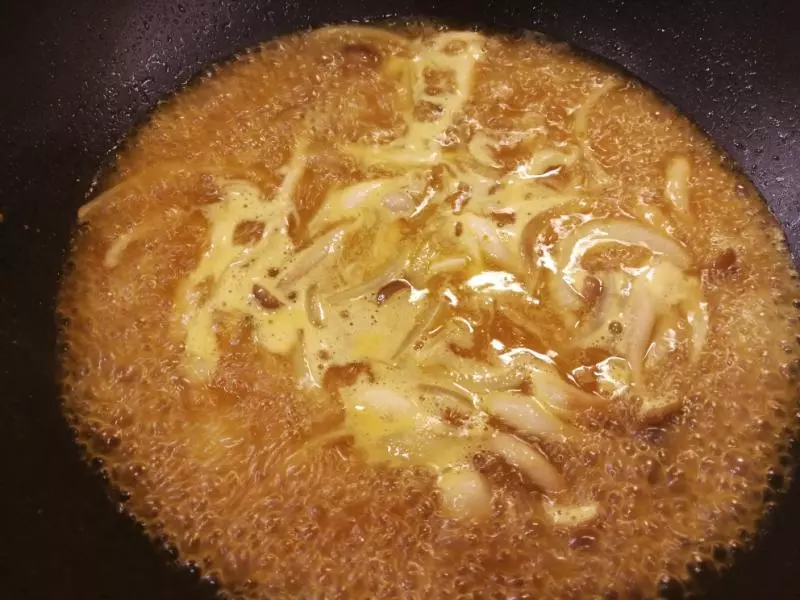
14准备好的鸡肉高汤或清水一份
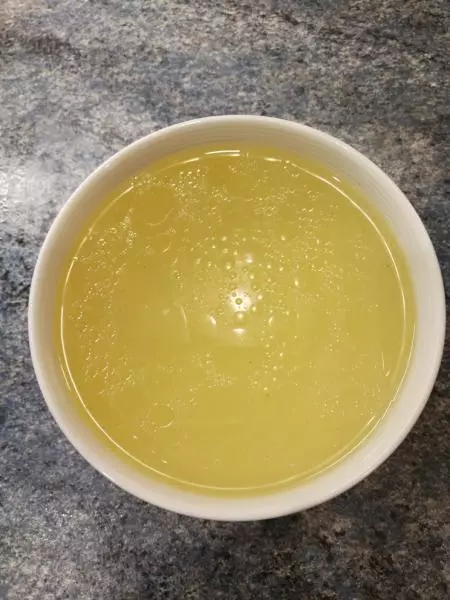
15倒入锅内(如图所示)

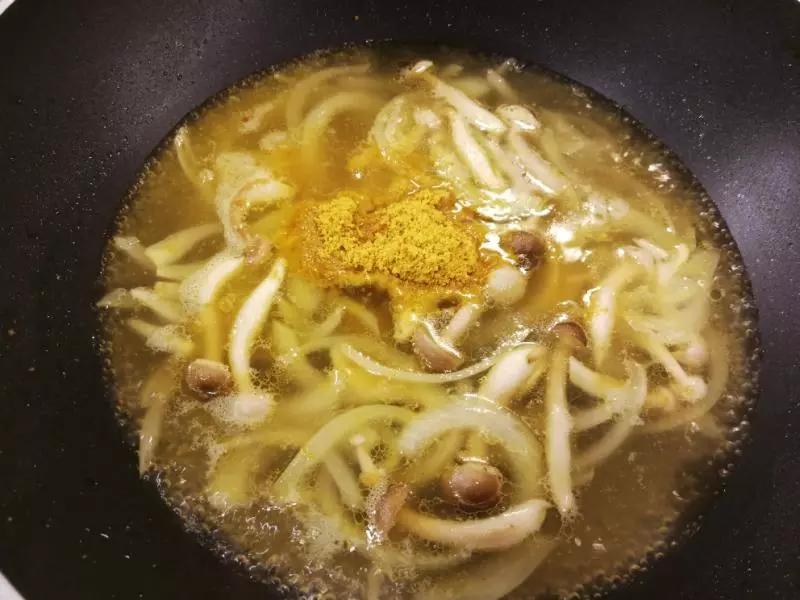
16倒入所有的佐料,一人份的佐料比例是2大匙酱油、2大匙清酒、2大匙咖喱粉、1大匙味林、1小勺白砂糖,转小火煮开
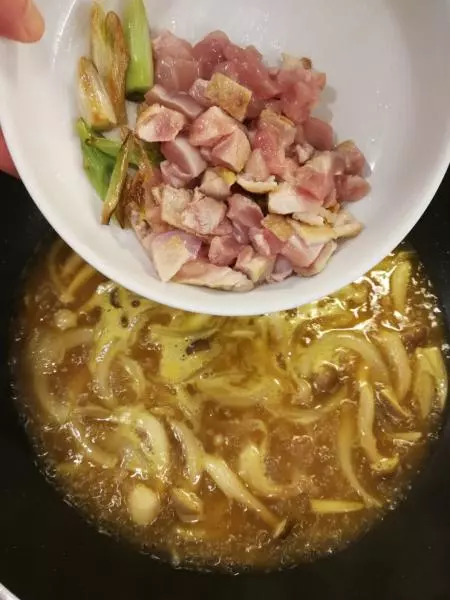
17加入好所有佐料后,倒入已经切好的鸡肉一起煮
18鸡肉煮熟
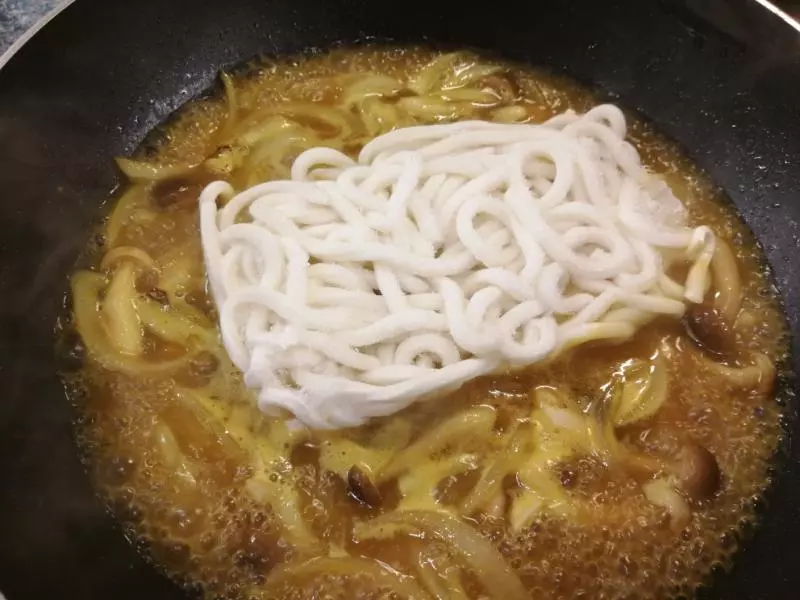
19加入乌冬面,不要去搅拌,如果是冷冻的乌冬面静等1-2分钟,面自然完全化于汤汁中
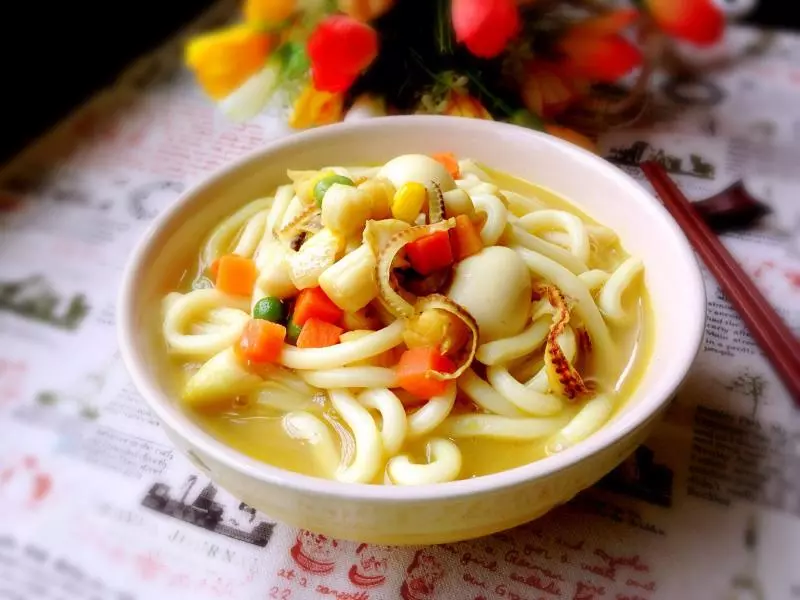
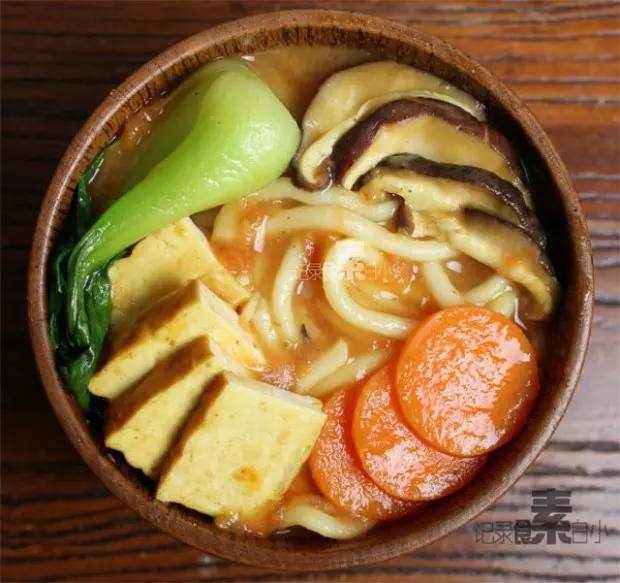
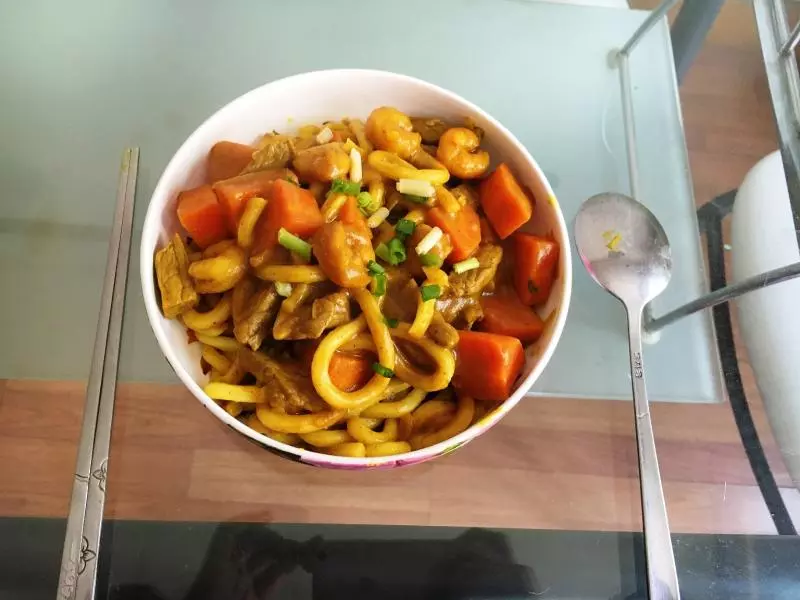
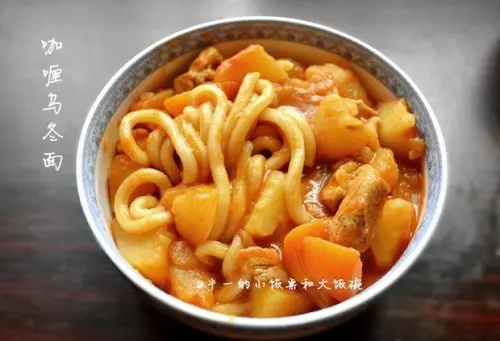
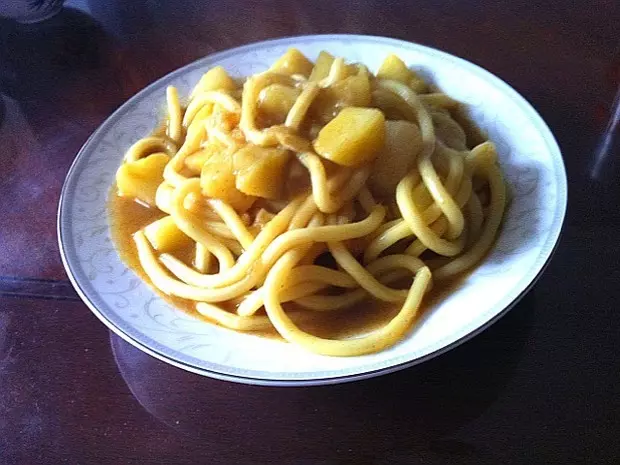
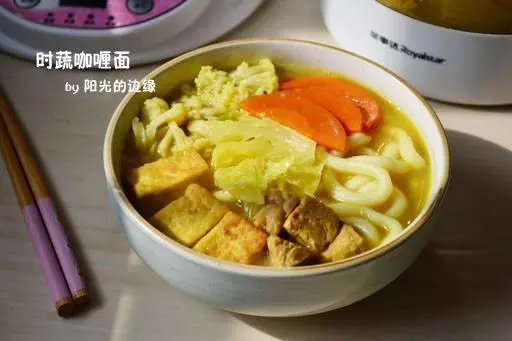
20加入红萝卜即可出锅
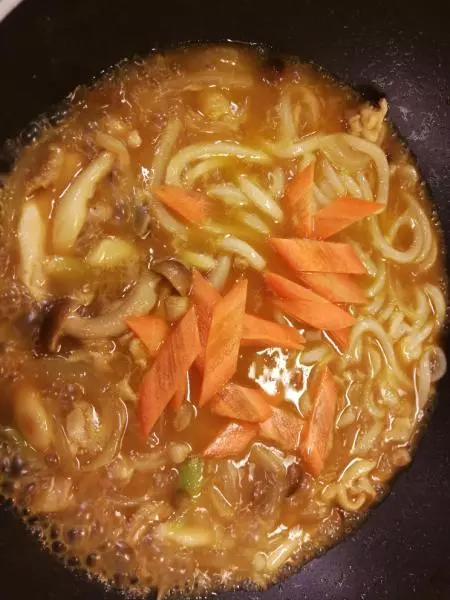
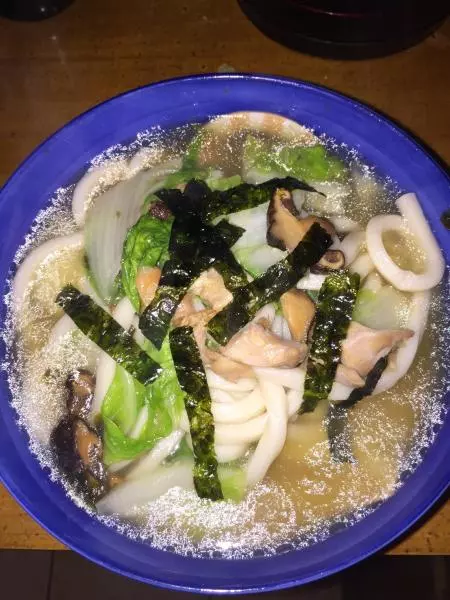
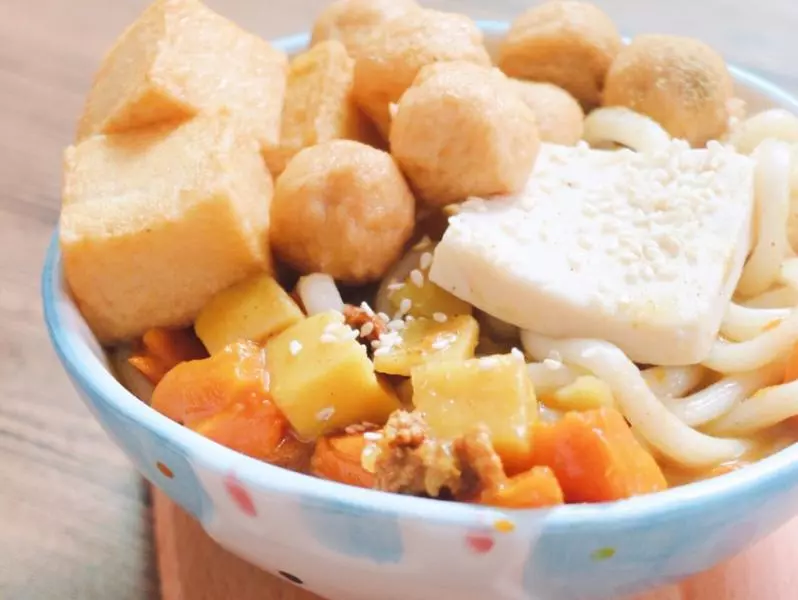
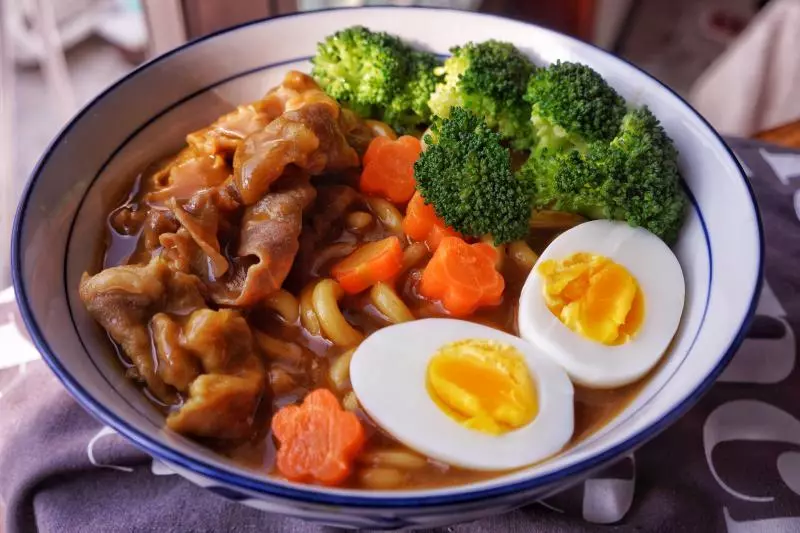
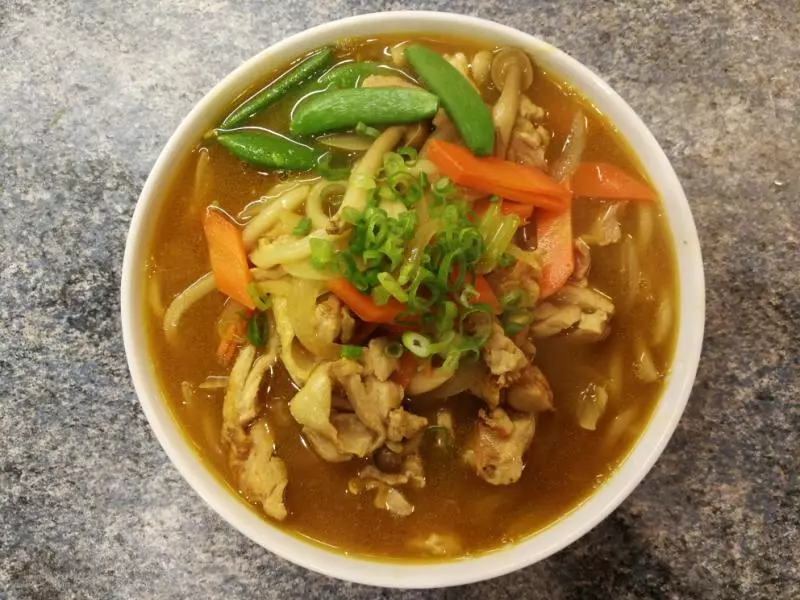
21香喷喷的咖喱鸡肉乌冬完成