原料
低筋面粉: 100克, 鸡蛋: 5个, 牛奶: 70克, 色拉油: 65克, 白糖: 80克, 盐: 1克, 醋: 3滴, 安佳动物淡奶油: 500毫升, 白糖: 60克, 草莓: , 奇异果: , 车厘子: , 巧克力碎: (或者饼干碎)
步骤
1先把蛋清和蛋黄分离,在蛋白里加几滴醋用电动打蛋器打发
2起泡后加60克白糖,一开始少加点,中途再分两次加入白糖
3从中速到高速打发蛋白

4一直打发到干性发泡的程度,判断的标准就是当提起打蛋器,蛋白能拉出直立的尖角的时候就可以了

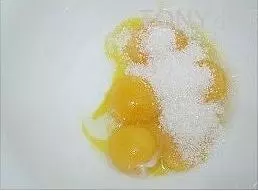
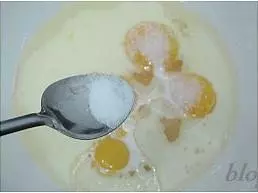
5在5个蛋黄里加入上面剩余的20克白糖
6加入70克牛奶和70克色拉油
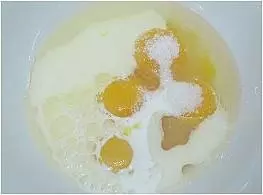
7加入一克盐
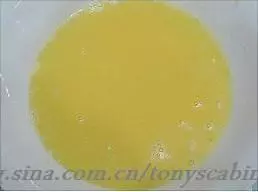
8把蛋黄搅拌均匀
9100克面粉里加入2克无铝泡打粉拌匀后用筛子过滤到蛋黄糊里
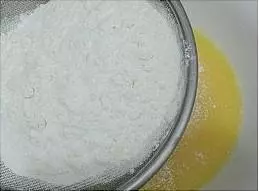
10用炒菜方式(不要划圈)把蛋黄糊和面粉拌匀

11把前面打好的三分之一蛋白放入蛋黄糊里搅拌
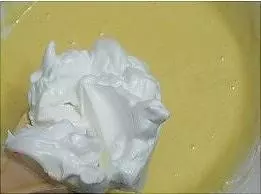
12把上面搅拌好的糊倒入剩余的蛋白中,搅拌均匀
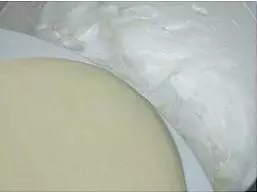
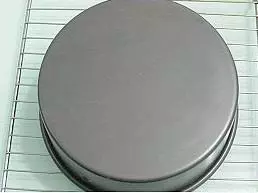
13倒入8寸蛋糕圆模
14震几下去除里面的大泡
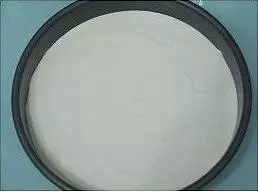
15烤箱预热150度,10分钟左右后放入蛋糕模,改为140度烤60分钟
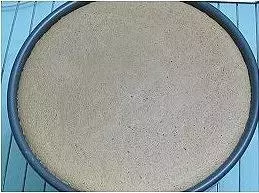
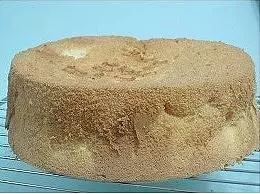
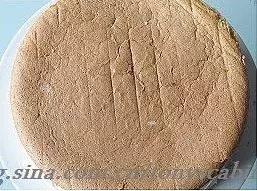
1660分钟后把模倒扣在烤网上
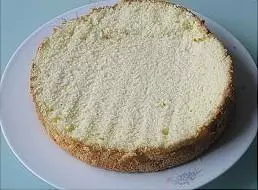
17凉了后脱模
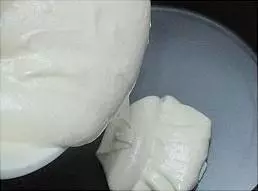
18从冰箱冷藏室里拿出奶油,倒入500毫升于容器里
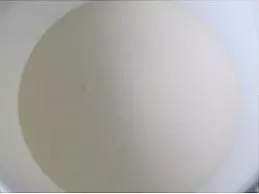
19加入60克白糖,从中速到高速打发奶油
20打到奶油很浓稠,和打发蛋白差不多,看到奶油能竖起直角就可以了

21草莓清洗干净后对切

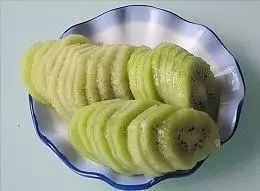
22奇异果(猕猴桃)削皮后切成薄片
23准备好一个比8寸蛋糕模大一点的圆盘

24蛋糕横切成两半
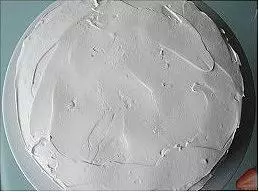
25把一片放圆盘上,放入奶油涂抹(没有刮刀就用水果刀啊)
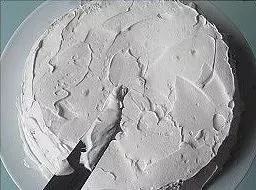
26放入切好的草莓和奇异果片
27把另一半蛋糕盖上
28继续涂抹奶油
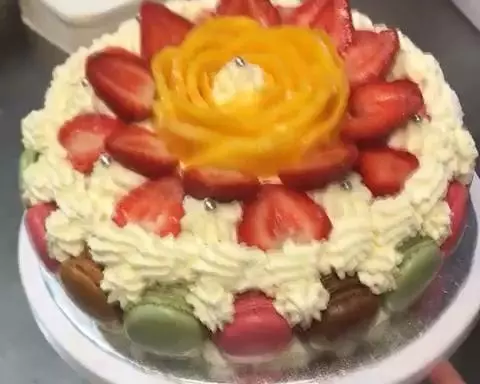
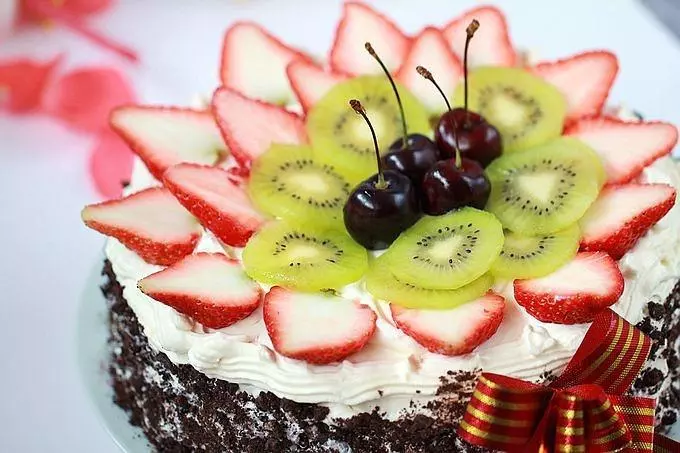
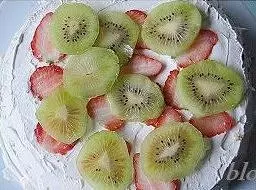
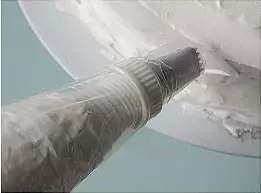
29用裱花嘴略微装饰一下,我们都不是专业的,所以在周围围一圈就可以
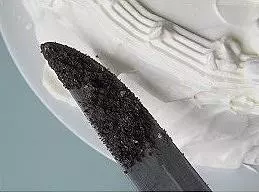
30用巧克力碎(我用的是饼干碎)粘在外围的奶油上
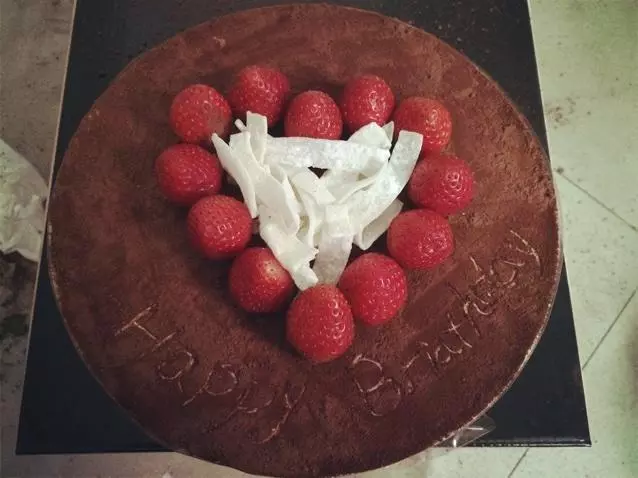
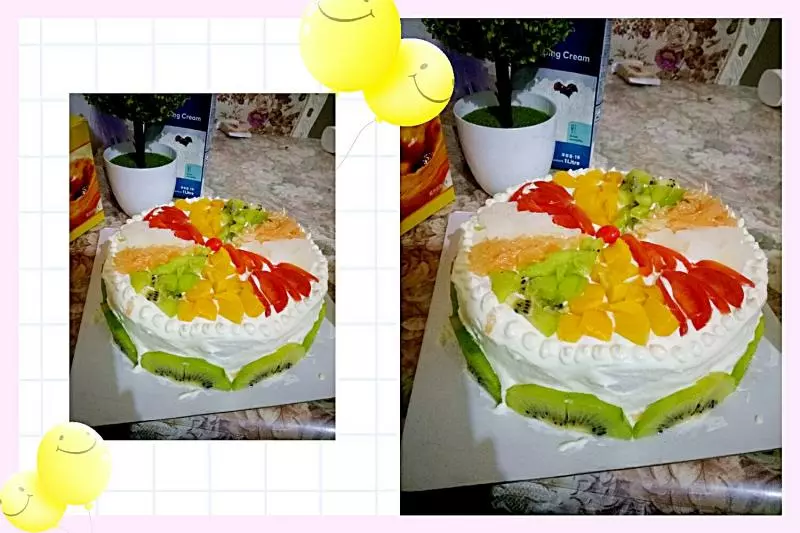
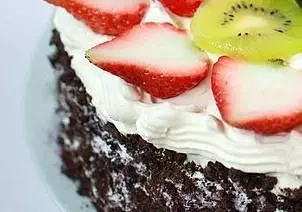
31最上面用水果片装饰就可以了
小技巧
- 做生日蛋糕对蛋糕胚没有特别讲究,即使有点塌陷也没关系,只要好吃就可以,因为外面有奶油包裹,可以掩盖掉; 2. 动物奶油当然比外面卖的植物奶油是两个档次,后者是有反式脂肪对人体有害,但是动物奶油比较难打发,口感虽然也很好,但是不稳定,但是自己吃,健康最重要; 3. 动物奶油是要求在冰箱冷藏室保存,打发的时候拿出,为了保证打发成功,建议要没过打蛋器的二分支一以上,才能保证有空气不断进去,蛋白才会更容易打发,如果是夏天或者温度高于16度,那么就要放在有冰块的容器上打发奶油,那么为什么外面商家用廉价的植物奶油呢,因为植物奶油非常容易打发; 4. 我觉得这个奶油的打发和蛋白打发差不多,我们是用来裱花的,所以如果打的不过就会很稀,所以就没法覆蓋在蛋糕胚上,而且裱花的时候裱出的条纹会很快消失,所以一定要打到很浓稠; 5. 奶油是否打发好大家可以提起打蛋器来看看,如果拉出的奶油可以直立那就说明差不多了,这样裱花的话奶油不会倒,但我想,即使没有完全到位,也不影响成品的美味; 6. 全部装饰好后,如果暂时不吃或者是没有吃完,记得要放入冰箱冷藏,最好把温度设在1度到3度左右。