原料
饺子皮: , 瘦肉末: 鸡蛋, 生粉: 盐, 鸡精: 葱花, 姜末: 白菜, 油: , 清水:
步骤
11、肉沫中加入鸡蛋、生粉、盐、鸡精、葱花、姜末搅拌均匀。
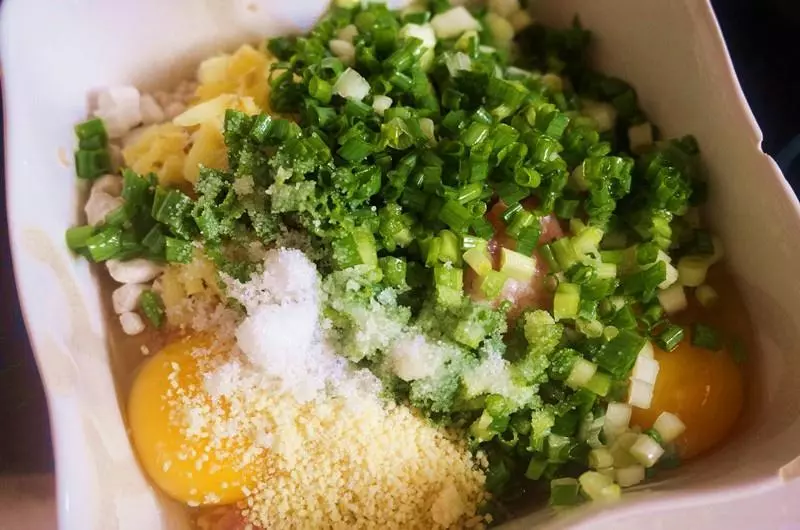
2把白菜切碎加入肉末中搅拌均匀。 (加几个鸡蛋可以根据瘦肉的量来定,我加的是两个鸡蛋,瘦肉500克,白菜和肉的比例是1:1)
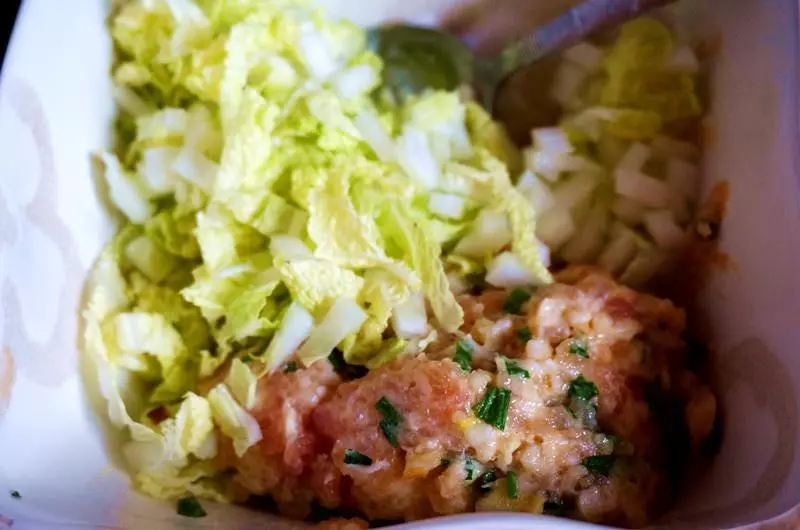
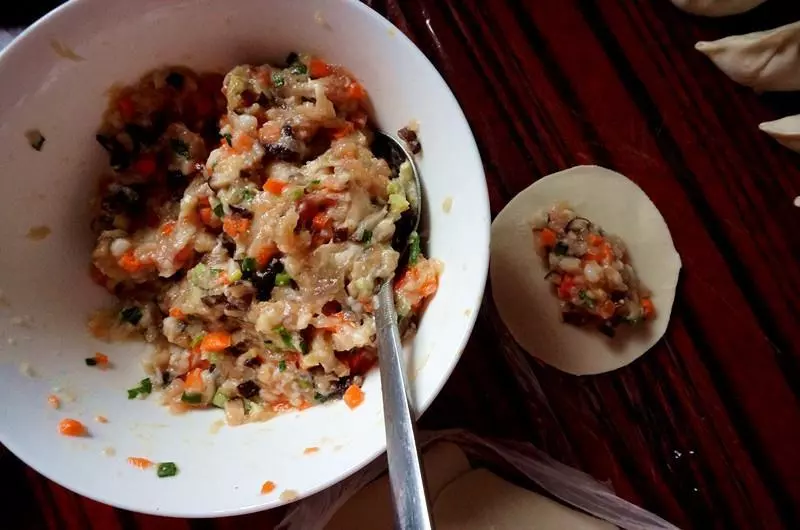
3调好的肉沫包在饺子皮里面,具体的包法我就不演示了,小美我实在惭愧。
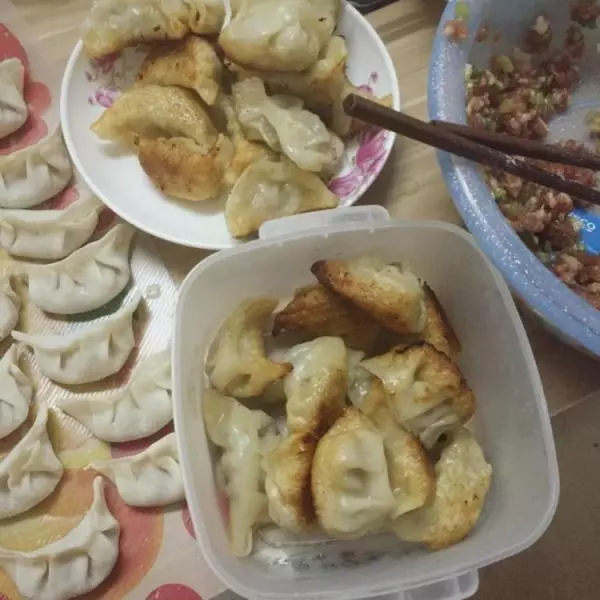
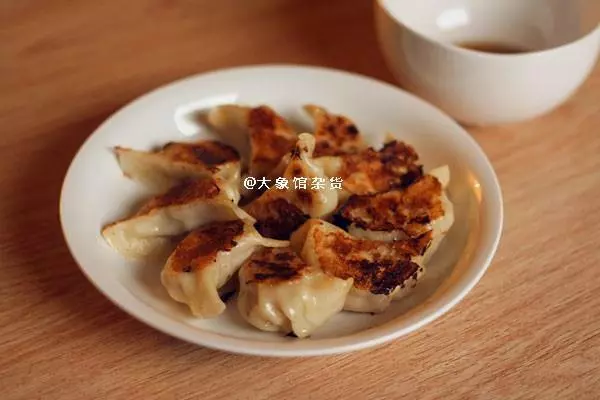
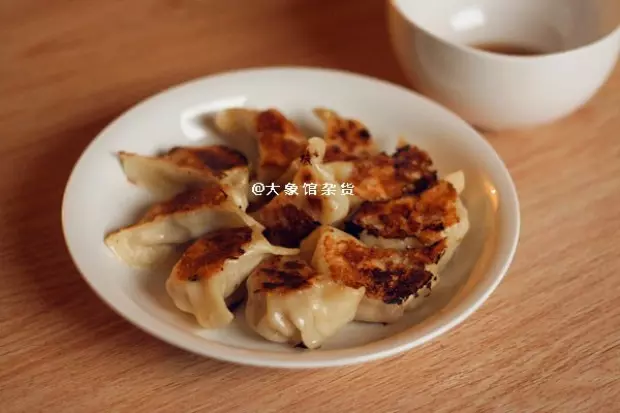
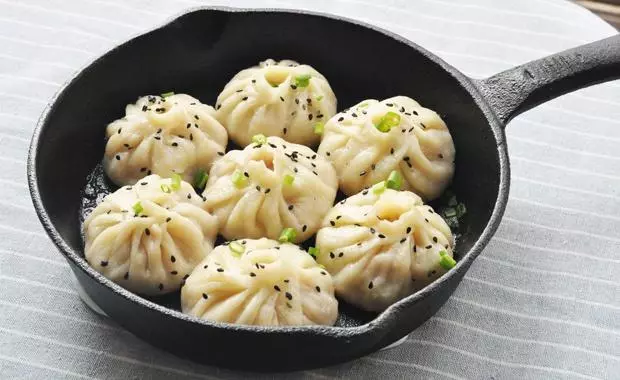
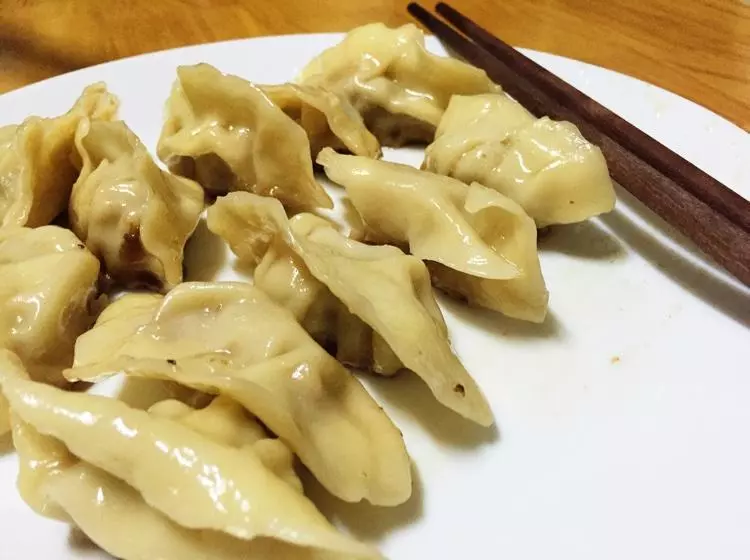
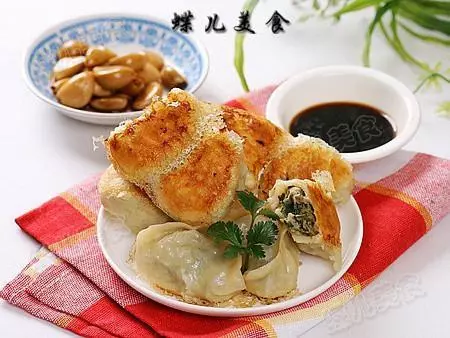
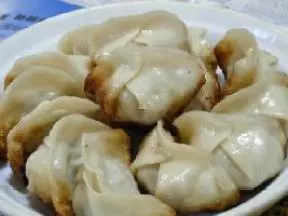
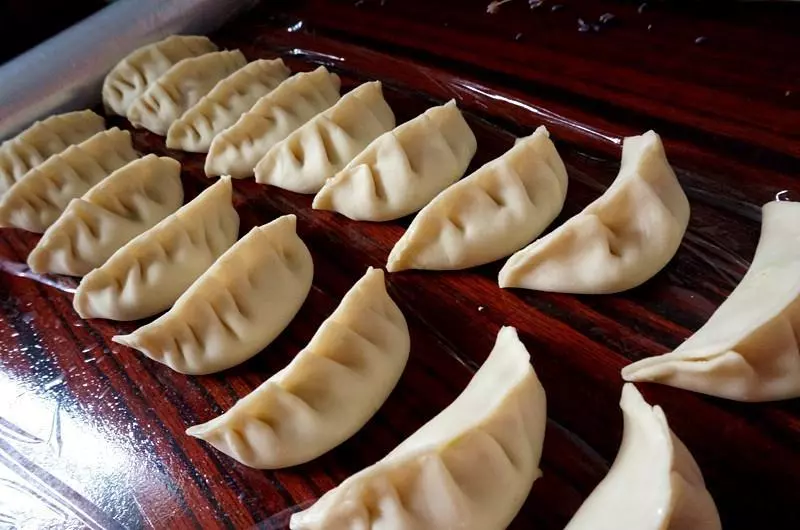
4包好的成品
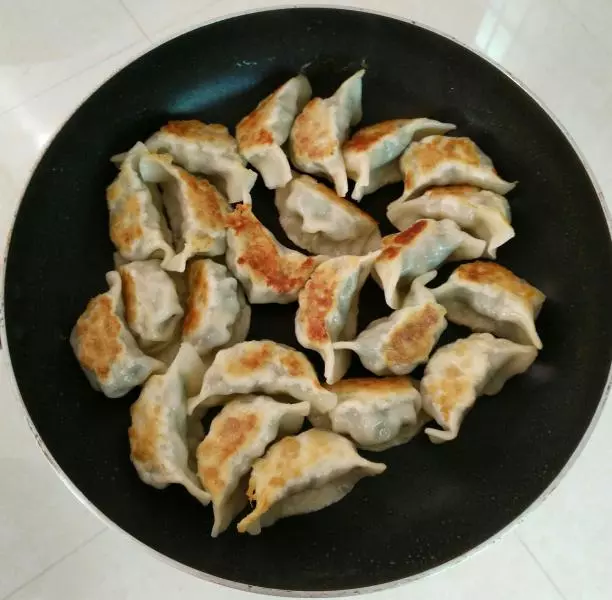
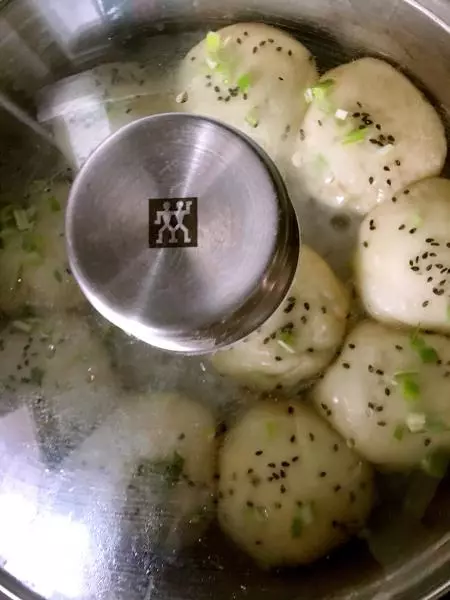
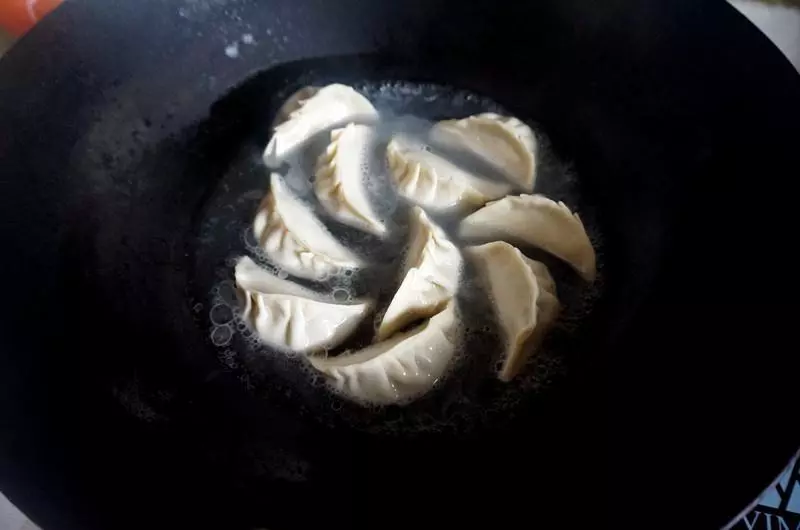
5热锅倒入少许油,把刚包好的饺子放入锅中,煎至底部微焦(煎到晃动锅柄饺子在锅中也能动的程度)。

6加小半碗水,中火盖上锅盖焖至水干(听到锅中滋滋响时)。
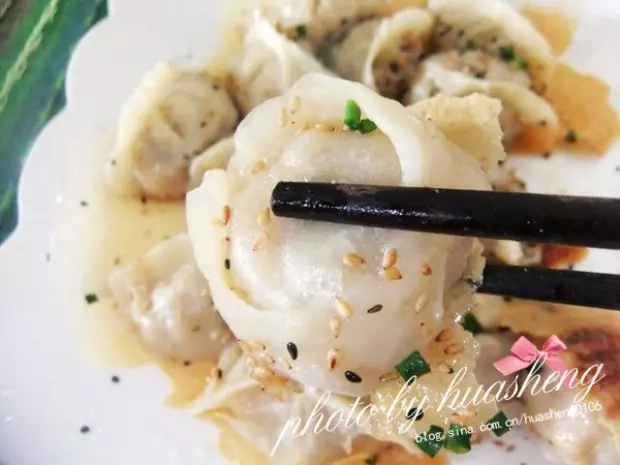
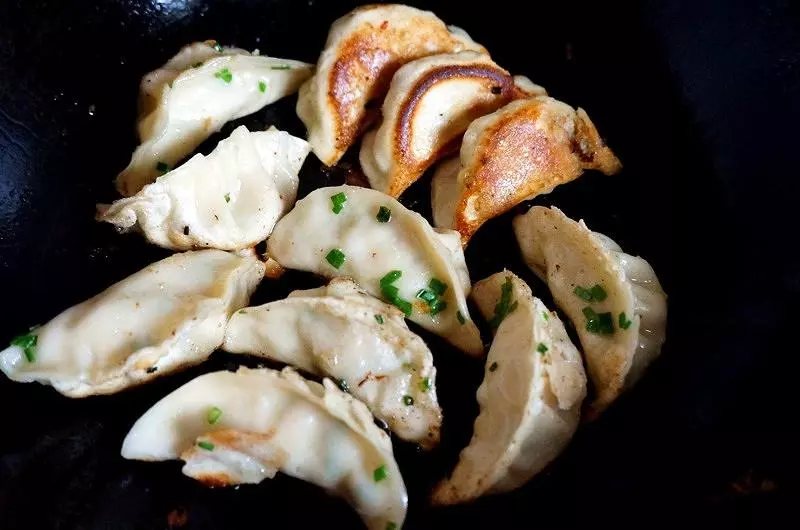
7再次加食用油把饺子底部煎至合适的焦黄,自己觉得可以了就撒上葱花起锅。
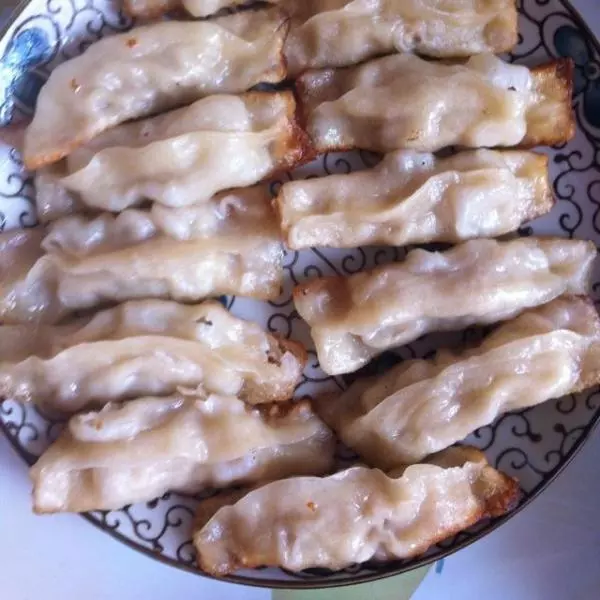
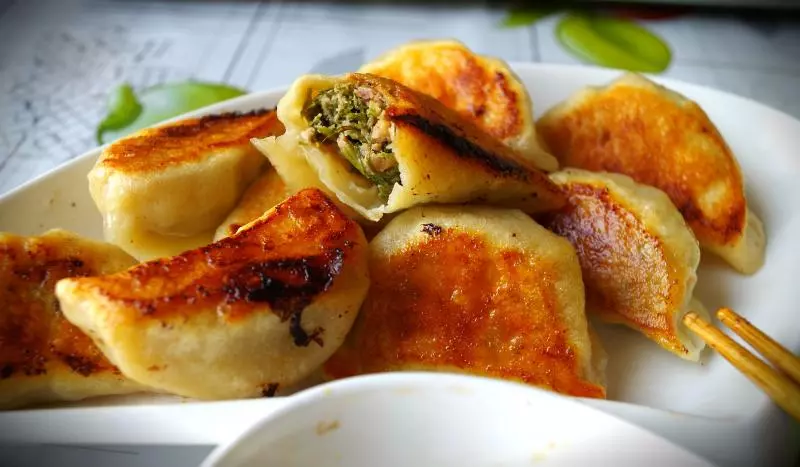
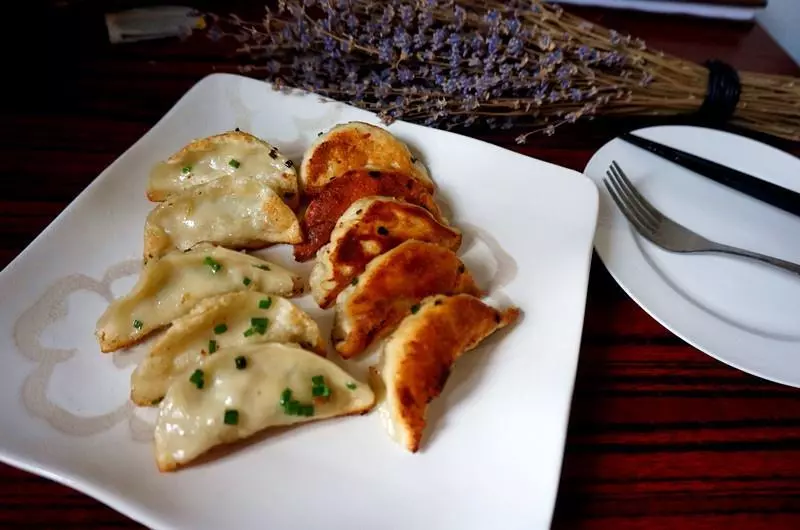
8成品图欣赏
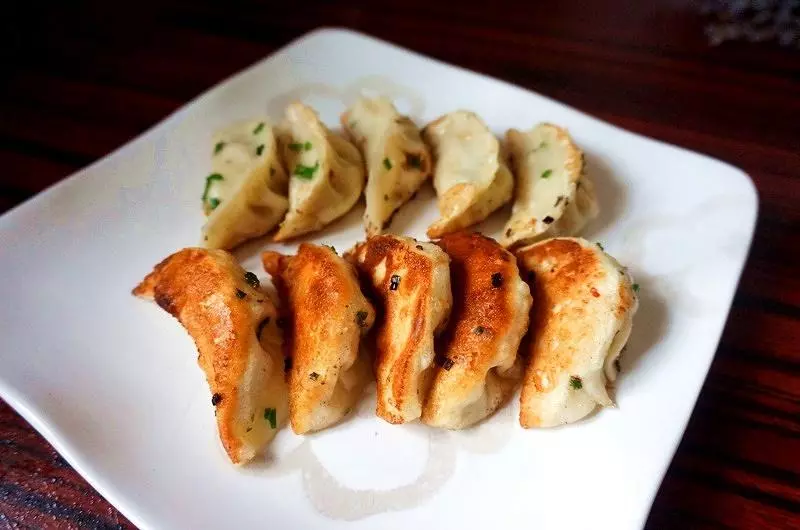
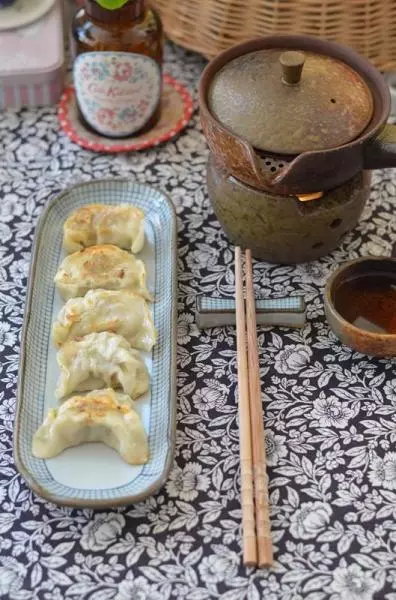
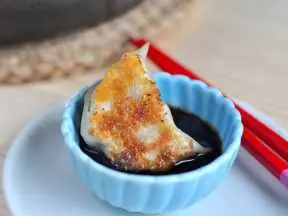
9吃得时候放点调料沾着吃吧!!生抽、醋、辣椒油(1:2:2)
10小编的个人公众号,上面很多菜谱,每天也都会更新最新的菜谱,搜索公众号“meishi0123”或者扫这个二维码添加。

小技巧
1、刚放入锅中的饺子是粘锅的不能动,亲不要用锅铲去碰它哦,它们很脆弱的。 2、水焖干以后加油进去煎时,也不要随意的碰它,直到底部变焦黄或者变硬可以用铲子微微移动。如果饺子粘锅了,硬去动它饺子皮容易坏掉。