原料
鸡蛋: 个4~5, 馒头: 剩下的, 盐: 看着办, 青菜: 一把, 味极鲜酱油: 看着办
步骤
1大批馍馍即将发霉!赶快吃掉它

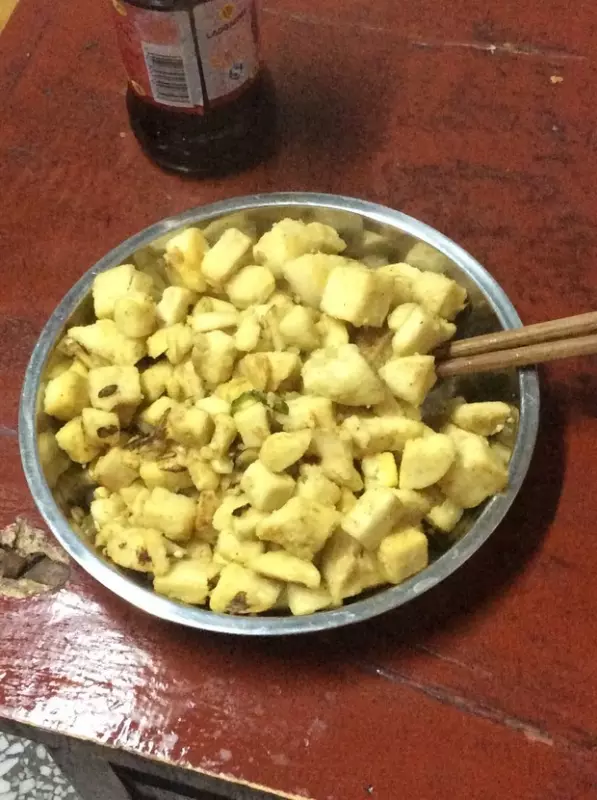
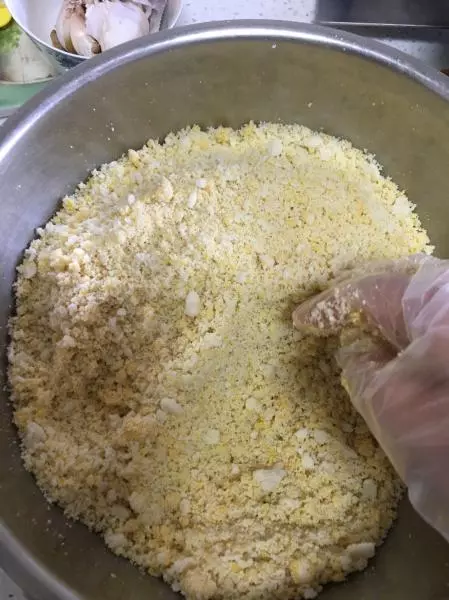
2请你剥掉馍皮,把它揉戳成渣渣
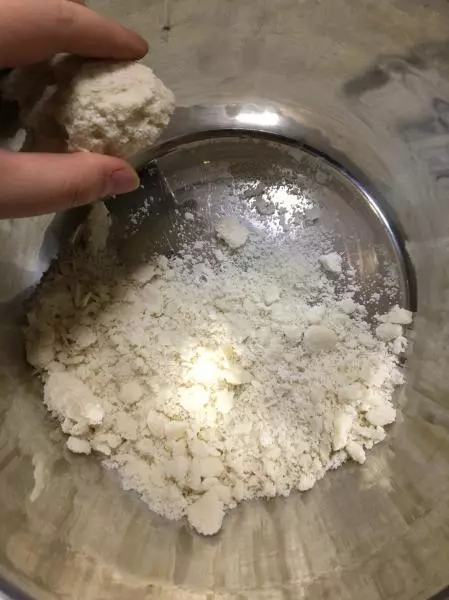
3很多人说为啥不切成丁,我只能说渣渣容易多吃点,不要问我有什么科学依据
4配菜,大家可以自由发挥,彩椒呀!红萝卜?、玉米粒、青豆等等,你喜欢的都可以,最好不要放容易出汁的,不然会炒燃糊
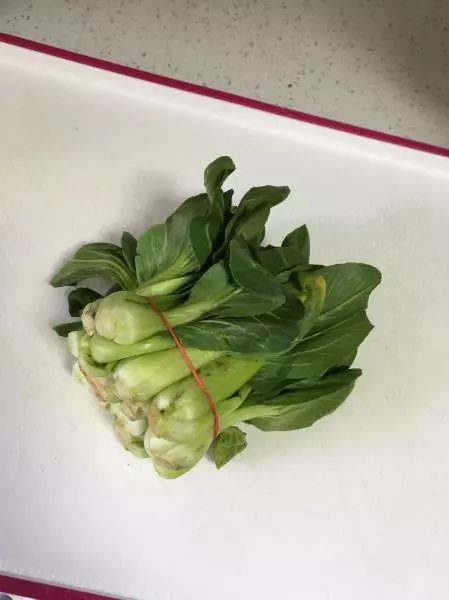
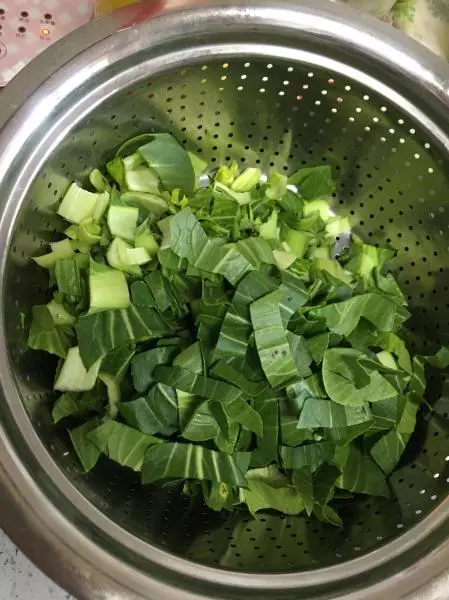
5青菜切小段
6蛋清分离
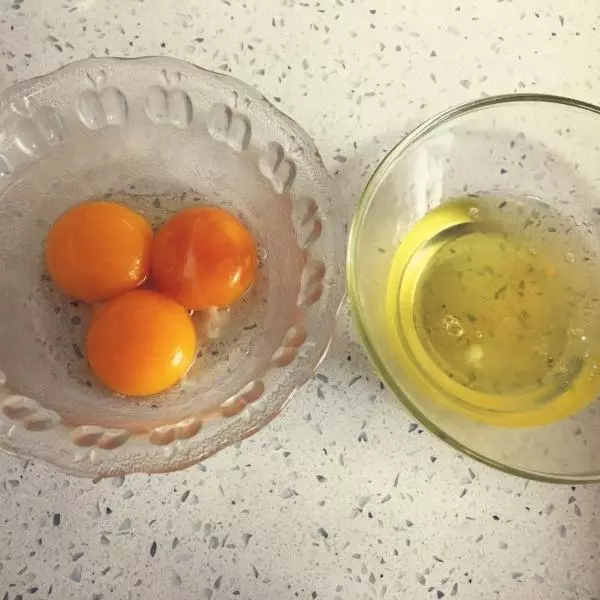
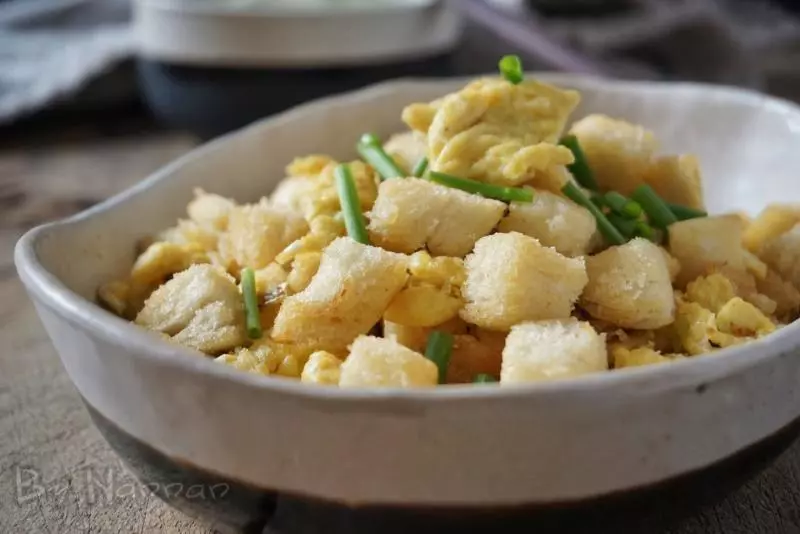
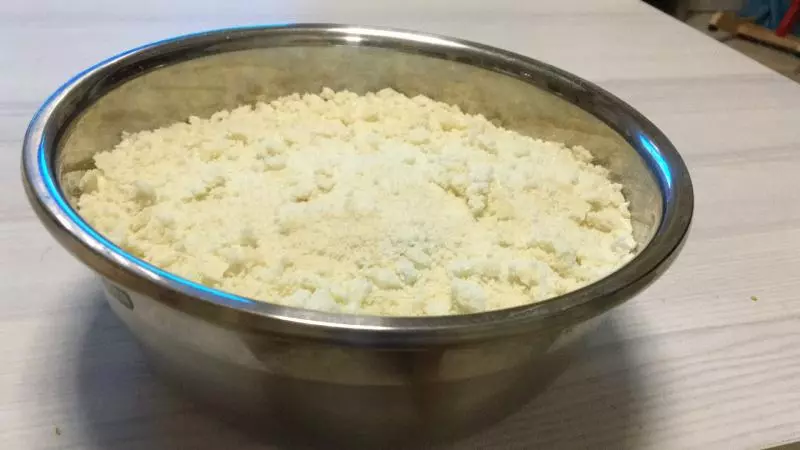
7只需要蛋黄!蛋黄会令馍馍松软,搅拌均匀吧,用手!

8搅拌完成还是这种干干的哦,鸡蛋自己看着放!
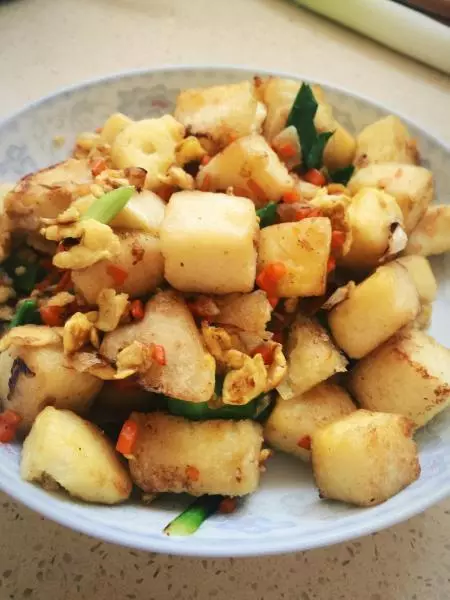
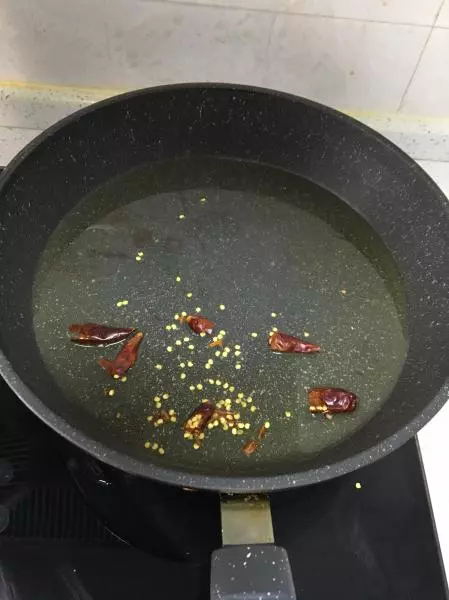
9不用说也知道油要多一点吧!放入干辣椒炝锅!我用的是不粘锅!搅拌不快容易粘锅糊锅!
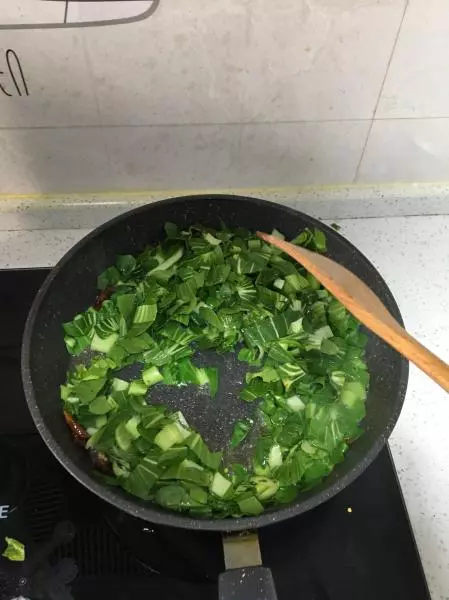
10下配菜,放盐、放味极鲜酱油,进量多放一点,搅拌均匀
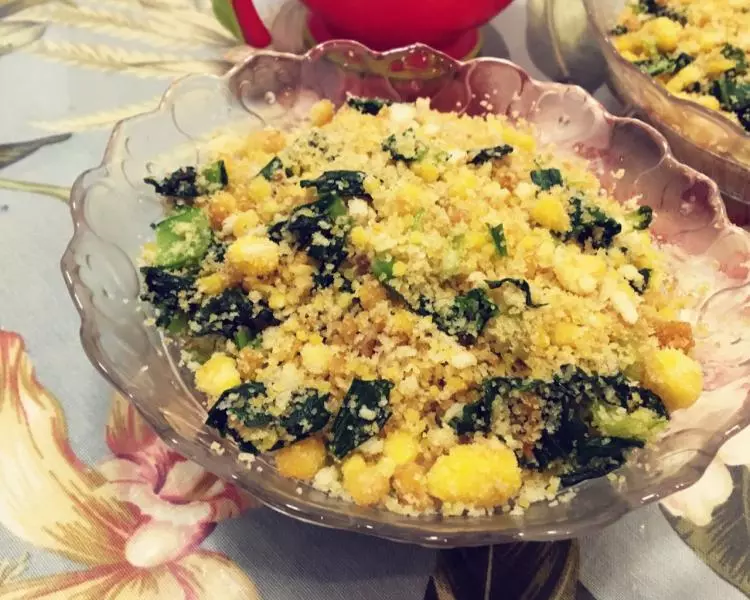
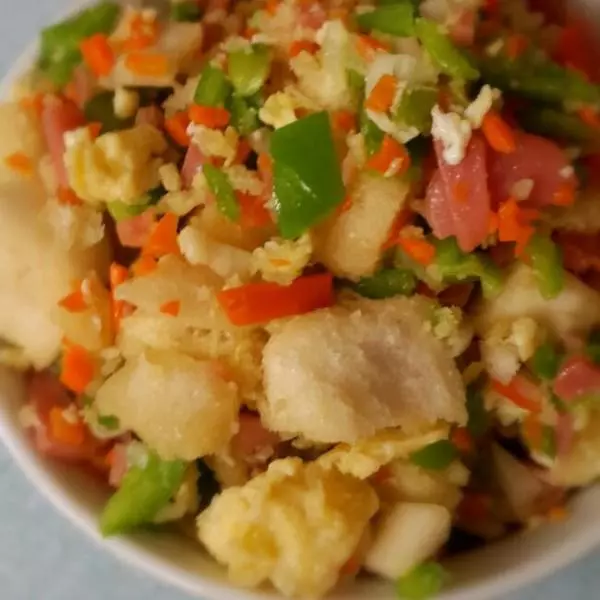
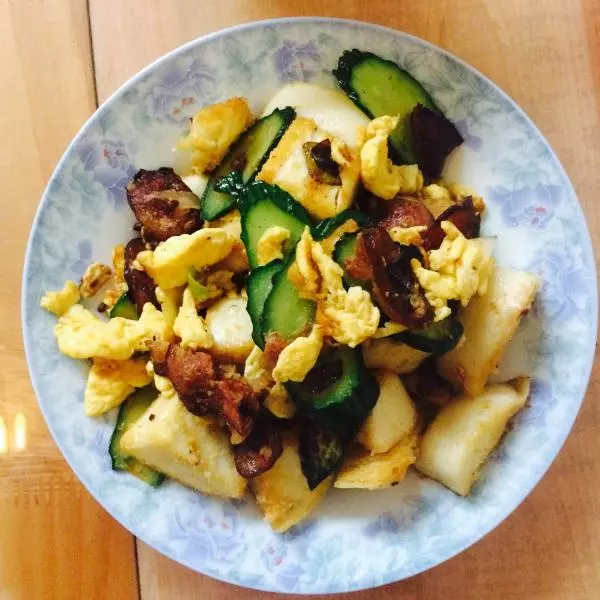
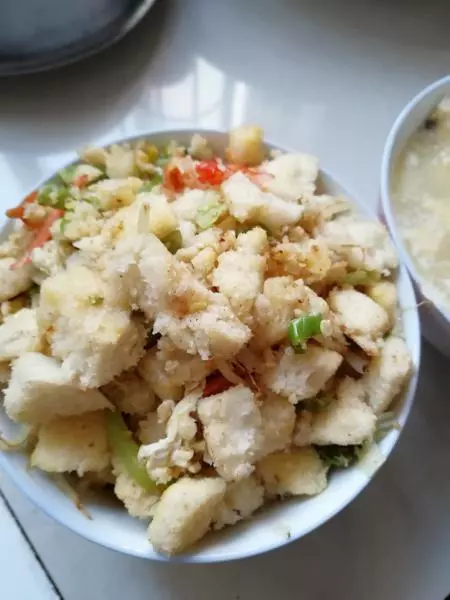
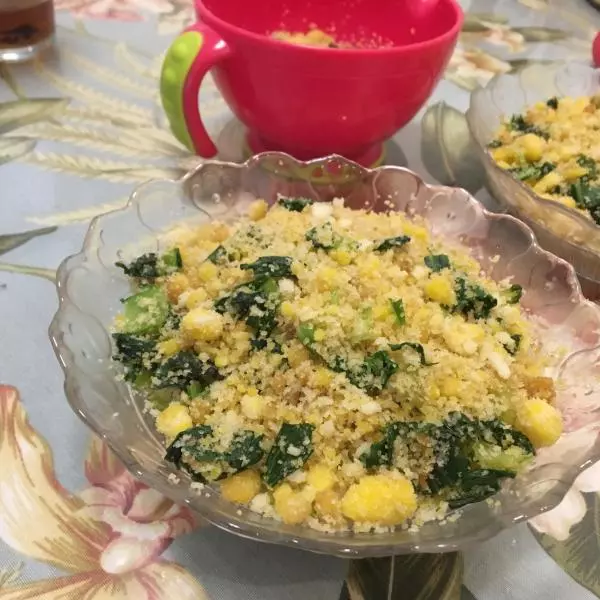
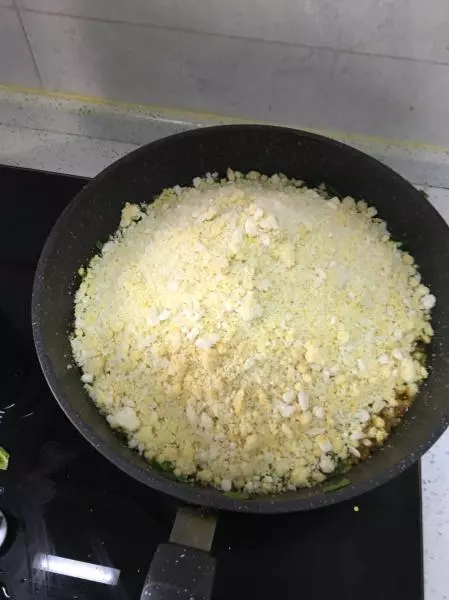
11配菜炒断生之后就放入拌好的馍花
12请你搅拌,基本就不放盐了,之前在配菜里放的就可以了,如果觉得淡你在放一点!
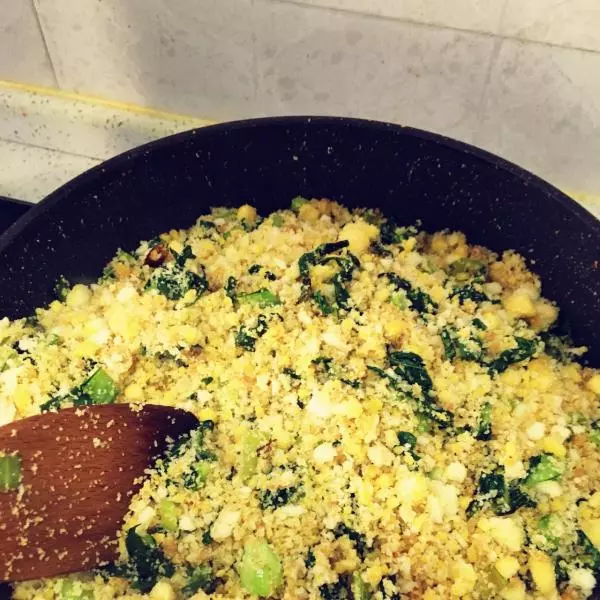
13完成!