原料
油皮部分:: (16个量), 中劲面粉: 200克, 纯猪油: 70克, 白砂糖: 20克, 水: 70克, 油酥部分:: , 低筋面粉: 160克, 猪油: 60克, 馅料:油性红豆沙: 352克, 鸭蛋黄: 16个, 表面装饰:: , 鸡蛋黄: 1个, 黑芝麻(生的): 适量
步骤
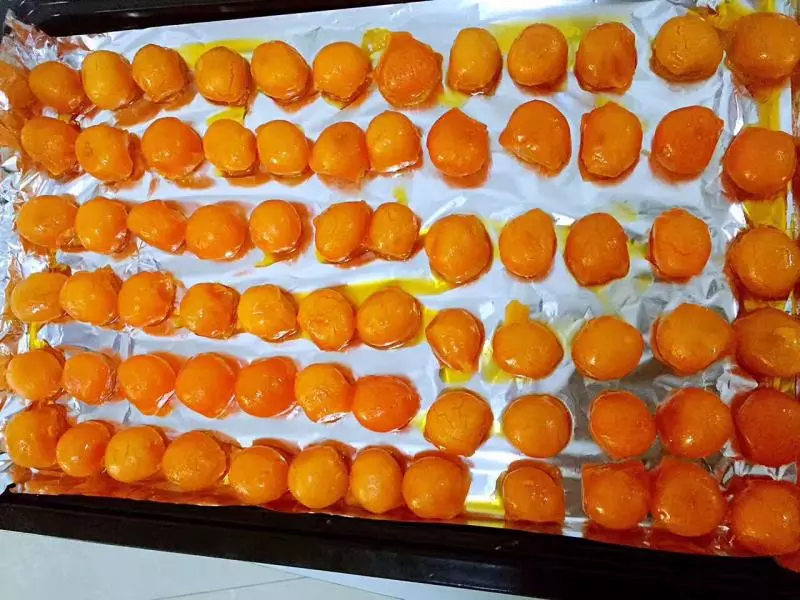
1真空速冻蛋黄解冻喷上朗姆酒 烤箱预热180度 8分钟左右蛋黄吱吱响微微出油(不要烤过烤裂 否则蛋黄容太干)
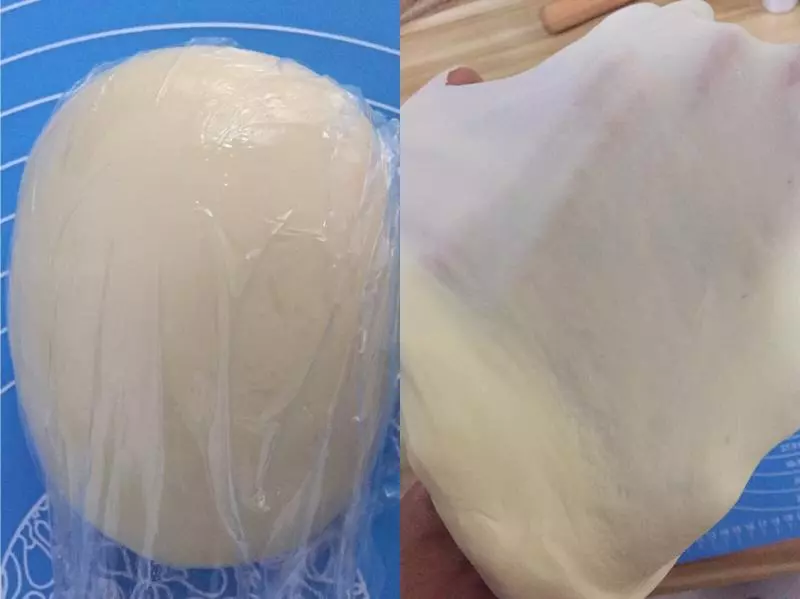
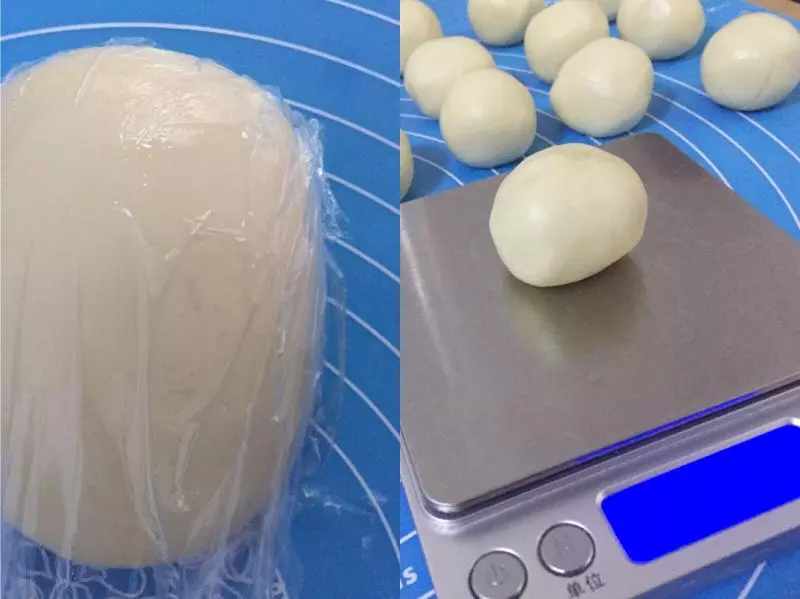
2第一步先做油皮部分 把中筋面粉 猪油 糖 水全部称重 放在一起揉成面团 最好揉出手膜(如图揉出手套膜)保鲜膜盖好松弛三十分钟!
3第二部在做油酥、把低筋面粉和猪油混合在一起揉至光滑 然后油酥每个分成13克搓圆 覆盖保鲜膜备用!
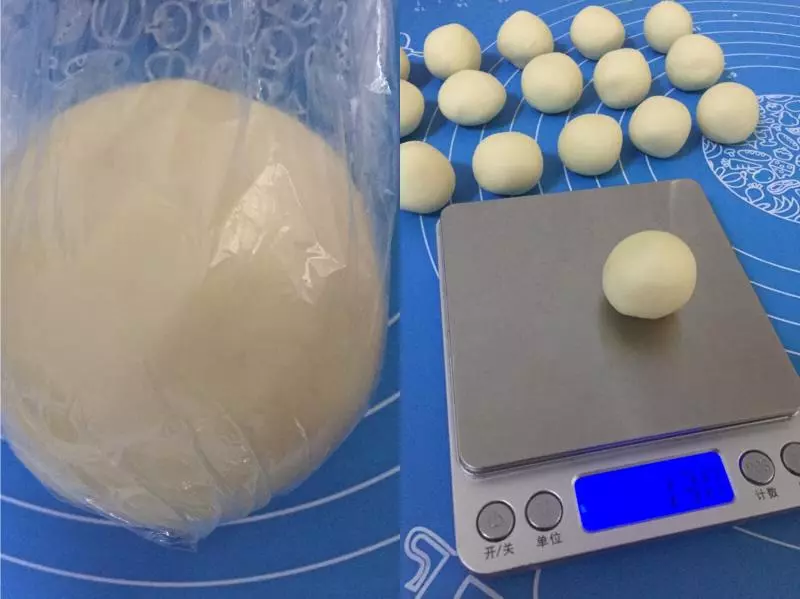
4第三步分好油酥后 油皮部分也松弛的差不多了、 把油皮每份分成22克搓圆 覆盖保鲜膜备用!
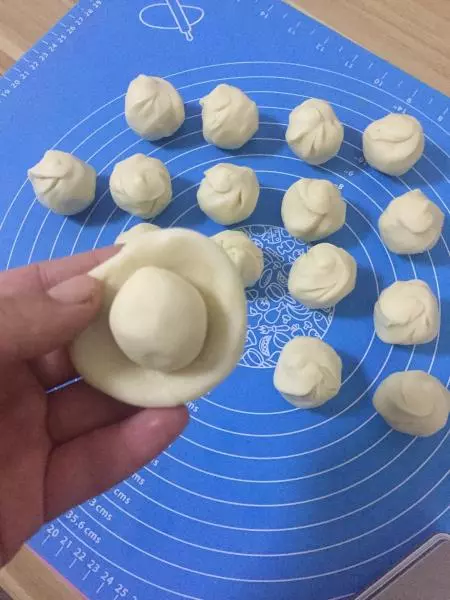
5第四步、把静置好的油皮按扁 把油酥放在中间包裹其中 收口朝下 覆盖保鲜膜静置15分钟(保鲜膜一定要盖好 要不然面容易干、时间长了不好包)
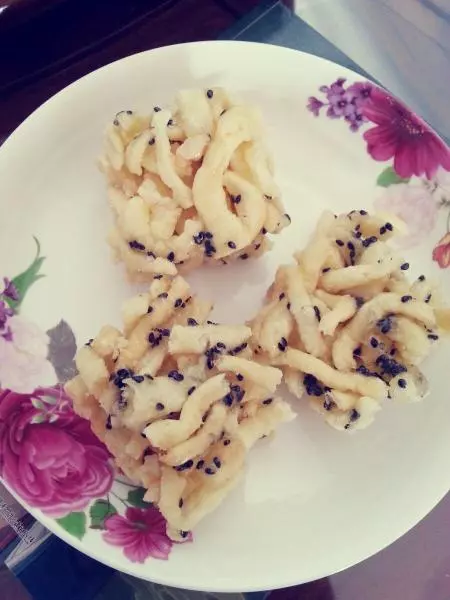
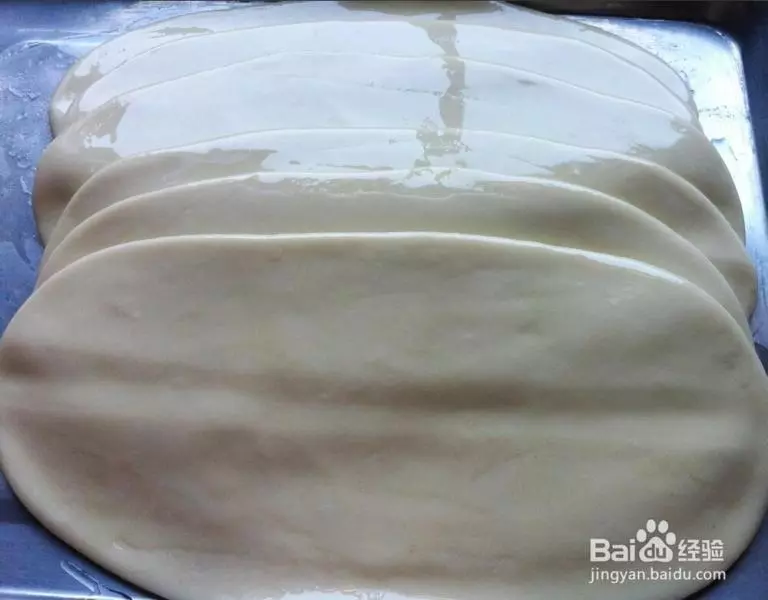
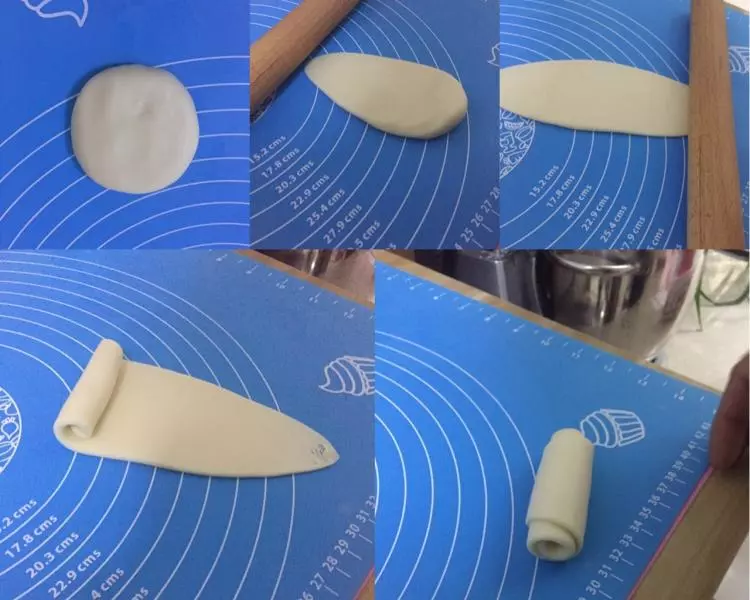
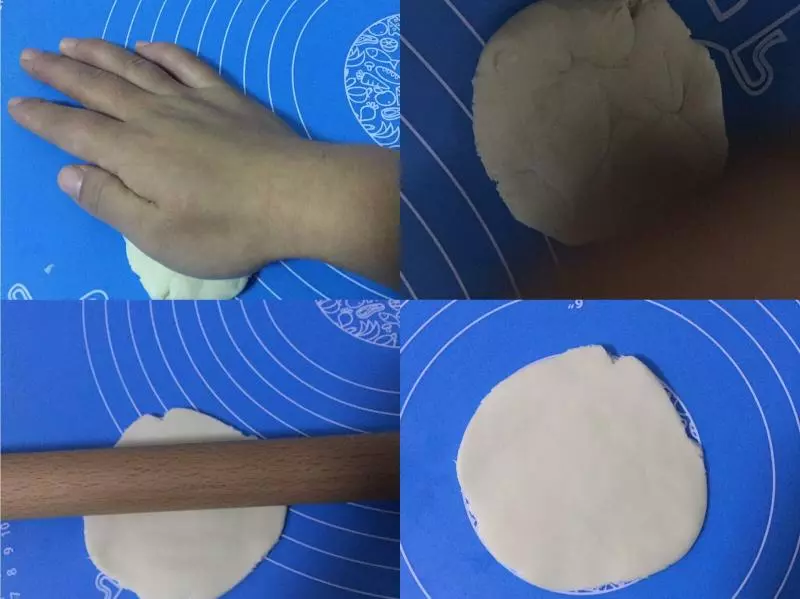
6第五步、把包好油酥的油皮收口面朝上 用手轻轻按压 先用擀面杖朝上擀两下朝下擀两下 不要来回擀 如图擀成牛舌状、如图卷起来保鲜膜包好松弛十五分钟备用!(这是一遍擀)
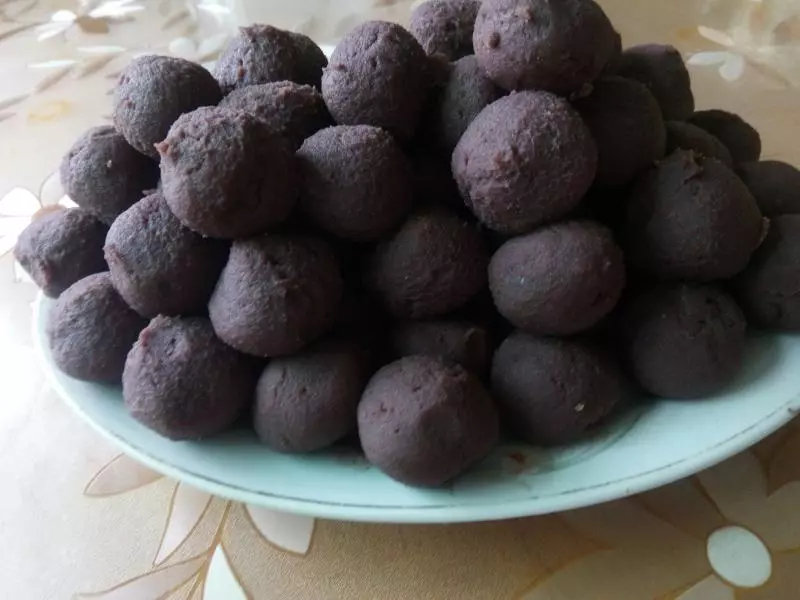
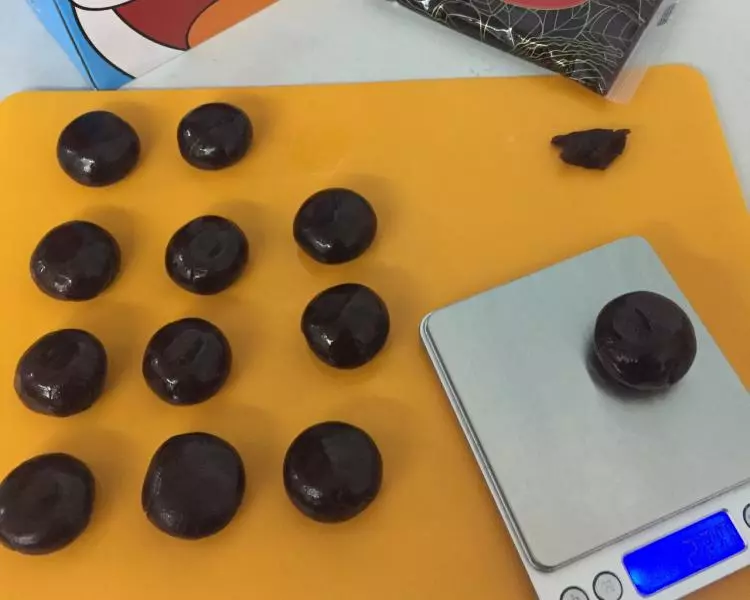
7第六步、松弛油皮期间 把红豆沙每份分成22克搓圆备用!
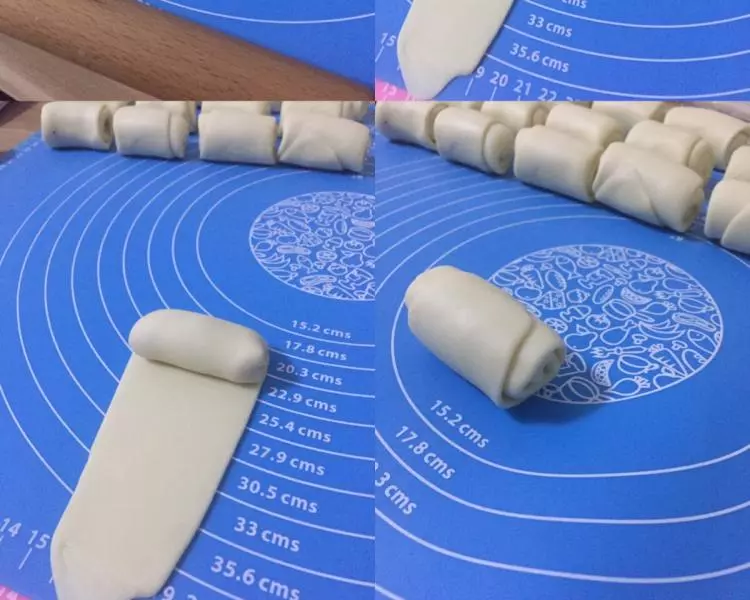
8第七步、把松弛好的面卷 如图从中间开始朝上擀两下朝下擀两下 (不要多擀也不要重复擀)
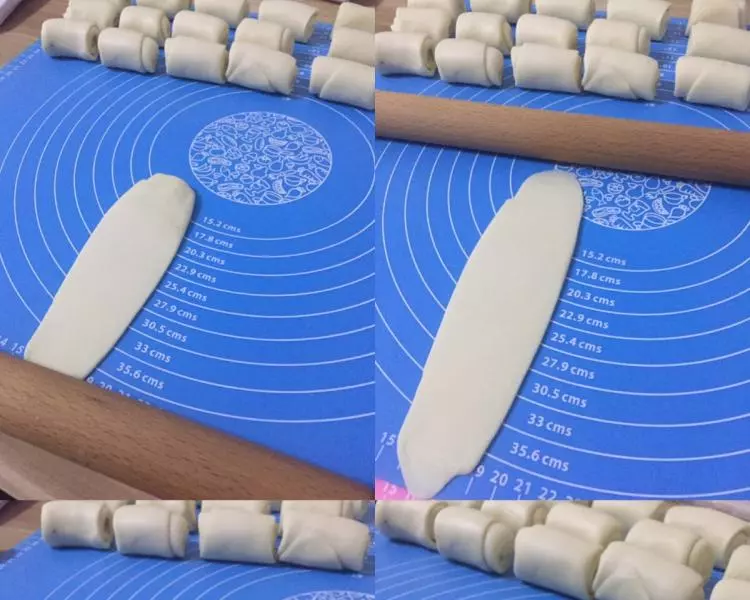
9卷起来 保鲜膜盖好松弛15分钟备用(这是二遍擀)
10第八步、利用二遍擀卷松弛的时间 可以把蛋黄包在豆沙里搓圆备用!

11第九步、把二次松弛好的油酥皮从中间用大拇指按压一下然后两头对捏在一起如图!
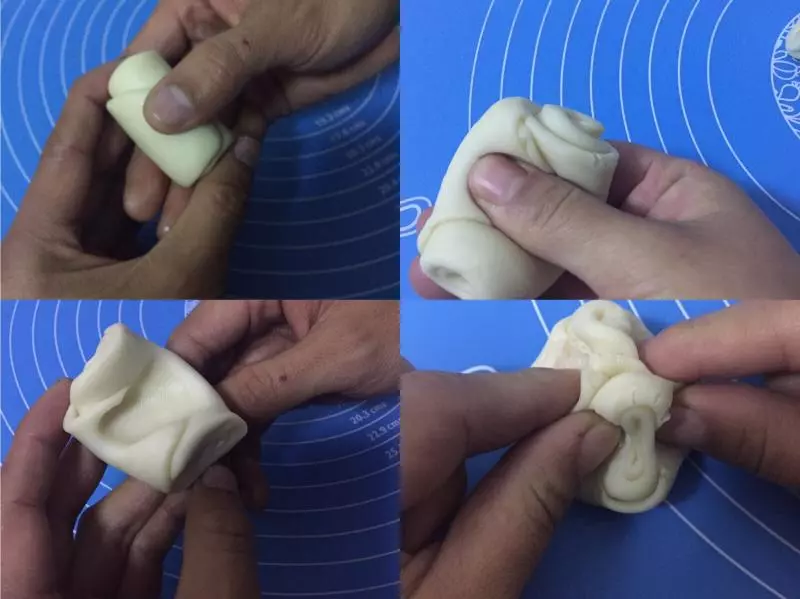
12如图接口朝上按平 从中间上下左右各擀一次不要来回擀(酥皮不要擀太大 太大包的底部太后影响口感)如图硅胶垫圆形大小就可以了!
13第十步 将包好蛋黄的红豆沙包在酥皮中、用虎口收边 收口要紧、中间不要有空隙!
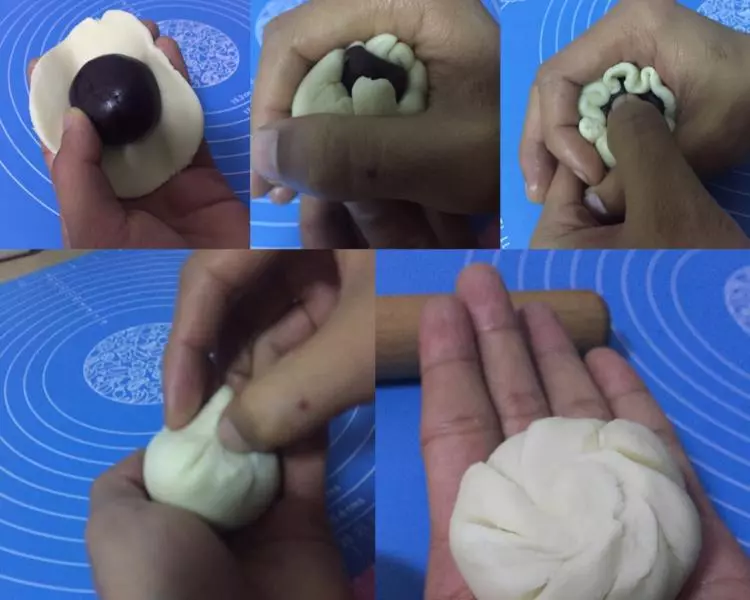
14收口朝下 搓圆 用手轻轻按压一下 烤出来的蛋黄酥看起来会更饱满一些!

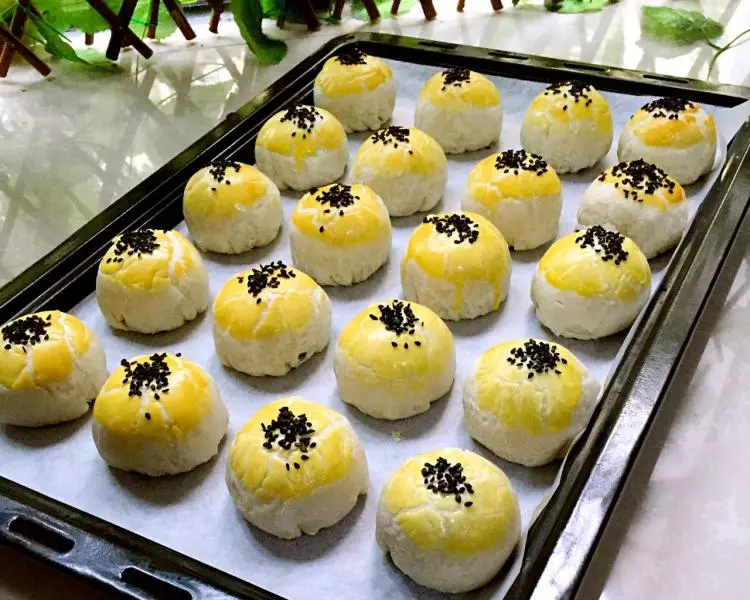
15第十一步 把包好的蛋黄酥摆好放在烤盘上、烤箱预热170度十分种、表面刷蛋黄 撒上黑芝麻装饰!(我用的是羊毛刷 刷出来的蛋液均匀没有气泡 硅胶刷容易刷出气泡)
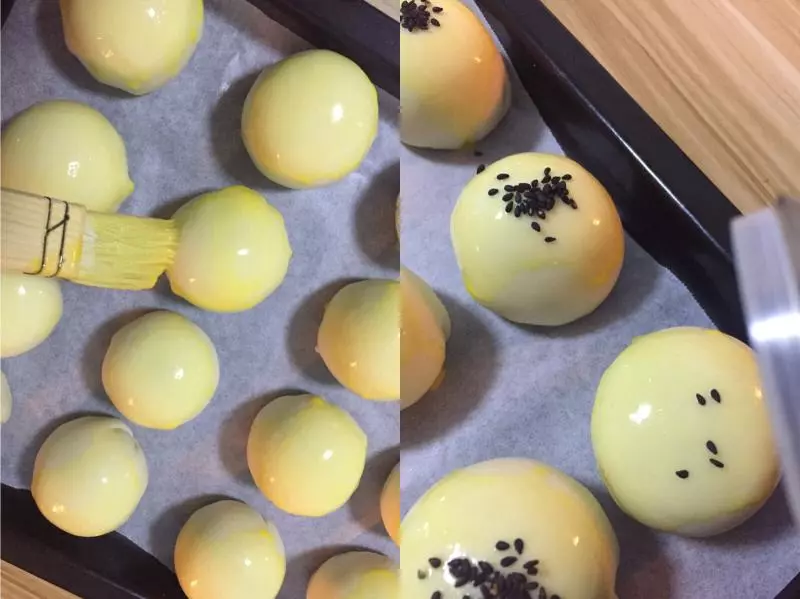
16放入烤箱中层、170度烘烤30分钟左右 颜色呈金黄色!烤箱温度脾气不同根据个人烤箱习性温度自己掌控!
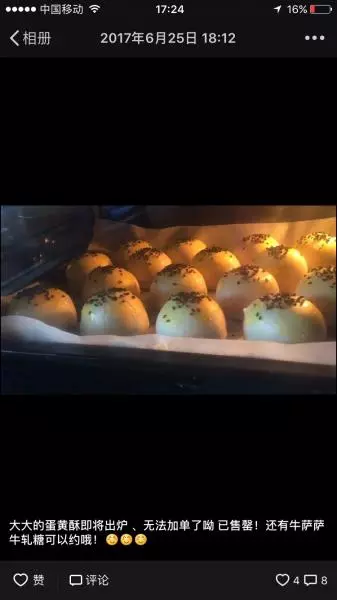
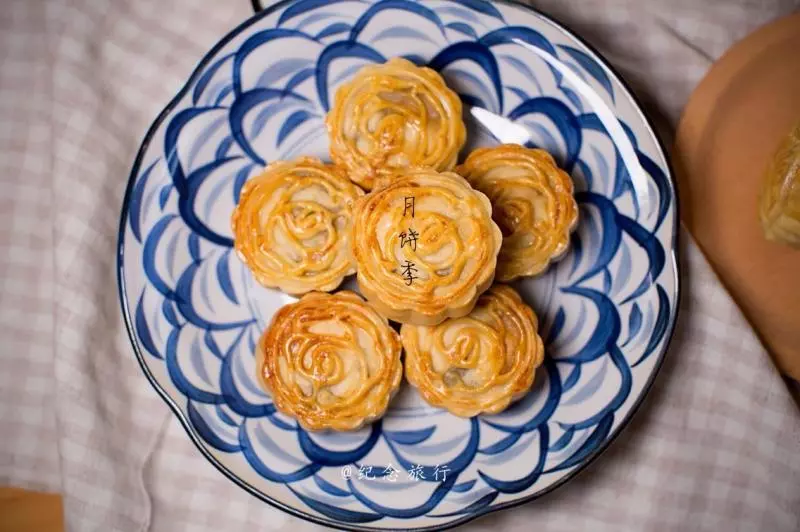
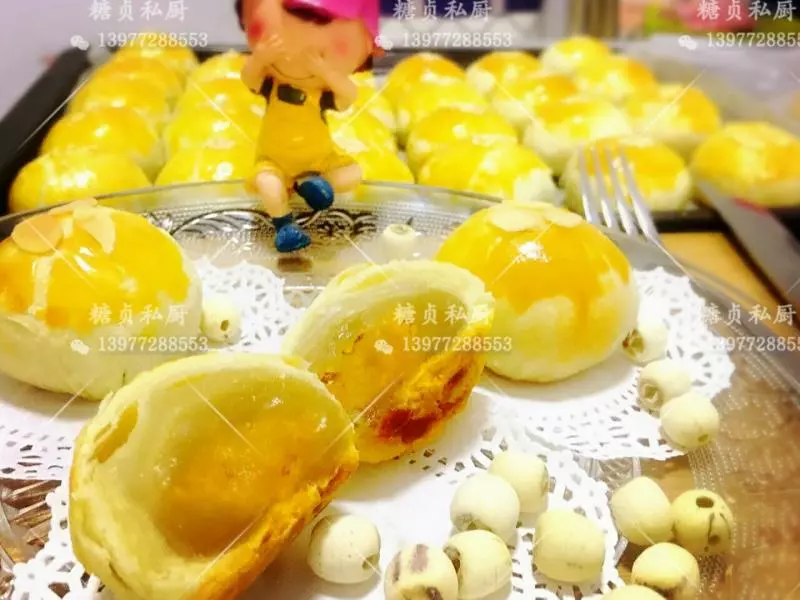
17成品!
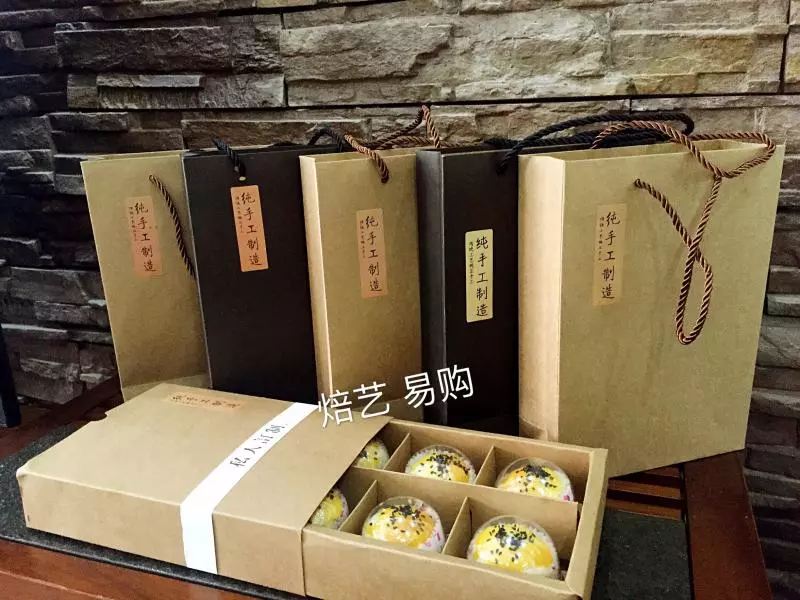
18放凉后可以包装!
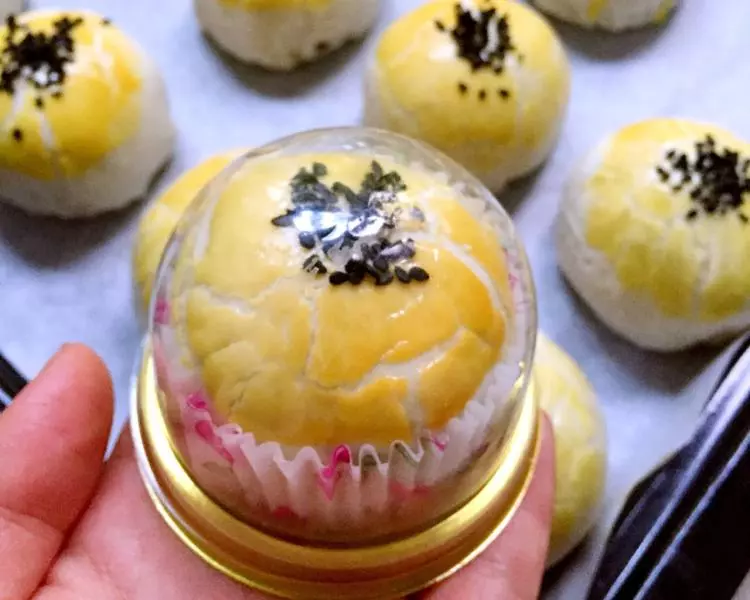
19包装好的蛋黄酥!
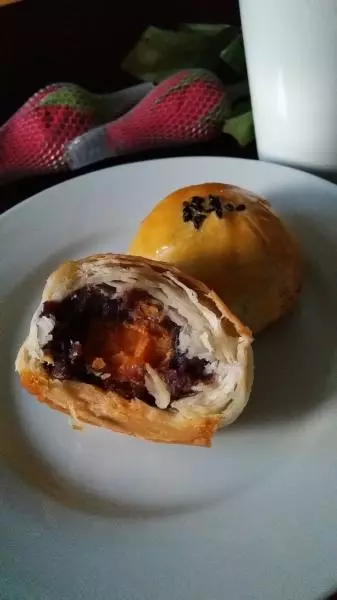
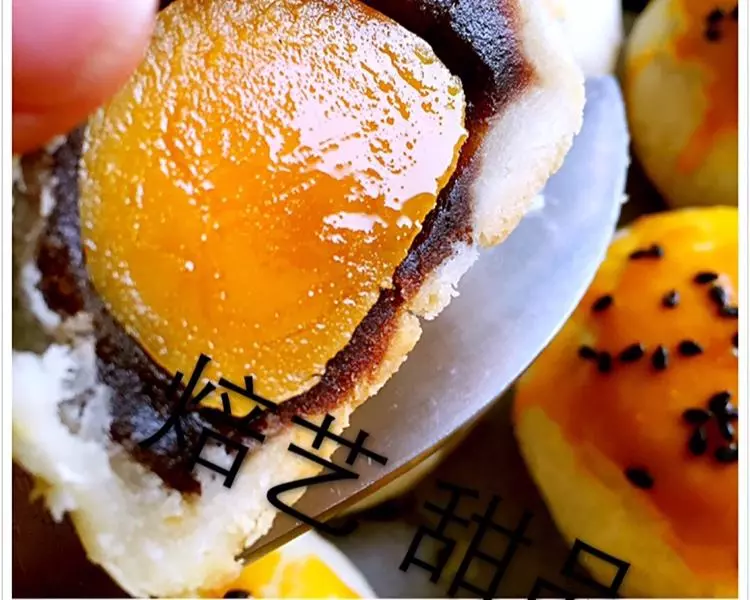
20咬上一口酥香爽口?

小技巧
猪油起酥效果最好 其次黄油 最后是玉米油! 此方子成品蛋黄酥均在75克左右! 做油酥皮的时候水放在最后面加!