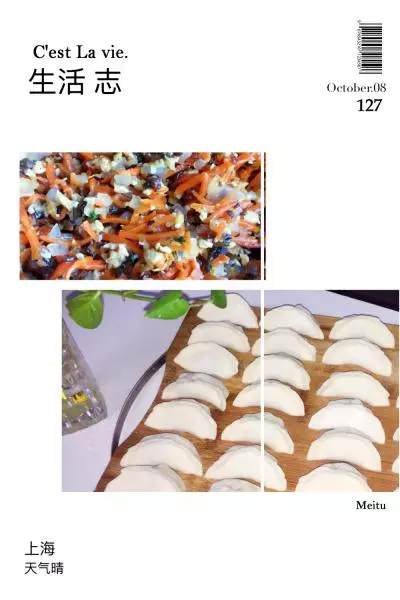
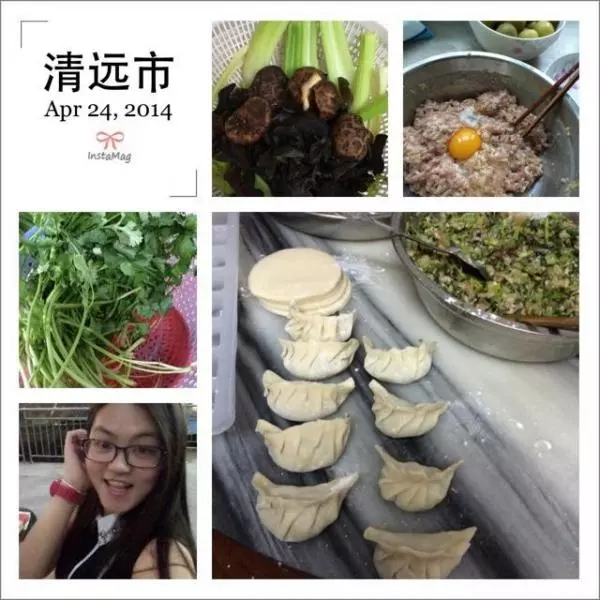
原料
胡萝卜: 1根, 木耳: 4朵, 香菇: 3朵, 鸡蛋: 3个, 蚝油: 1勺, 盐: 适量, 面粉: 适量, 葱: 半根
步骤
1胡萝卜剁碎丁。

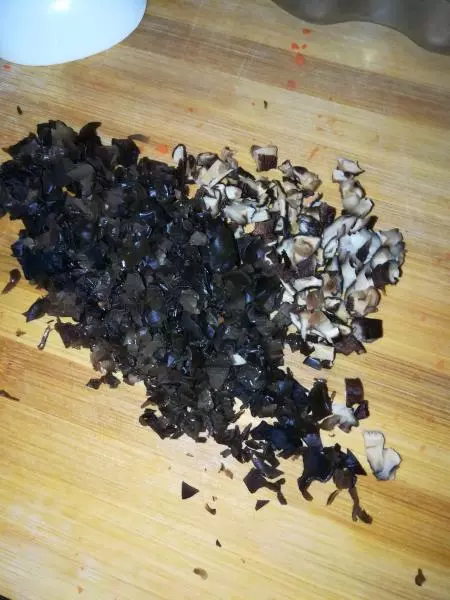
2香菇木耳泡好后切成小丁备用。
3切半根小葱,来调味。

4将鸡蛋打散,油没冒烟之前放进油锅,搅成小块状,然后放入葱花,翻炒一下就关火。然后放凉后加入事先准备好的胡萝卜丁香菇丁木耳丁,放入适量的盐,搅拌均匀,口味依照个人而定。

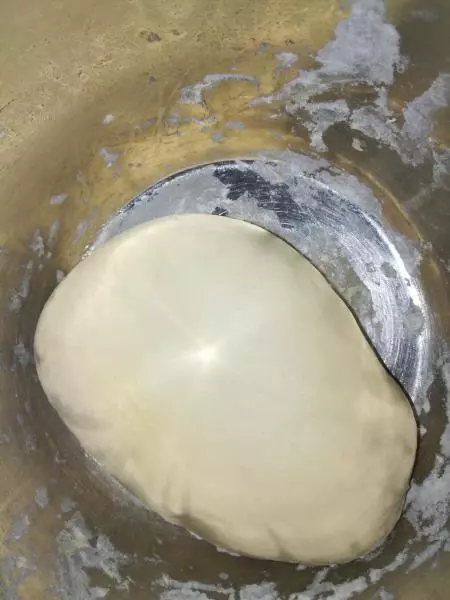
5面粉跟水是超过2:1的比例的,慢慢加水,觉得粘粘的就可以了,然后手腕用力揉面,要不停翻滚着揉,将面揉到表面稍微光滑的时候,放入一个干净的容器里,套上一层保鲜膜,这叫醒面,大约二十分钟左右。我这是醒好的面团,表面很光滑,面也软软的哈。
6揉成长条面。

7差不多粗细的圆长条,切成这么一小节一小节的,大小自己掌控。

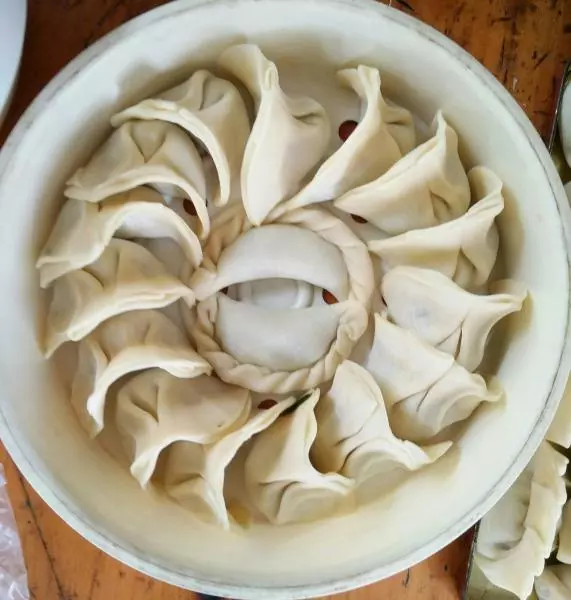
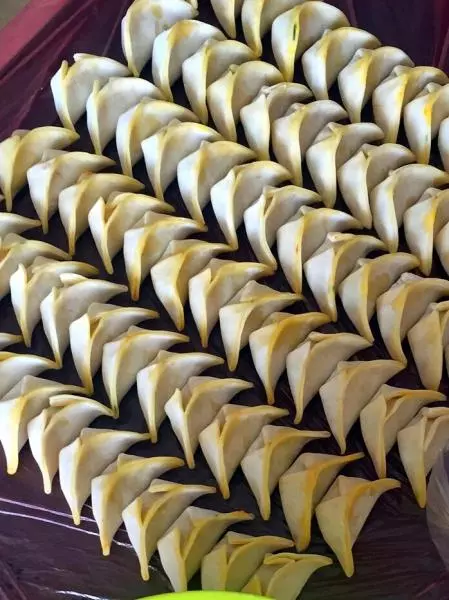
8包好的饺子,面皮的照片没照。

9第一次包饺子,外相有点差。

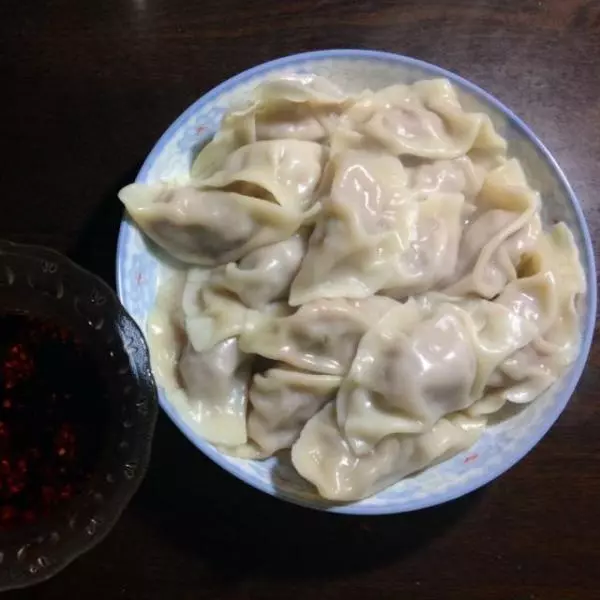
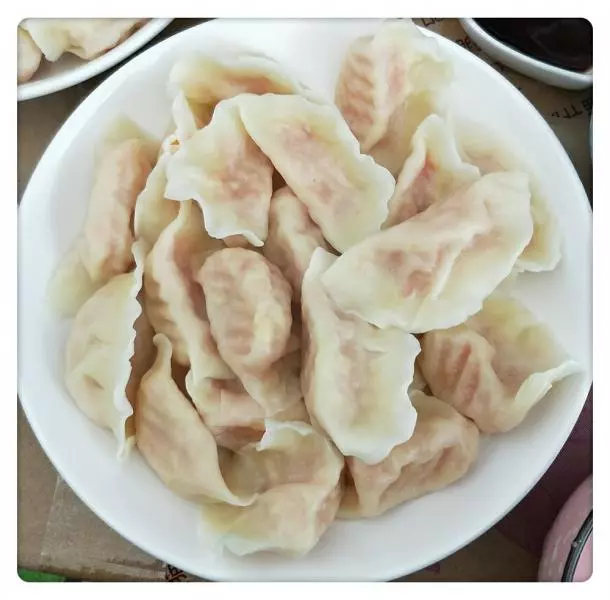
10水煮开,放饺子,轻柔搅拌,几分钟就即可出锅。

11外表虽丑,但是味道很给力的。

小技巧
1.煎鸡蛋时,油不能太热,时间不宜过长。 2.切记得醒面。 3.擀面皮的小妙招,把小面团压平,最好是压的圆圆的,这样擀出的饺子皮会很圆。