原料
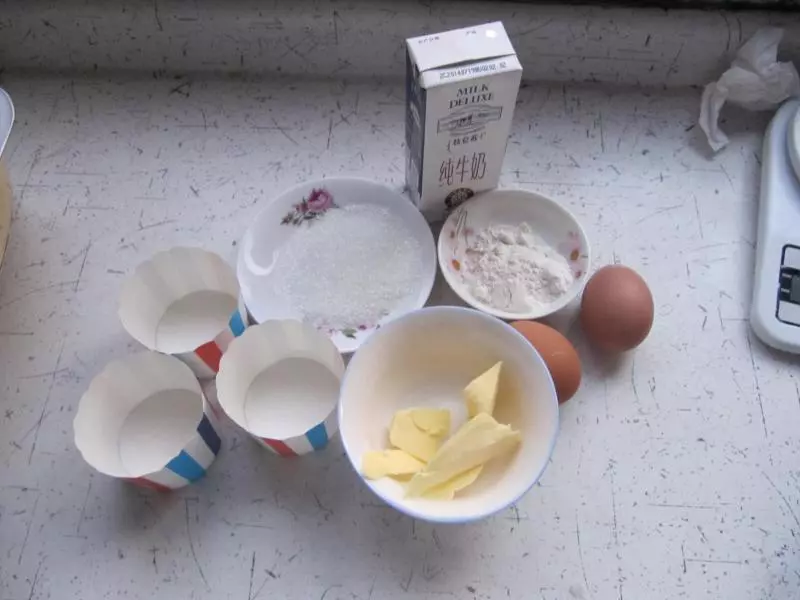
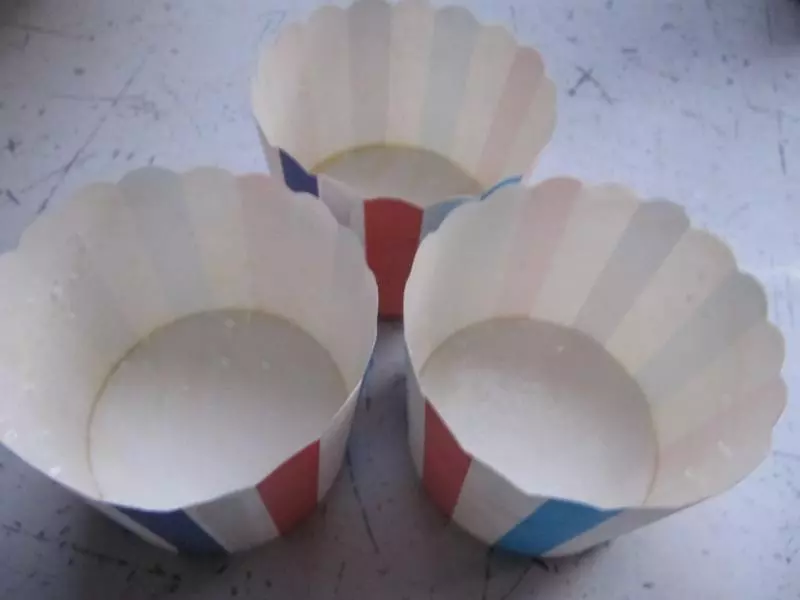
黄油: 25克, 白砂糖: 35克, 牛奶: 35克, 鸡蛋: 2个, 低筋面粉: 15克, 小纸杯: 三个
步骤
1准备好所有材料。
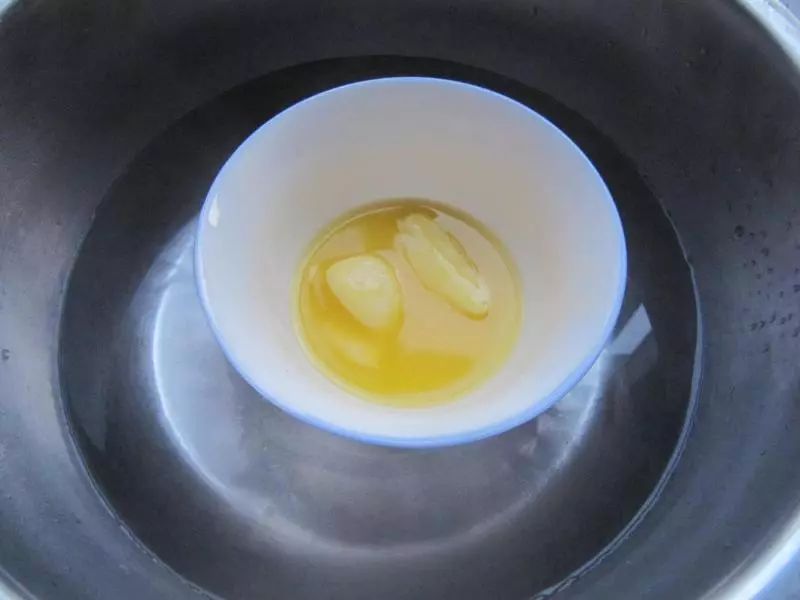
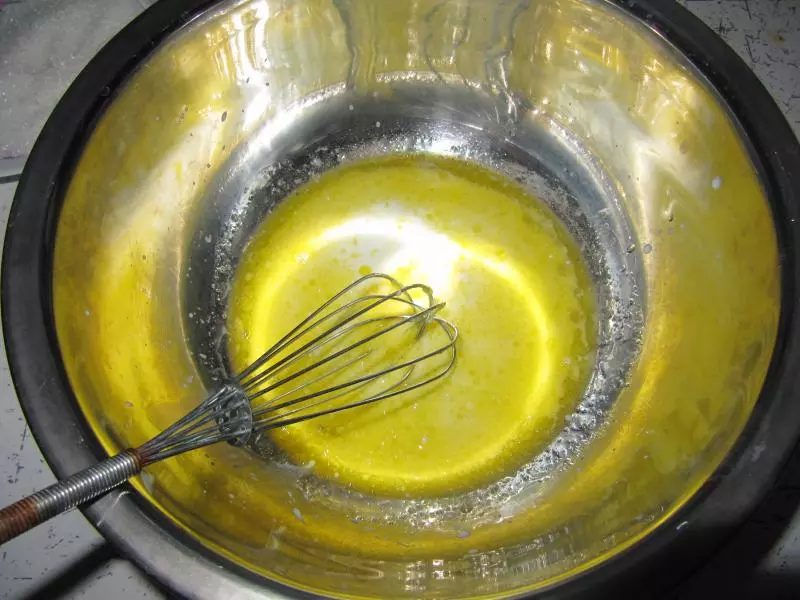
2黄油隔水加热。
3沾一点融化的黄油均匀刷在纸杯内壁,沾上少量白砂糖。
4将剩下的黄油倒入稍大一点的容器里,加入牛奶,搅拌均匀。
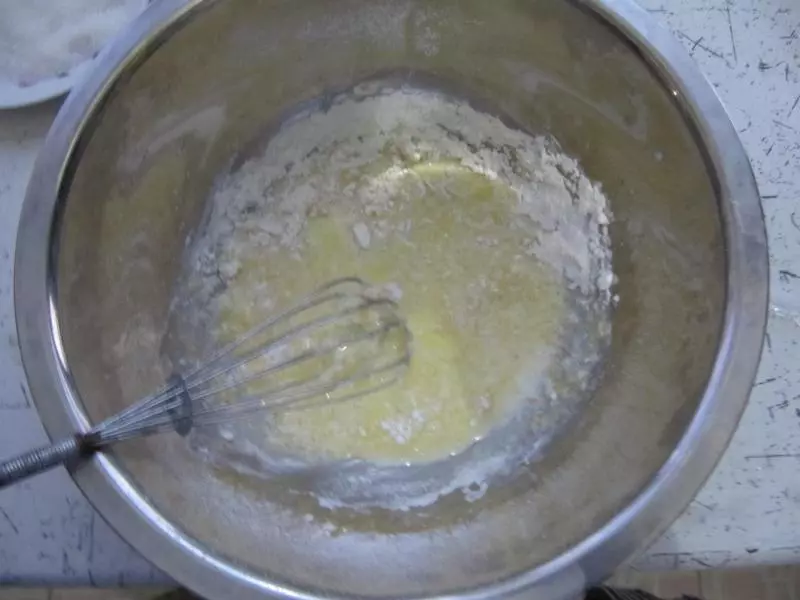
5筛入低筋面粉,搅拌。
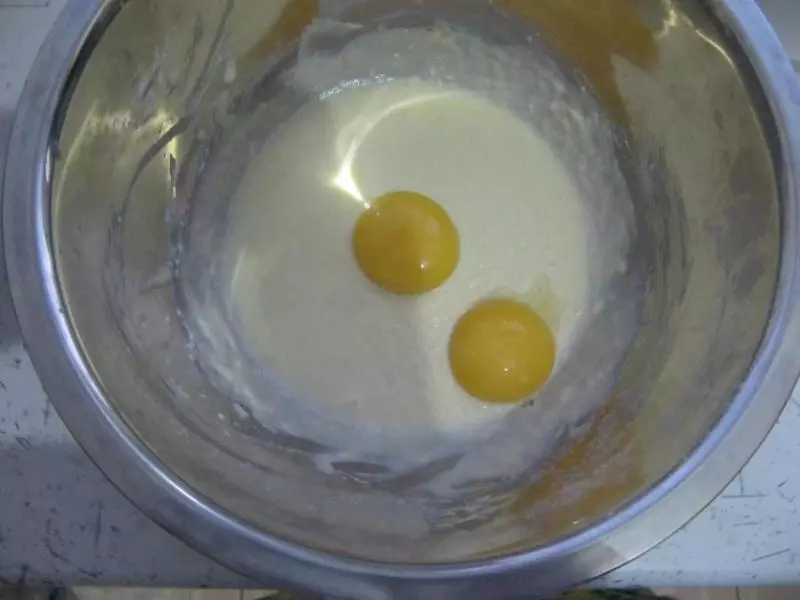
6蛋黄和蛋清分离,加入蛋黄,搅拌均匀。
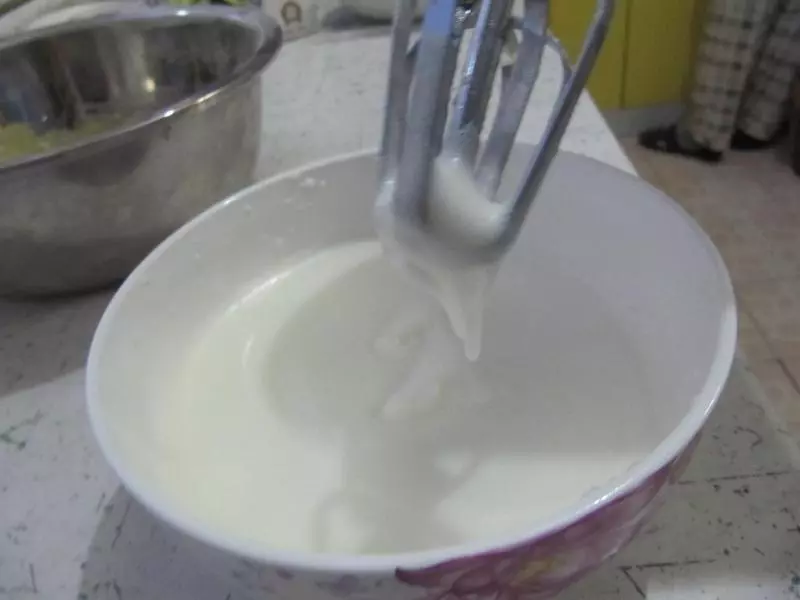
7接下来,对于所有初学者来说最难的一步——打发蛋白。分三次加入砂糖,打发至提起打蛋器可看到一个尖角。
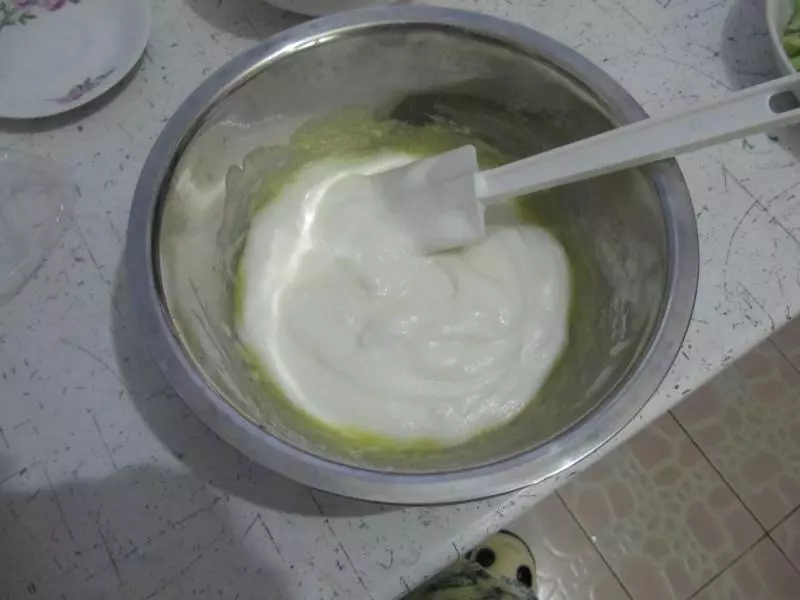
8将打发好的蛋白倒入蛋黄溶液,用刮刀自下而上翻拌。
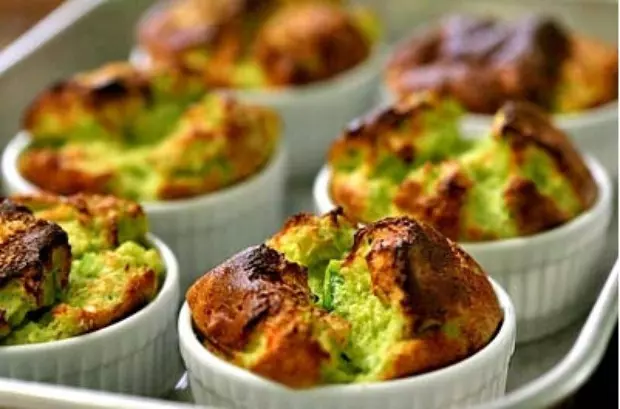
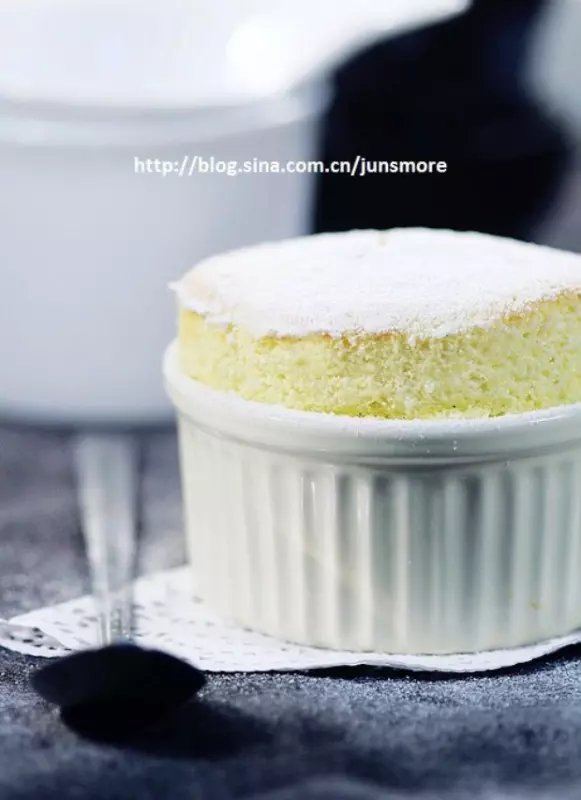
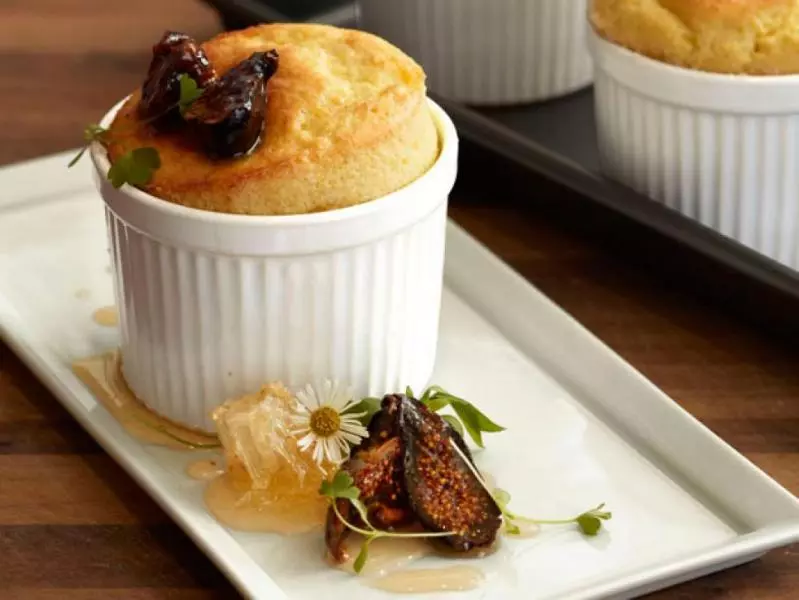
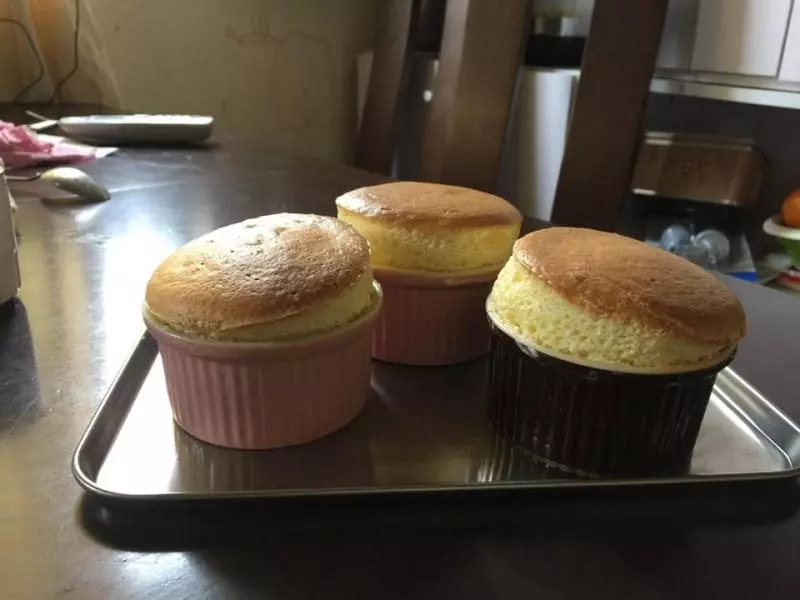
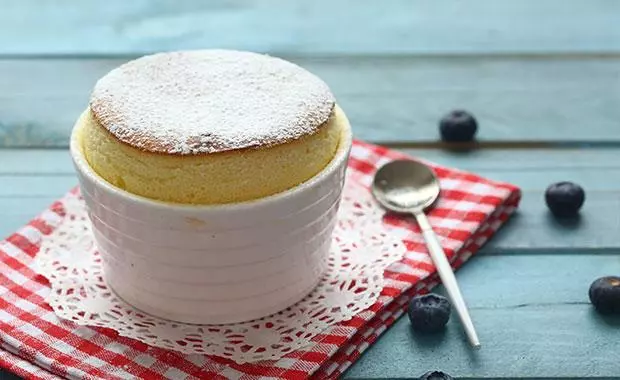
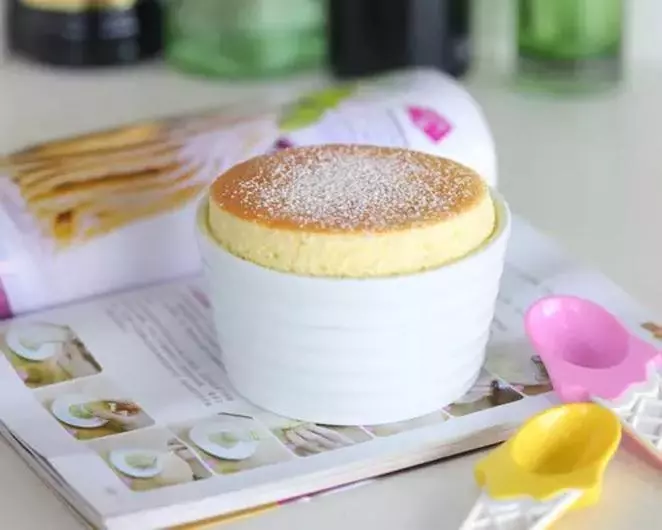
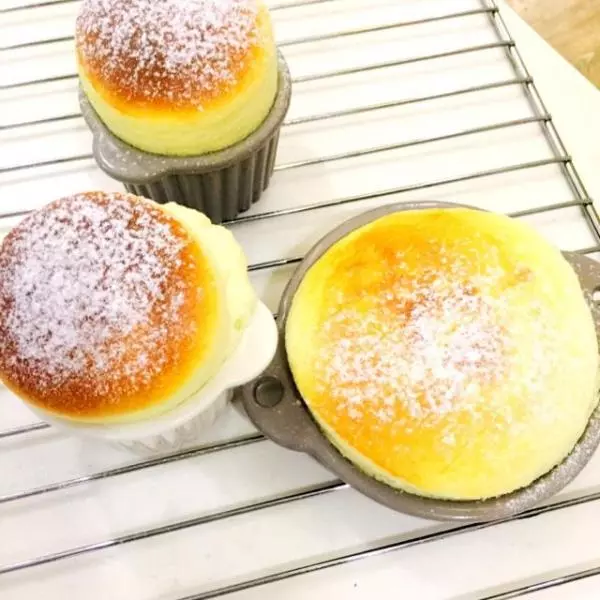
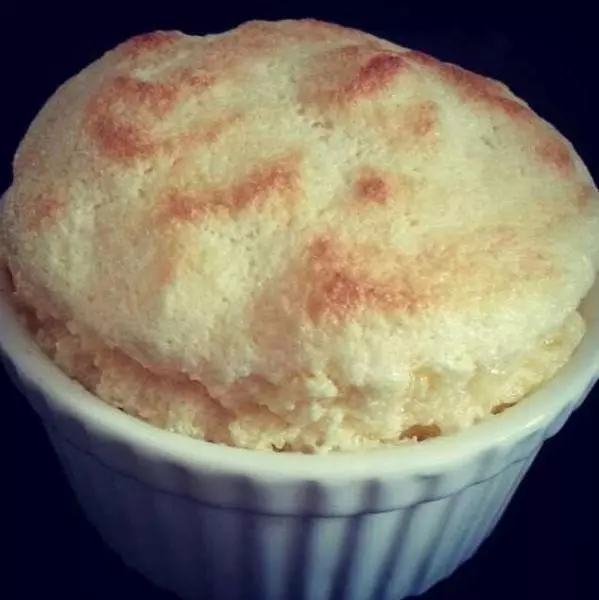
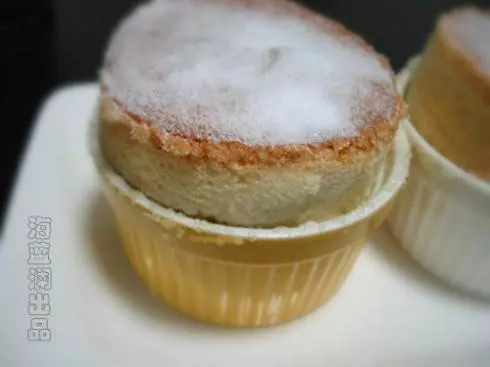
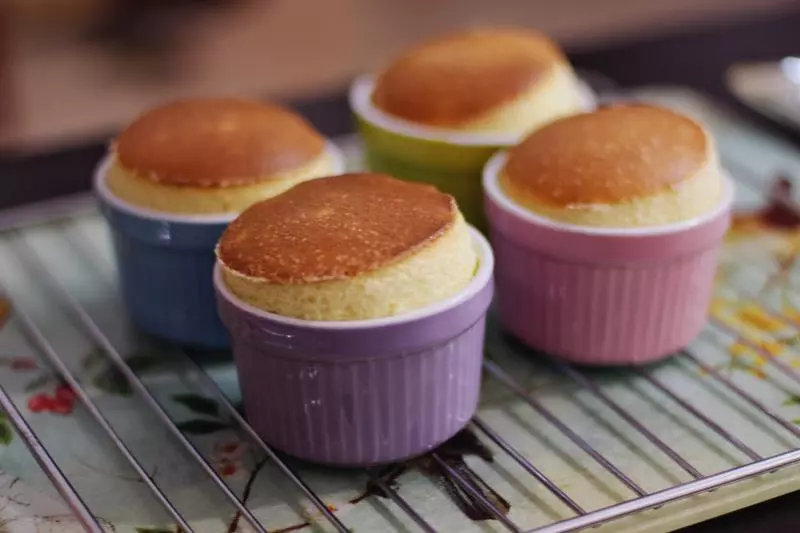
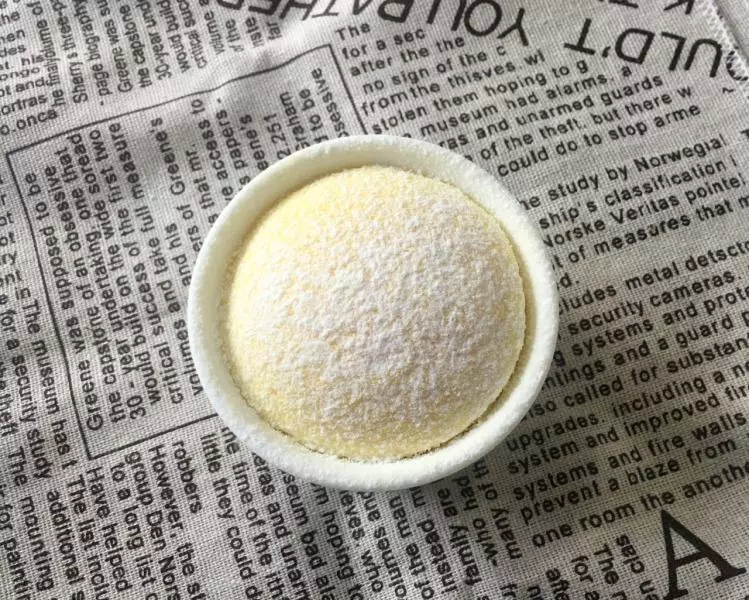
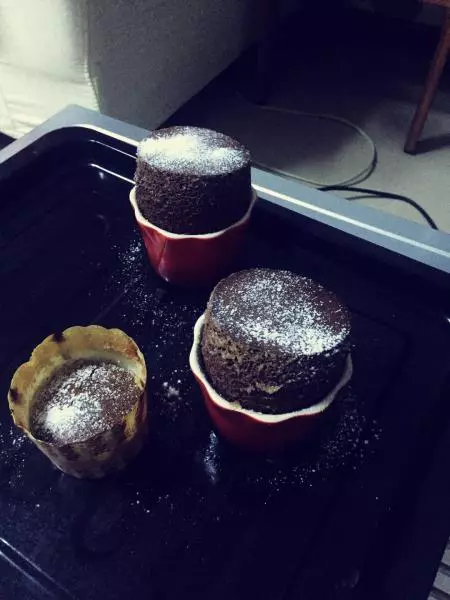
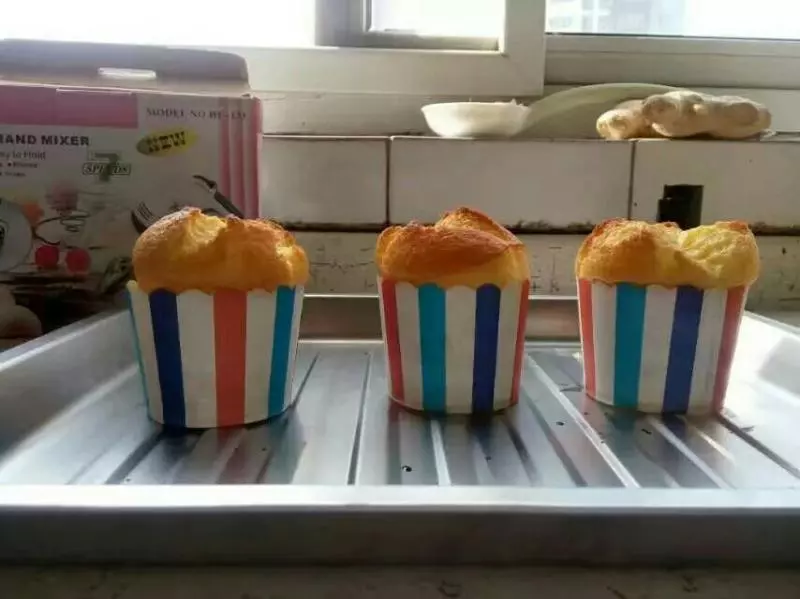
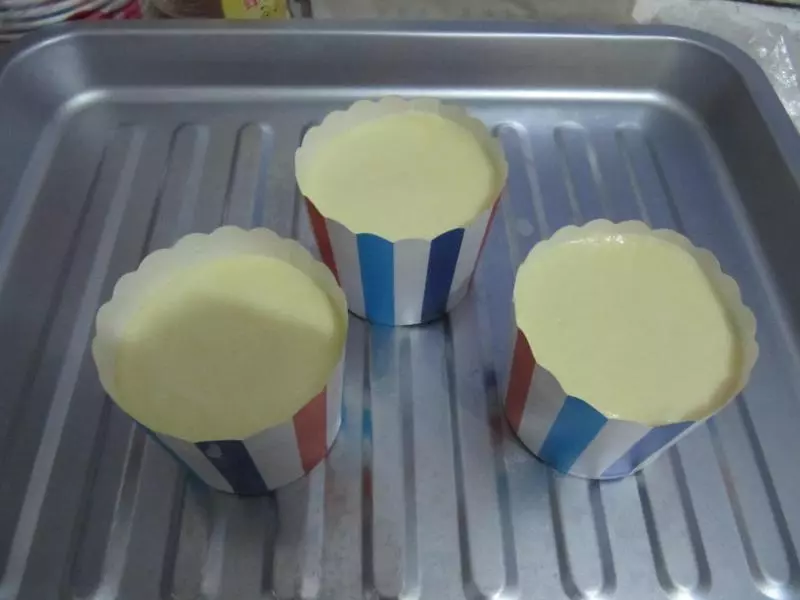
9将拌好的糊糊平均倒入纸杯内,烤箱180度预热,下层,上下火,20分钟。
小技巧
1.装蛋白的碗必须无油无水,分离蛋黄蛋白时,如果有蛋黄混入蛋白里都会导致打发失败。 2.没有买到烤碗,所以用的纸杯,容器无所谓,方子的量正好是我家三个纸杯的量。 3.我家烤箱是30L,分四层,上、中上、中、下,梳乎厘的上面很容易烤熟,可是里面却不容易熟,很多人反映有时候外面熟了里面却还是稀的,所以放在下层烤。 4.可以根据自家烤箱温度的特点适当调节时间和温度。 5.我觉得不用再减糖了,甜度刚好。