原料
全脂纯牛奶: 1升, 新鲜熟黄桃: 2个, 酸奶菌粉: 1克, 白砂糖: 根据黄桃的甜度而调节, 奶粉: 15克
步骤
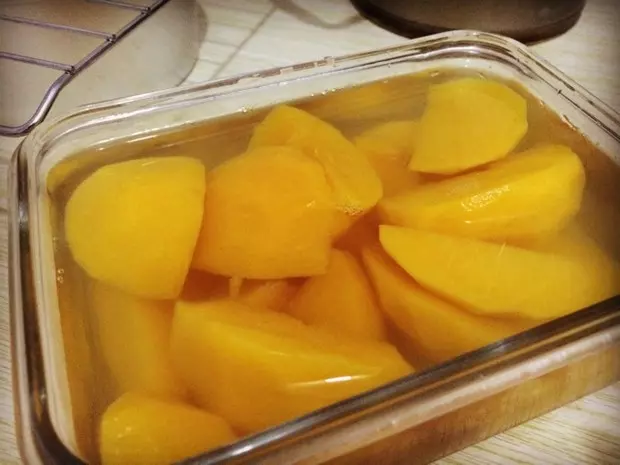
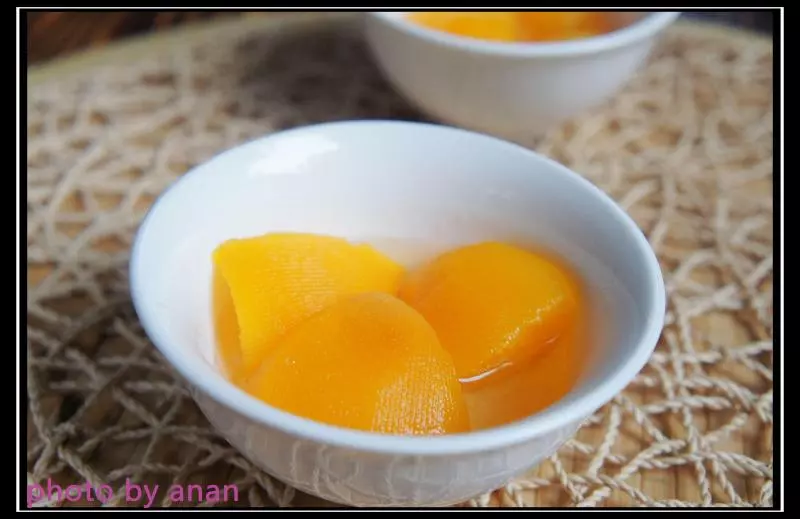
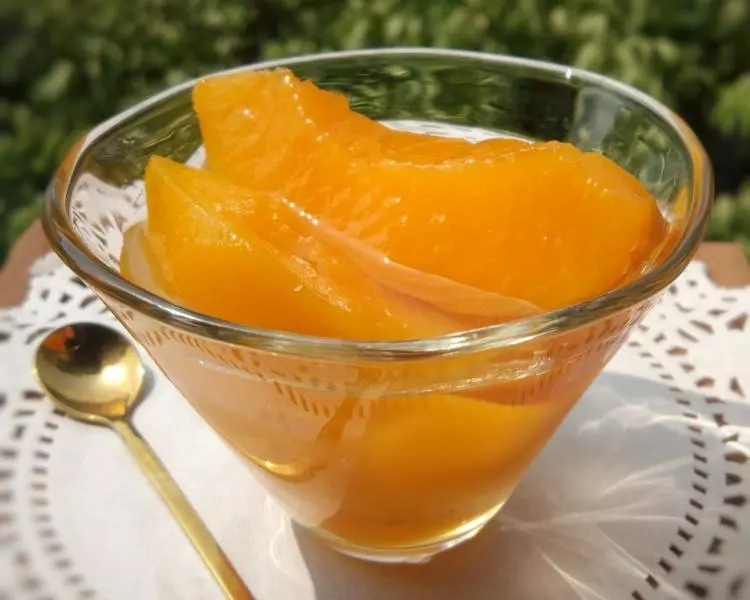
1黄桃选择捏上去稍软的,味道会比较浓郁。

2削皮后切成黄豆大小,拓牌这个水果刀很锋利哟,切水果能更少的损失果汁。

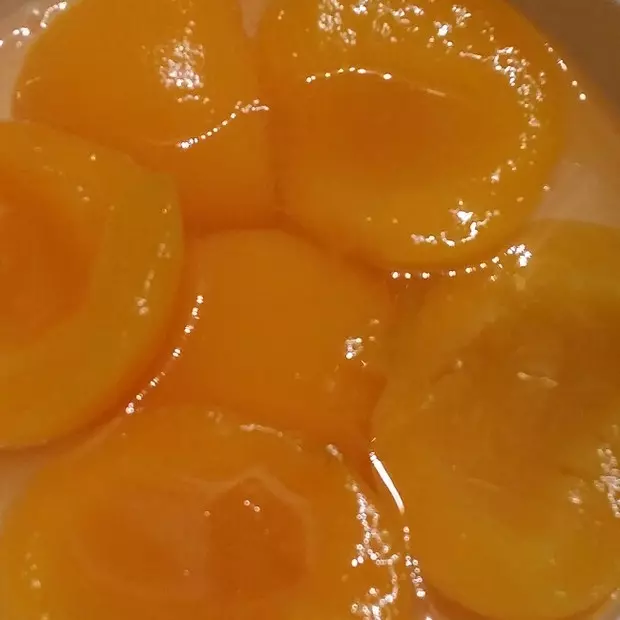
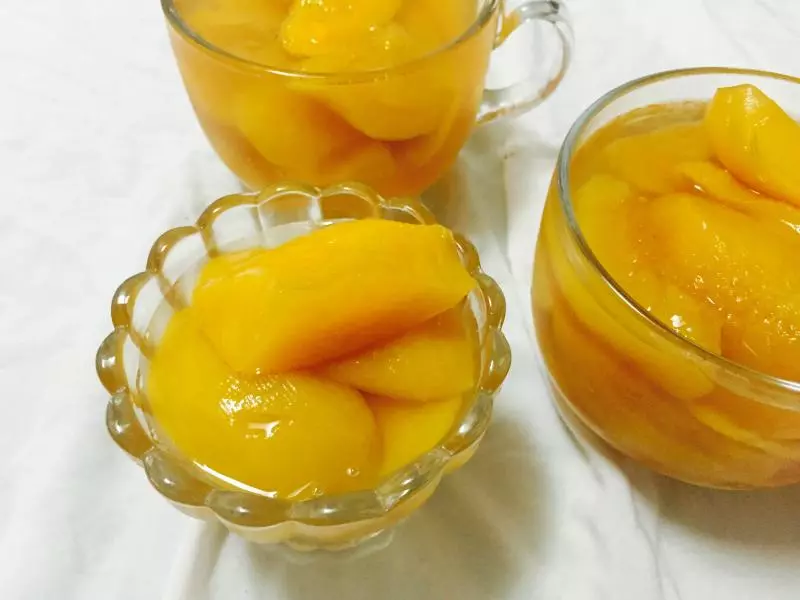
3把切好的黄桃粒里加入白砂糖,腌制30分钟以上。白砂糖根据自己口味调节哦,我大概放了有20g的样子。

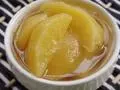
4把腌制出水的黄桃粒放入锅中小火慢炒,这个步骤耗时可能会长一些,耐住性子,慢慢来。(我用小红锅太方便,放在客厅桌上,边看电视边炒)

5直到炒干所有的水分,如图状态就差不多了。

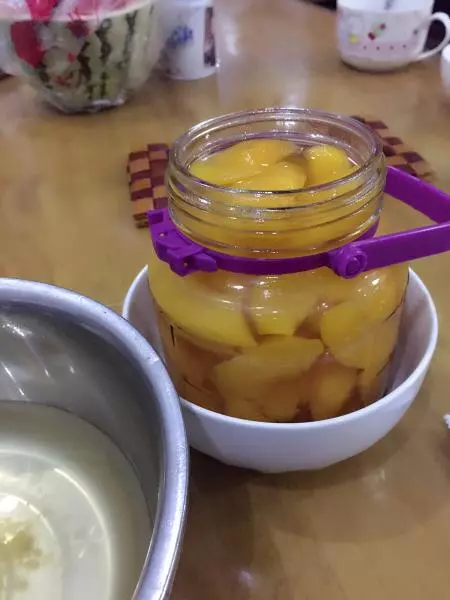
6等待果酱凉的同时,把装酸奶的瓶瓶罐罐消毒。(我是开水烫过后,又放入烤箱100度左右热风循环10分钟。)

7把放凉的果酱装入瓶子内。

81升的纯牛奶加入15g的奶粉,搅拌加热至35度左右。再加入1g菌粉拌匀。

9把搅拌好的纯牛奶倒入瓶子内

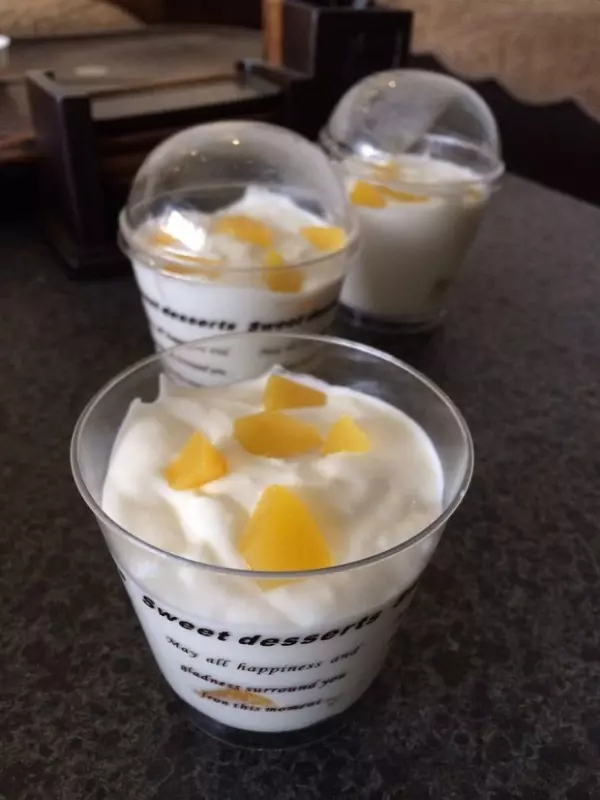
10装瓶完成后记得用消过毒的勺子搅一搅哦。

11盖上盖子,放进40度的环境,发8个小时,放入冷藏。