原料
蔓越莓: 55克, 黄油: 125克, 糖粉: 50克, 砂糖: 15克, 蛋液: 30克, 低筋面粉: 175克
步骤
1称黄油,并室温软化黄油【是软化不是融化】
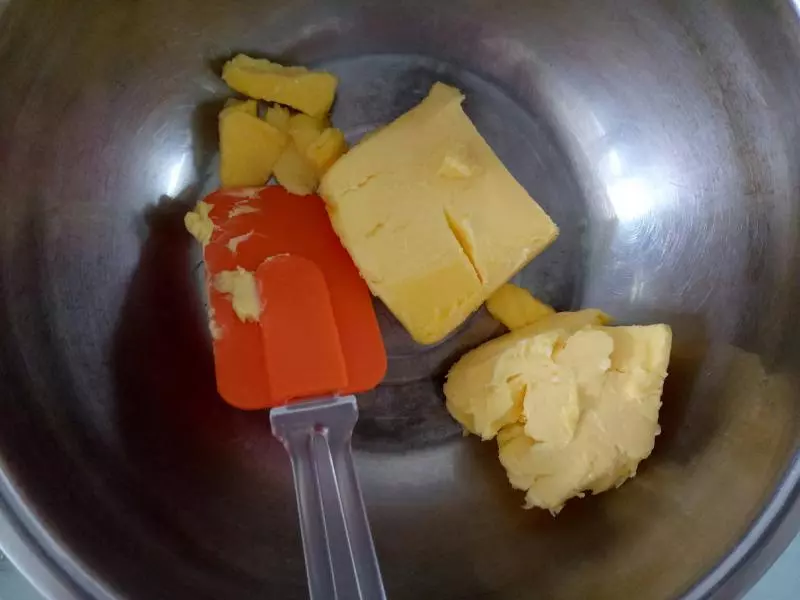
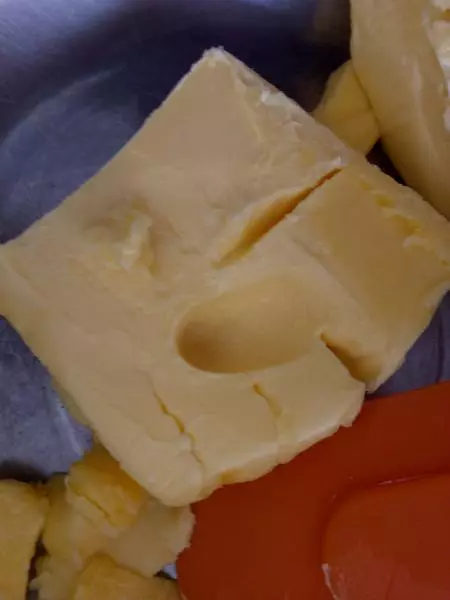
2黄油软化至手指按压下去轻易出现小坑为止。
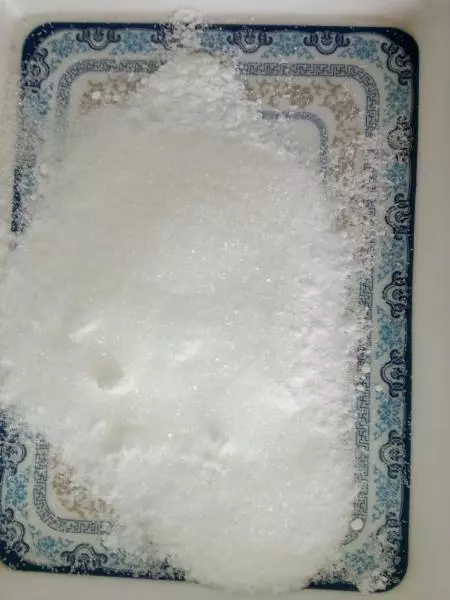
3称好糖粉和砂糖
4将糖粉和砂糖加入已经融化好的黄油中。
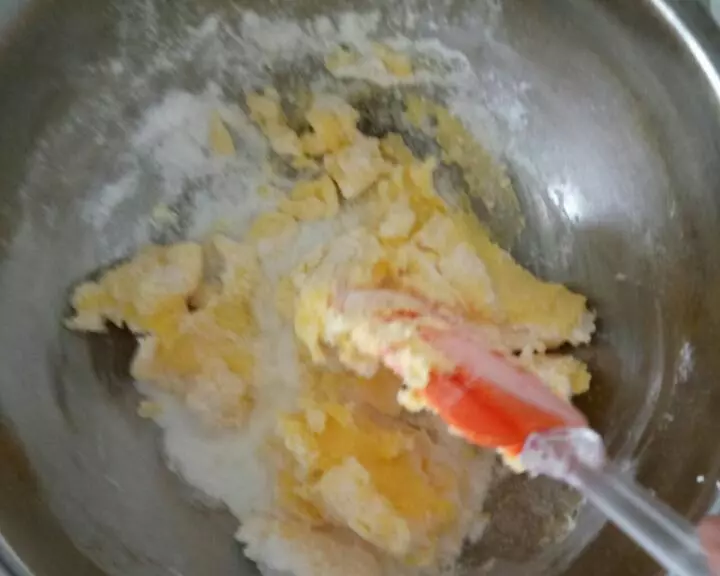
5混合均匀,到看不见砂糖和糖粉为止。

6分两次加入蛋液混合均匀。【我看别的方子有用打蛋器的,但我没有用打蛋器,感觉并没有那么混合,用打蛋器也比较容易油水分离。所以说大家可以试一下用刮刀搅拌。】
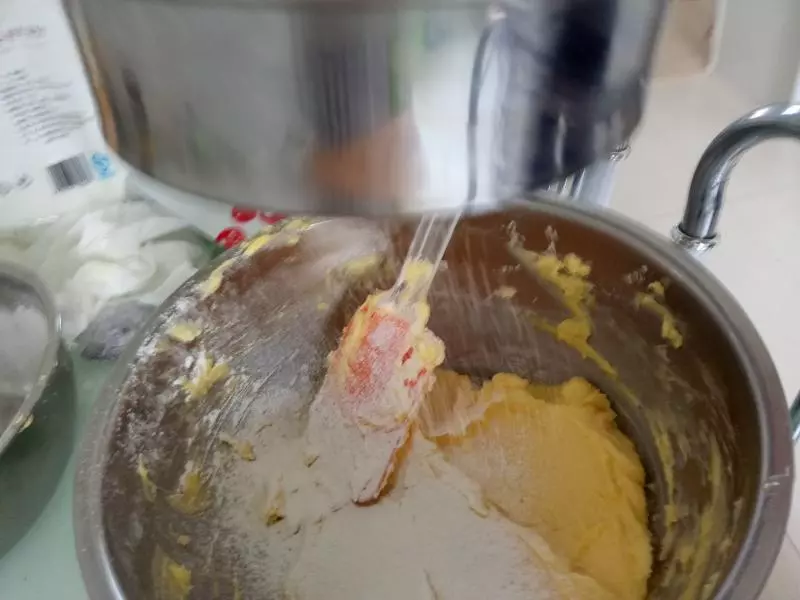
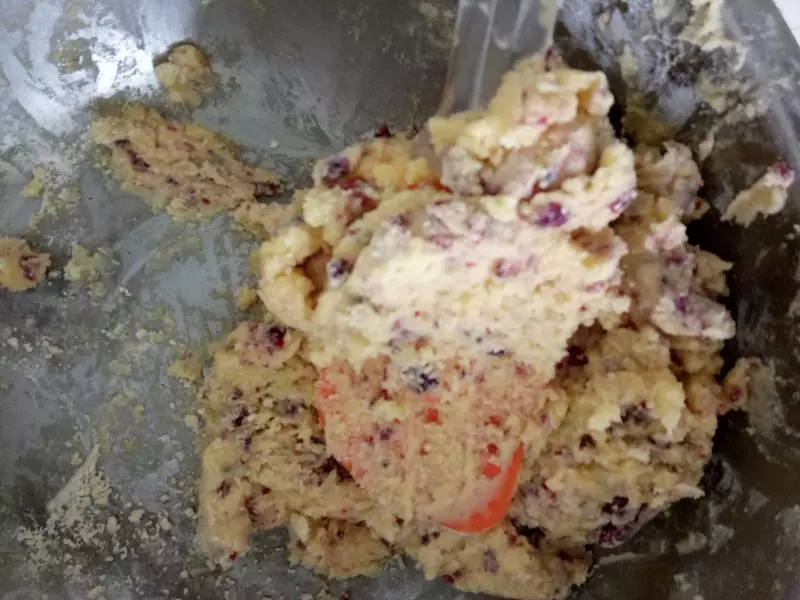
7称好低筋面粉并过筛,加入到混合好的黄油中
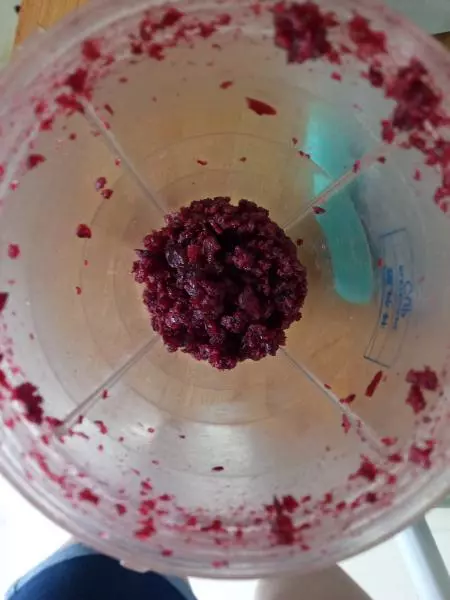
8用料理机打碎蔓越莓干。没有料理机的也可以用刀切碎。打碎的蔓越莓干,比较方便混合入到黄油中。
9将蔓越莓干加入到黄油中,混合均匀。直至看不见粉状.这一步骤用刮刀比较费劲,可以用手
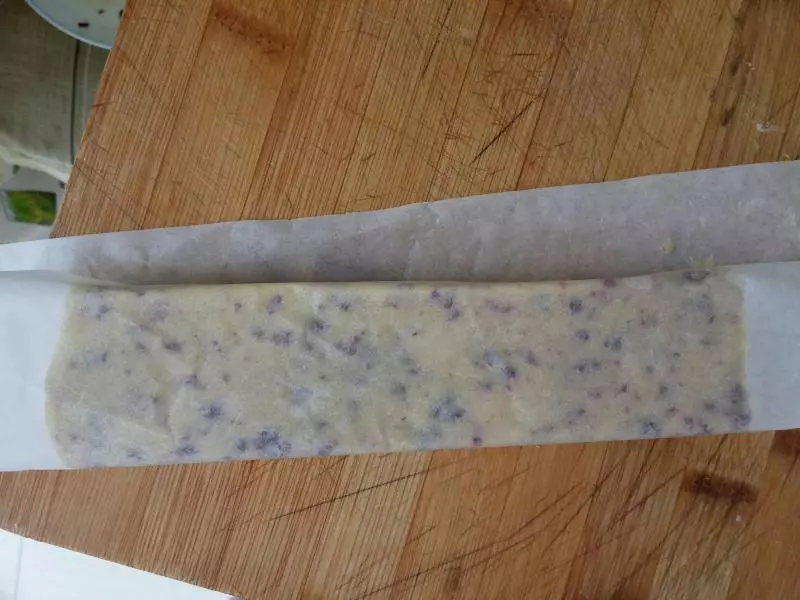
10将油纸铺到案板上

11将混合好的面团,放到油纸上

12用油纸按压面团
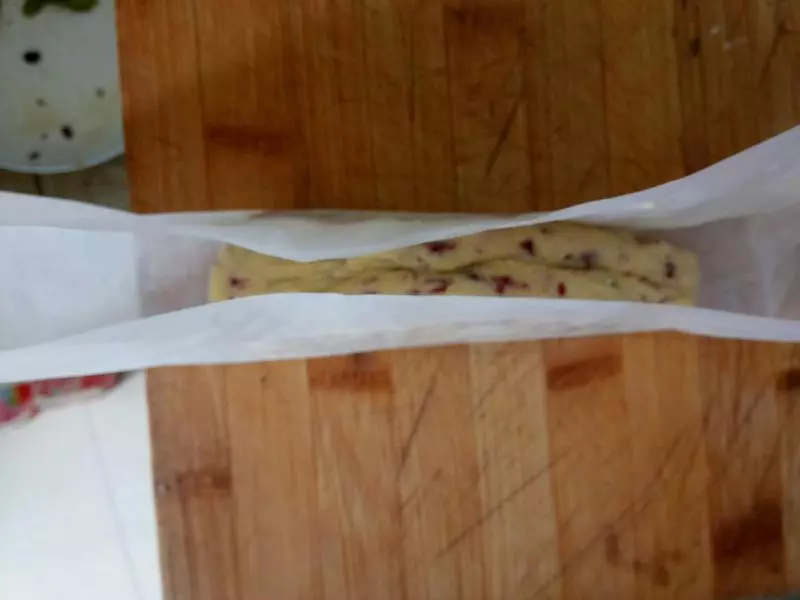
13直到你想要的形状为止。
14不要特别薄
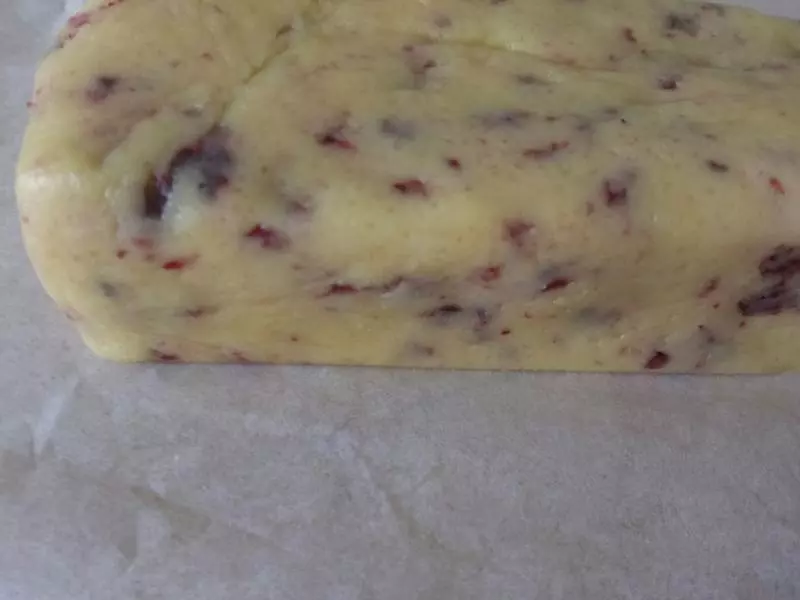
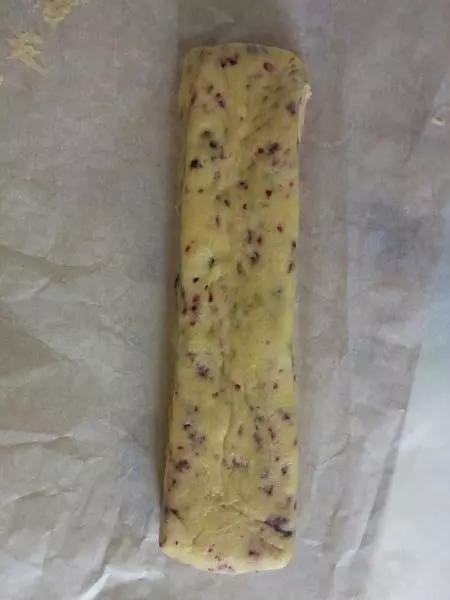
15固定好形状后用油纸裹住。
16放到冰箱内
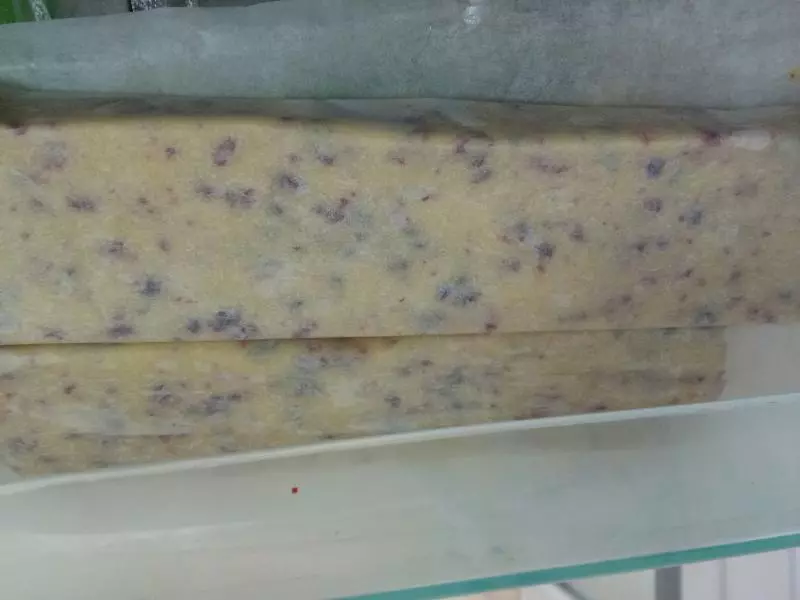
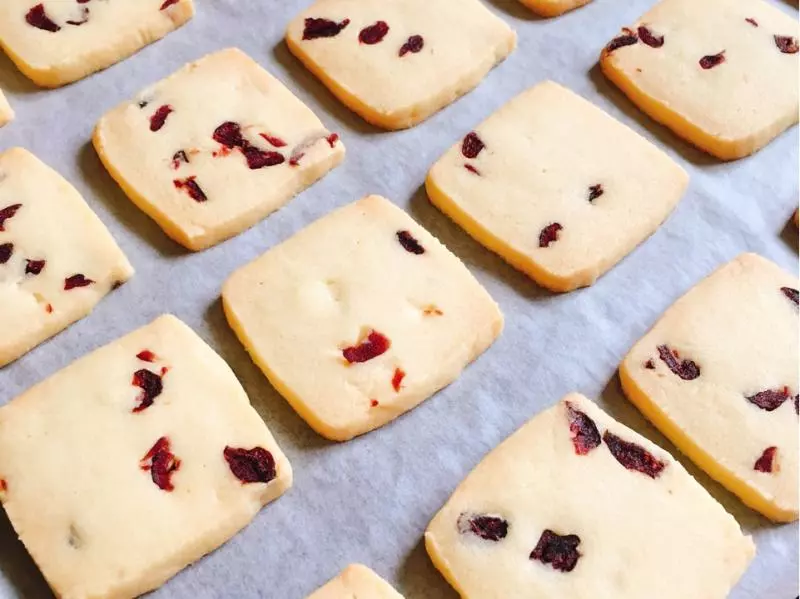
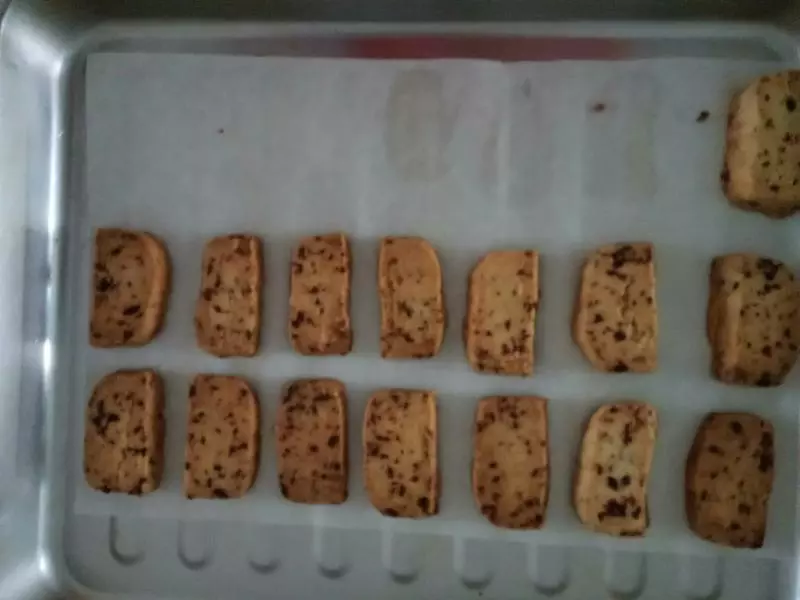
17我家是三层的冰箱,我放到了中间。冻至少2小时

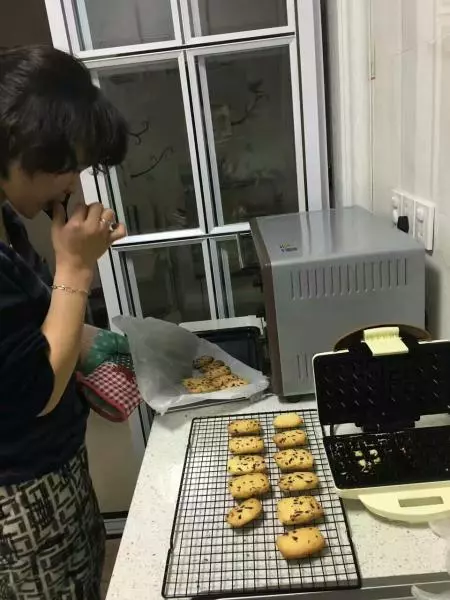
18取出后切片
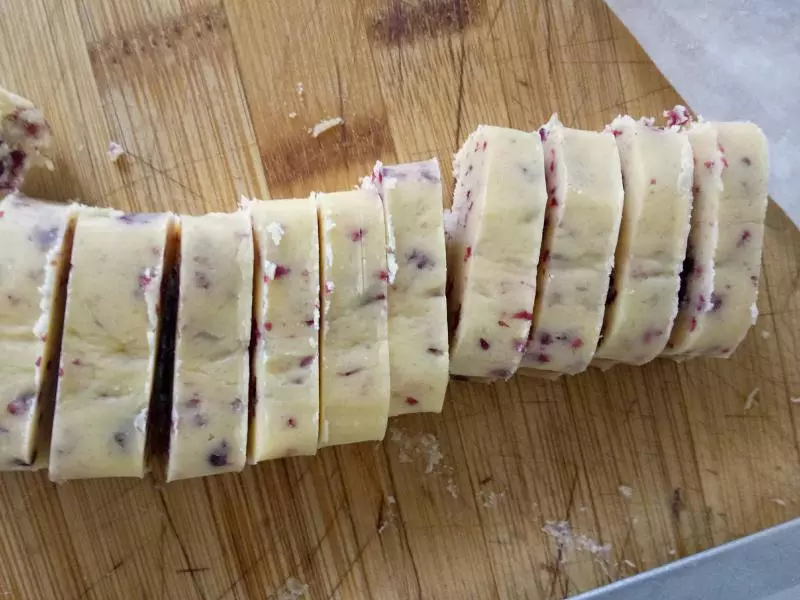
19烤盘上放油纸,将饼干均匀的摆放在油纸上,每个饼干间需要有间隙,因为饼干加热后会膨胀。
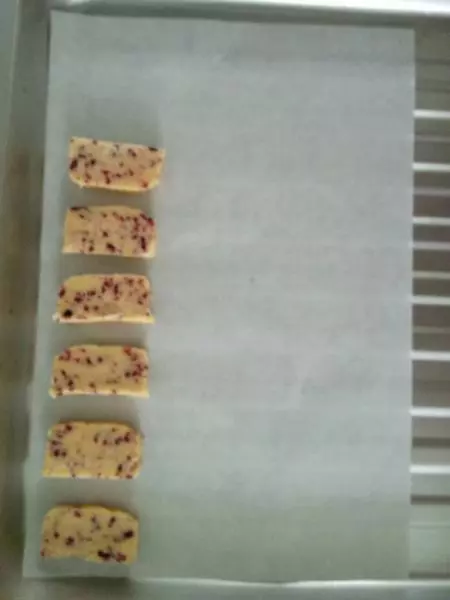
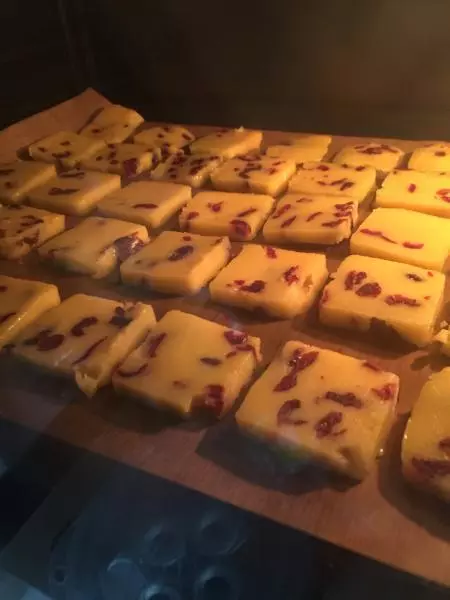
20烤箱预热后,上下180°,烤15到20分钟,根据自家烤箱情况而定。

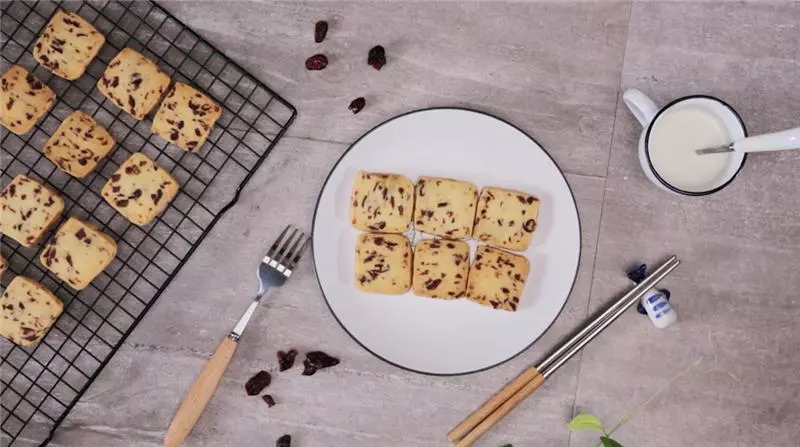
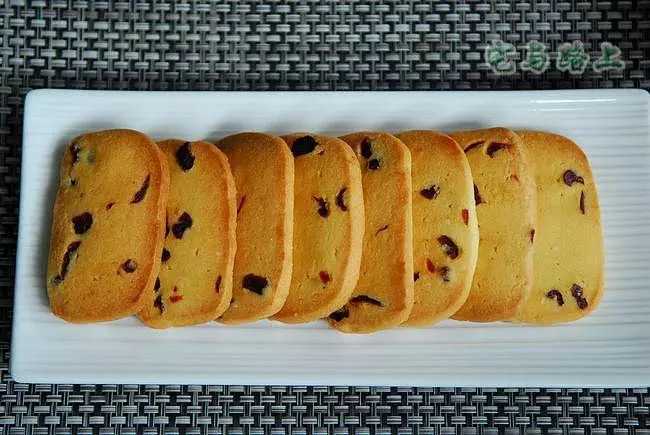
21颜色变深即可,取出放凉后即可食用。
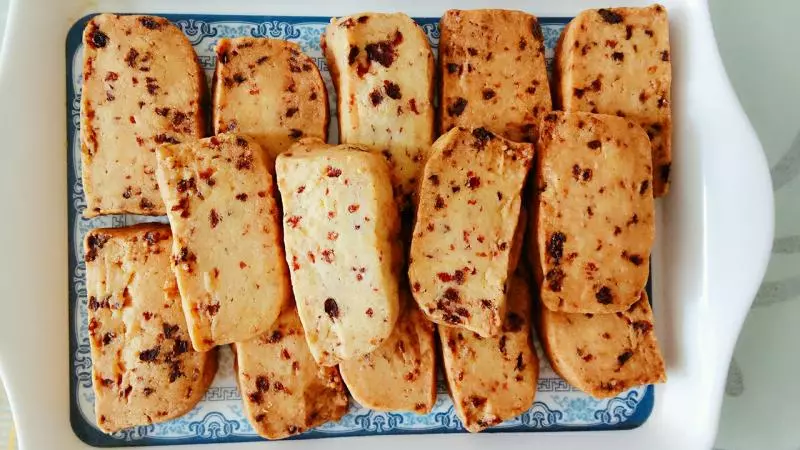
22完成

小技巧
不要过度搅拌黄油,会影响饼干的口感。如果没有模具,用手又固定不好形状。也可以将面团擀成圆形,用饼干模具压模。