原料
糯米粉 200克,A, 草莓 7颗,B, 红豆沙 210克,B, 鲜奶 200克,A, 砂糖 35克,A, 沙拉油 10克,A, 手粉 适量(玉米淀粉用微波炉转一圈即可)
步骤
1取100克的鲜奶加砂糖35克用小奶锅加热,用小火一边煮一边搅拌,至砂糖溶化即可

2放凉后加入剩下的100克鲜奶

3加入沙拉油10克

4加入糯米粉200克

5用打蛋器或筷子搅拌均匀

6另取一个盆,在盆内刷上一层沙拉油防粘

7倒入调好的粉浆,放上蒸锅,加盖隔水蒸25分钟。蒸好的粉浆,用筷子拨开里面看,如果还看到白粉,说明蒸的不够,还要继续再蒸

8蒸好的粉浆,在表面刷上一层沙拉油,防止变干,放置一边室温放凉

9草莓洗净擦干水分,取一小块红豆沙重量约30克,在手心中按扁

10包入草莓

11底部不要全包紧了

12在案板上涂少许油,手戴厨用手套(可防粘)将面团分成60-70克一份

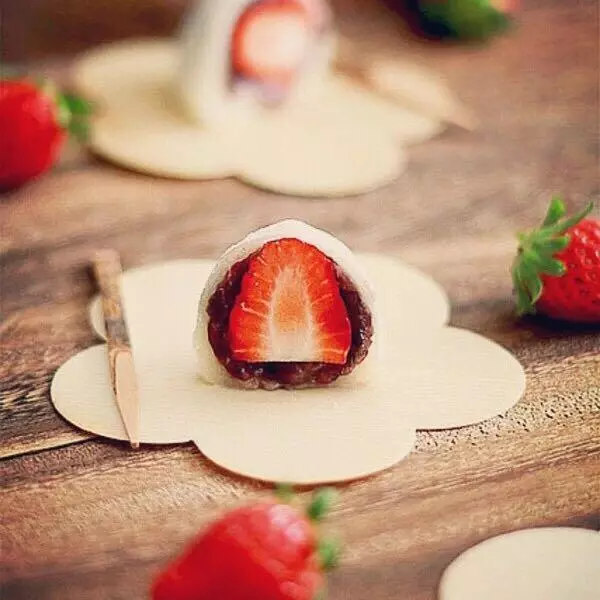
13在面团的上下都盖上保鲜膜,用擀面棍将面团擀成3mm厚的圆饼形

14包入草莓豆沙

15操作时还是要用保鲜膜帮助

16捏紧收口

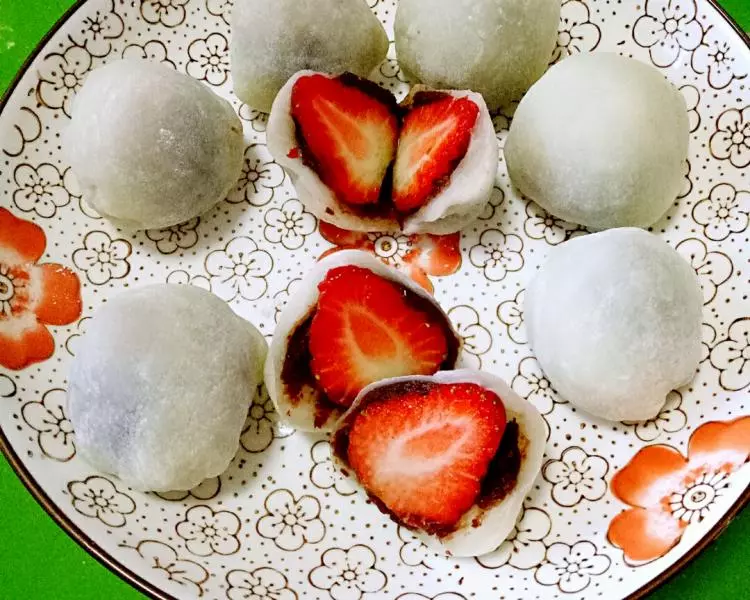
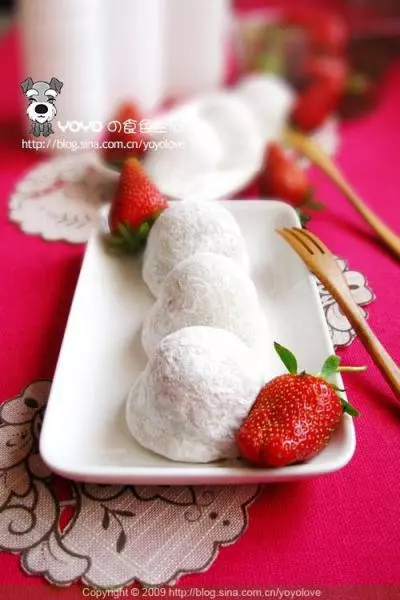
17取少许玉米淀粉在微波炉内用低火转1分钟做为手粉,将做好的大福放入裹入一层粉即可

小技巧
1.用鲜奶煮砂糖的目的是让砂糖溶化,所以只需要用小火,不需要煮开。 2.粉浆蒸好以后,在表面要刷油,以刷水分流失,不然表面就会干干的一块了。 3.为了防套防粘要戴厨用手套,如果用冷藏面团的方式,要记得用保鲜膜包严实了,在操作时还是要添加一点手粉防粘。 4.大福皮不要做的太薄了,一来不好成形,而来有可能切开后会塌陷。 5.做好的大福也要用保鲜膜盖起来,或者用盒子密封,不然水分在空气中也会流失,大福变的干硬。