简介
自从有了娃,就整天研究无添加的美味健康辅食,这款蒸蛋糕香甜不上火,很适合8个月以上对鸡蛋不过敏的宝宝。
原料
鸡蛋 2只, 我用农家蛋3只, 低筋面粉 60克, 糙米粉或小米粉或粘米粉 我用粘米粉和糙米粉混合, 香蕉泥 120克, 这里可换成南瓜泥、苹果泥等 南瓜泥和胡萝卜泥的颜色很漂亮, 绵白糖 8-10克
步骤
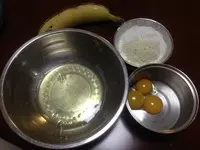
1将蛋白和蛋黄分离,秤量好粉状物体
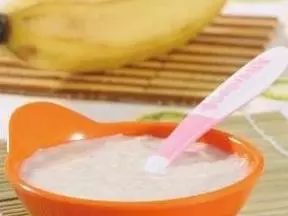
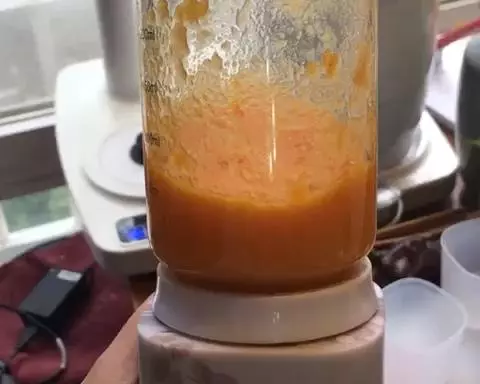
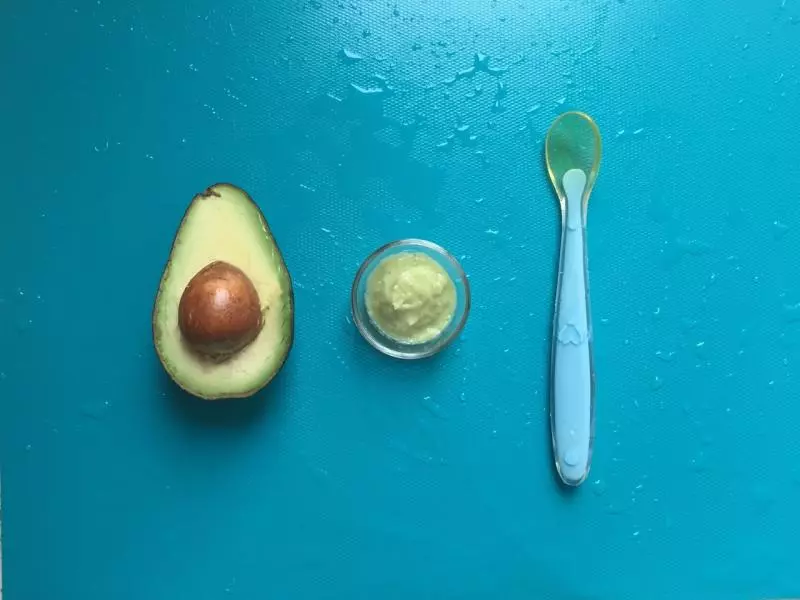
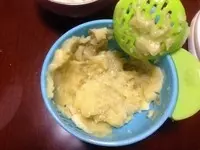
2将香蕉压成泥,不一定很细腻,吃起来有香蕉肉的口感
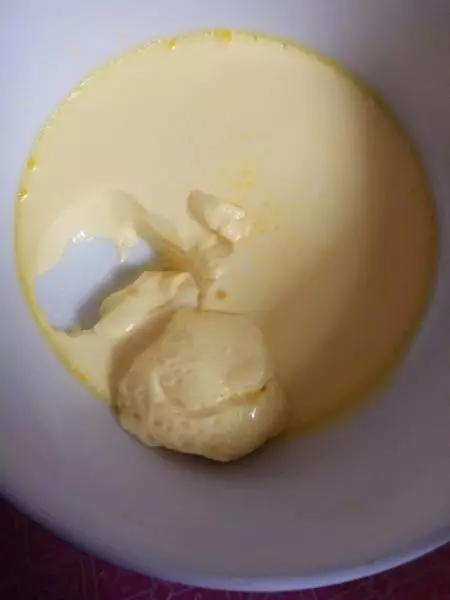
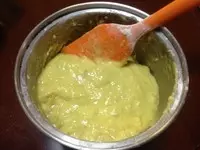
3将香蕉泥与蛋黄混合搅拌均匀后,加入过筛后的粉拌匀
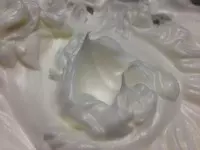
4蛋清加几滴白醋用打蛋器打成拉起来有直立的尖角,即十分发
5蛋白糊与蛋黄糊翻拌均匀,注意千万别打圈拌匀,会导致蛋白消泡,蛋糕不够松软。手法类似于炒菜。
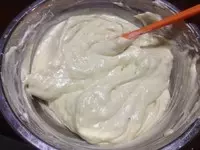
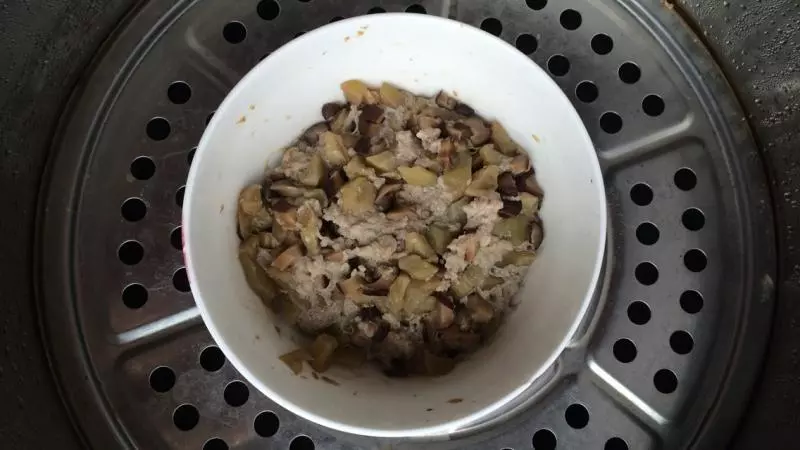
6拌好的香蕉蛋糕糊装进模具,冷水上锅,隔水大火蒸15分钟
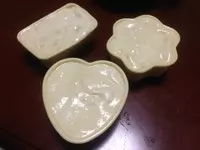
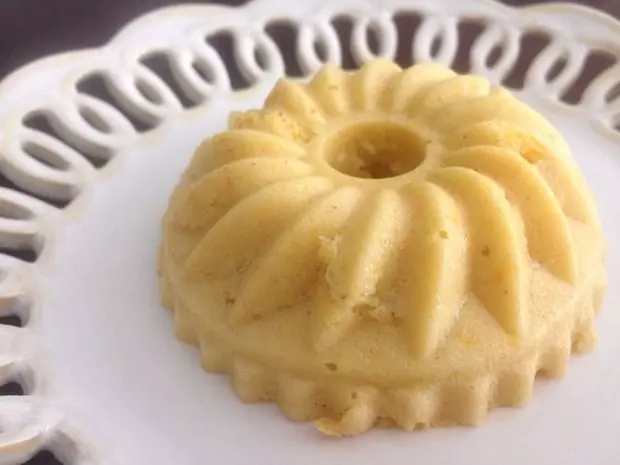
7蒸好后立刻拿出来倒扣5分钟,趁热脱模
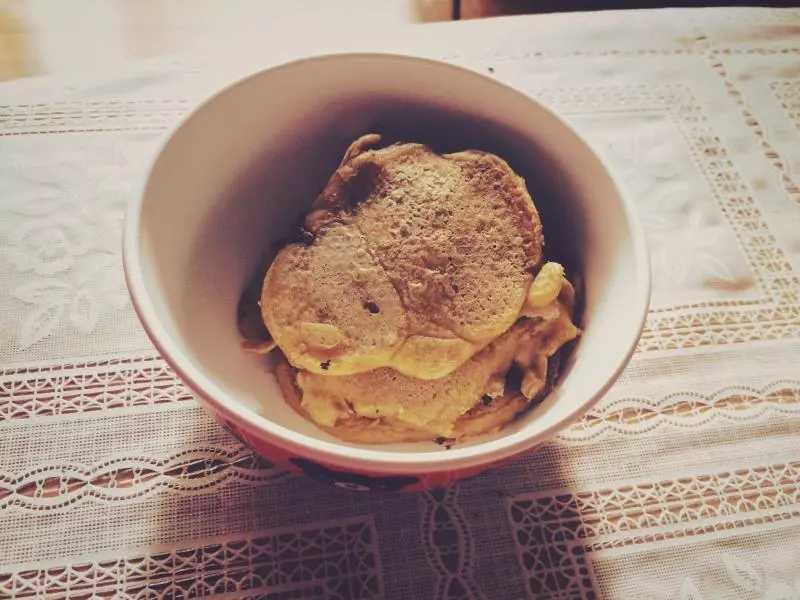
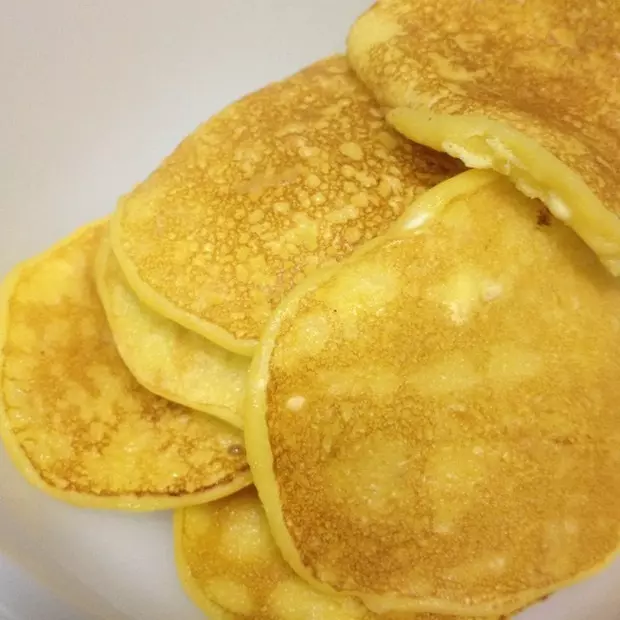
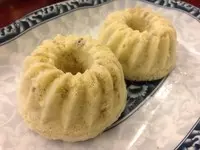
8滑滑嫩嫩萌萌哒,还有浓郁的香蕉香味
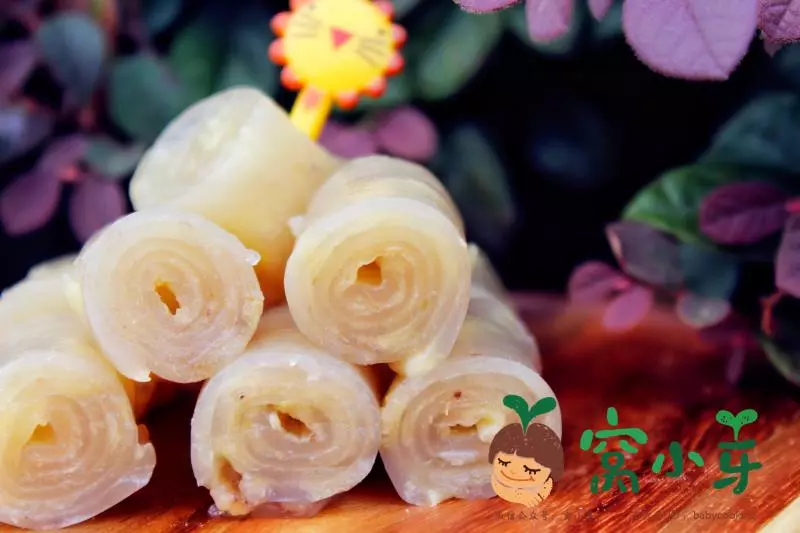
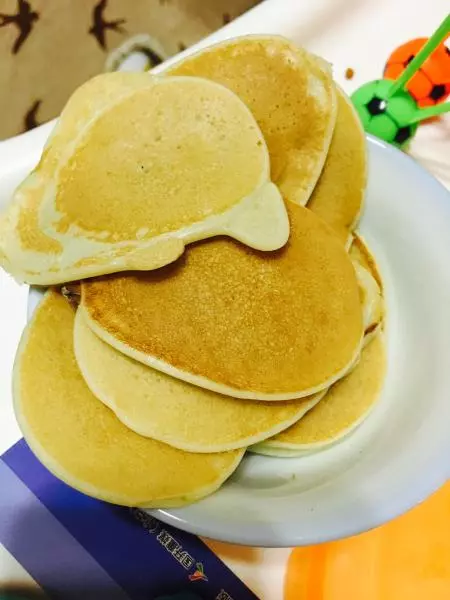
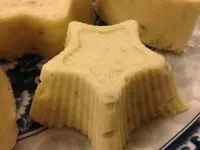
9这个造型也不错
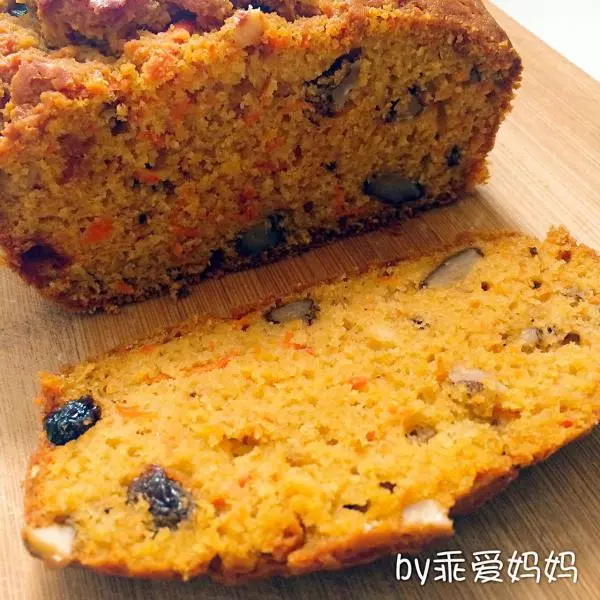
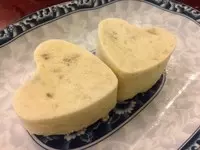
10掰开看,组织很松软哦

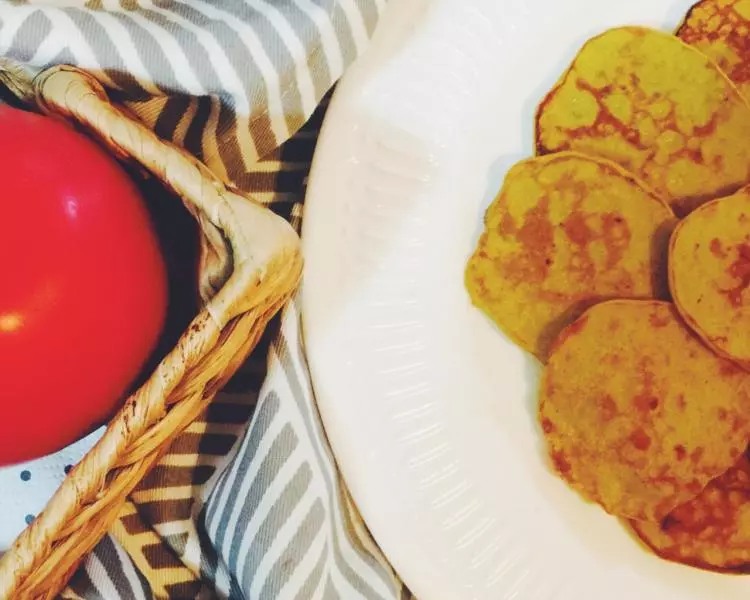
11胡萝卜泥的是不是特别美艳

小技巧
这个蒸蛋糕借鉴了戚风蛋糕的做法,粉放得越多口感越扎实,注意事项也跟戚风蛋糕的注意事项无差别