原料
山楂: 500克, 砂糖: 200克
步驟
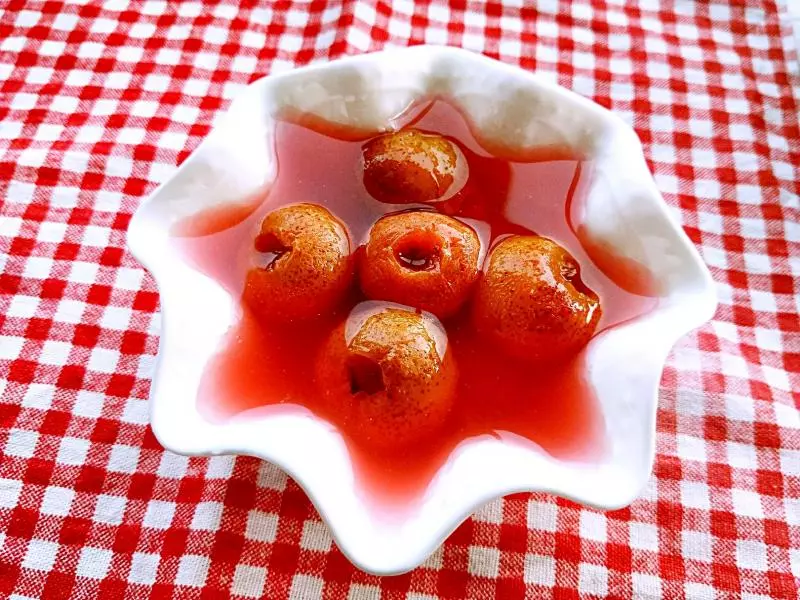
1山楂用鹽水泡半小時,洗凈,去糊,,一層山楂,一層砂糖

2用鍋蒸半小時

3放破壁機里打成泥,普通料理機也可以

4過篩,這步說一下,最累就這一步,我用破壁機打的,所以這步省了,如果你想讓它看起來更細膩沒有雜質,就過篩

5烤盤放油紙,把山楂糊倒上,用這刮板刮平

6儘量刮平,烤箱100度,預熱5分鐘,忘拍照了,烤40分鐘,如果覺得還欠點火候在烤箱裡悶一會

7拿出

8撕去油紙

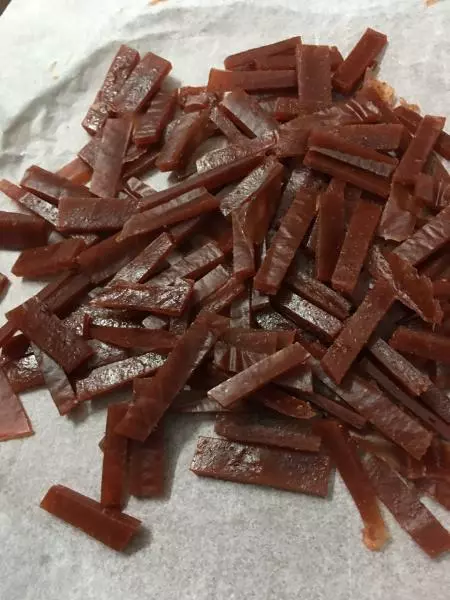
9邊有點硬,剪下來,剪下來的部分裝保鮮代里過兩天也會軟

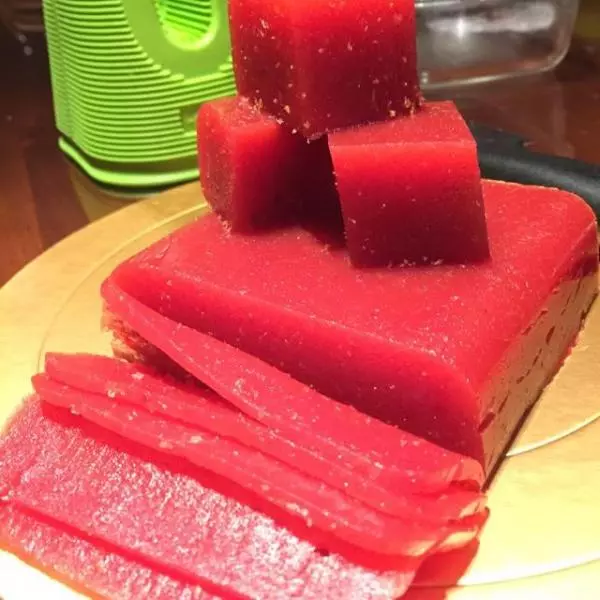
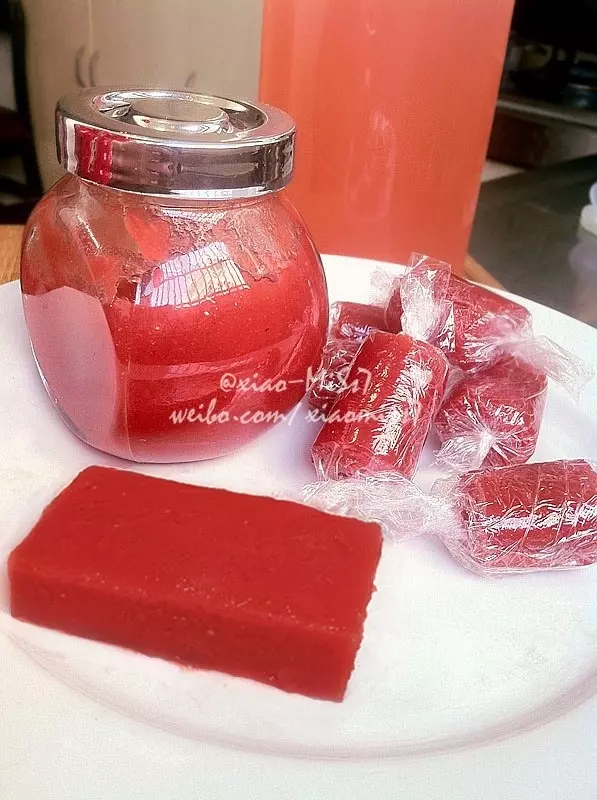
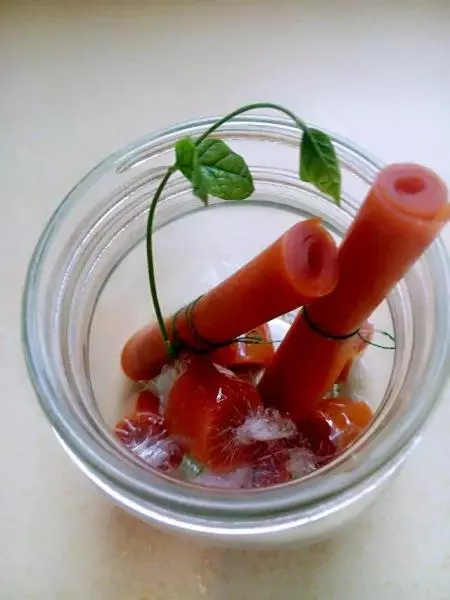
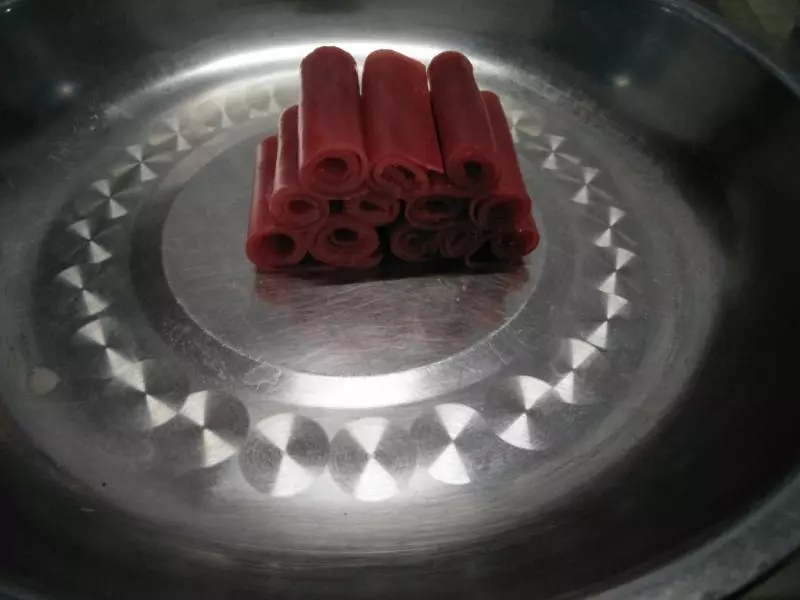
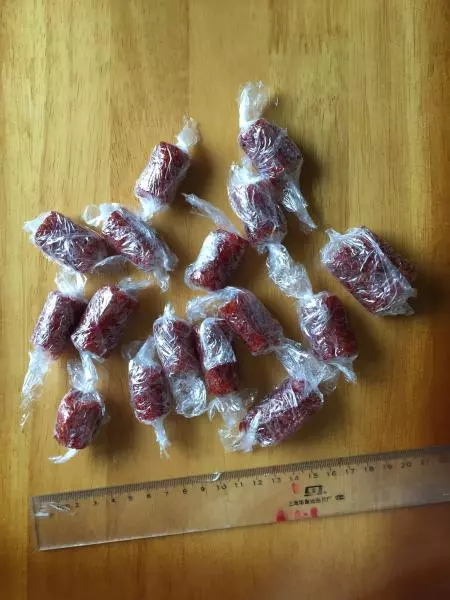
10根據自己需要大小剪成塊

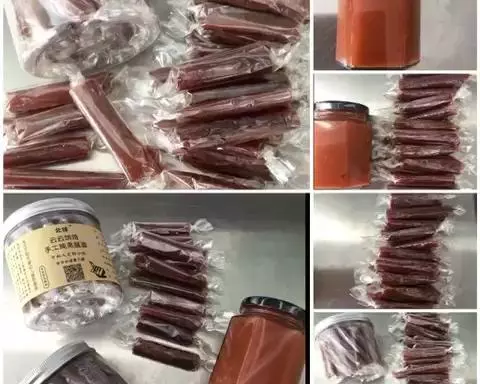
11我用保鮮膜簡單包裝了一下

小技巧
我喜歡簡單的食材,有說冰糖不上火的,可以試下,我就地取材了有什麼用的什麼,酸甜度可自己調整