原料
雞蛋: 5個(55-65)克, 低筋麵粉: 75克(隨雞蛋大小可增減5克), 玉米油: 50克, 牛奶: 50克, 白砂糖: 50克(喜歡甜的自己加), 鹽: 1克, 淡奶油: 150—200克(糖8到12)克, 抹茶: 4克.麵粉減少4克, 紅曲粉: 1克不到
步驟
1把牛奶、油,鹽,稱好放在一個盤中用手動打蛋器攪打充分乳化,(這裡說明一下我不放糖的)。

2乳化好的狀態。

3乳化好的液體中加入麵粉畫Z字攪拌均勻。

4然後加入蛋黃,我這個是後蛋法,後蛋法的是因為麵糊更加的細膩。

5這個是攪拌均勻的蛋黃糊,放一邊備用。

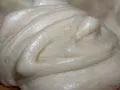
6然後用無油無水的乾淨盤子中打發5個蛋清,蛋清裡面我是加入白醋2到3滴,加入白醋可以增加蛋白湖的細膩度,如果你有檸檬那就加入檸檬汁,蛋白打發至圖中的樣子,中性過點,如果實在不小心打到尖角也可以。

7將打發好的蛋白跟蛋黃糊分次混合均勻,注意手法不要劃圈,攪拌成細膩均勻的麵糊就可以。

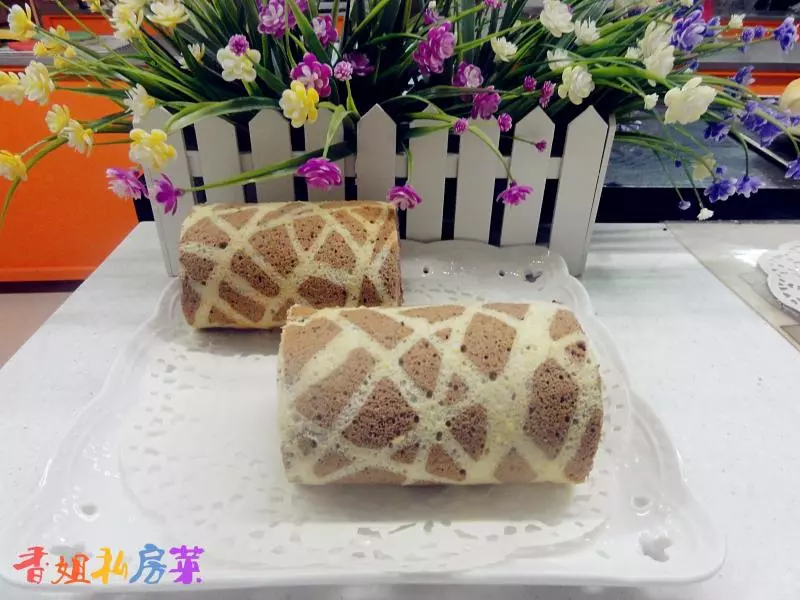
8要做毛巾面的話,就用矽膠墊墊在烤盤中,沒有矽膠墊就用油紙,用油紙就不那麼容易出毛巾面可以做正卷。

9麵糊倒入烤盤中,烤盤可以用28.28的也可以用28.35的,圖中我用的28.35的,記得烤箱提前預熱.烤箱溫度180度烤18分鐘,你的烤箱溫度跟時間你自己琢磨,如果要正卷的話最後3分鐘開熱風功能,如果你的烤箱沒有熱風就最後3分鐘溫度調高一點點,然後記得一定要看著烤箱不要走開,看狀態,好了馬上出爐,震盤就在烤盤中直接放在烤網上晾涼。

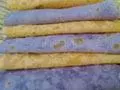
10等蛋糕涼到手溫就用脫模刀烤盤4邊劃一下,蛋糕片脫模,這是烤好的蛋糕片反面,毛巾面妥妥的,如果要正卷就不用倒過來。

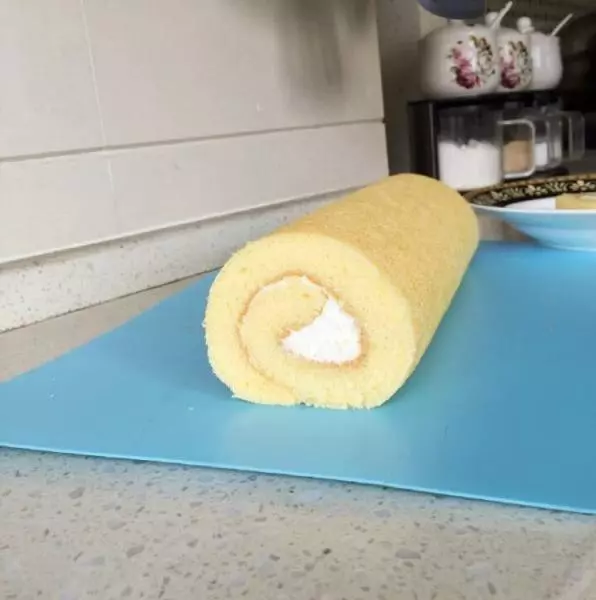
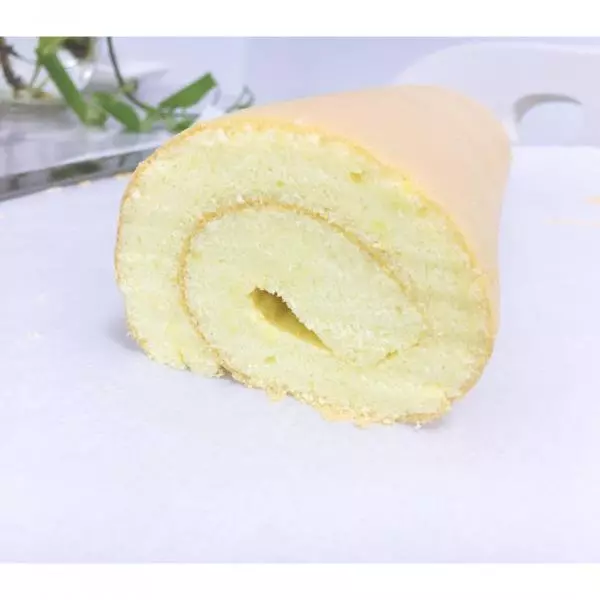
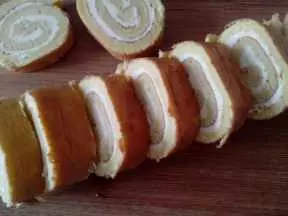
11最後等蛋糕涼了就加入打好的淡奶油捲起來過半小時定型切件,如果你有足夠把握就直接可以切塊了我就是這樣切的。

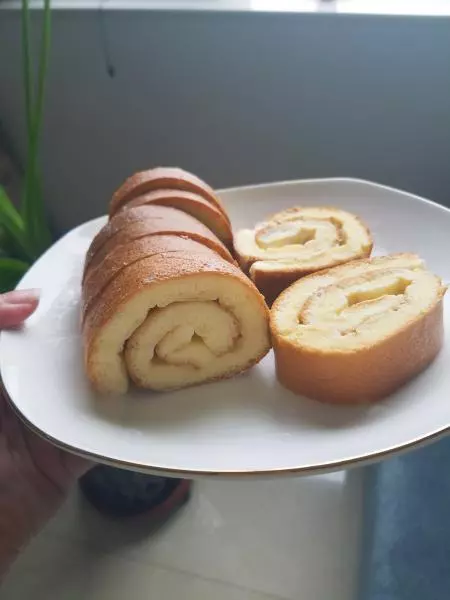
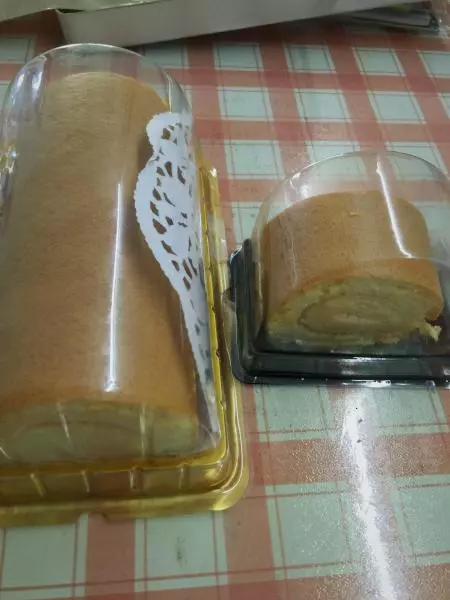
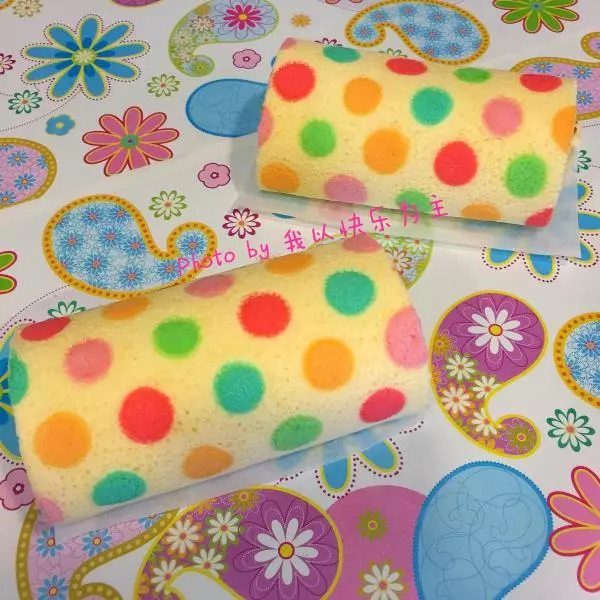
12這個是做好的正卷跟反卷。

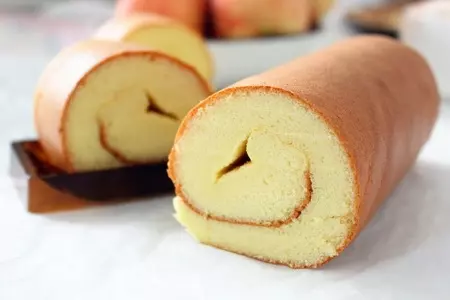
13這是抹茶,紅曲,跟原味的反卷,是不是很漂亮。

14補上一張夾水果的照片。

小技巧
烤箱溫度自己掌控,抹茶粉,紅曲粉跟低筋麵粉一起過篩,抹茶粉4克減去相應的麵粉量,紅曲的放的少不用減麵粉,淡奶油裡面水果自己喜歡什麼就夾什麼。