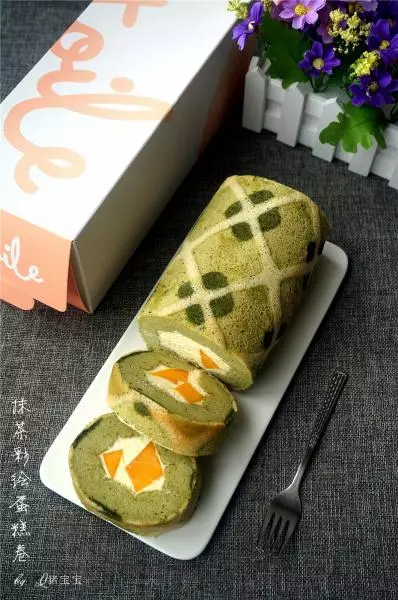
原料
低粉: 80克, 牛奶: 60克, 細砂糖: 60克, 色拉油: 50克, 雞蛋: 4個, 紅曲粉: 1/8小勺, 可可粉: 少許
步驟
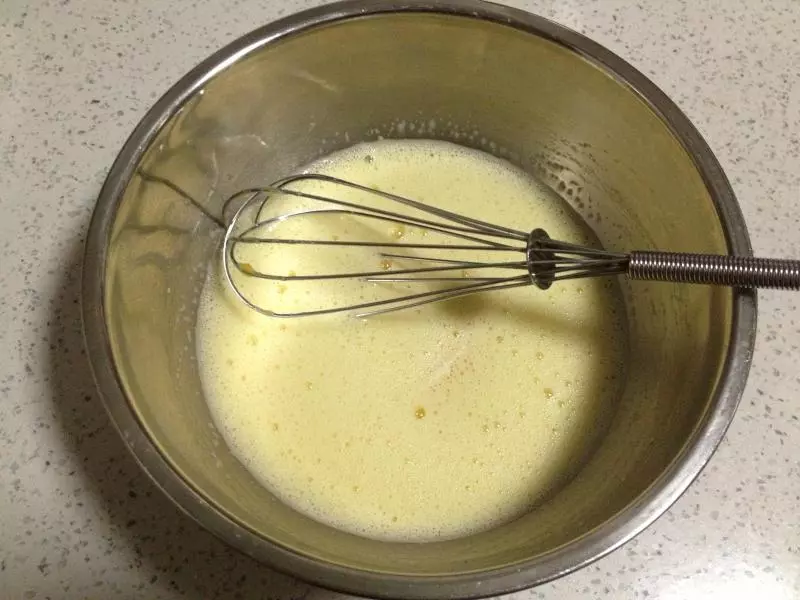
1蛋黃加10克糖攪打均勻

2加入50克色拉油攪打均勻
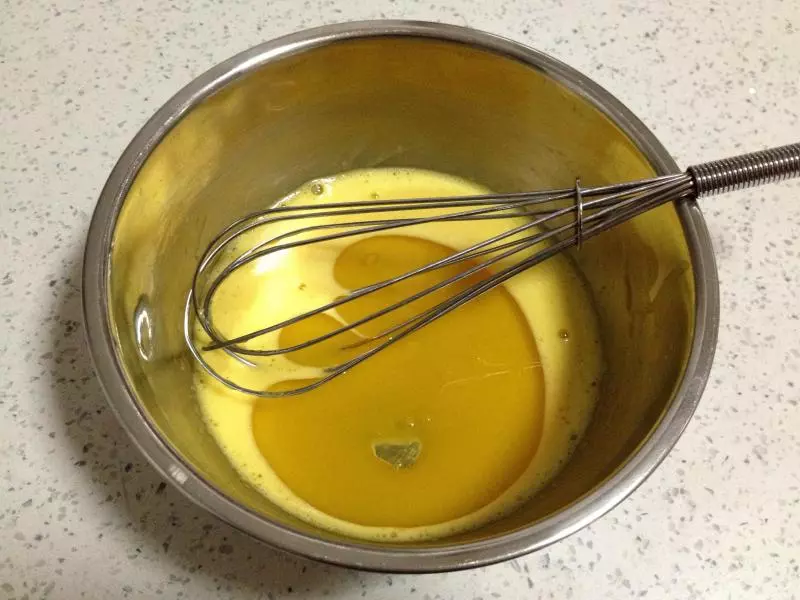
3再倒入60克牛奶攪打均勻至油水融合
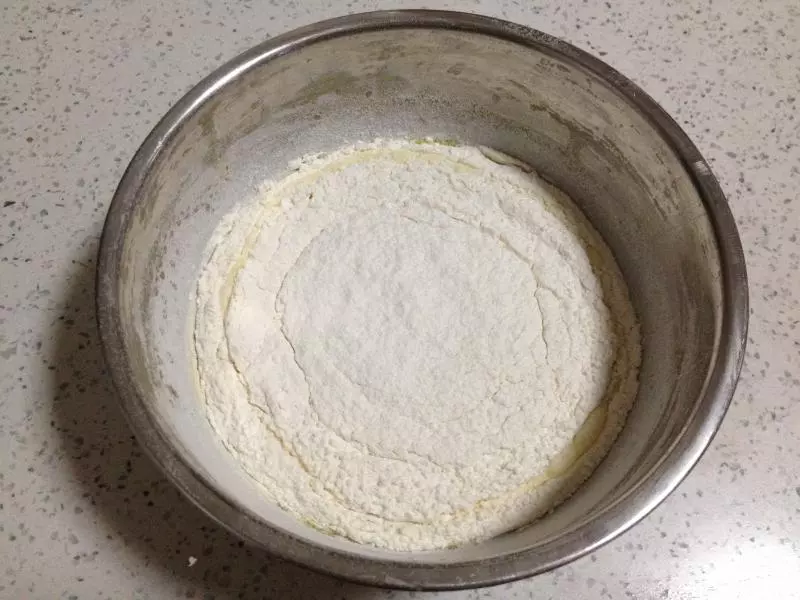
4將80克低粉篩入蛋黃盆中攪拌均勻
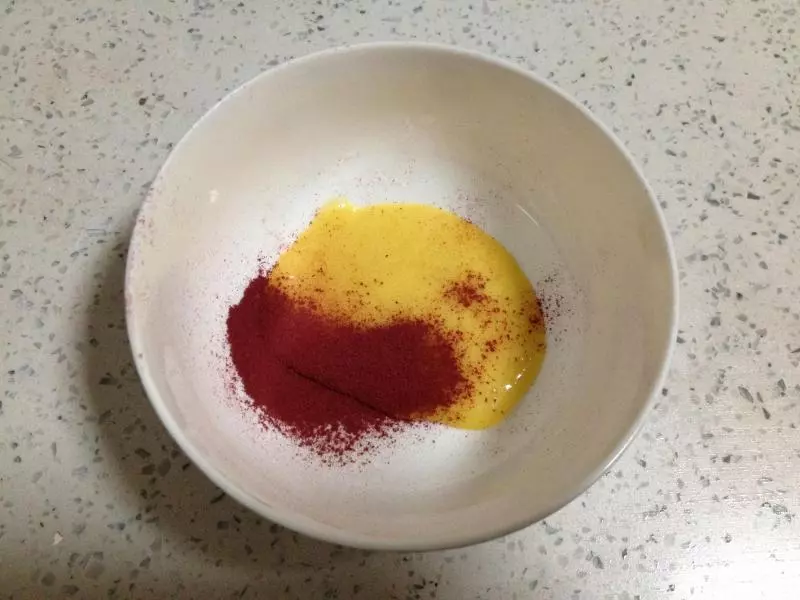
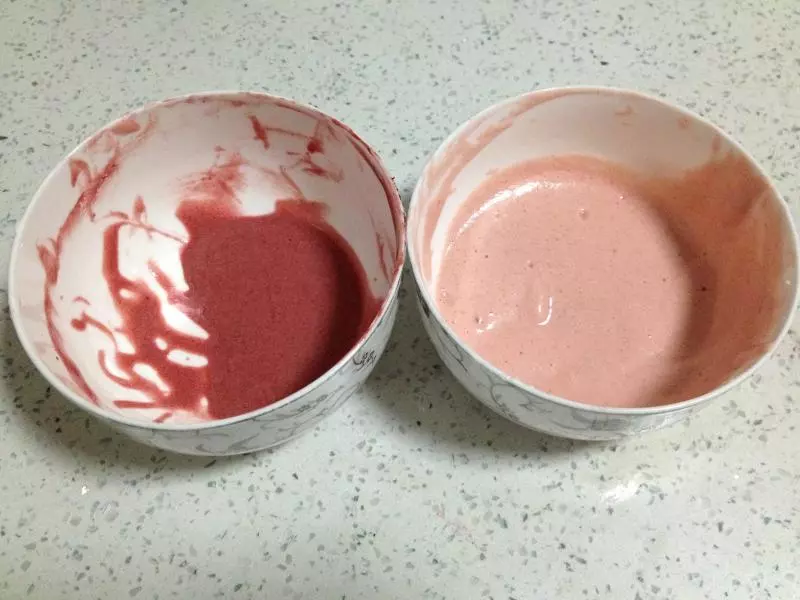
5用勺子取15克蛋黃糊於小碗中

6將紅曲粉篩入小碗中切拌均勻
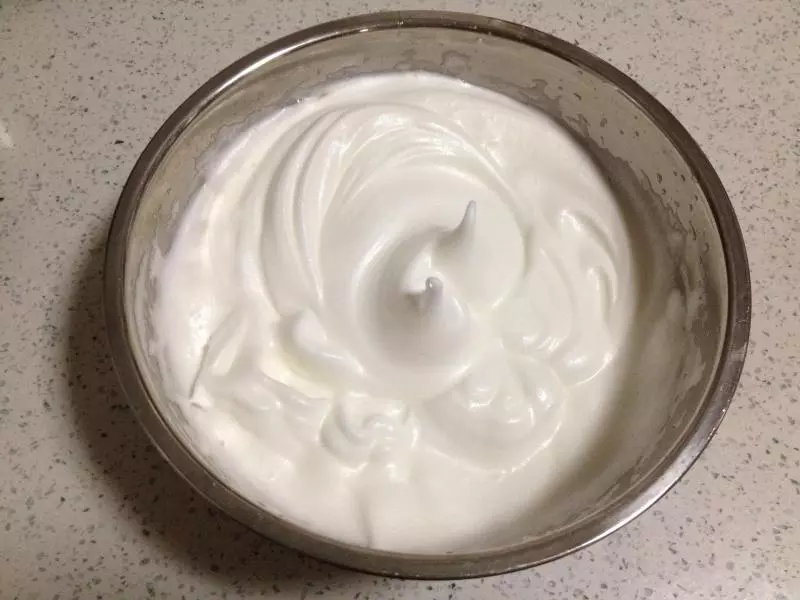
7蛋白分三次加入50克糖後打至濕性發泡
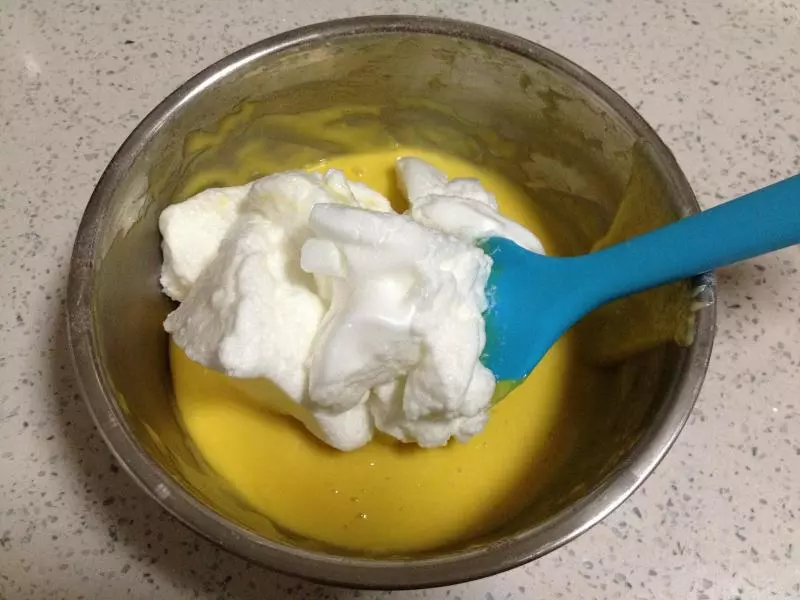
8蛋白分次加入蛋黃糊中攪拌均勻成蛋糕糊
9取約為紅曲蛋黃糊兩倍的蛋白於小碗內翻拌均勻(深淺色各兩種)
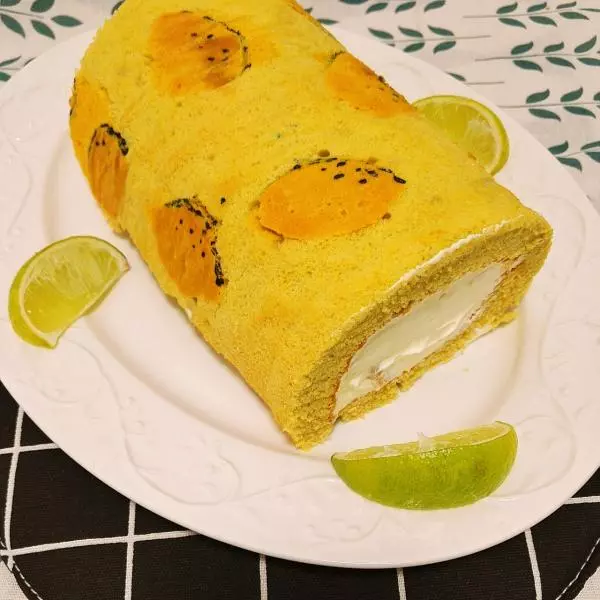
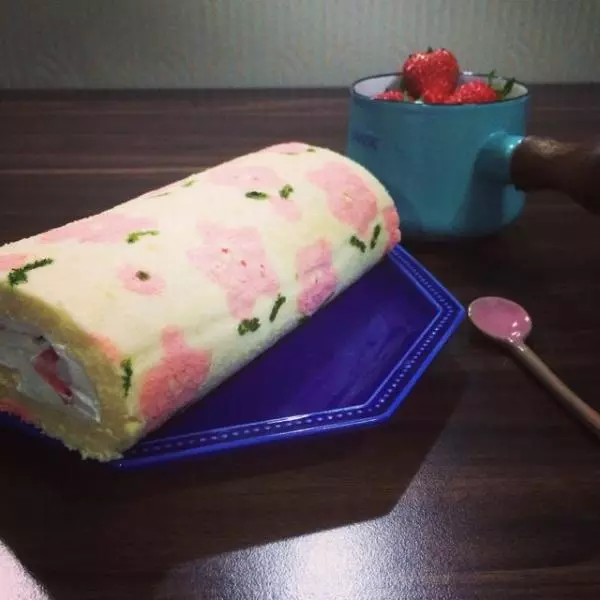
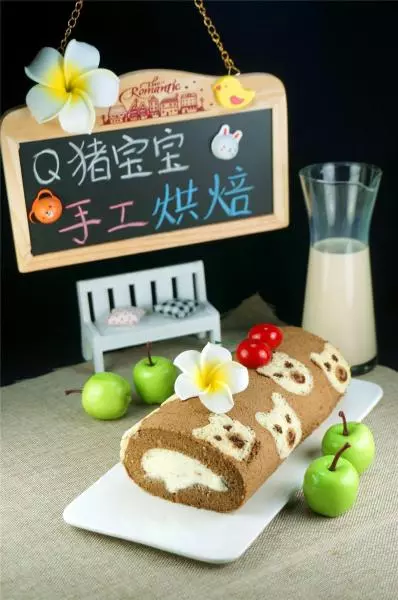
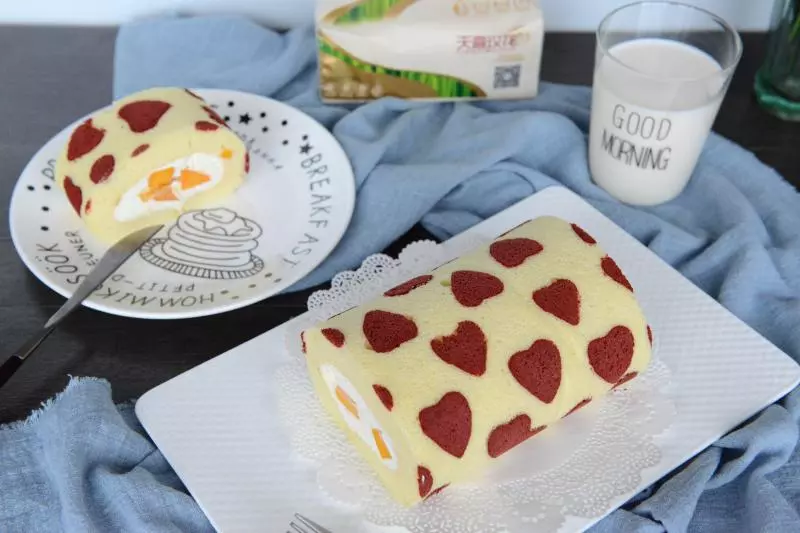
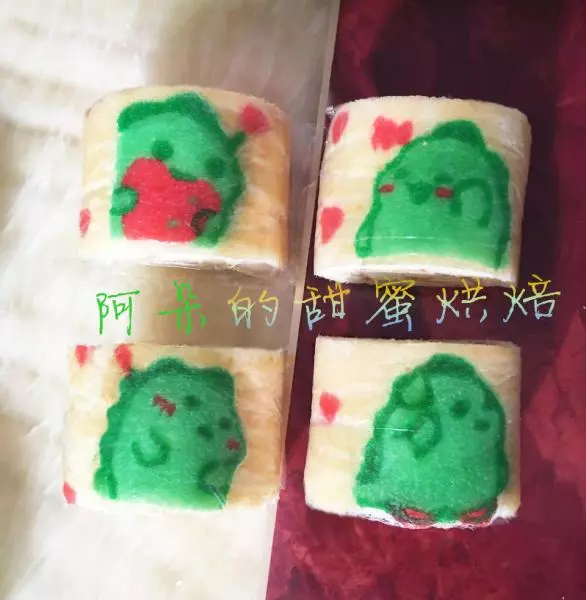
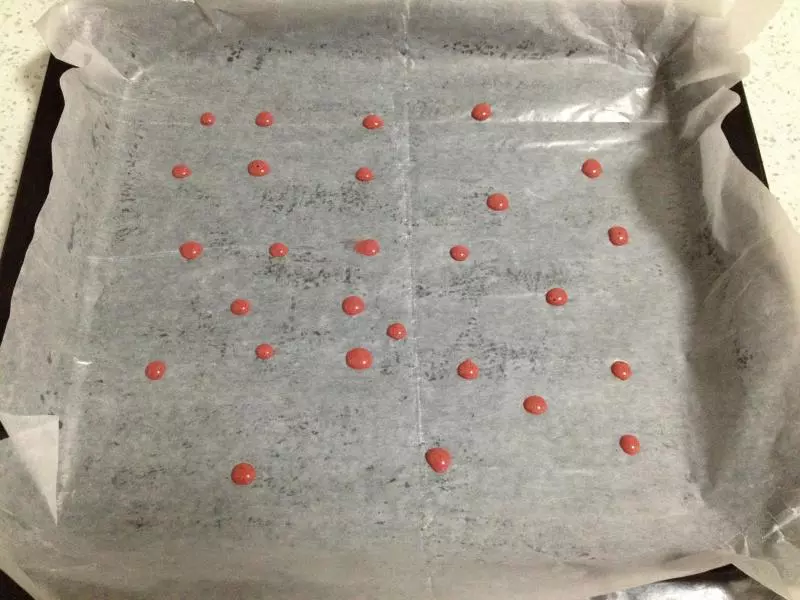
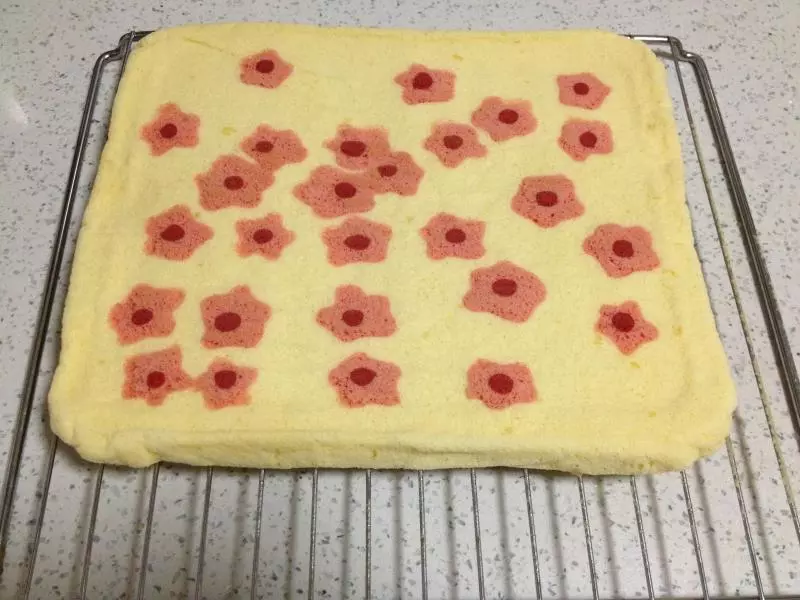
10將紅曲蛋糕糊倒入裱花袋後先在鋪好油紙的烤盤上畫出深色花蕊圖形,然後入180度預熱好的烤箱內烤1分鐘定型
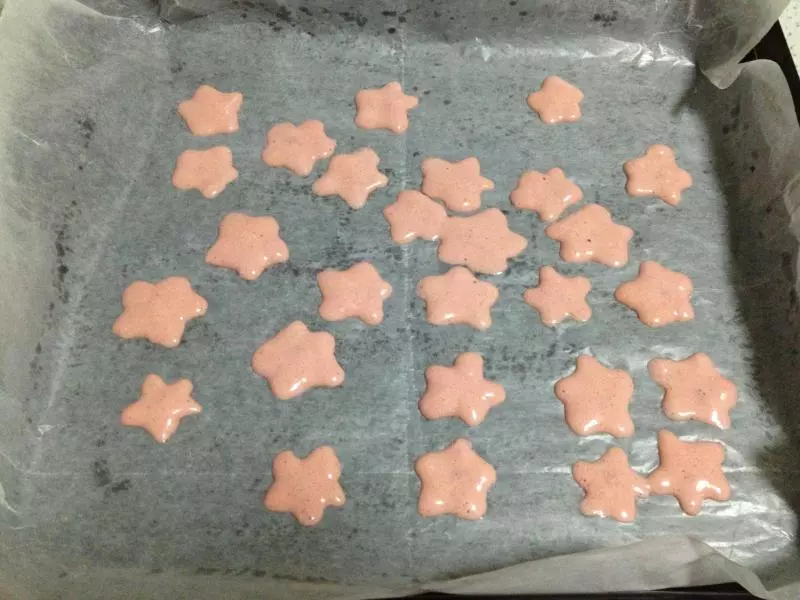
11再畫出淺色花瓣圖形後入烤箱一分鐘定型
12把蛋糕糊倒入烤盤內抹平並震去大氣泡,放入烤箱180度烤14分鐘

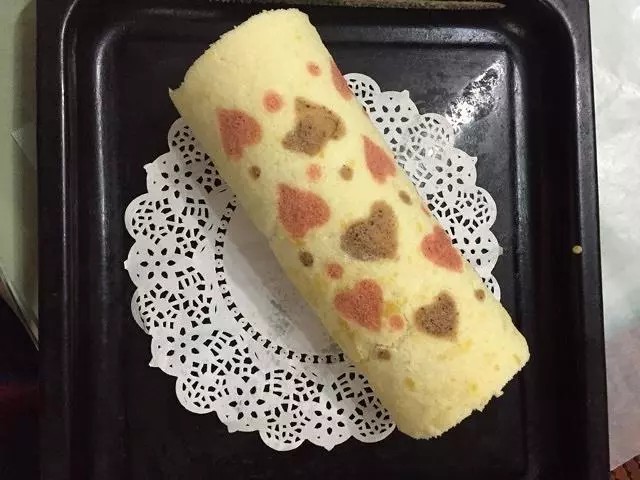
13取出後倒扣在烤網上並趁熱撕開四周的油紙
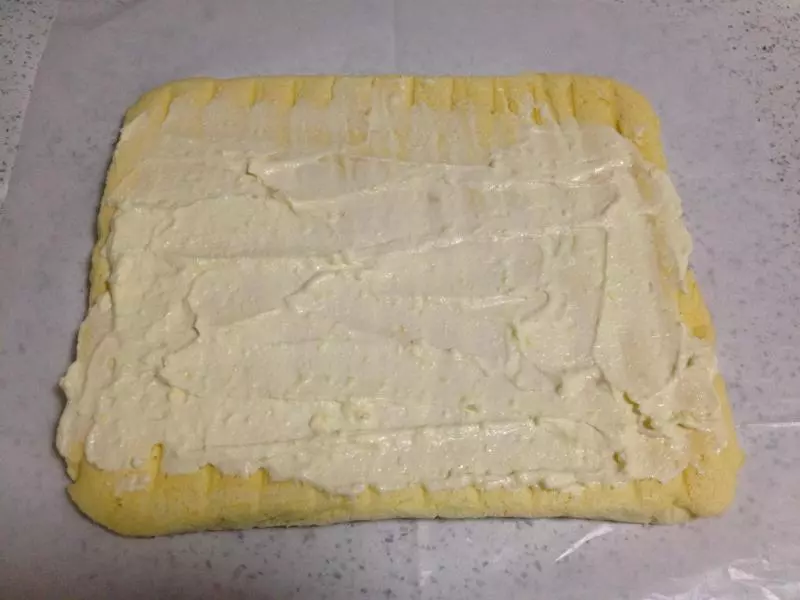
14稍晾涼後再次倒扣在新油紙上並在表面抹上奶油餡卷好,放冰箱30分鐘
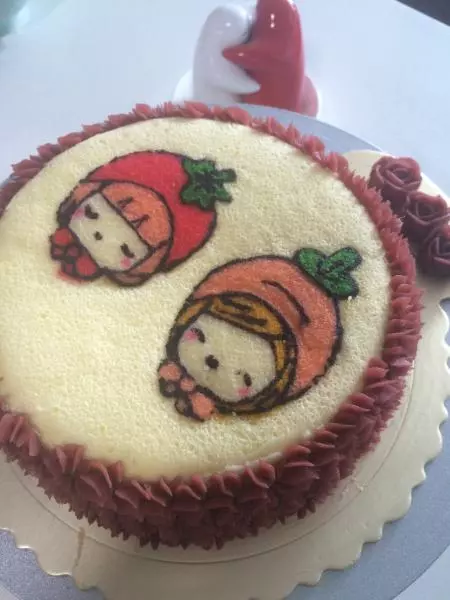
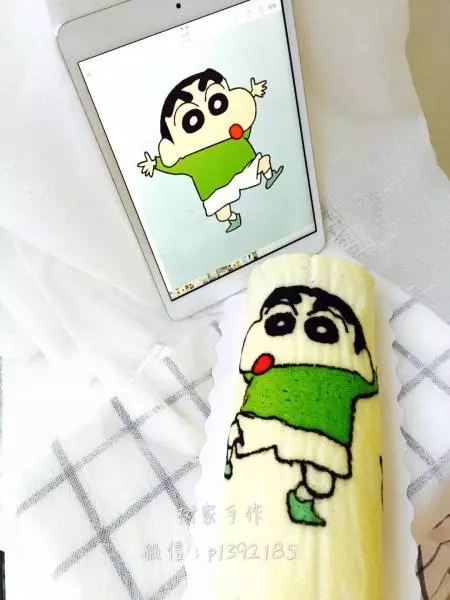
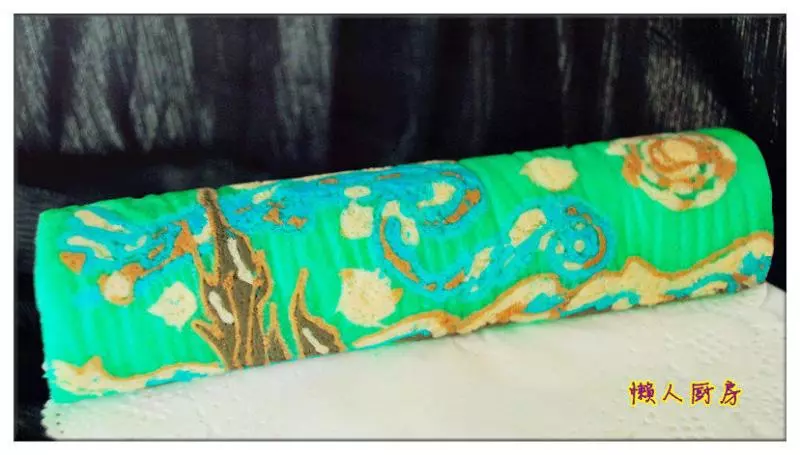
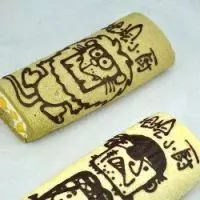
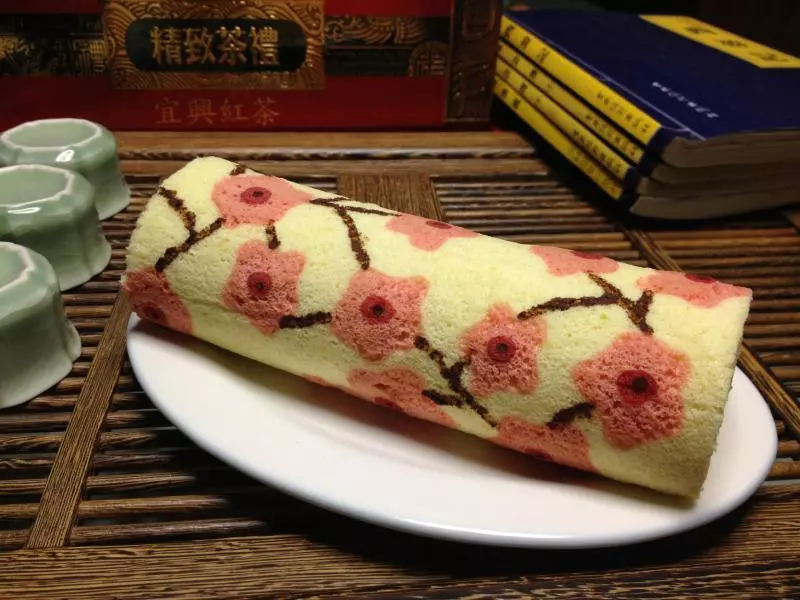
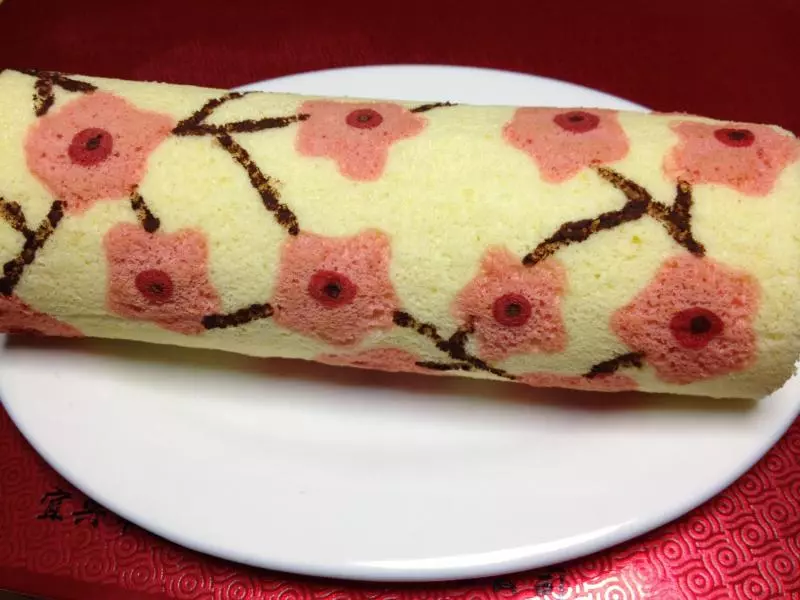
15取少許可可粉和清水拌勻後用牙籤蘸著畫上樹枝即可
小技巧
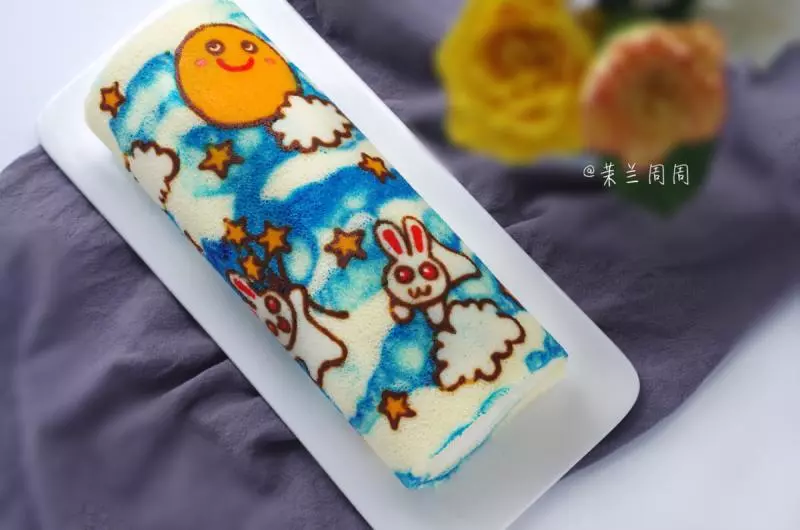
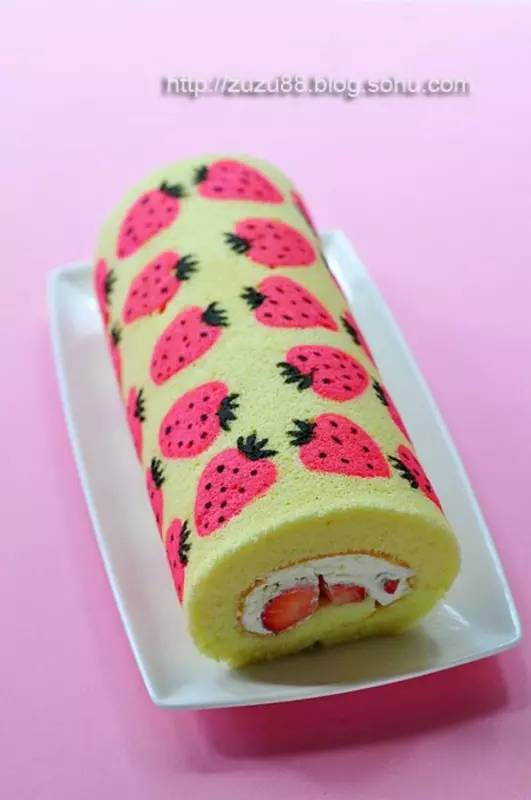
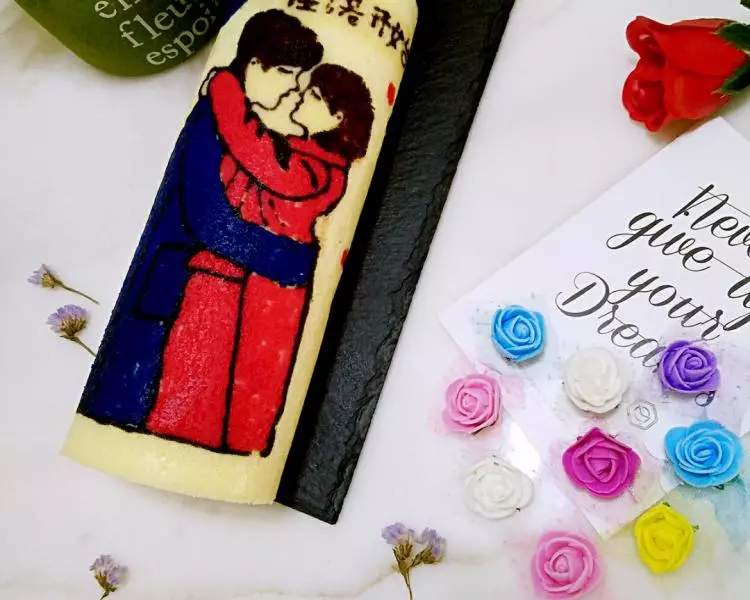
手繪圖案可以根據個人喜好繪製,烤好的蛋糕應立即取下油紙,並在還有一定餘溫的時候開始抹餡,這樣卷的時候才不容易開裂。