原料
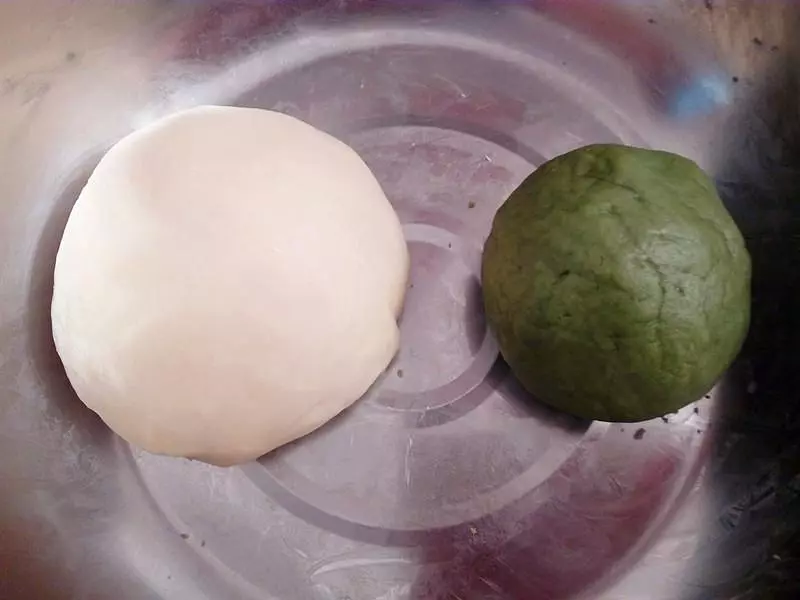
中筋麵粉: 150g, 細砂糖: 35g, 豬油: 40g, 水: 60g, 低筋麵粉: 100g, 豬油: 50g, 綠茶粉: 3g, 紅豆沙餡: 400g
步驟
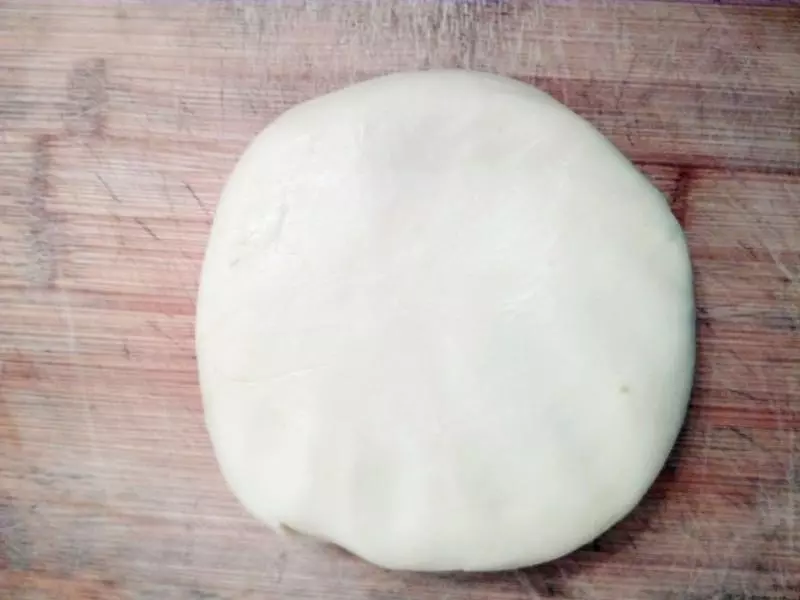
1把製作水油皮的材料混合揉成水油皮麵糰。需要稍微多揉一會兒,直到麵糰表面光滑。把油酥皮的材料混合揉成油酥麵糰。兩個麵糰分別靜置鬆弛30分鐘。
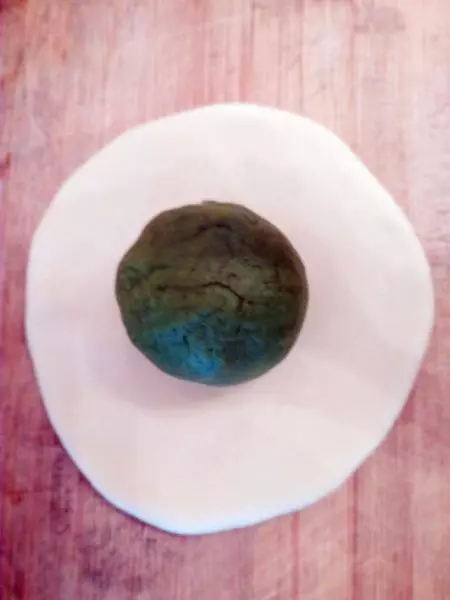
2用手掌把水油皮麵糰壓扁。在水油皮麵糰上放上油酥麵糰。
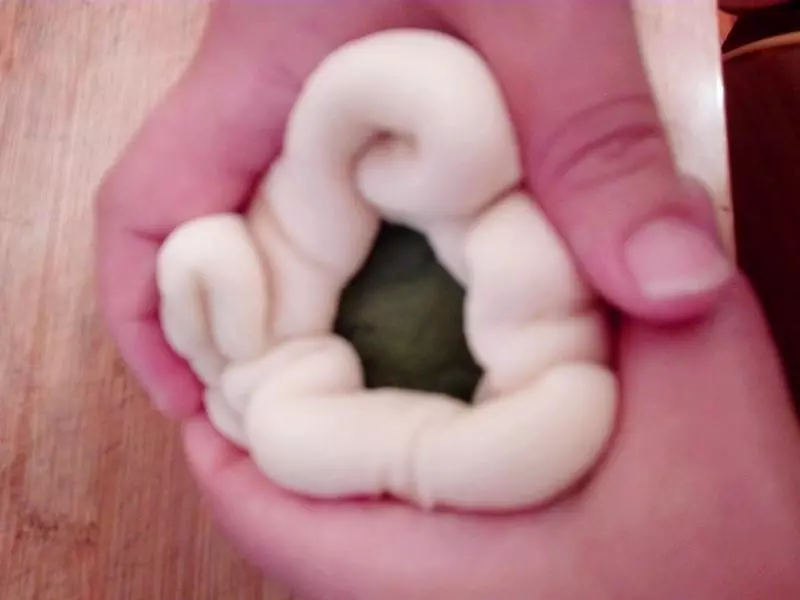
3用水油皮把油酥包起來。(請忽略我的胖手......)
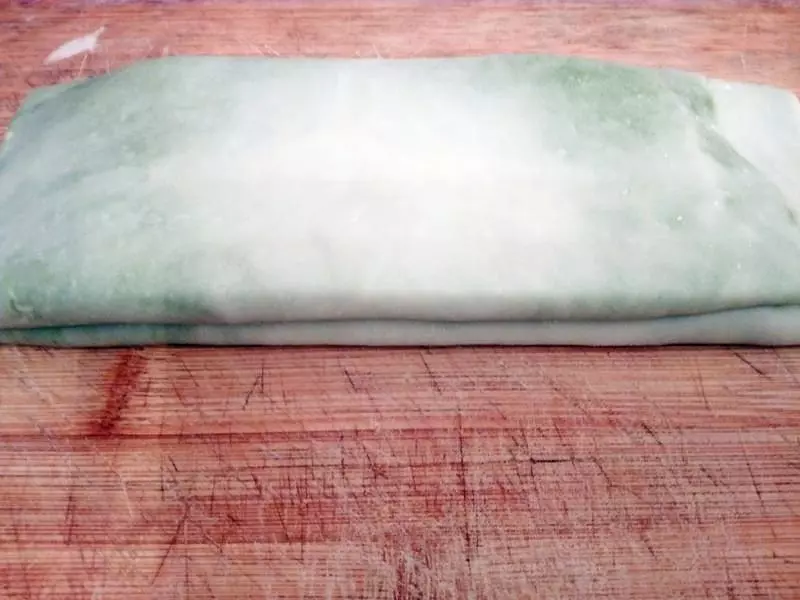
4包好的麵糰收口朝下,用手掌再次壓扁。
5在案板上撒一層薄薄的麵粉防粘,用擀麵杖把麵糰擀成長方形。
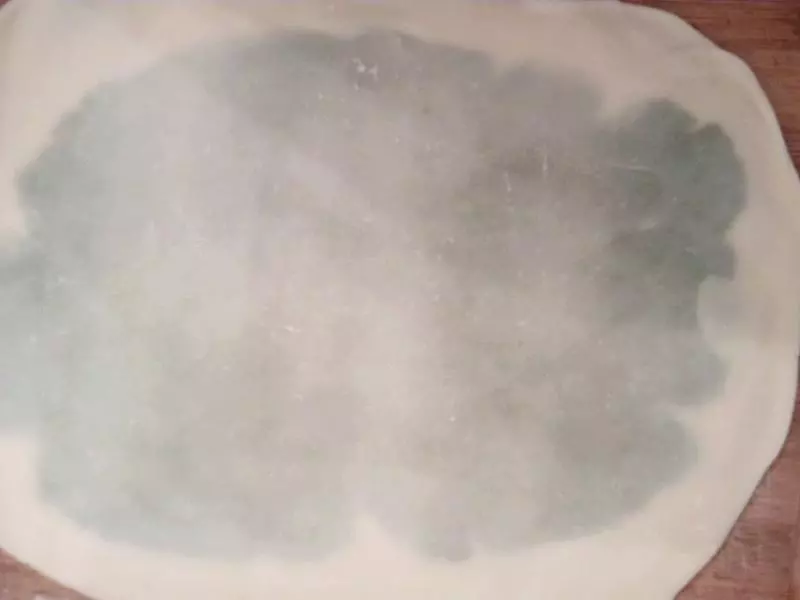
6把擀好的長方形面片一端向中心線翻折過來,另一端也向中心線翻折。
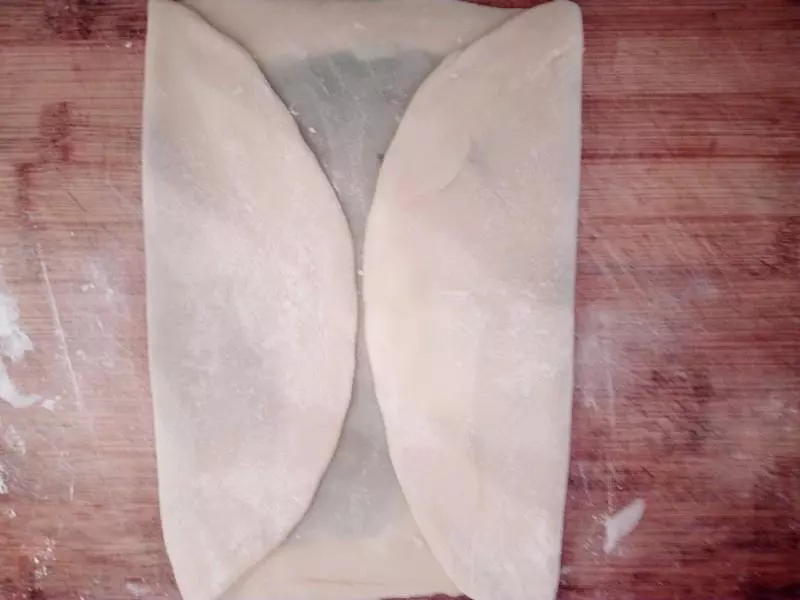
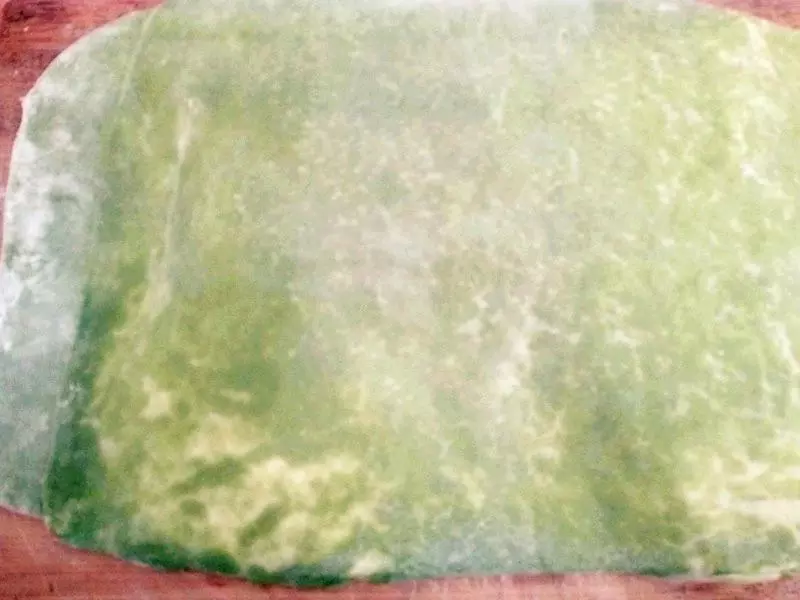
7兩端都翻折好的面片,再沿中心線對摺。
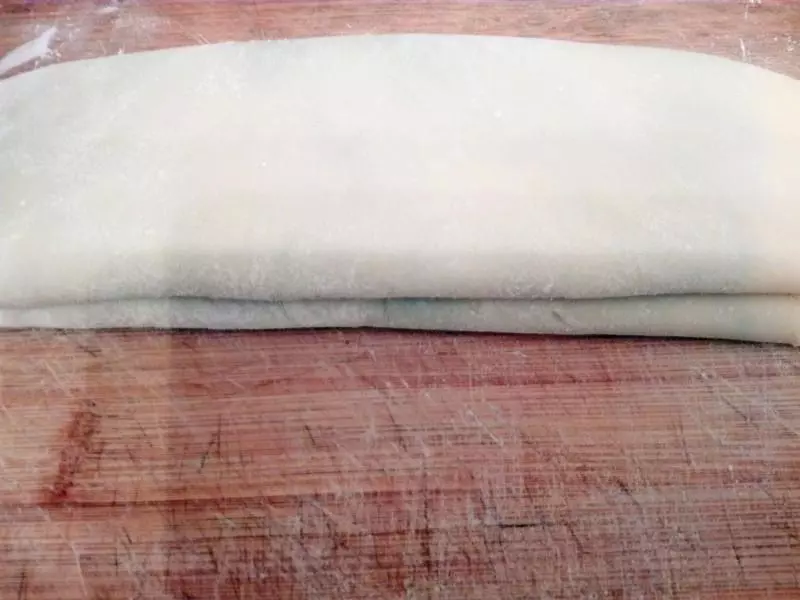
8折好的面片轉90度,橫過來。
9再次用擀麵杖擀成長方形。重複6-8步,再一次摺疊起來。摺疊好的面片靜置鬆弛20分鐘。
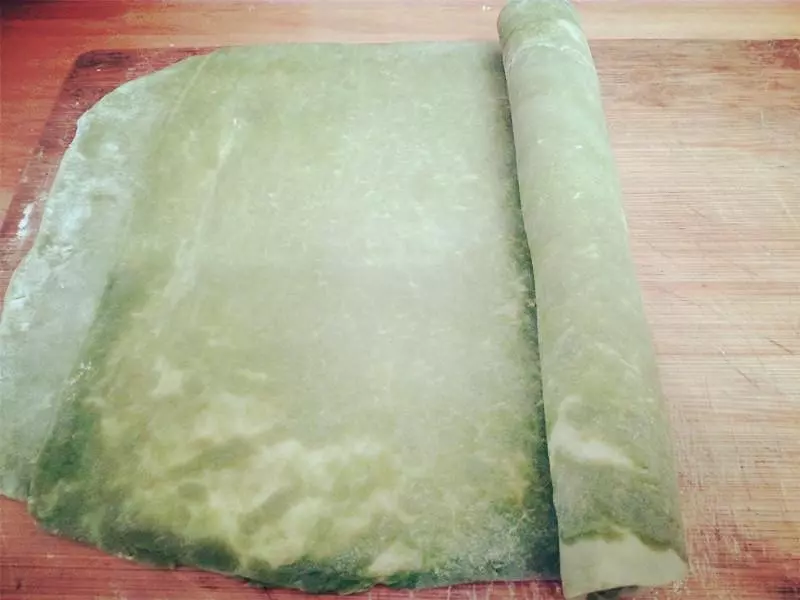
10鬆弛好的麵糰,橫過來再次擀成長方形。沿著長方形的一端,把面片捲起來。
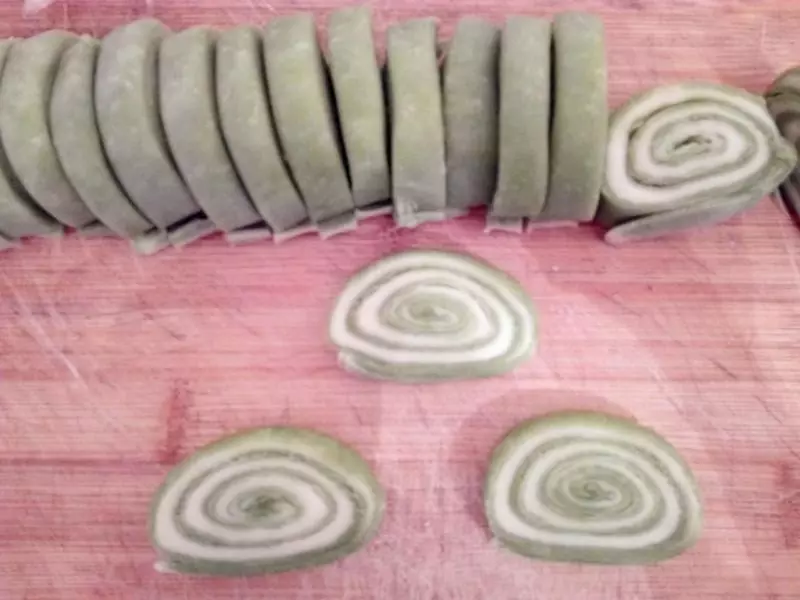
11捲起來的麵糰,用刀切成20份。
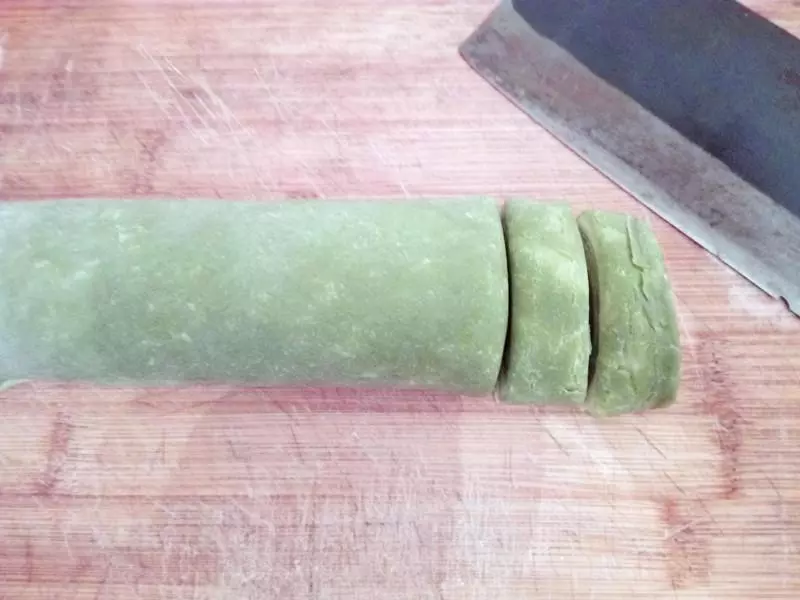
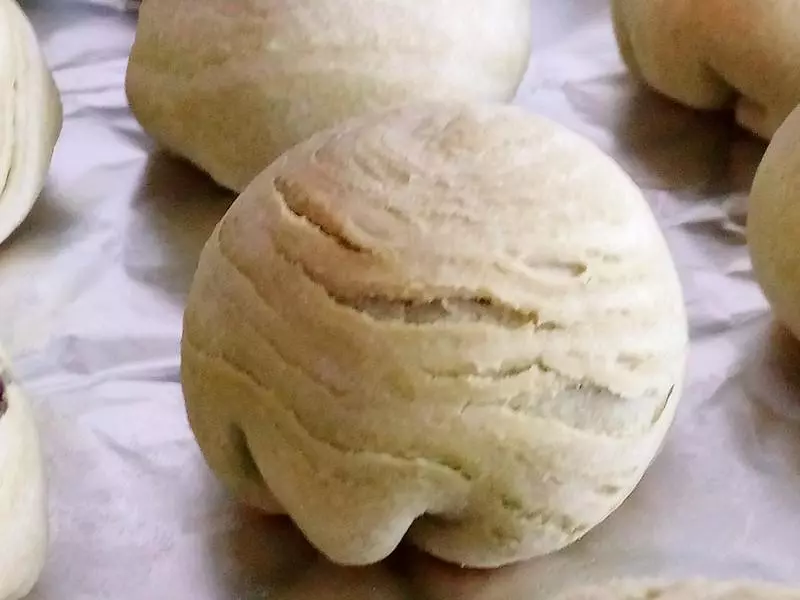
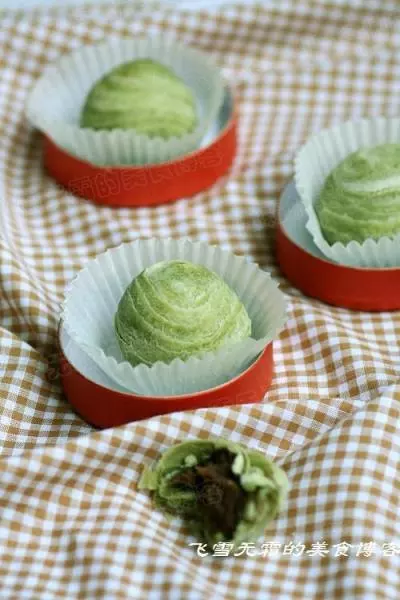
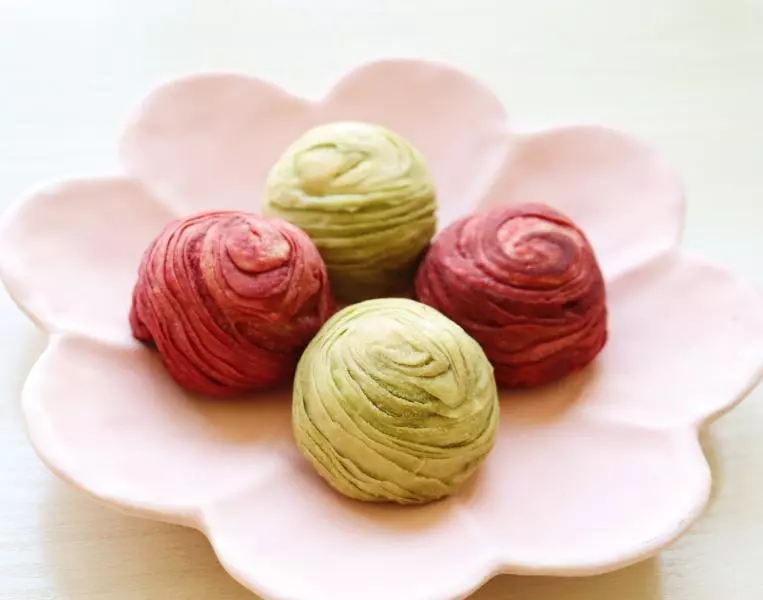
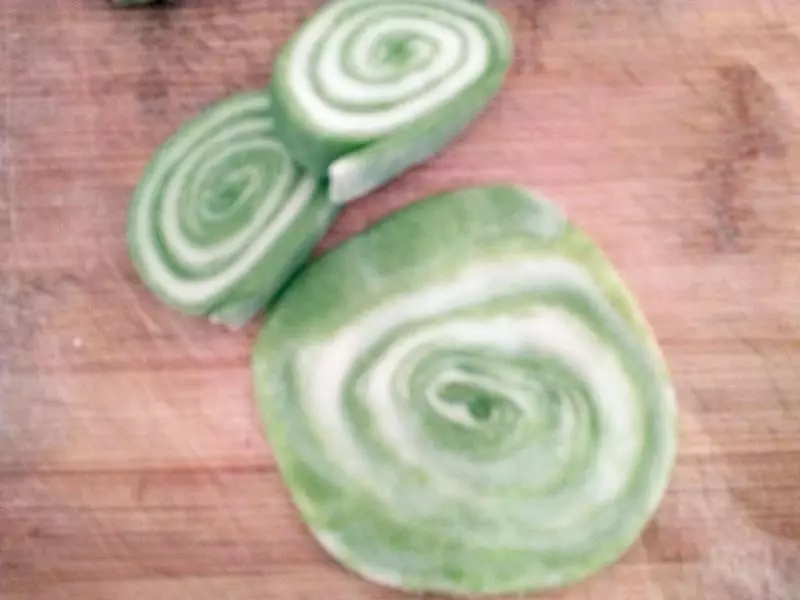
12切開的麵糰,在切面可以看到綠白分明的線條。
13把麵糰切面朝上,用手掌壓扁後擀成圓形的薄片。
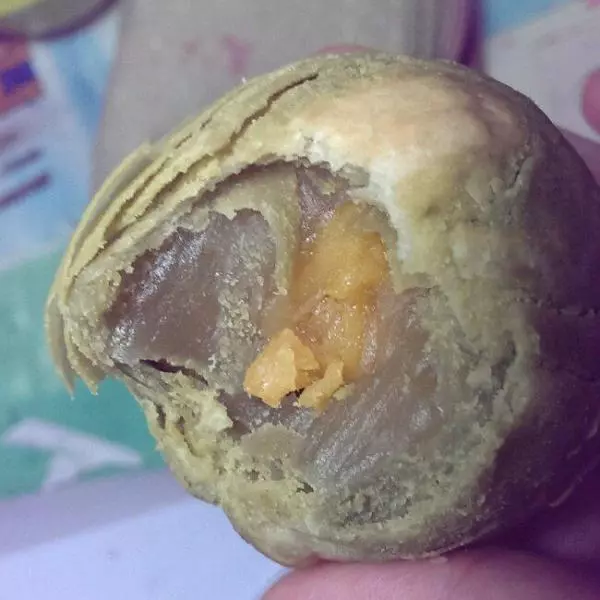
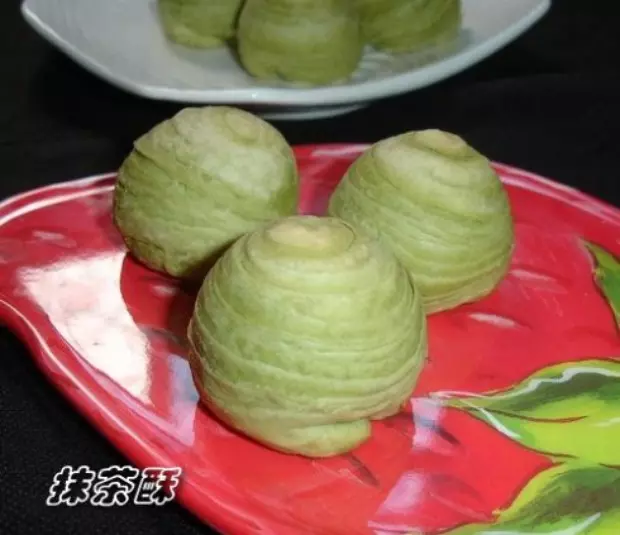
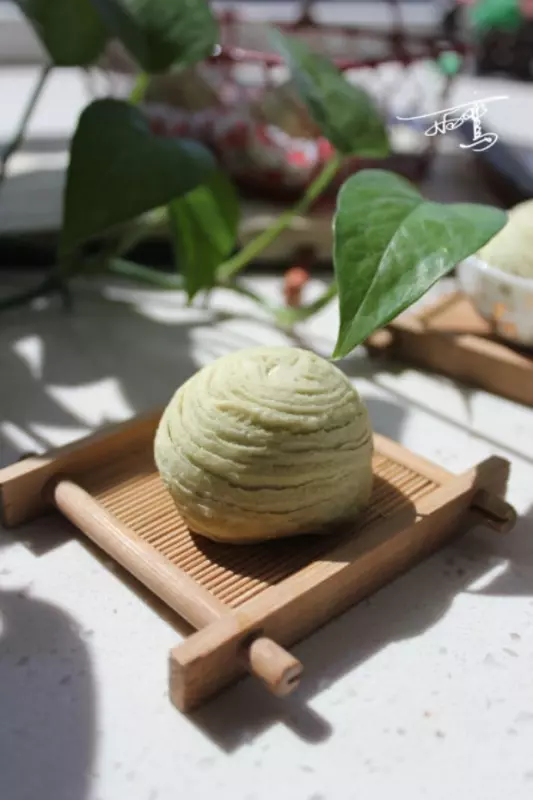
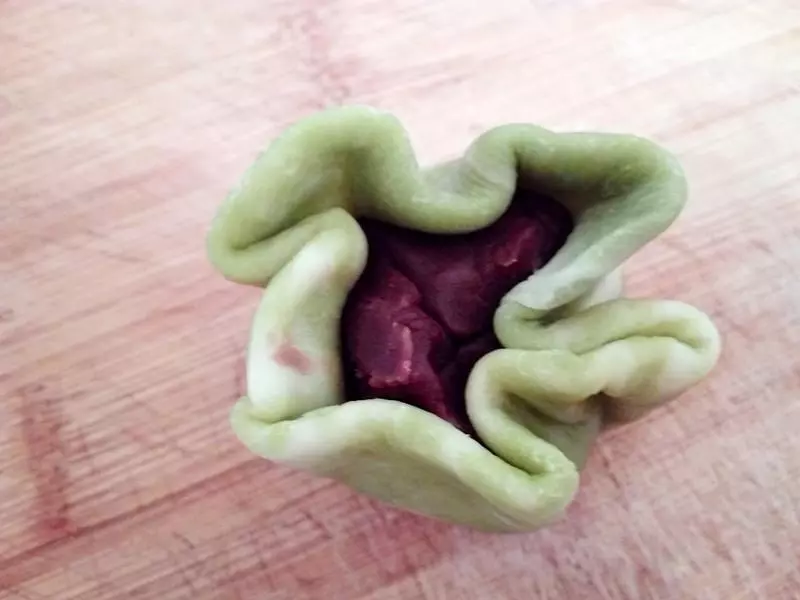
14包上餡料,收口。
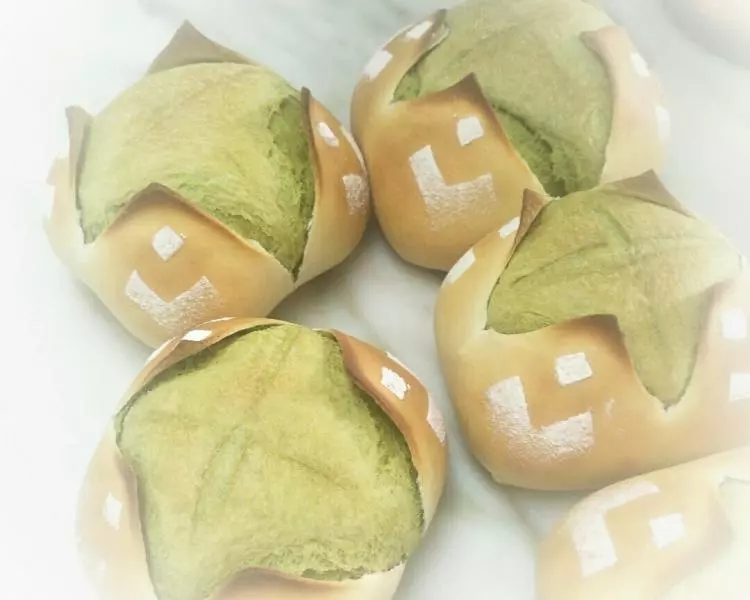
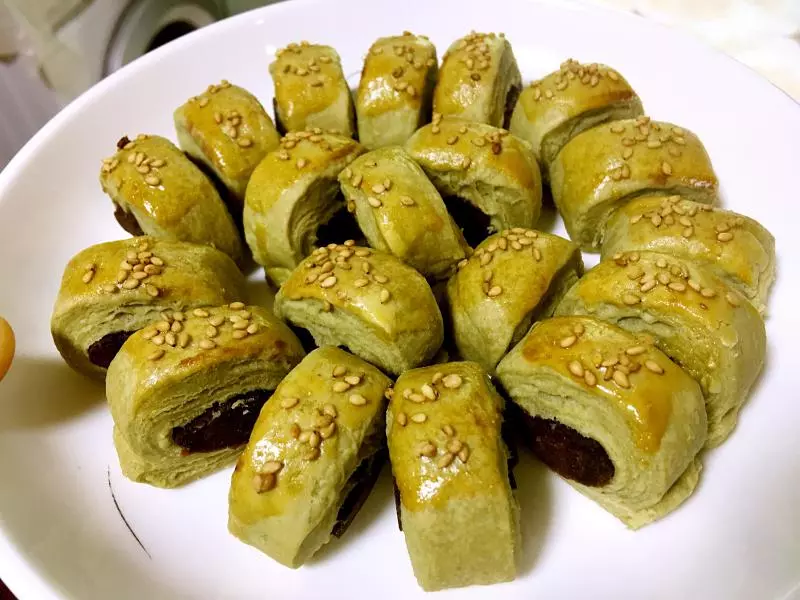
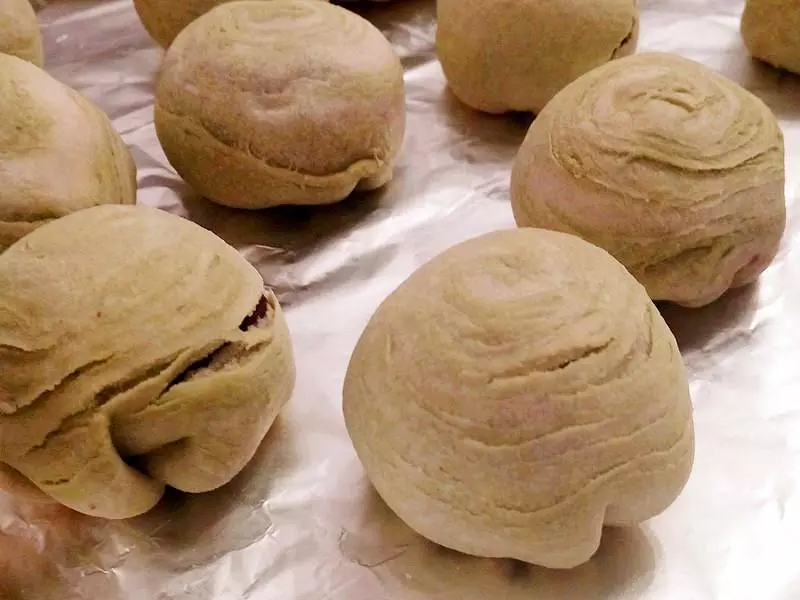
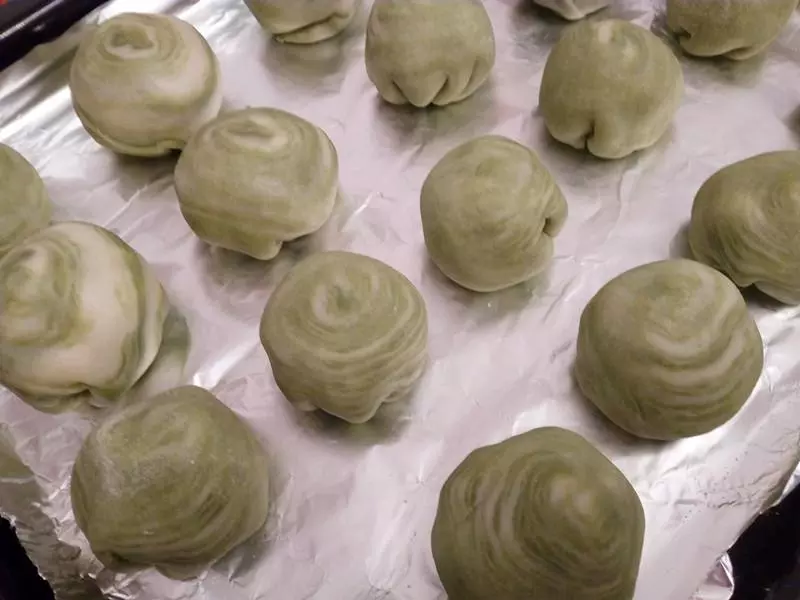
15收口朝下放在烤盤裡,放進預熱好的烤箱燒烤。
16烤好之後就可以出爐了,非常酥脆哦。