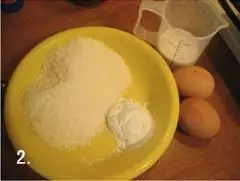
原料
蛋清: 2個, 椰絲: 1+1/2杯, 玉米澱粉: 2大匙, 糖粉: 4大匙(75ml)
步驟
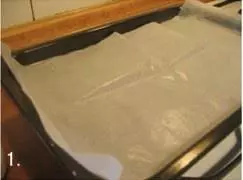
1烤盤鋪好油紙
2材料量好
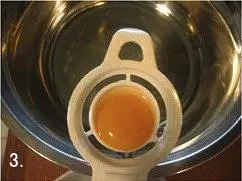
3分離蛋黃和蛋清,留蛋清
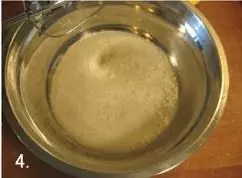
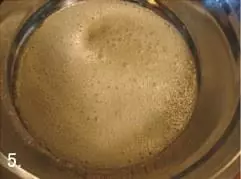
4把蛋清打至粗泡時加入1/3糖粉
5共分3次加入糖粉
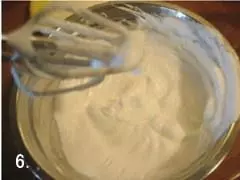
6蛋白打至硬性發泡。(烤箱預熱155度)
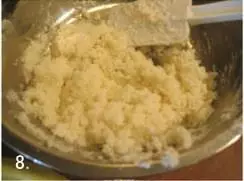
7倒入混合好的玉米粉和椰絲

8攪拌均勻,揉成小球
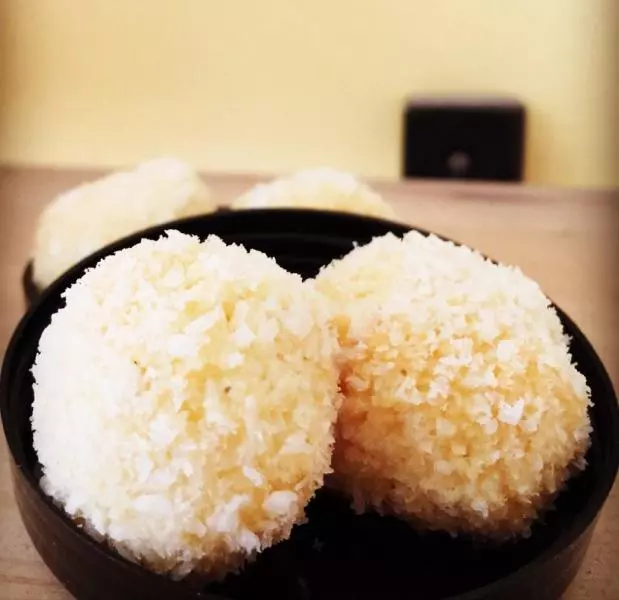
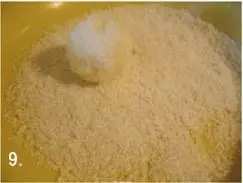
9另取一些椰絲。把揉好的小球在上面滾滾,蘸滿椰絲
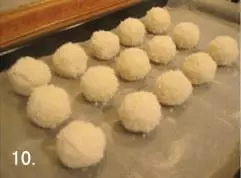
10擺放在烤盤上,留有間隙
11放入烤箱,155度中層,上下火,20分鐘左右,注意觀察小球表面的顏色變化
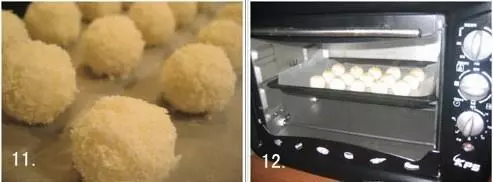
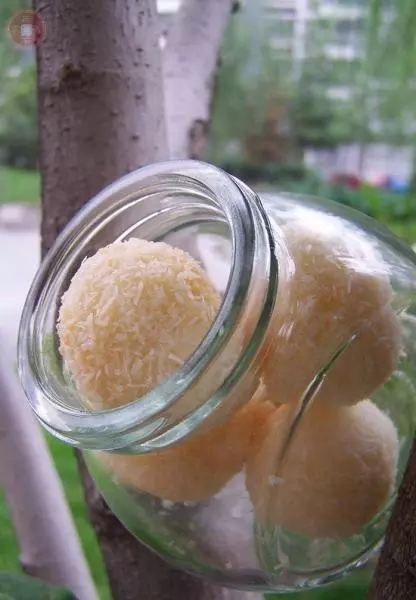
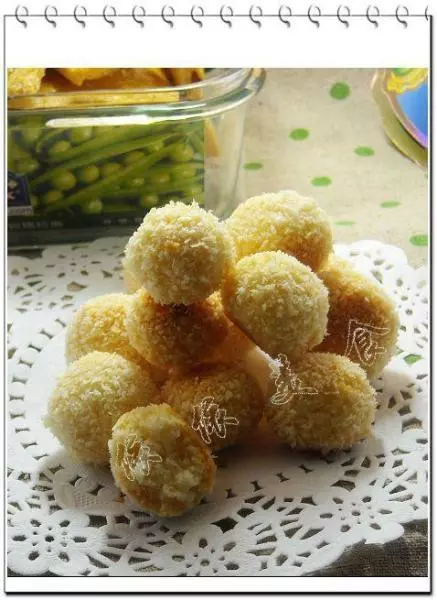
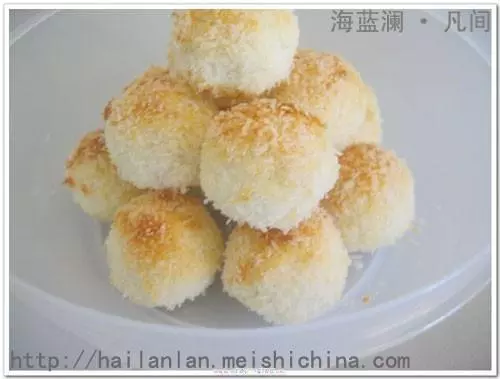
12出爐。(我的中途調了160度只開上火3分鐘,顏色有點兒變的太快就又調回來了。)