原料
麵包粉: 260克, 川秀開菲爾酸奶: 160克, 白糖: 25克, 黃油: 25克, 雞蛋: 30克, 酵母: 3克, 鹽: 2克
步驟
1準備好原料。

2把川秀開菲爾菌粉做的酸奶,鹽,雞蛋,白糖放入麵包桶里。(黃油和酵母不放)

3放入麵包粉。

4把麵包內桶放入麵包機中,接通電源選擇一個和面程序20分鐘,和面結束後蓋濕布靜置2個小時;

5靜置結束後放入酵母,黃油繼續和面20分鐘,達到完全階段。

6取出揉勻。

7把麵糰分成三份。

8蓋保鮮膜鬆弛10分鐘。

9取一個麵糰擀成牛舌狀。

10從上往下卷好,三個麵糰都擀卷好,蓋保鮮膜再次鬆弛10分鐘。

11再次擀開。

12從上往下捲起。

13三個都擀卷好,放入土司盒中,放入烤箱中發酵。

14發酵到8分滿取出,烤箱預熱180度5分鐘。

15表面刷雞蛋液。

16放入預熱好的烤箱下層,180度35分鐘,中途上色記得加蓋錫紙,烤好後脫模放烤網上晾涼至手溫入保鮮袋保存。

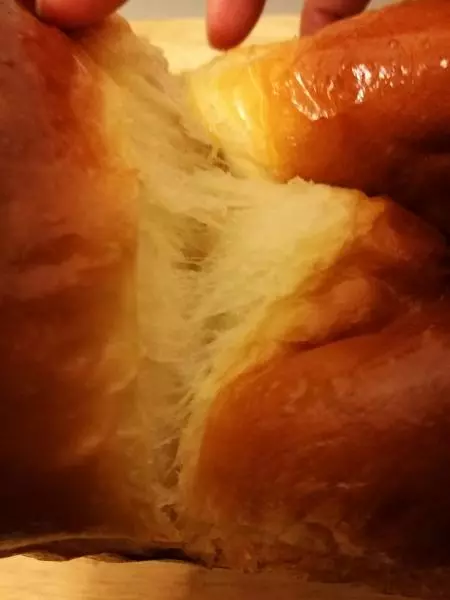
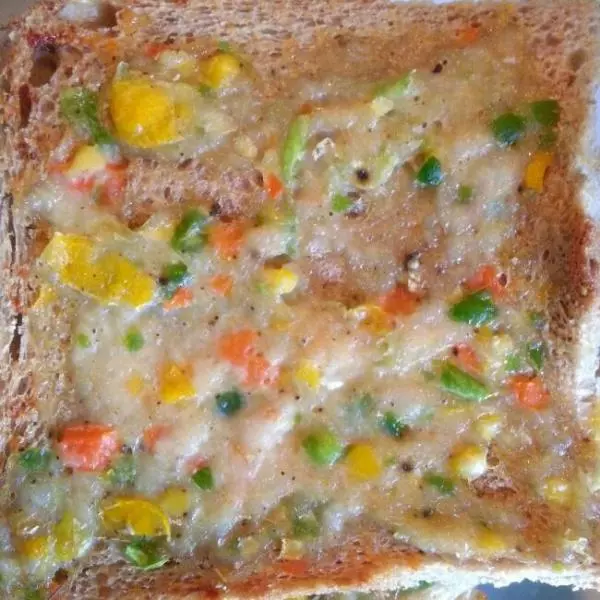
17成品圖

18成品圖

19成品圖

20成品圖

21成品圖

22成品圖