原料
低筋麵粉: 90克, 干紅棗: 135克, 紅糖: 60克, 雞蛋: 1個, 牛奶: 300克, 無鹽黃油: 30克, 泡打粉: 3克(使用的是美國進口的RUMFORD無鋁泡打粉,麥子廚房店鋪有售,可聯繫客服諮詢), 小蘇打: 2克(超市有售)
步驟
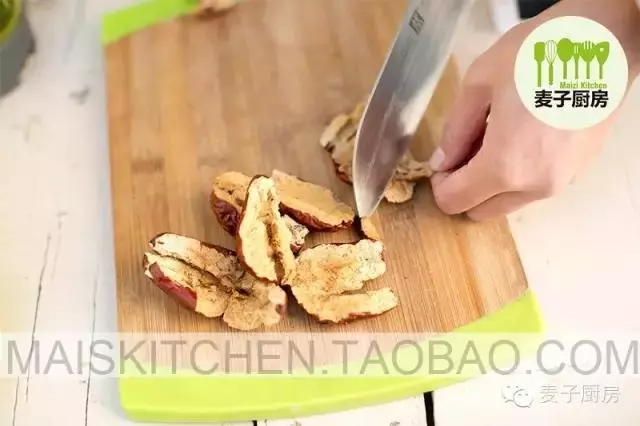
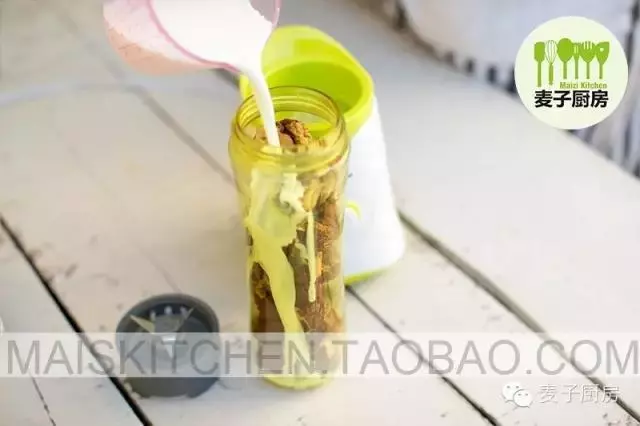
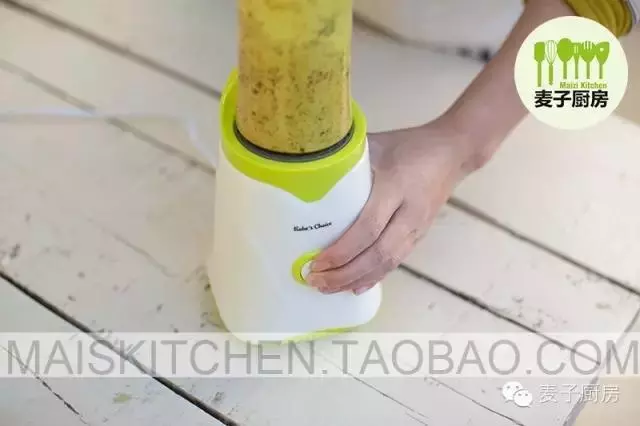
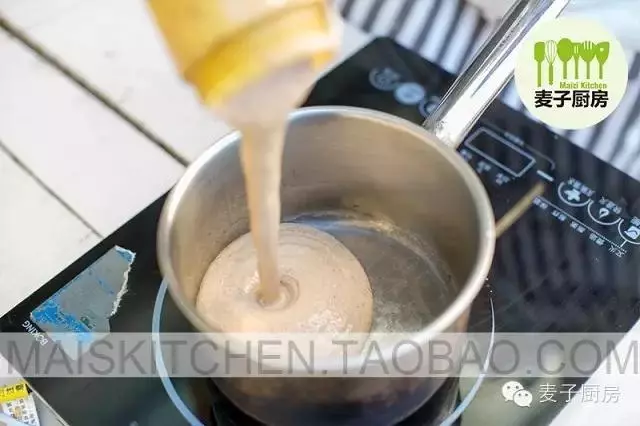
11、紅棗去核,放入麥子廚房隨行杯(榨汁機)內,倒入牛奶,啟動機器,榨成泥狀。
2加入牛奶
3榨成棗泥
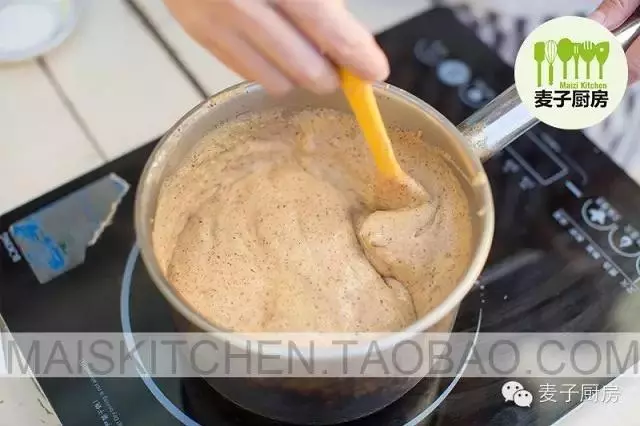
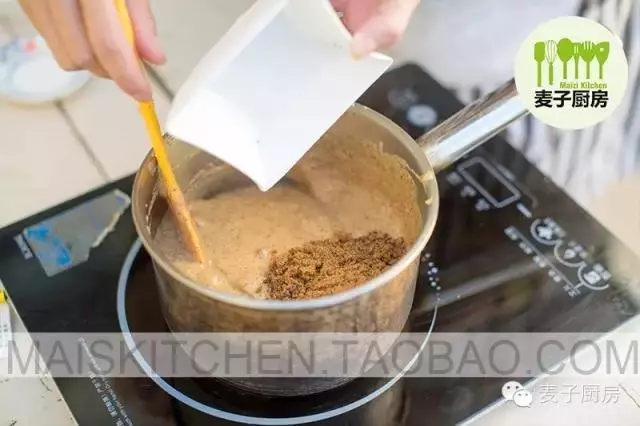
42、將榨好的牛奶棗泥放入小鍋,煮開,加入小蘇打攪拌均勻,再加入黃油,攪拌至黃油溶化。最後加入紅糖,攪拌至紅糖溶化。
5黃油溶化
6加紅糖
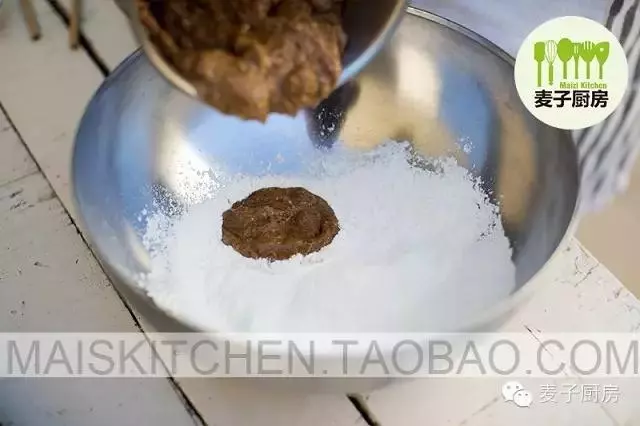
73、低筋麵粉和泡打粉混合過篩至鋼盆中,把棗泥混合物倒入麵粉里稍微攪拌。

8加入棗泥
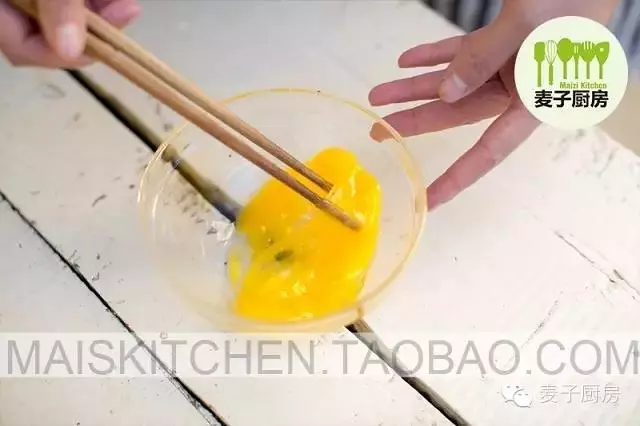
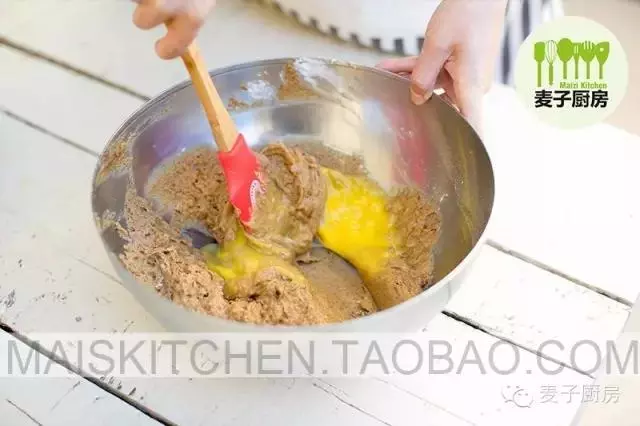
94、倒入打散的雞蛋,用橡皮刮刀翻拌均勻。採用從底部往上翻拌的方式,不要畫圈攪拌。
10翻拌
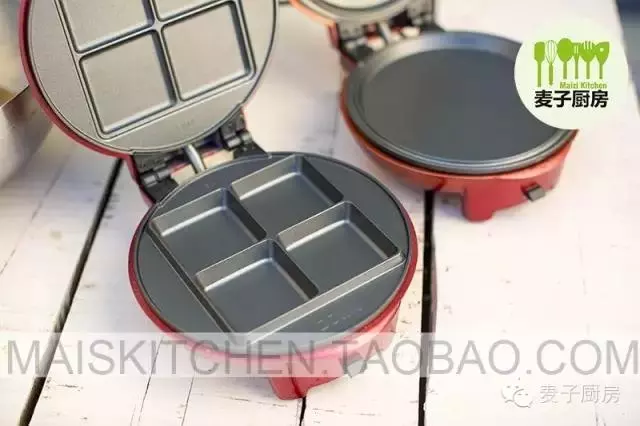
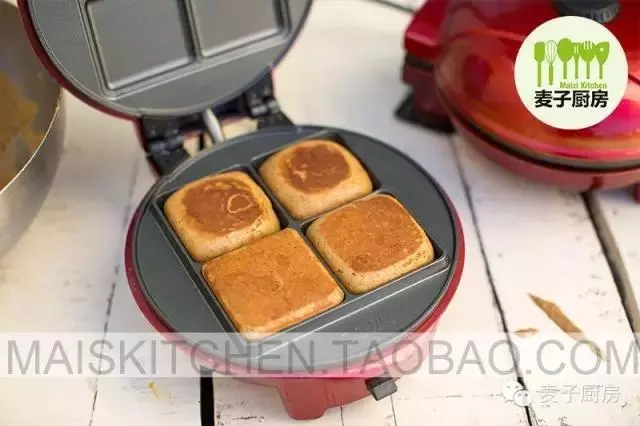
115、多功能機換上布朗尼烤盤(或平盤)MAX中高溫預熱,預熱完成後,把拌好的麵糊倒入模具,7分滿,中高溫烘烤5—7分鐘即可。
127分滿

135-7分烤好
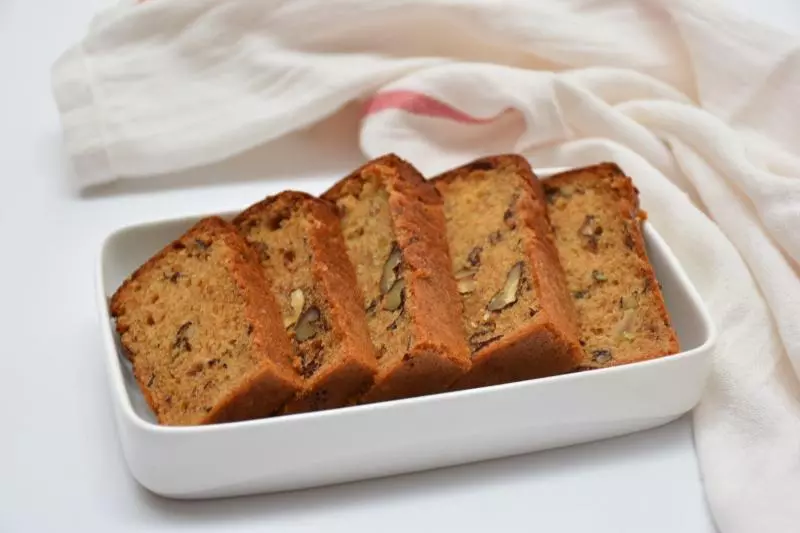
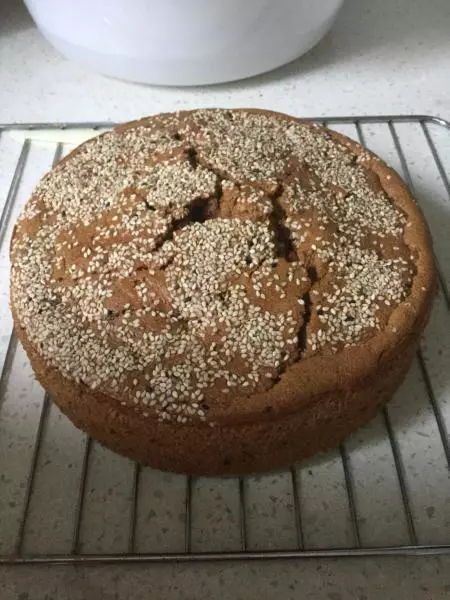
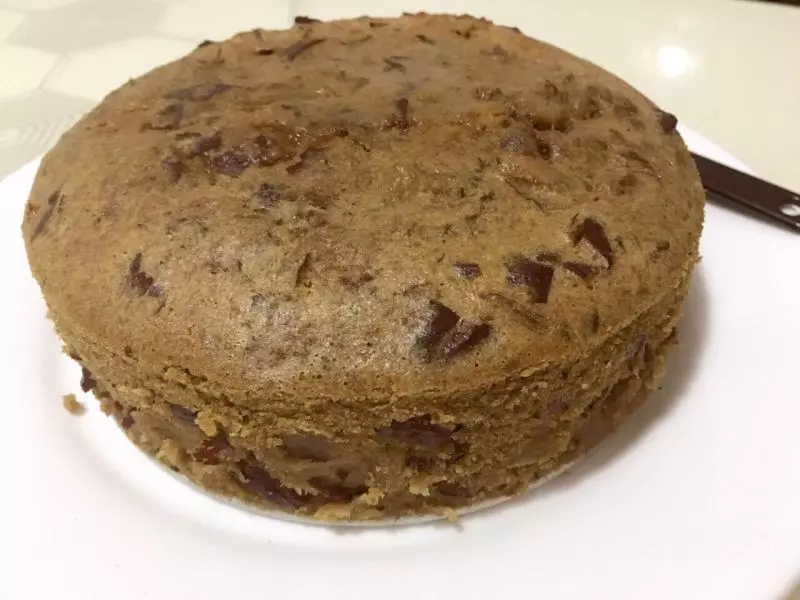
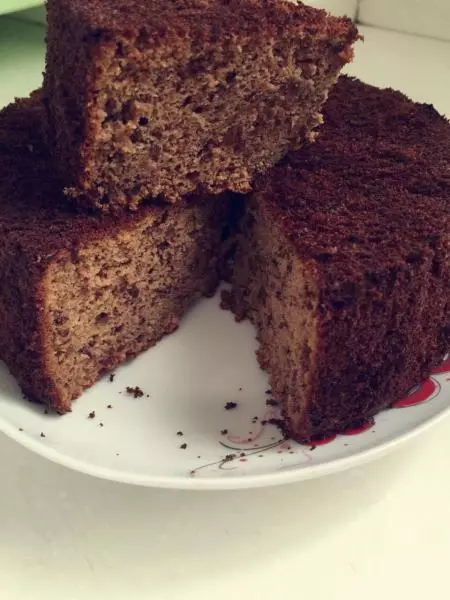
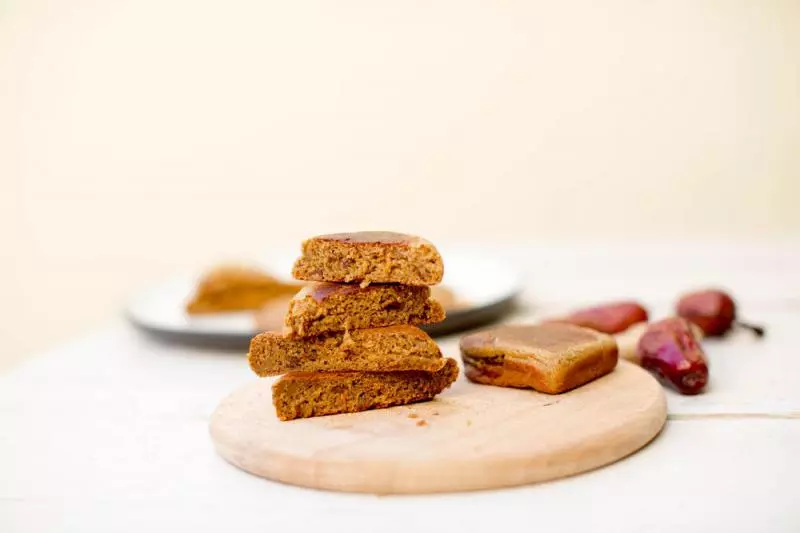
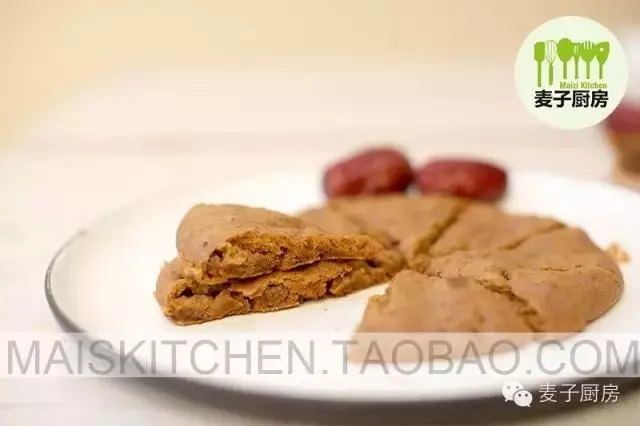
14成品
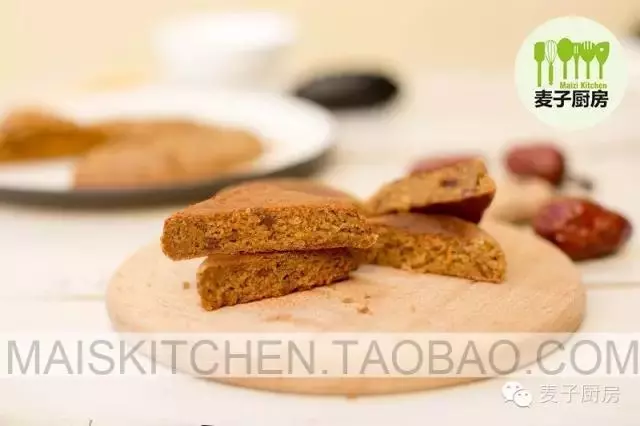
15成品
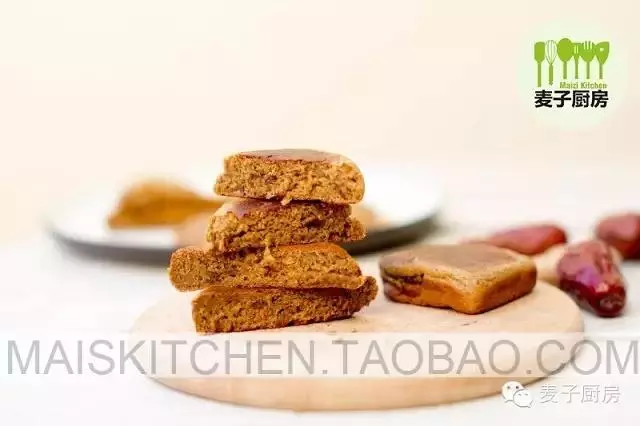
16成品
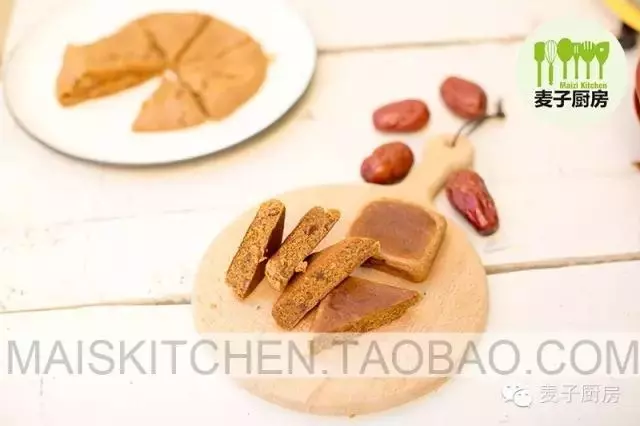
17成品
小技巧
1、配方中紅棗的重量指去核前的重量。 2、黃油也可用30ML的植物油代替。請用玉米油、葵花籽油等無味的植物油,不要用花生油、橄欖油等具有特殊味道的油,以免破壞蛋糕原本的風味。用黃油的紅棗蛋糕具有更濃郁的香味。