原料
雞蛋: 4隻, 麵粉: 85克, 糖: 4克(一茶勺), 黃油: 85克, 水: 235毫升
步驟
1烤箱預熱220度。 將水,黃油和糖放入一個小鍋中加熱煮沸。

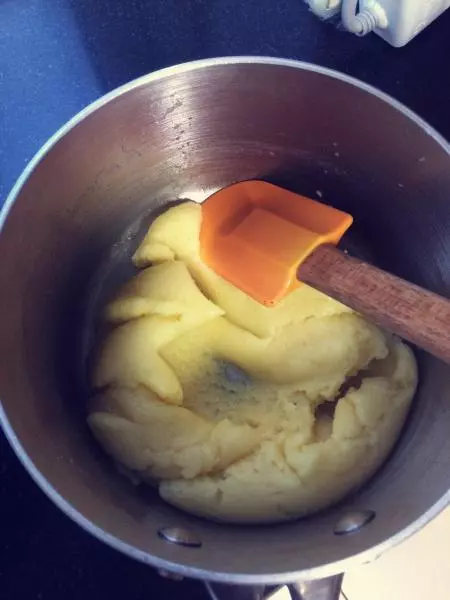
2將麵粉一次性倒入煮沸的黃油混合物中,攪拌直到非常均勻,如圖
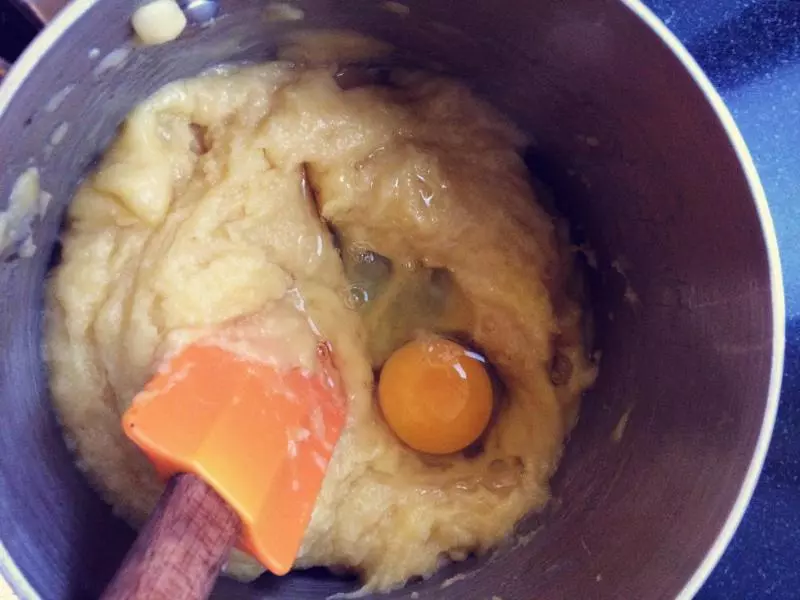
3將雞蛋一個一個打入麵糊中,每打入一個攪拌均勻一次
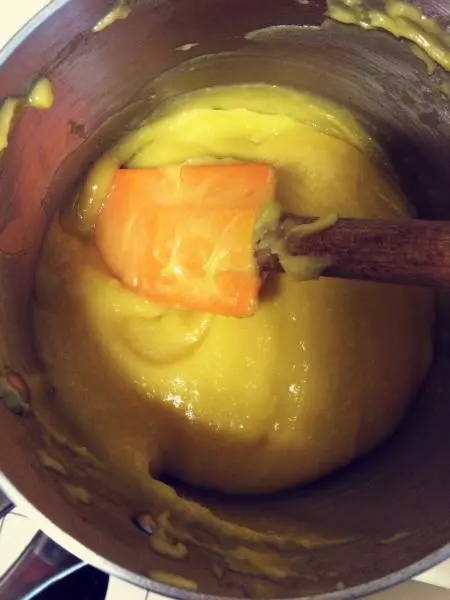
4如圖就是泡芙麵糊的成品啦。
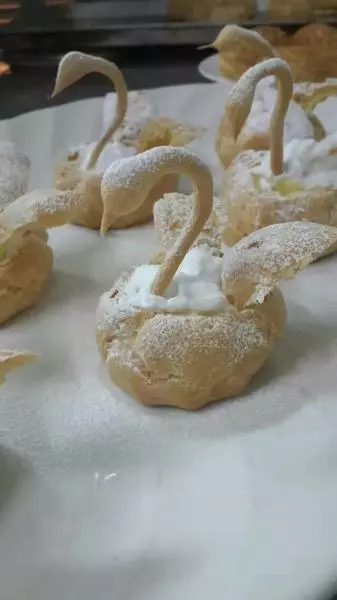
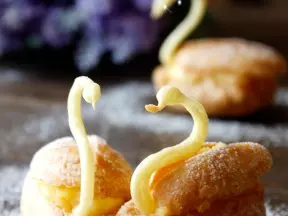
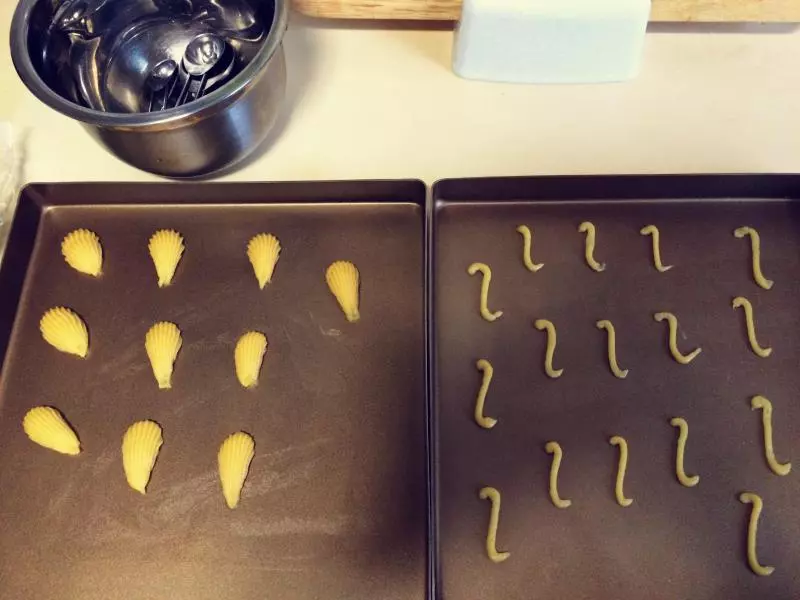
5把泡芙麵糊裝入裱花袋。分別擠出天鵝的身子和脖子。如圖。身子需220度烘培15分鐘,脖子需220度烘培5分鐘。當然這也取決你製作的身子和脖子的大小。可以在烤箱邊上觀察一下
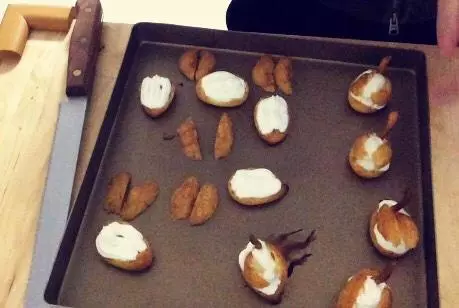
6天鵝的身子烤製成功後,橫向從中間剖開,再把上半部分豎向從中縫切成兩半

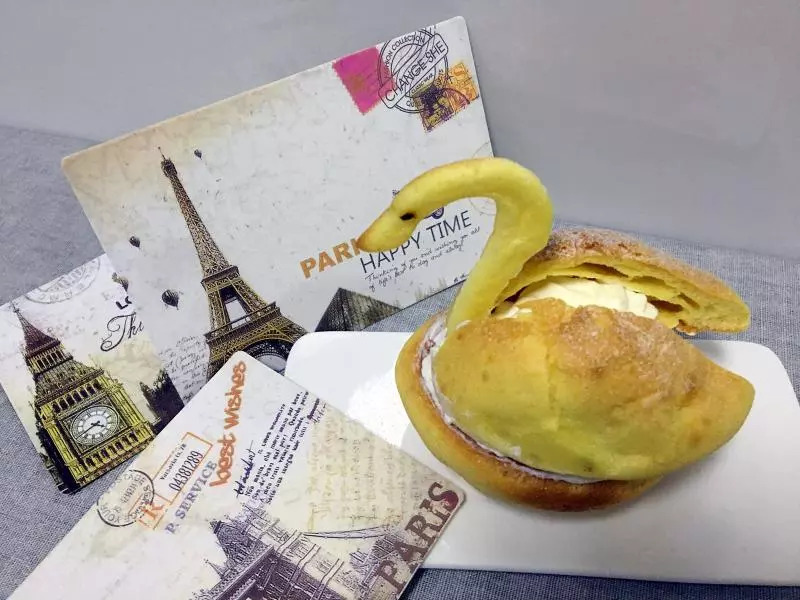
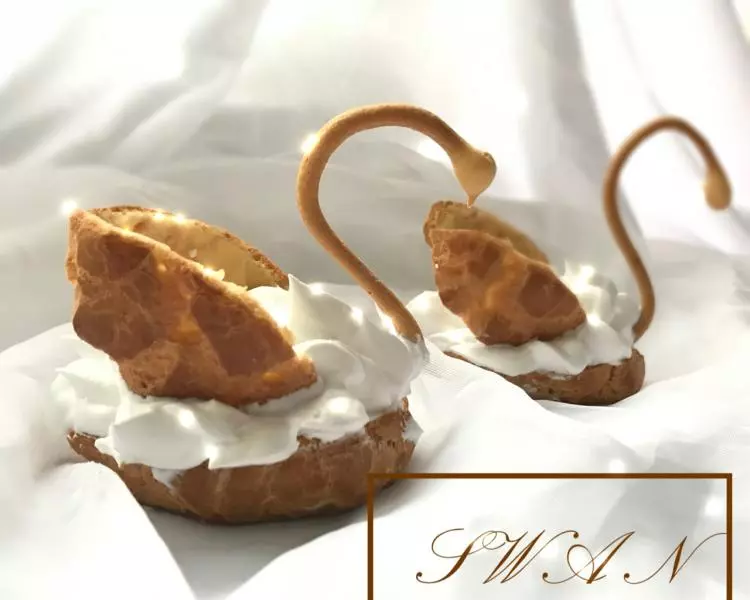
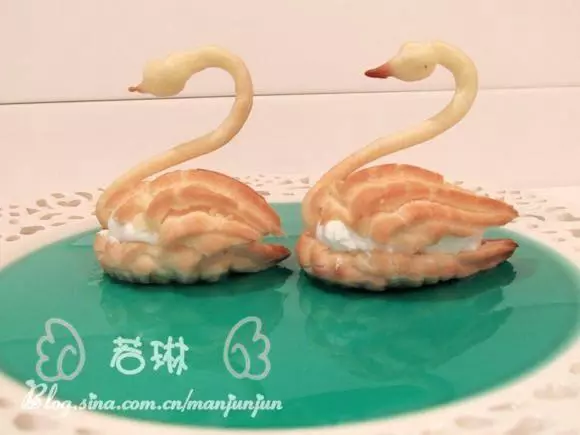
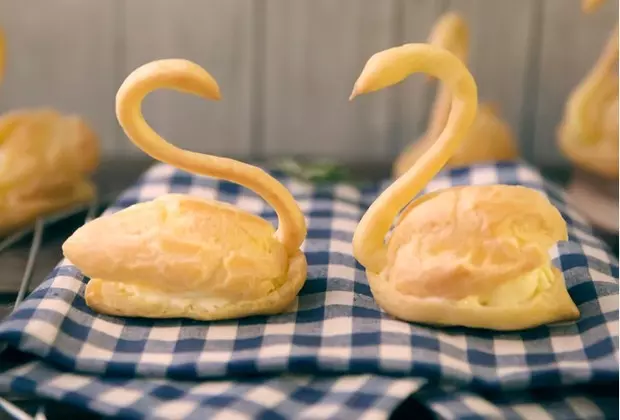
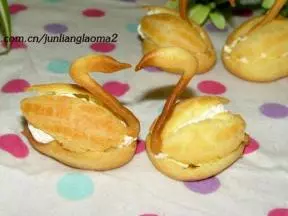
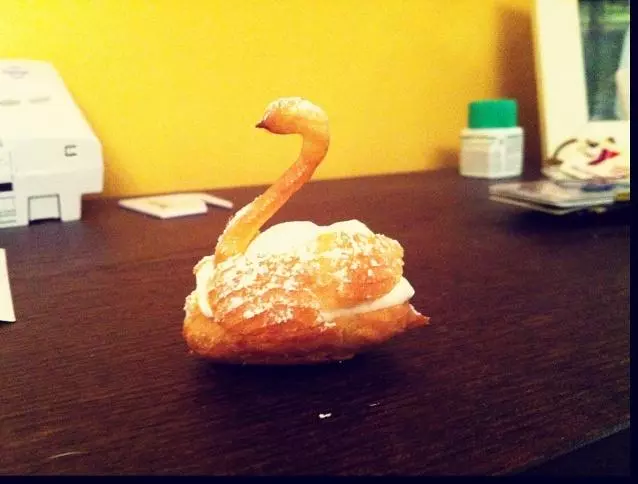
7把奶油擠天鵝身子底座上,把翅膀插進奶油,調整到身體兩側,再把烤制的天鵝脖子插入。
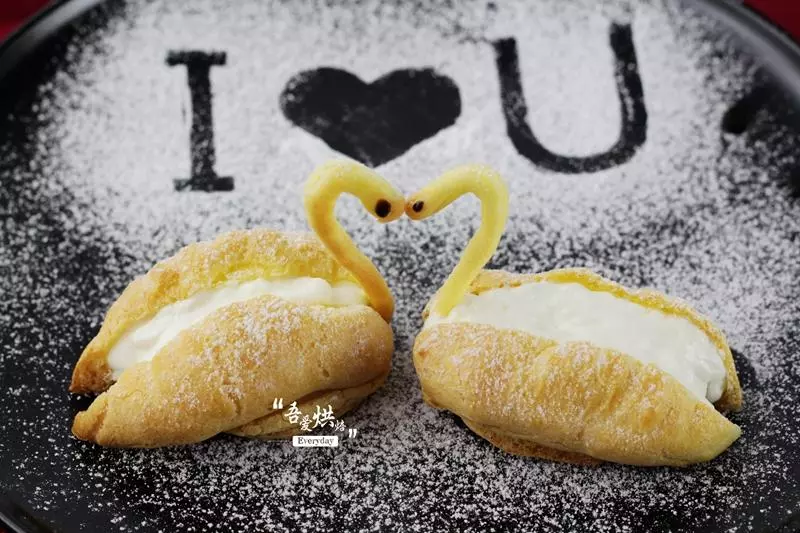
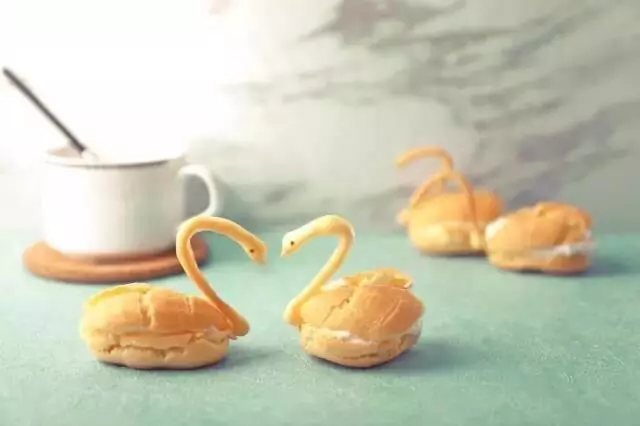
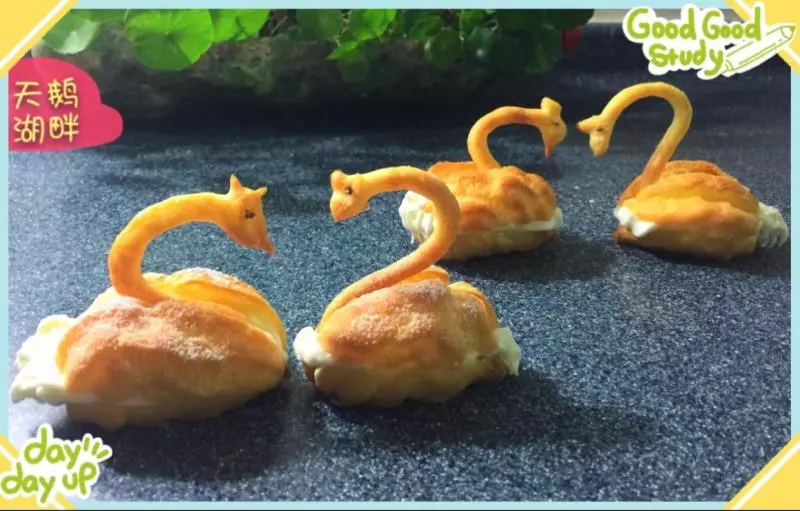
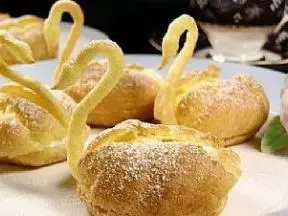
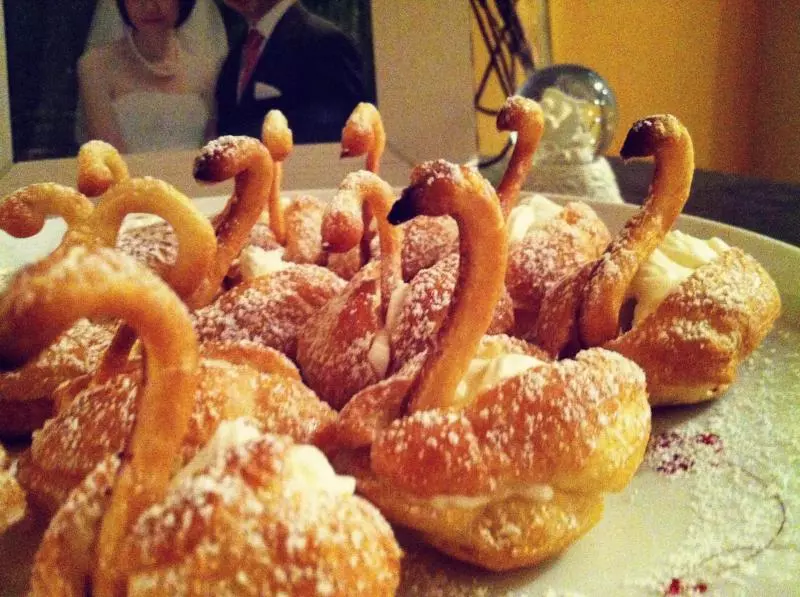
8在小天鵝身上撒些糖粉,準備好讓它們游進你嘴裡吧!
小技巧
泡芙皮基本是不甜的,你可以通過控制奶油的甜度來調整這道甜點的口味