簡介
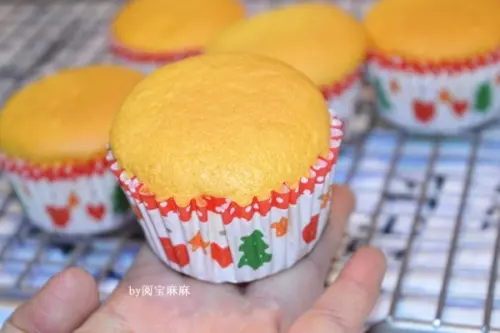
做過很多紙杯蛋糕的方子,要麼回縮,要麼表面皺皺的不漂亮,但是這個方子卻很完美,不回縮,不皺皮,而且還很好吃哦,方子是八卦兔的
原料
蛋白77克, 細沙糖1)33克, 蛋黃45克, 全蛋38克, 細沙糖2)5克, 低筋粉38克, 色拉油37克
步驟
1把所有材料稱好,全蛋加蛋黃一起倒到乾淨的盆里

2加入沙糖2(5克)全部混合攪拌均勻,我用倒的一不小心倒多了(懶癌發作,呵呵),後面蛋白哪裡的糖就減少一點

3加入色拉油,用手動打蛋器攪打至充分混合併乳化,不能看到油水分離

4篩入低粉

5攪拌至麵糊無顆粒,麵糊製作完畢,放一旁備用

6蛋白用電動打蛋器打至大泡泡眼加入砂糖1(33克)繼續打發

7打發到硬性發泡,打蛋頭上是直直的小尖尖(不是彎的哦)

8取3分之1的蛋白到蛋黃糊里攪拌均勻

9混合均勻

10把混合好的麵糊倒進蛋白霜里,再攪拌均勻

11攪拌手法可以是Z字形

12也可以半圓,從底下攪拌起來,中間下來,千萬別畫圈圈

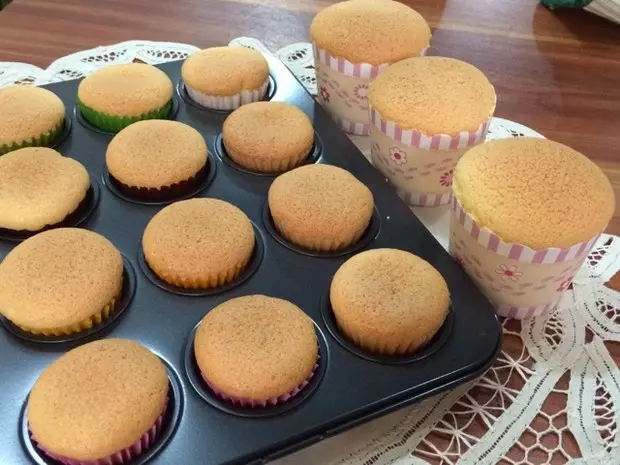
13攪拌均勻的蛋糕糊倒入提前準備好的模具中,我只有6連模,方子是9-10個的量,多的我用馬分杯裝,7-8分滿就好

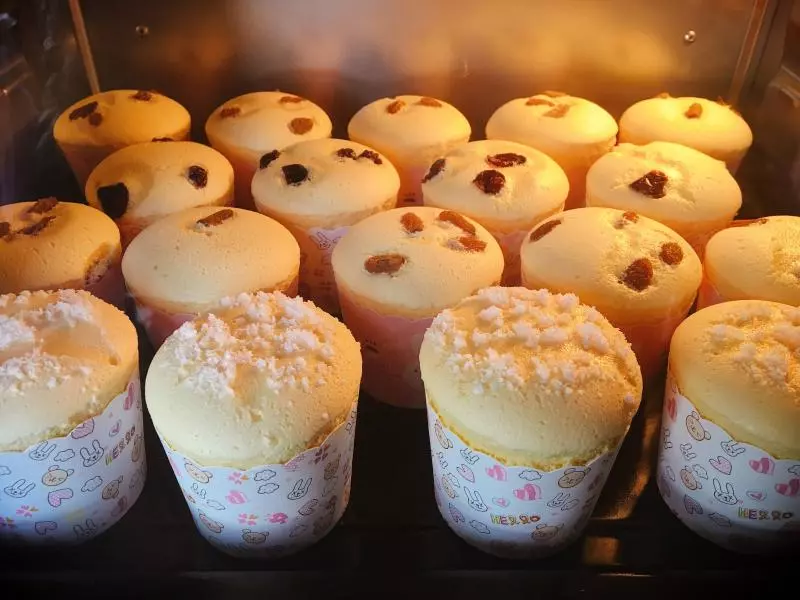
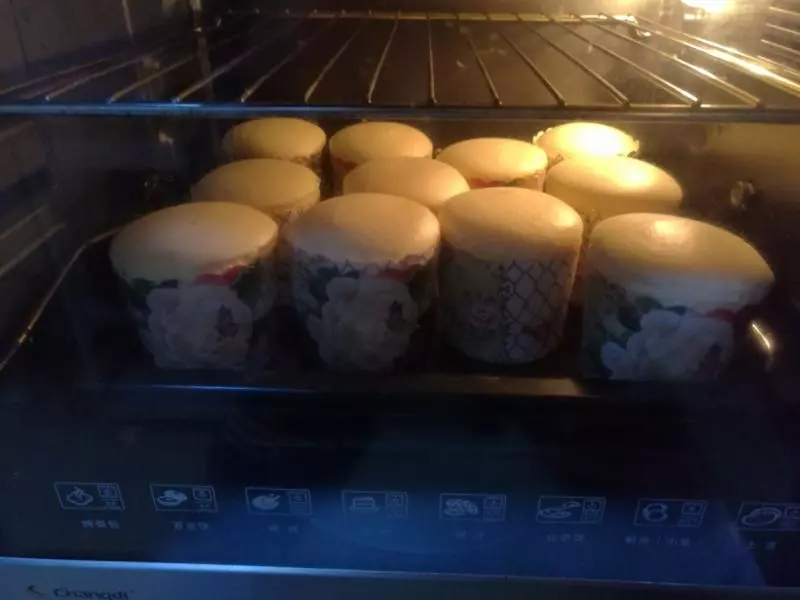
14震出大氣泡,放入提前預約好的烤箱110度烤25分。轉130度烤15分,最後再轉150烤10分。

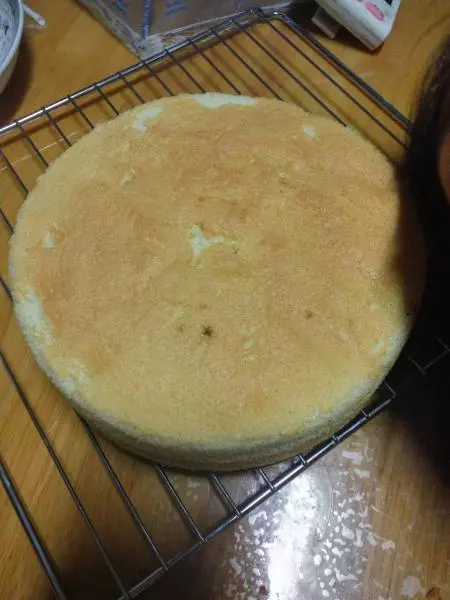
15烤好後別急著拿出來,烤箱斷電悶5分鐘。出來保證不回縮

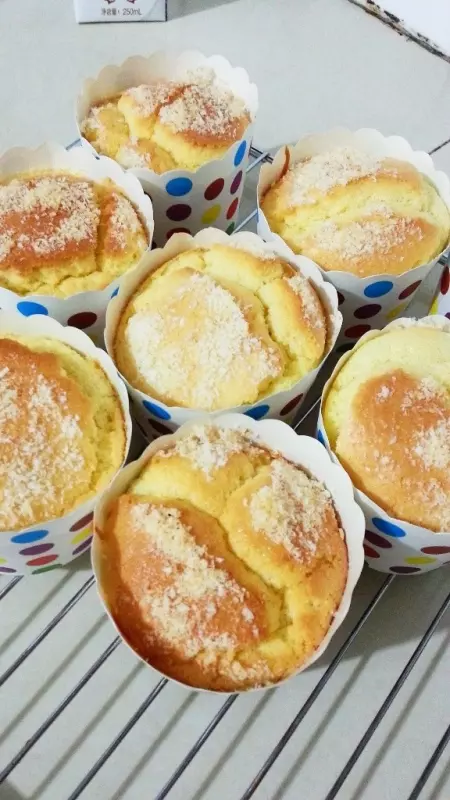
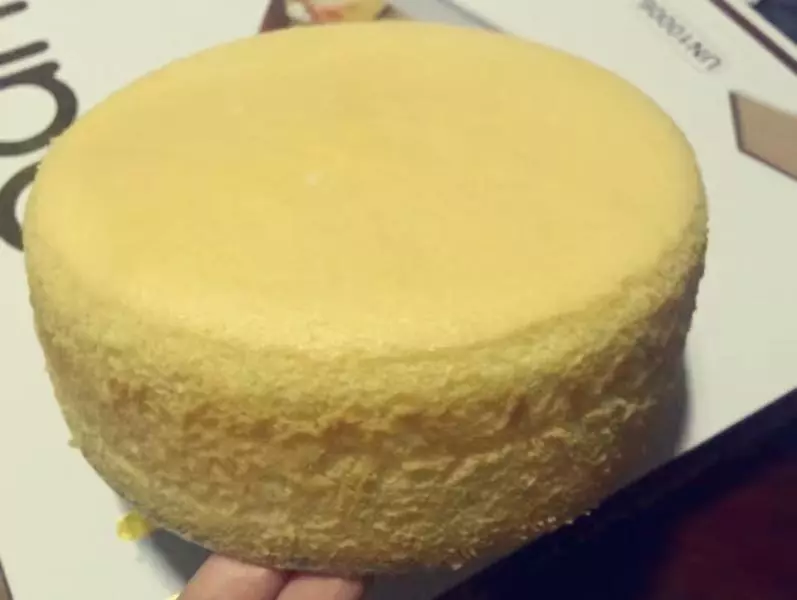
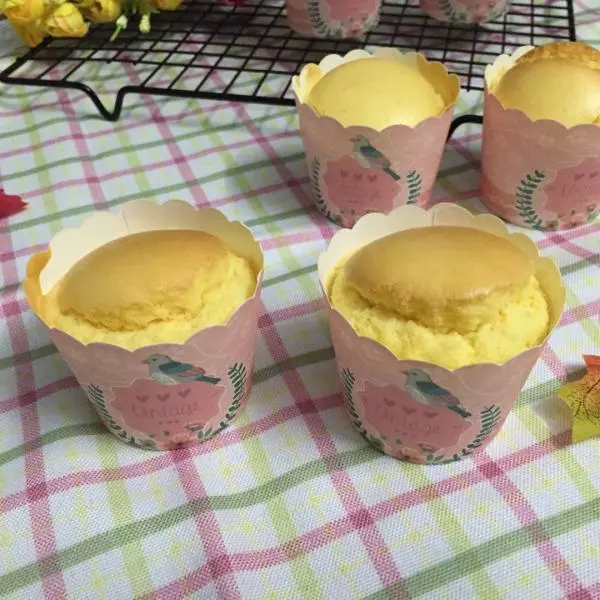
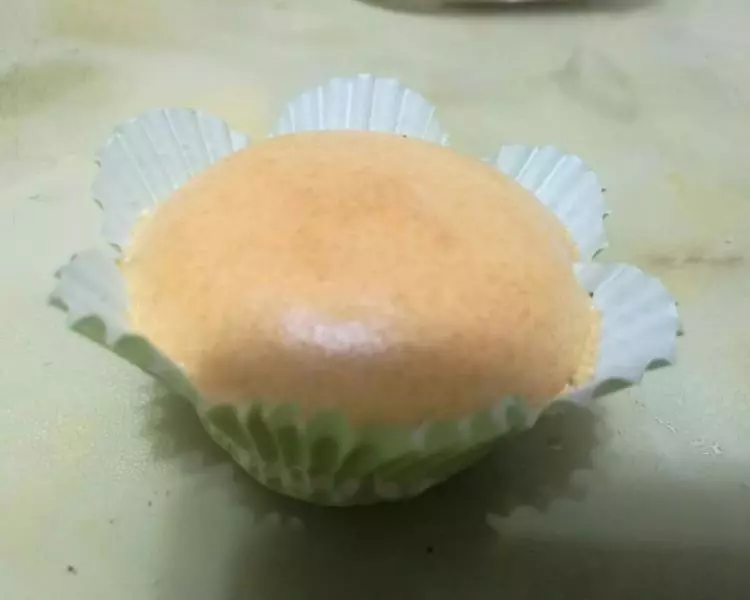
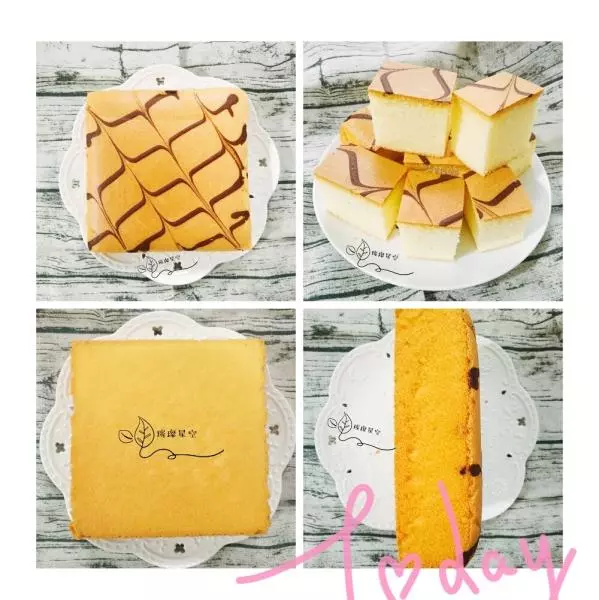
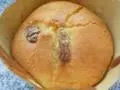
16表面光滑,不回縮的紙杯蛋糕就好啦

17

小技巧
⒈ 烤箱必須提前10-15分預熱好
⒉ 每個人的烤箱溫度不同請根據自己烤箱脾氣來調溫
⒊ 如果150度烤後蛋糕還不上色,可以用180度烤多1-2分鐘