原料
栗子: 100g, 黄油: 120g, 细砂糖: 120g, 鸡蛋: 100g, 低筋粉: 120g, 泡打粉: 1.5g, 糖浆: , 水: 120g, 砂糖: 60g, 桂花: 一小把
步骤
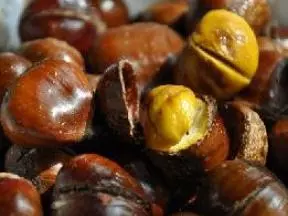
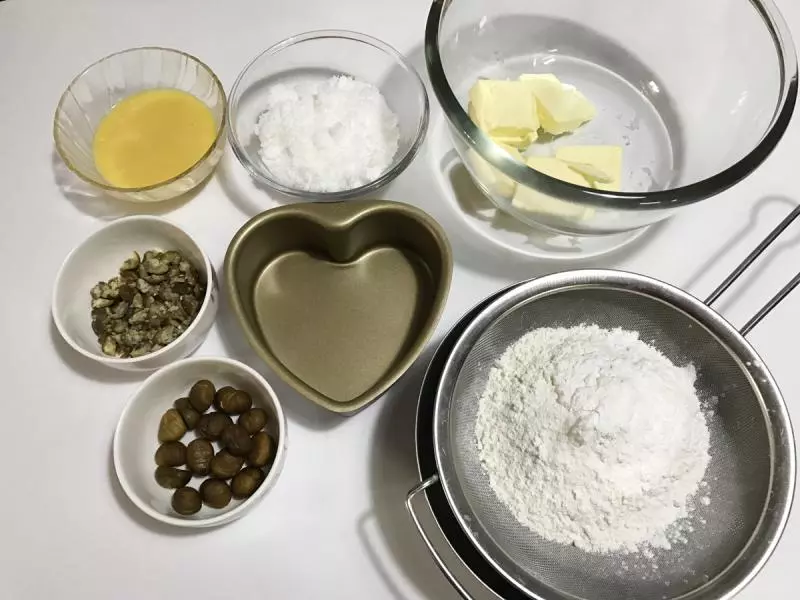
1准备材料,栗子50g捏碎,50g整颗,最好是煮的栗子,软一点。
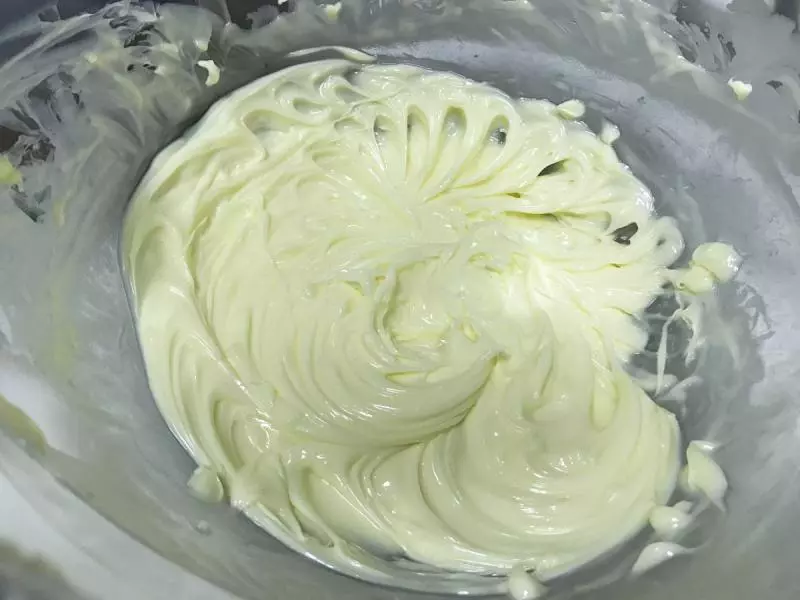
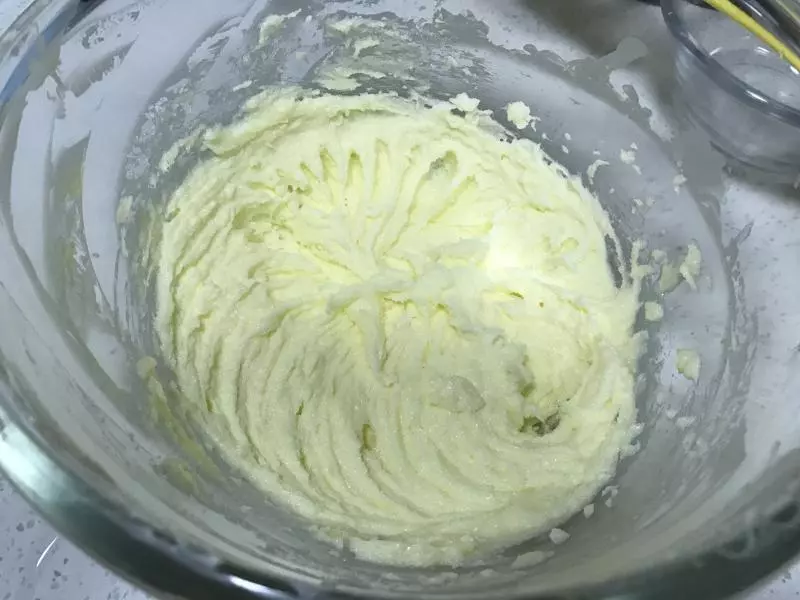
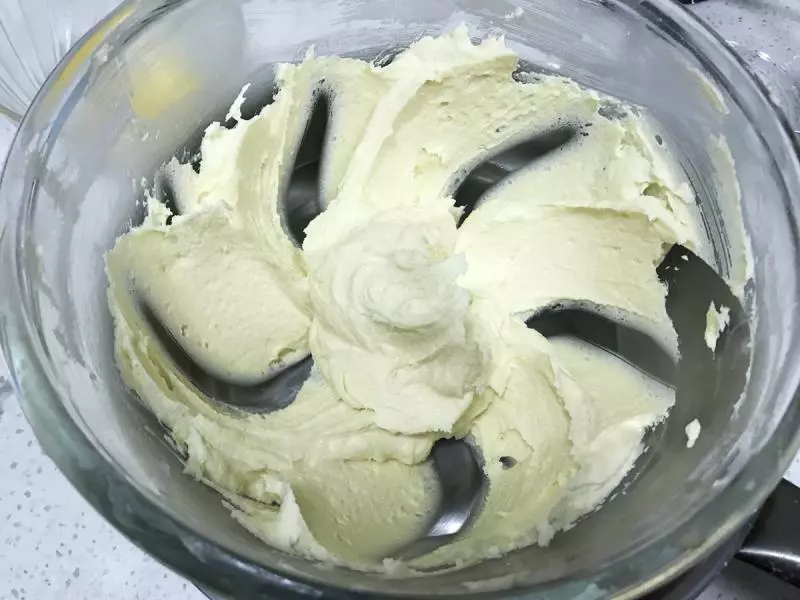
2黄油室温软化,搅打顺滑
3加入糖粉
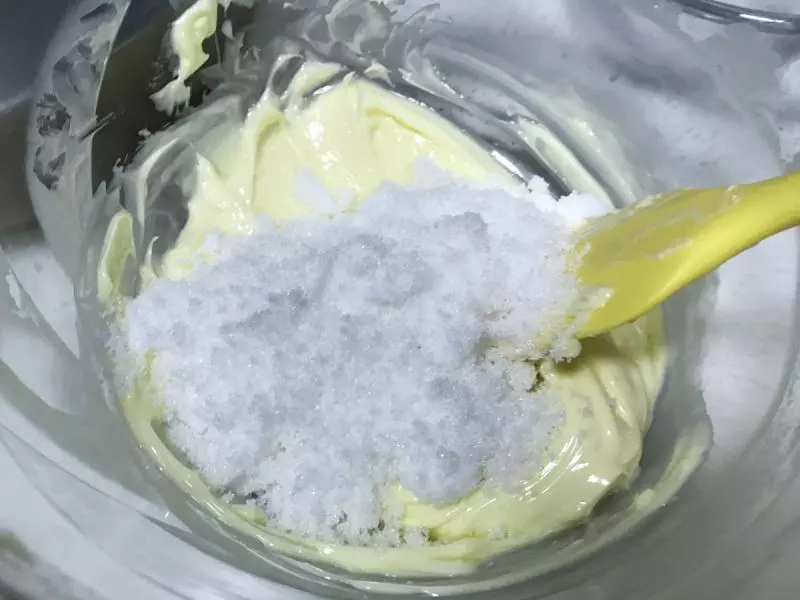
4拌匀

5再用打蛋器搅打几次
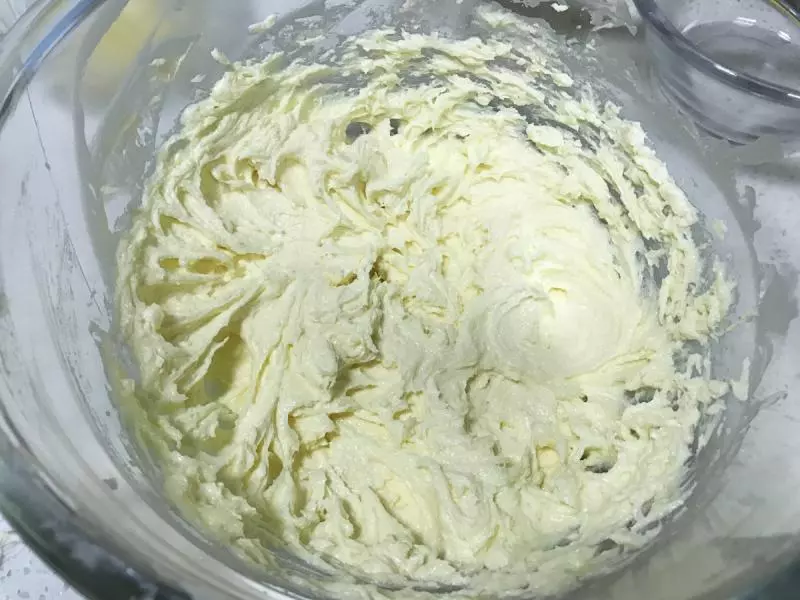
6逐步加入蛋液,鸡蛋需要是常温鸡蛋。

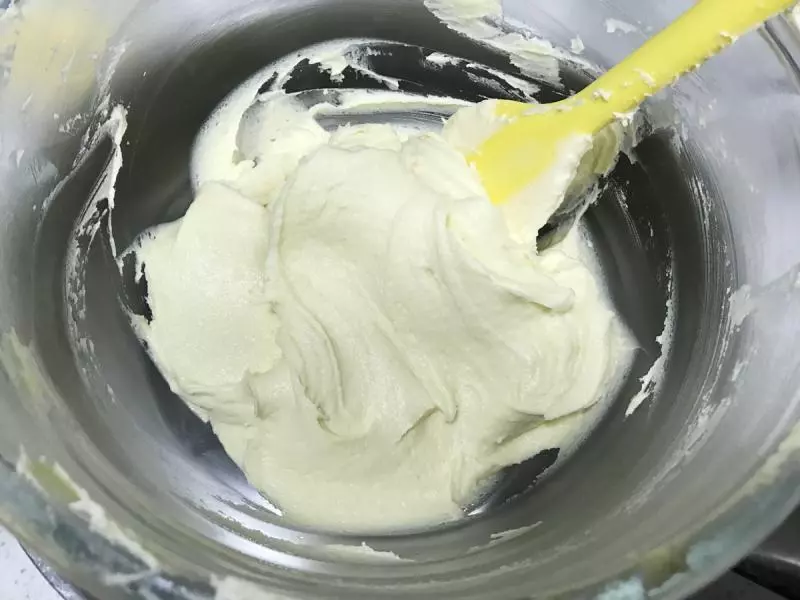
7打蛋器高速搅打到羽毛状,如果室温比较低,黄油与鸡蛋比较难融合,可以底部坐40度温水搅打一会。
8泡打粉和低筋粉混合筛入盆中
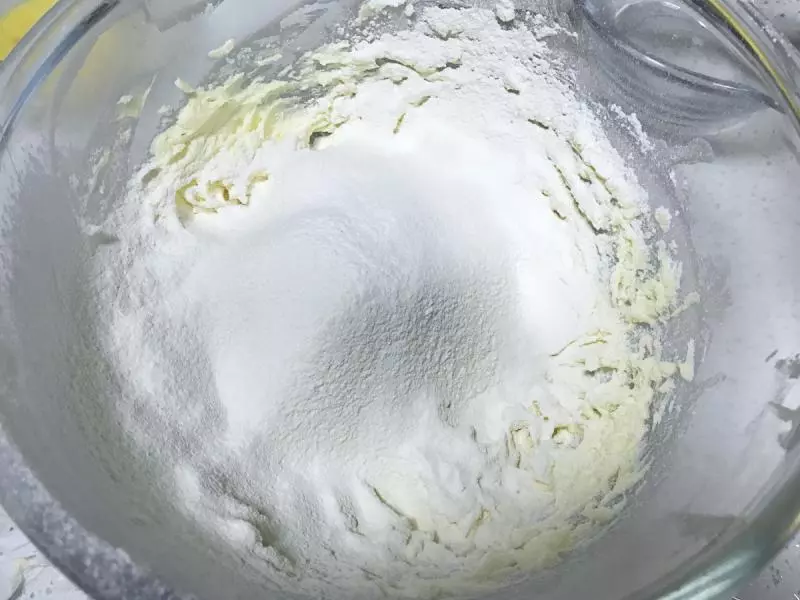
9十字划开拌至没有干粉状态
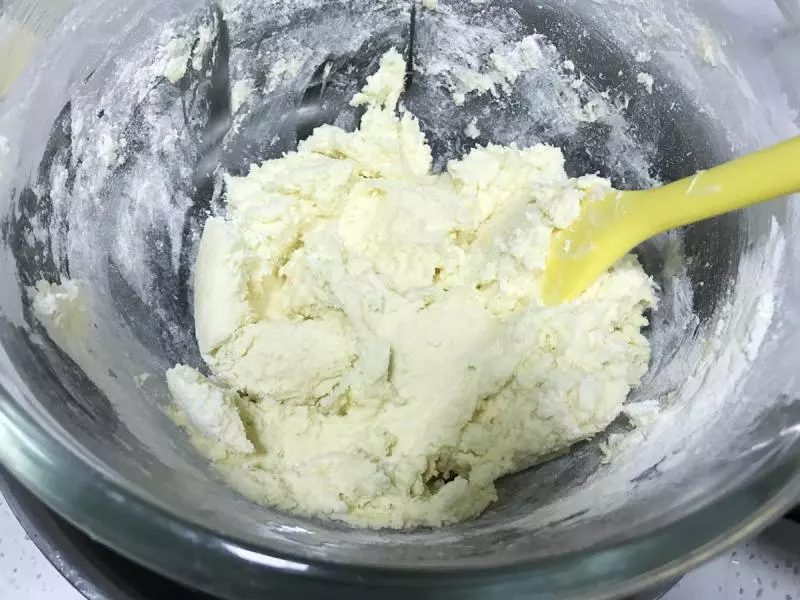
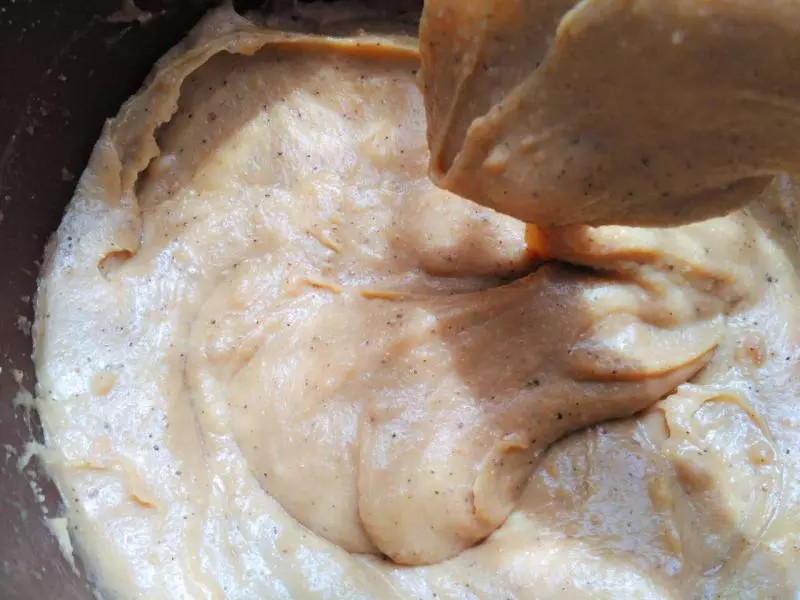
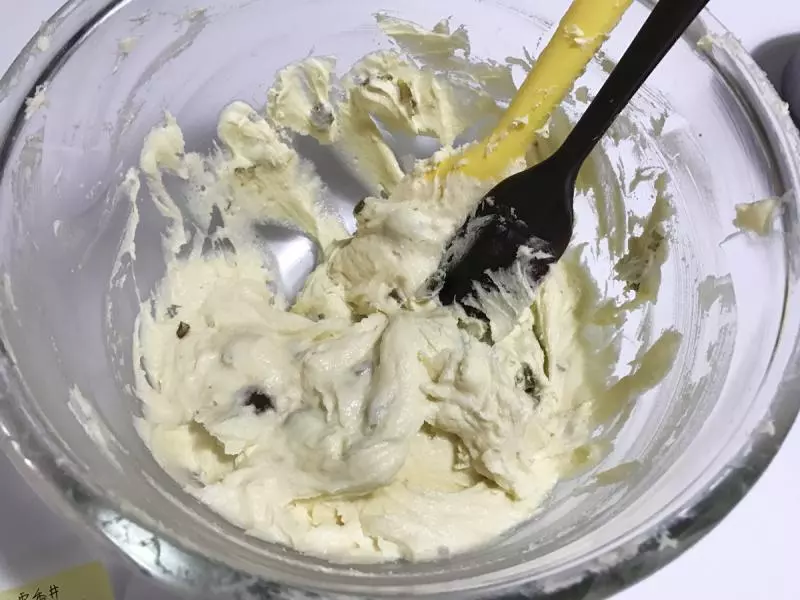
10左手9点钟位置稳定搅拌盆,右手2点钟位置往8点钟位置挖取一大块蛋糕糊,在搅拌盆中心位置摔下去,甩掉蛋糕糊;左手顺时针转动搅拌盆,继续挖取蛋糕糊,摔在中心。如此反复。此步比较重要。注意手法!
11过程中可以看到,蛋糕糊由一开始很粗糙的状态, 逐渐变的光滑,大约摔80次,就可以了。
12加入捏碎的栗子,翻拌几次。
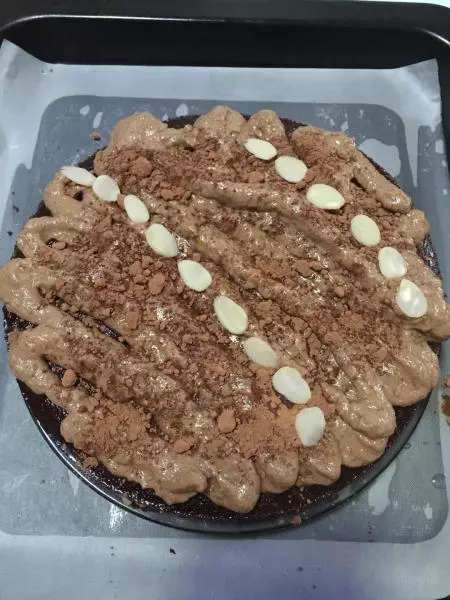
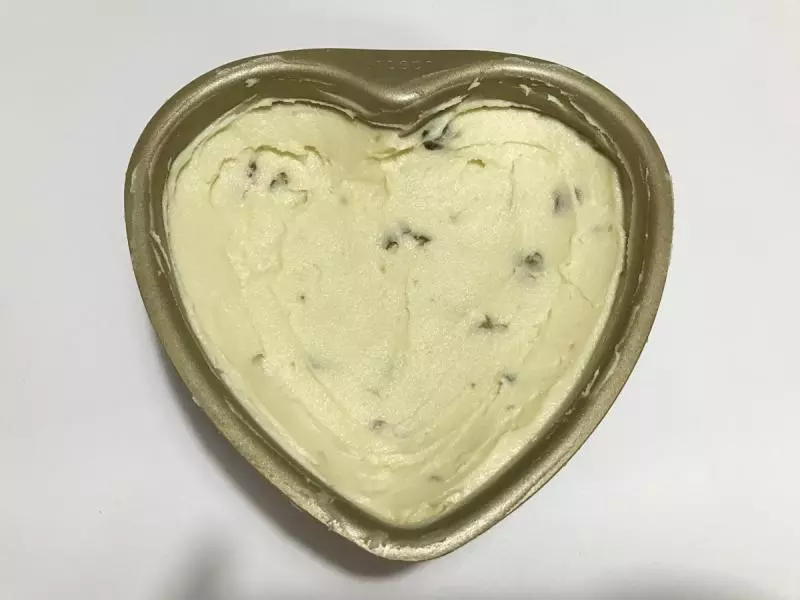
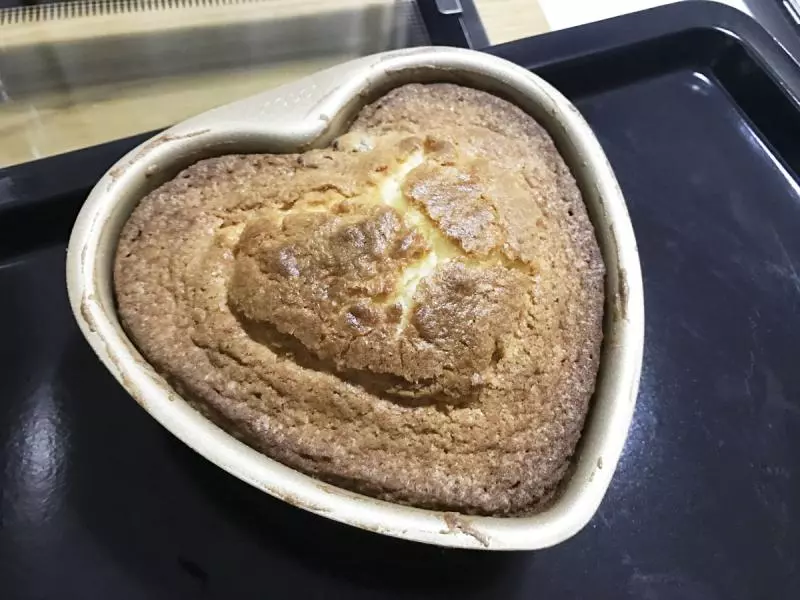
13装入模具,中心放入完整的栗子,上面在盖上蛋糕面糊,震两下去除底部气泡。用刮刀将蛋糕面糊中心部分抹的凹下去一点,边缘高一点。
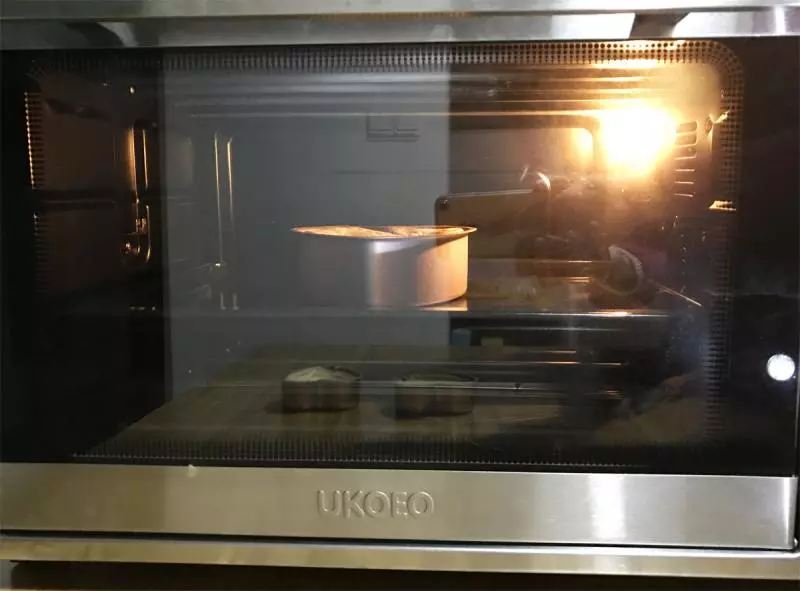
14170度上下火,烤箱中下层,提前预热5分钟,放入磅蛋糕。烘烤28分钟
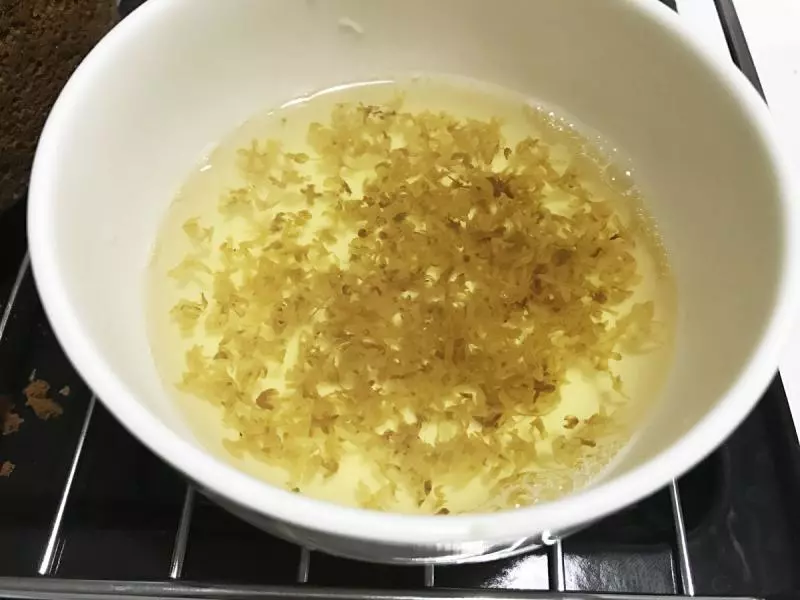
15锅内放入水和细砂糖,中大火烧开至沸腾出现小气泡,加入桂花。
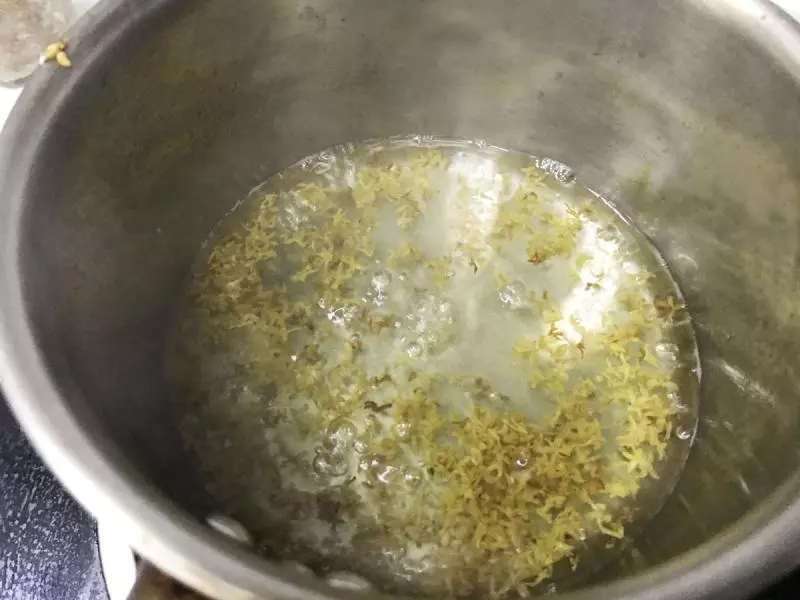
16转小火熬5分钟,关火盛出待用。
17烘烤到28分钟的时候,取出磅蛋糕,在中心用刀片划出爱心形状。
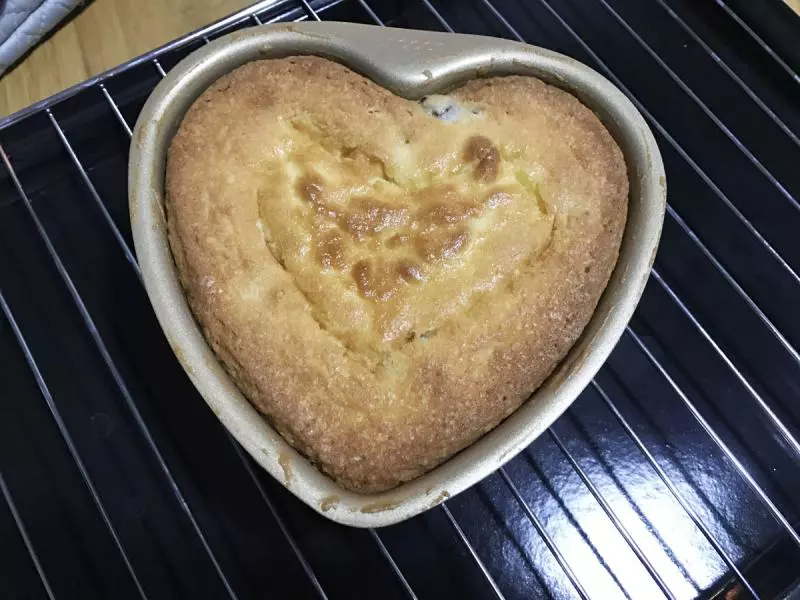
18继续放入烤箱再烘烤5-10分钟,即可出炉,震两下热气,倒在晾网上,翻面,刷好糖浆(刷糖浆的时候底部需要放烤盘接滴落的糖浆,冷却后包上保鲜膜冰箱冷藏。
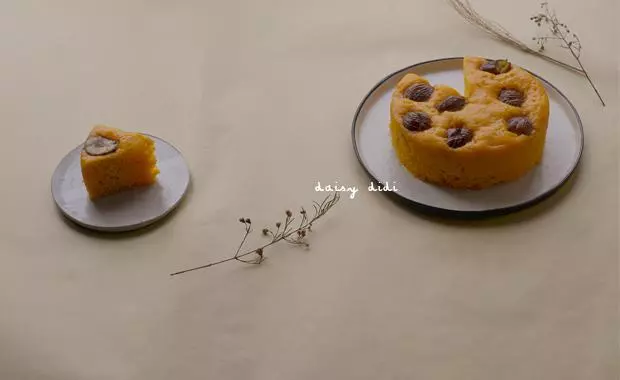
19需要食用的时候取出蛋糕回温即可装饰,切块食用。
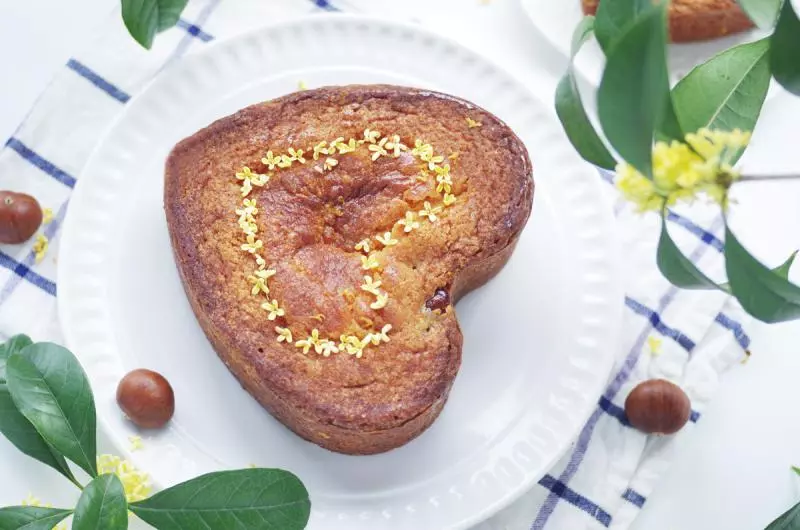
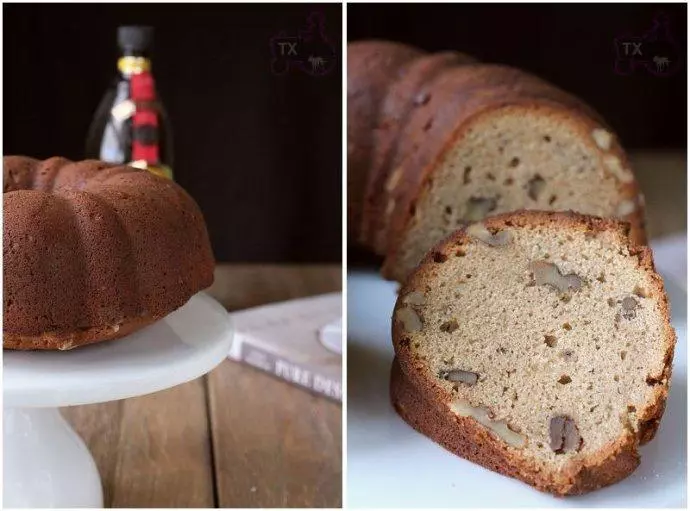
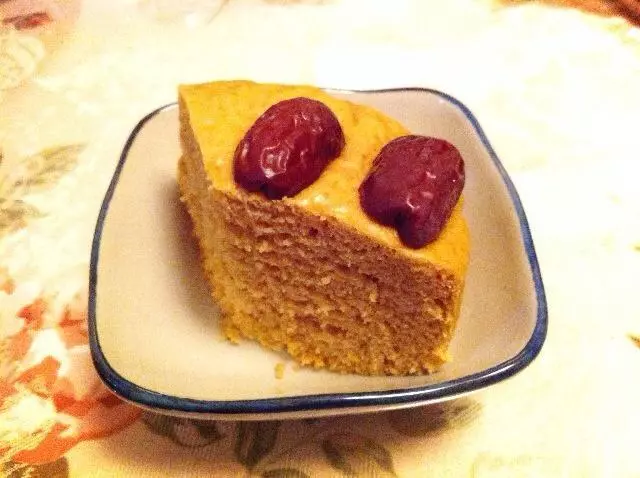
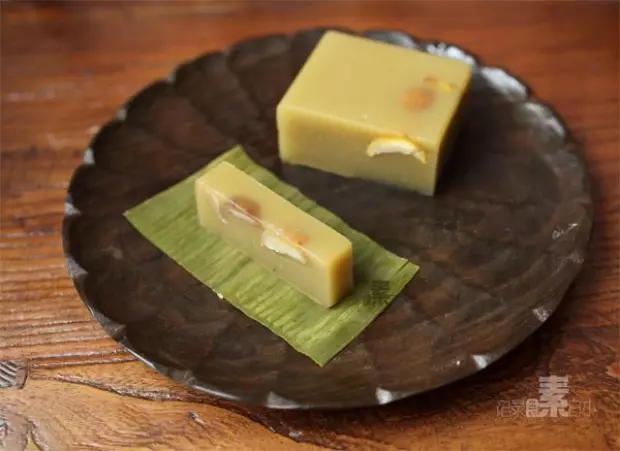
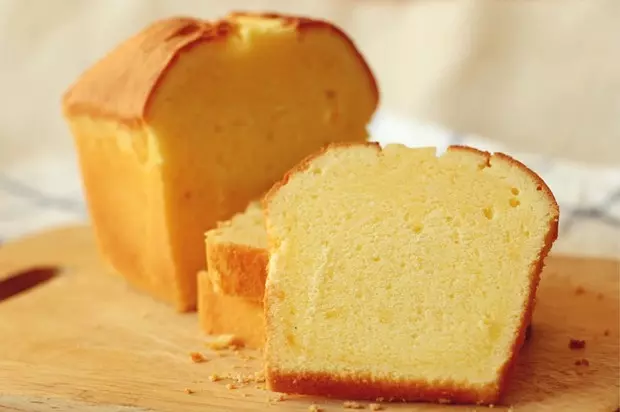
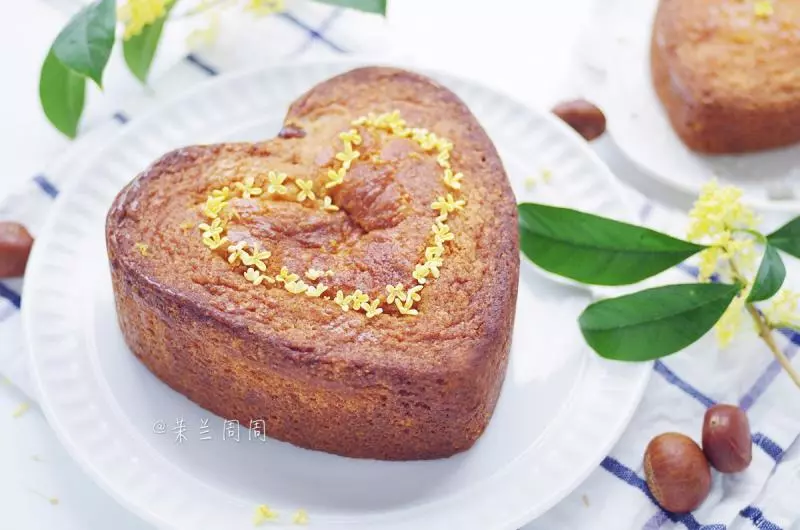
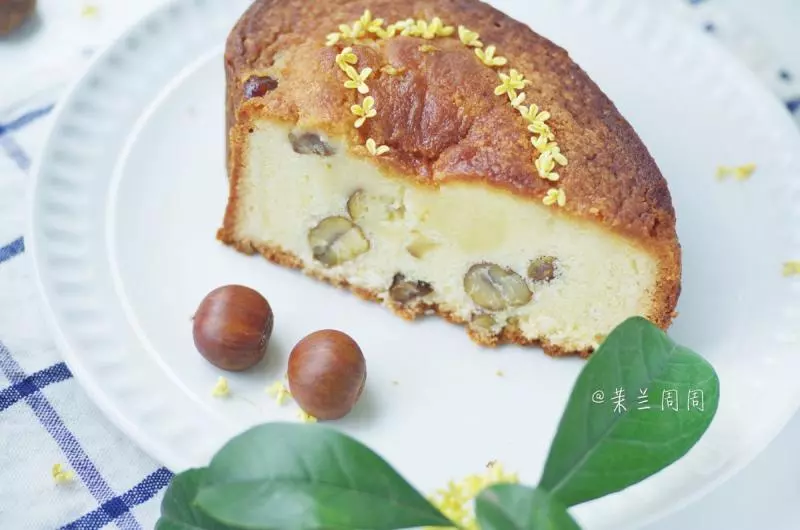
20切开可以看到内里的完整栗子。栗栗在心磅蛋糕就完成了!
小技巧
1、鸡蛋需要使用常温鸡蛋 2、黄油状态要根据室温进行调整,室温过高,黄油从冰箱拿出来不用很久即可开始,室温过低,底部隔温水软化黄油 3、加入糖粉需要先切拌几次再搅打,防止糖粉飞溅。 4、黄油砂糖加入蛋液后需要高速打发至羽毛状 5、加入低筋粉和泡打粉之后需要先切拌几次,再翻拌80次,注意是挖起面糊摔入盆中,直到面糊光滑! 6、烘烤前需要预热烤箱,烘烤时注意在蛋糕中间未出现裂口时,第28分钟左右,取出划好裂口。如果不划裂口也可以,只是不能保证裂口位置,可能会裂的不好看。 7、也可以使用磅蛋糕长条模具,配方:黄油100g,细砂糖100g,鸡蛋液75g,低筋粉100g,栗子60g。