原料
高筋面粉: 365克, 牛奶: 140克, 鸡蛋: 1.5个(约65克), 酵母: 5克, 淡奶油: 30克, 盐: 1小撮(约3克), 糖: 60克, 黄油: 30克, 蛋黄(烤前涂面): 1个, 蜂蜜水(烤后涂面): , 蜂蜜: 1 tbsp(汤匙), 水: 1 tbsp(汤匙)
步骤
1除黄油外把所有材料倒入厨师搅拌机里揉,揉至扩展阶段时加入室温软化的黄油,再继续揉至完全。

2能拉薄膜就可以啦!!

3然后盖上保鲜膜放置室温发酵约1小时,发酵的最佳温度在25摄氏度(75-80华氏度)左右。

4发酵至1.5-2倍大,手指轻插进去不塌陷不回缩就代表发酵完毕啦!

5然后把粉团拿出来揉搓几下,把空气挤压出来。

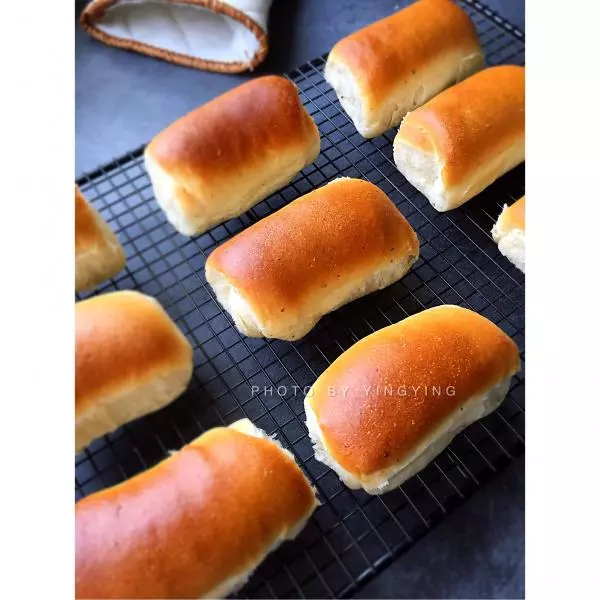
6再分割成12等份,约57-58克一个,再盖上保鲜膜放入烤箱里进行第二次发酵。发酵最佳温度在35摄氏度(95华氏度)左右。如果烤箱没有发酵功能,可以在底下放入一盘热水,凉了要及时换水哦!!

7发酵至1.5-2倍大,约1小时

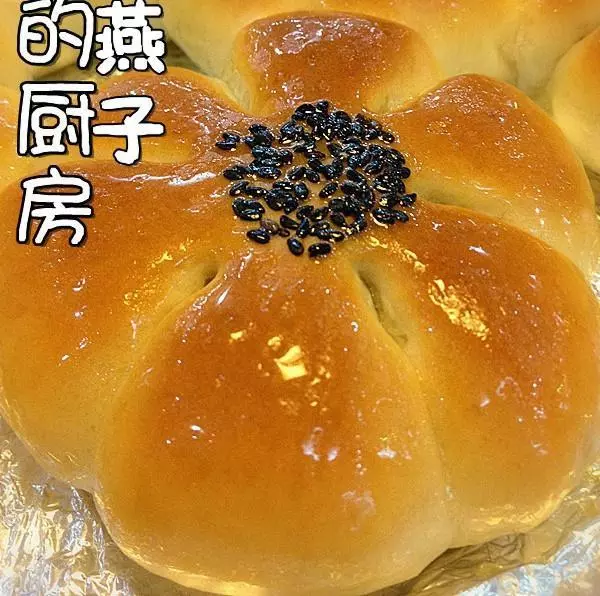
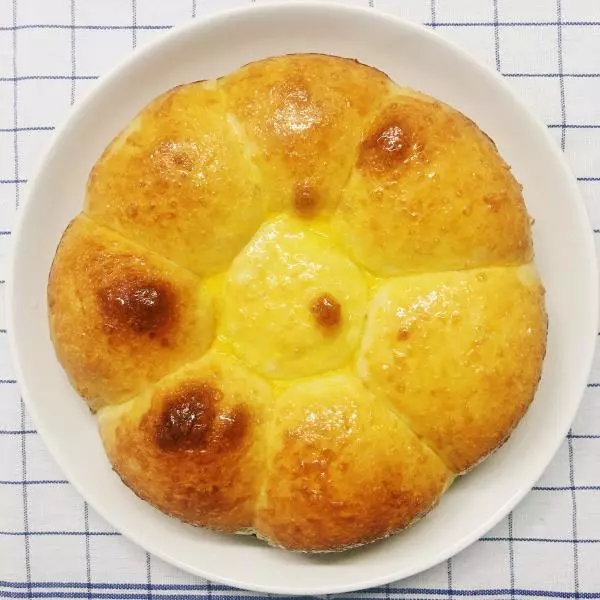
8刷上一层蛋黄液

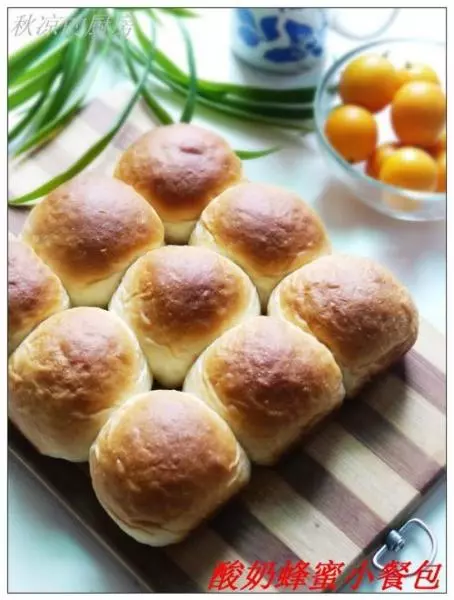
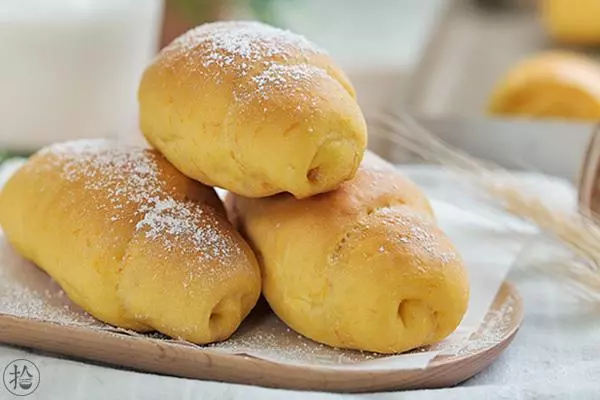
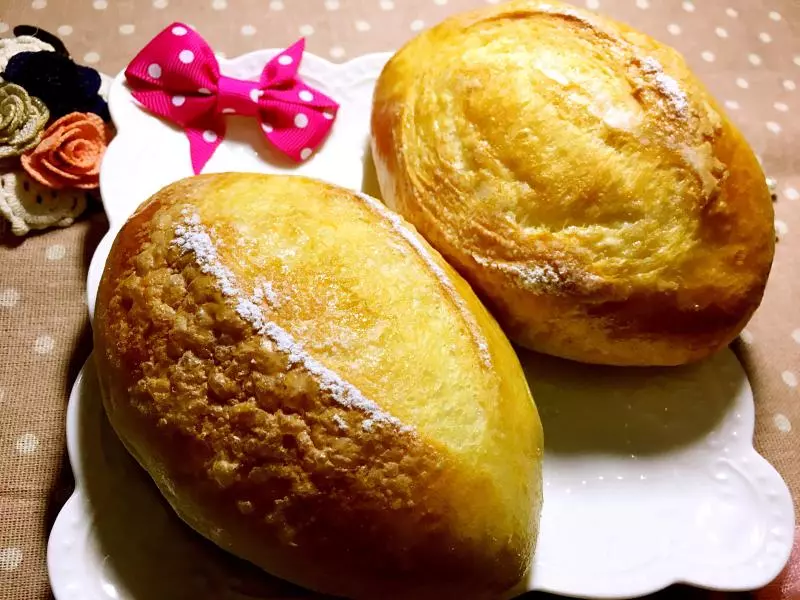
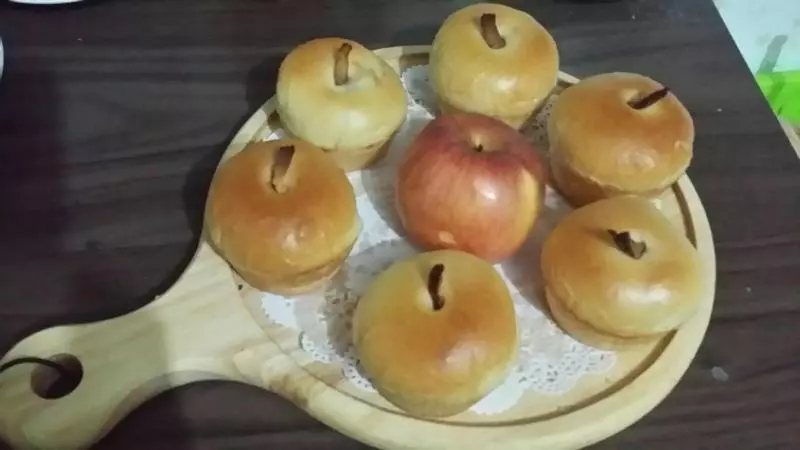
9把烤箱预热至180摄氏度(350华氏度),中层烤15分钟。途中要注意观察上色度,如果上色了就及时盖上锡纸,以免把面烤焦咯!! 烤好后涂上一层蜂蜜水(蜂蜜+水搅拌均匀即可)就可以享用啦!!