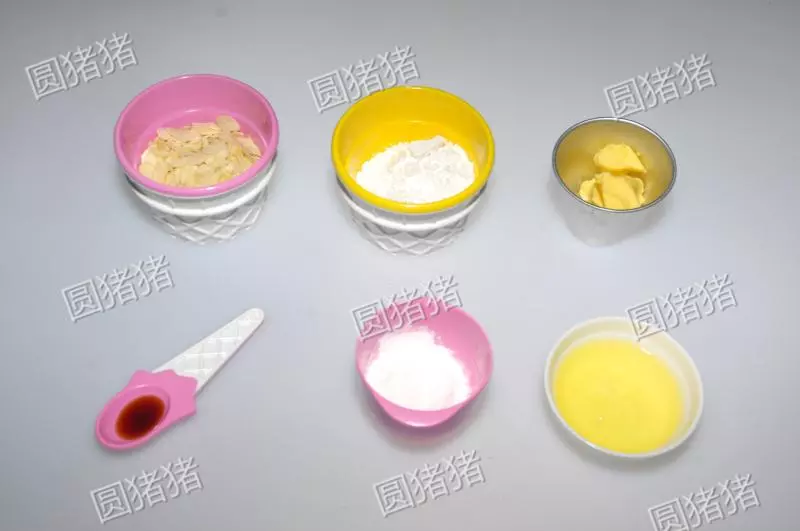
原料
蛋白: 40克, 纯糖粉: 50克, 低筋面粉: 15克, 黄油: 25克, 香草精: 1/4小匙, 杏仁片: 55克
步骤
1所需食材
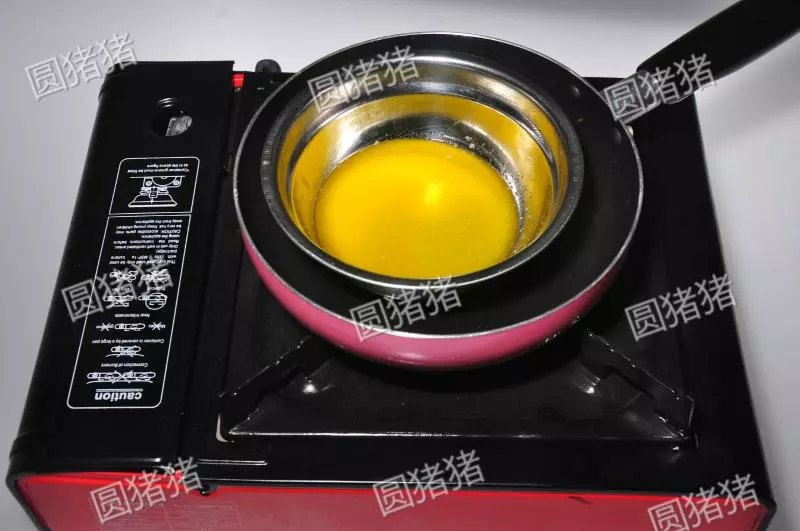
2将黄油切成小块,放入不锈钢碗内,隔热水加温至溶化成液态备用。
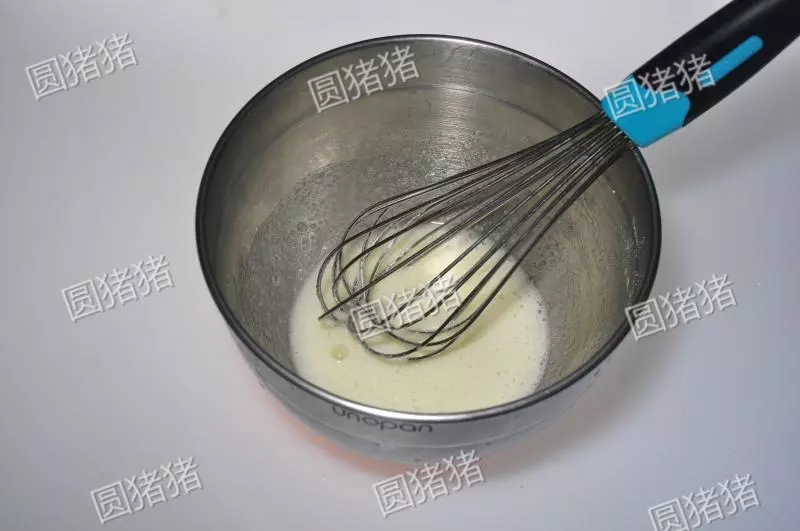
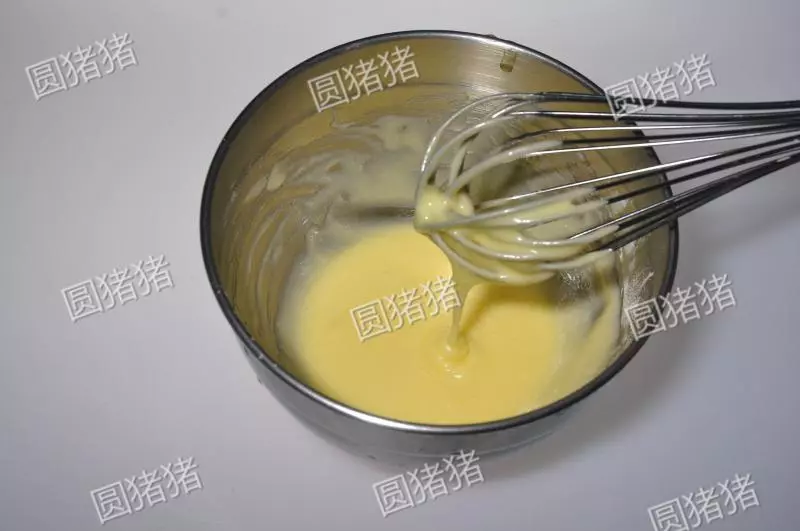
3蛋白放入盆内,加入糖粉。

4用手动打蛋器搅打均匀,至糖粉溶化。(不需打发)
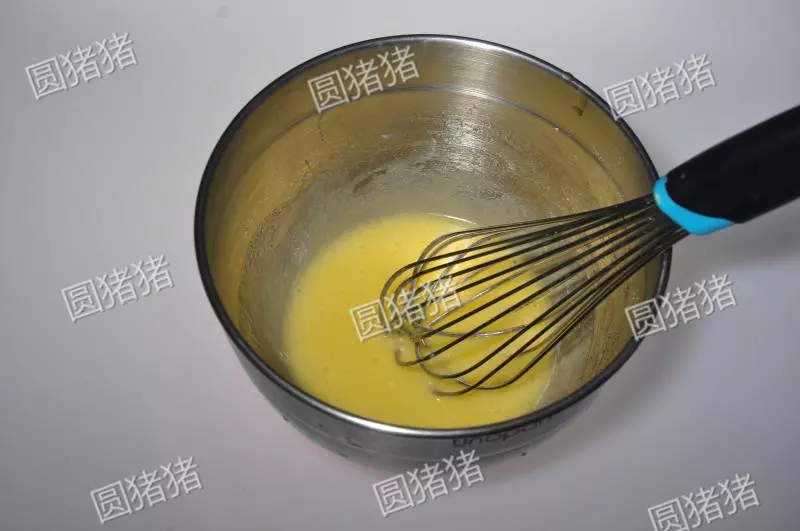
5加入溶化的液态黄油及香草精。
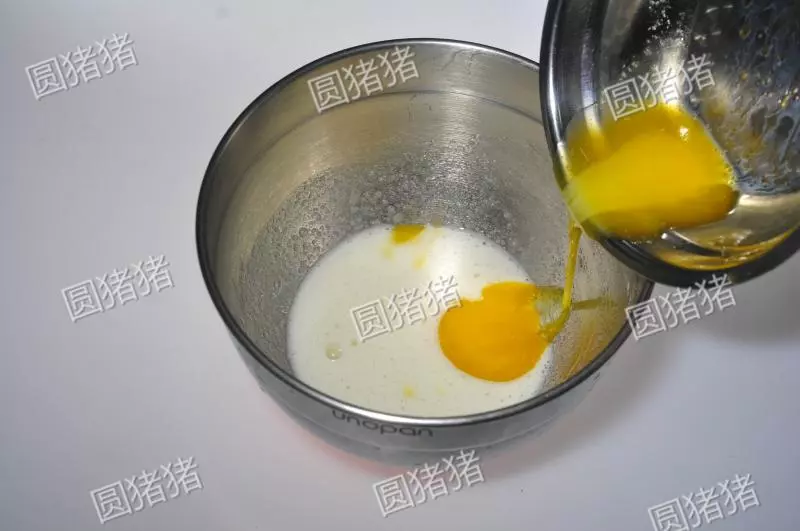
6用手动打蛋器搅拌均匀。
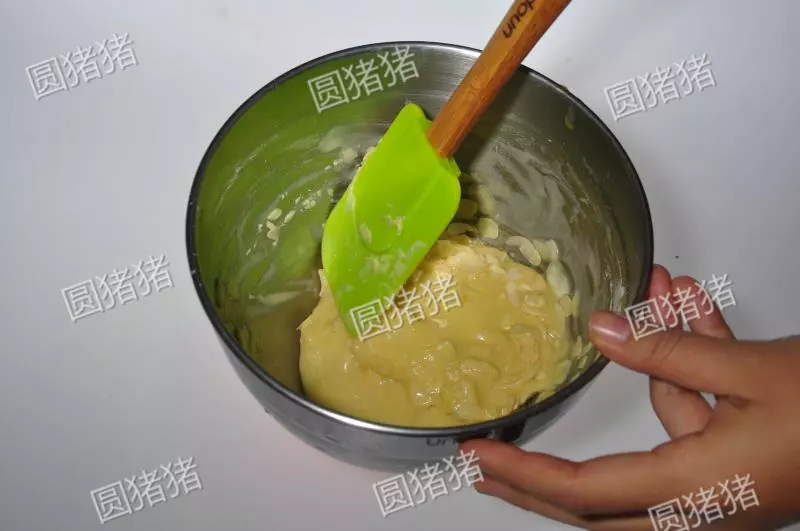
7加入低筋面粉。
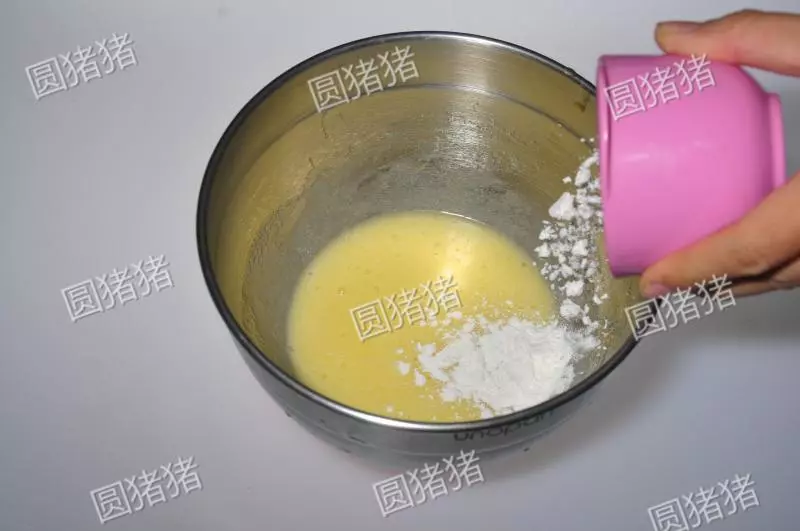
8用手动打蛋器搅拌均匀成糊状。
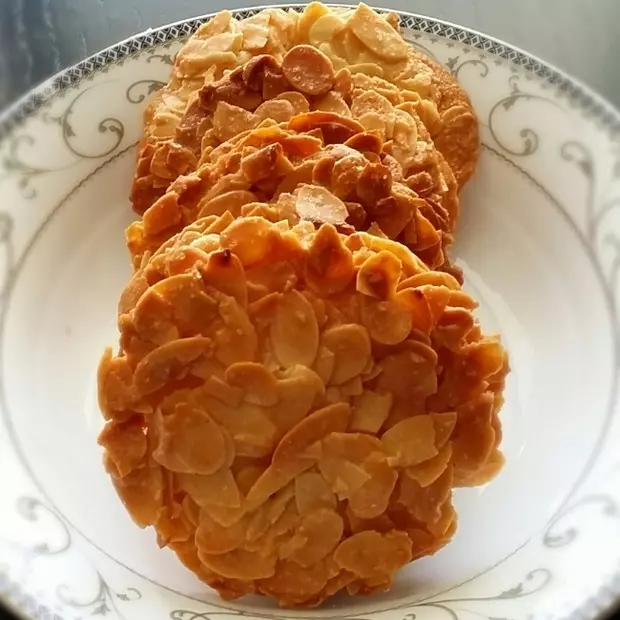
9加入杏仁片。

10用橡皮刮刀将杏仁片拌匀。
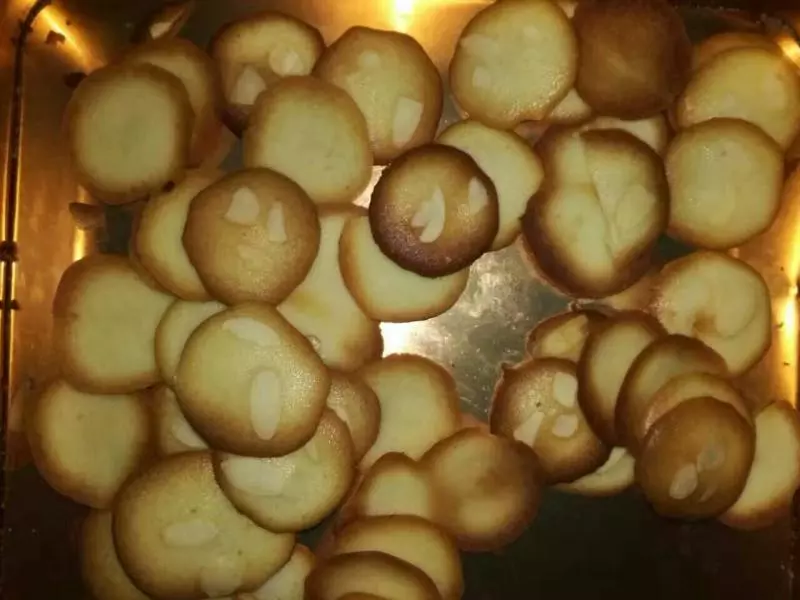
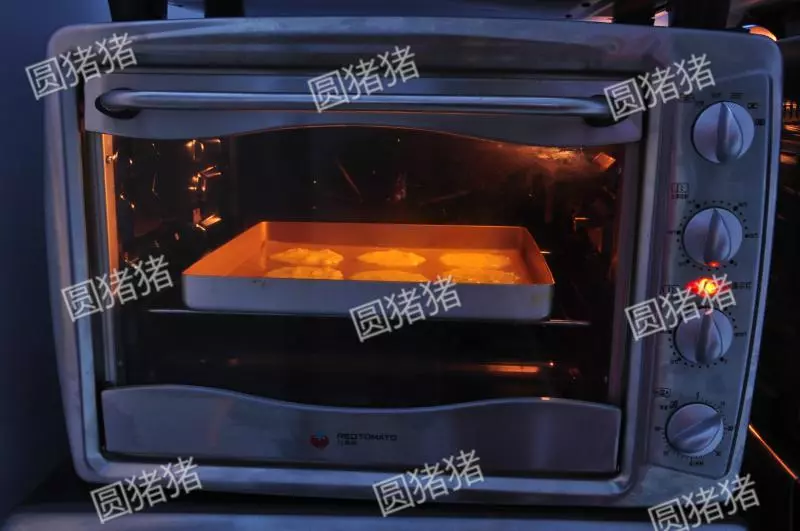
11烤盘上铺上耐高温油布,用汤匙挖上少许面糊放在烤盘上,中间要有较大的间隙。
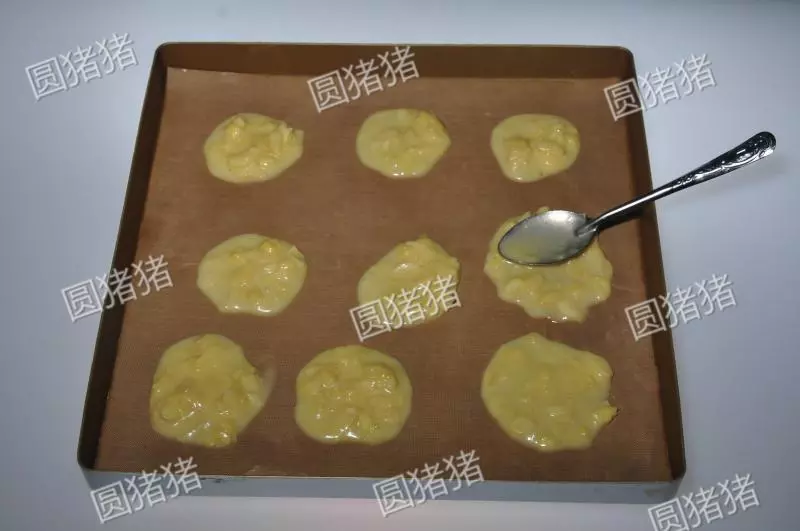
12用汤匙将面糊平铺开。。(烘烤时面糊还会自动摊开)
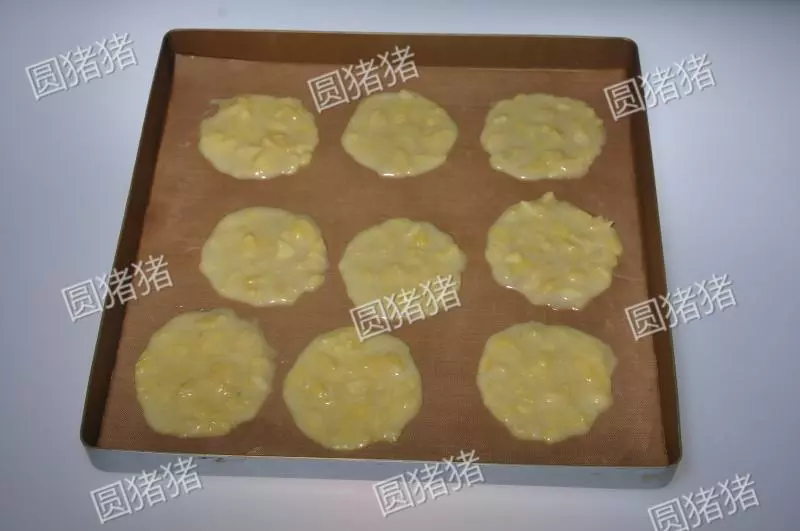
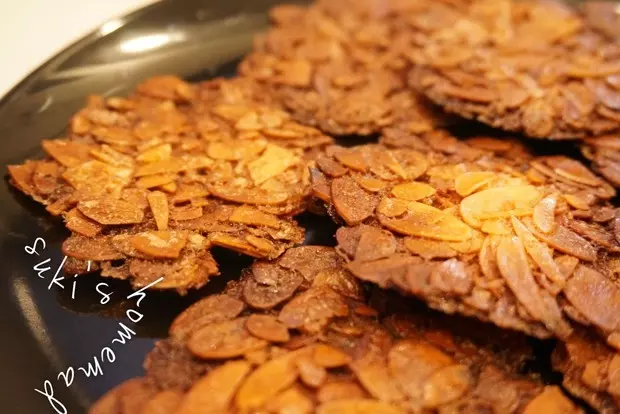
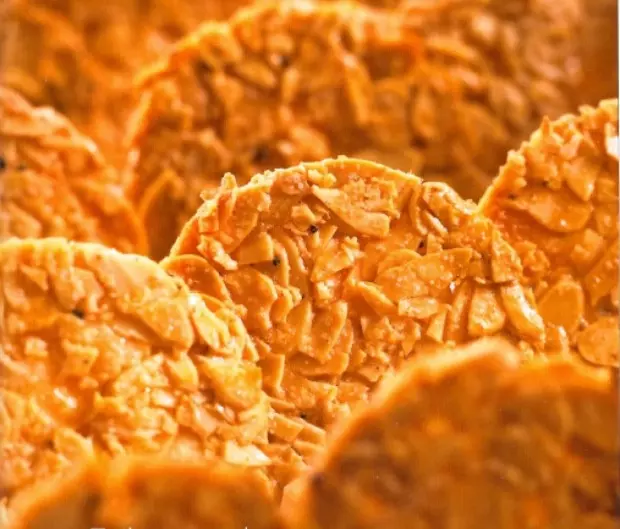
13烤箱上下火180度预热,中层烤5-6分钟,见表面成微黄色即可。
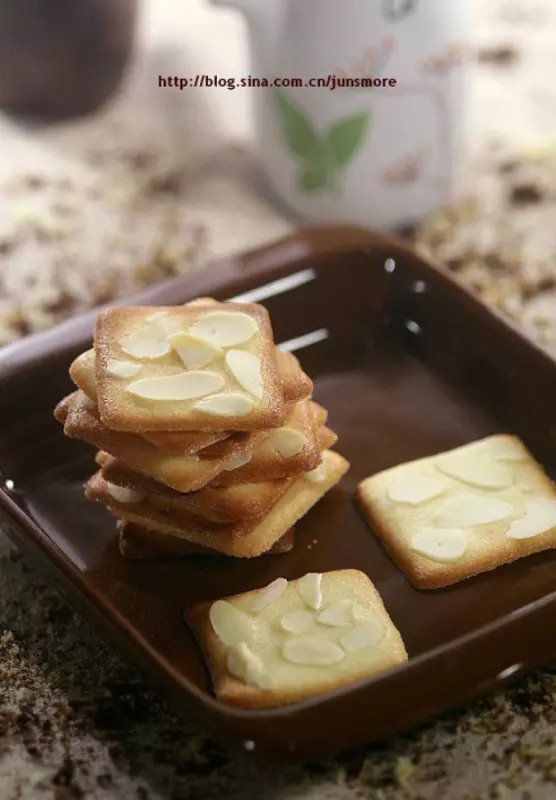
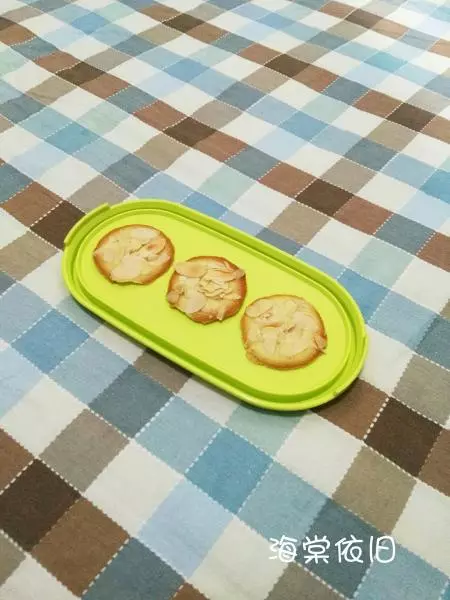
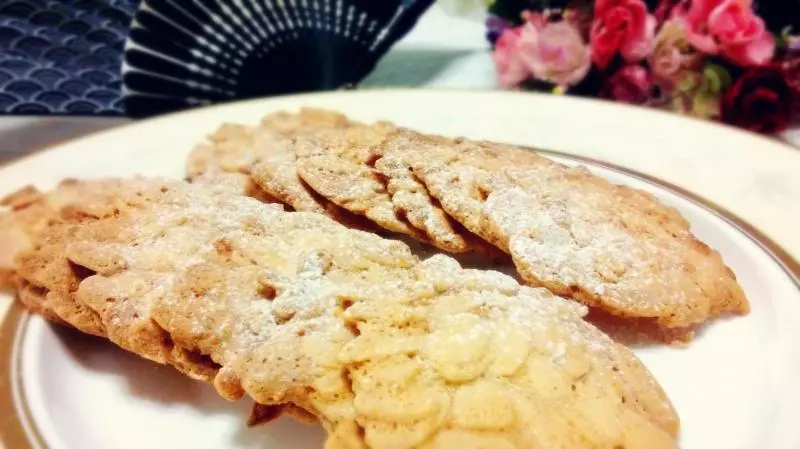
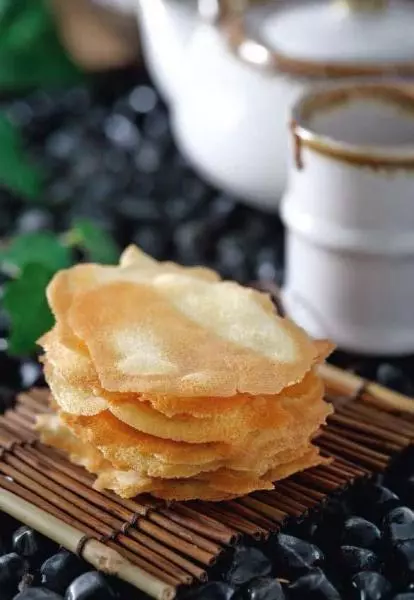
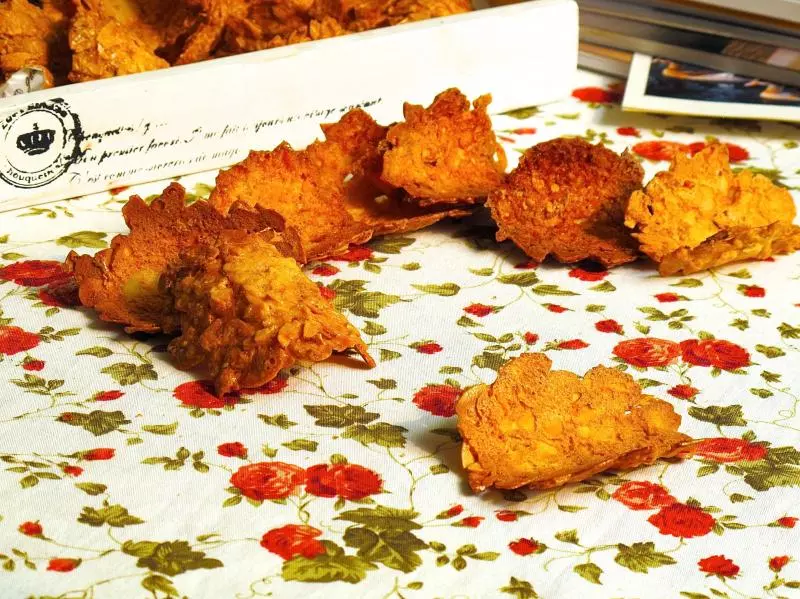
14烤好的饼干乘着有些微热时,放在擀面杖上,折成弯形,放凉至变硬。
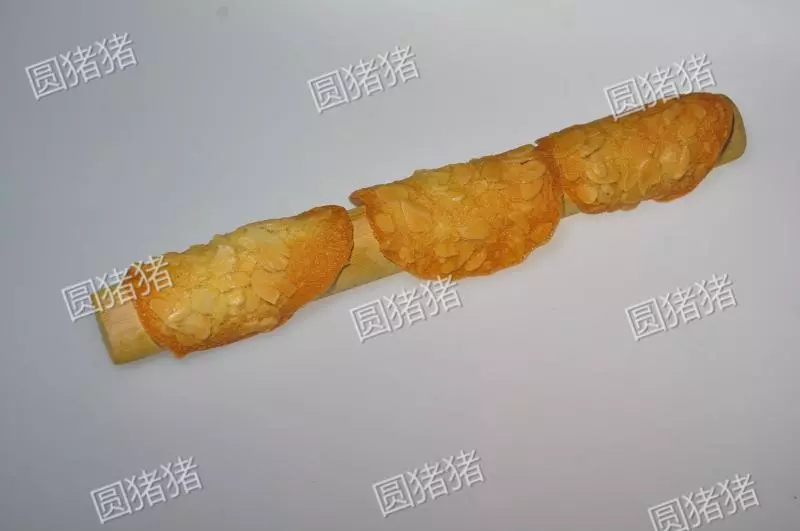
15凉后要马上密封保存,才可保持松脆的口感。

小技巧
- 这种蛋白酥饼都极容易粘烤盘,而且摊的比较薄,不易取出。所以使用防沾性最好的耐高温油布是最好的。 2. 面糊做好后是有很好的流动性,而且在加温烤时也会摊开,所以摊面糊的时侯一定不要摊的太密。要保持很大的间距。 如果烤出的面糊摊在一起了,也没关系,乘着软的时侯剪开就是。 3. 饼干因为摊开很薄,所以也很容易烤熟,通常在4-6分钟内就会烤好,烤的时侯一定要在旁边看顾著以免烤糊了。 4. 刚烤好的饼干在2分钟内都是软的,可以戴上手套将饼皮卷在棍上上定形。 如果喜欢平片式的饼干,就在刚烤好时,用板子把饼干压平,不然冷却后会翘去来。 5. 饼干放凉后会变的很香脆,但在室温时间长会很快吸收空气中的水分,所以冷却后要尽快密封保存起来。