原料
牛奶: 80g, 玉米油: 40g, 白砂糖: 40g, 盐: 1/8小勺(一小撮), 香草精几滴: 可不用, 低筋面粉: 80g, 蛋黄: 40g, 蛋白: 160g, 白砂糖: 30g, 柠檬汁几滴: 没有柠檬汁可以用白醋
步骤
1先来制作蛋黄糊的部分。 将牛奶和玉米油倒入盆中,加入白砂糖、盐。

2用蛋抽搅打成米汤状。

3将低筋面粉过筛到上一步米汤状的混合物中。

4用蛋抽搅打至无干粉状,尽量没有颗粒的样子。

5将蛋黄加进来,同时滴入香草精。

6继续搅打至顺滑无颗粒,蛋黄糊就完成了,先放一旁待用,接下来准备打发蛋白了。

7将蛋白里加入几滴柠檬汁,用电动打蛋器低速搅打。

8打至鱼眼粗泡就可以加入1/3~1/2的白砂糖,继续搅打。

9蛋白逐渐细腻,继续加糖搅打。

10将蛋白打至干性发泡,提起打蛋器呈锯齿状即可。这样蛋白糊的部分也完成了,接下来就可以混合蛋糕面糊了。

11先取1/3的蛋白拌入蛋黄糊中,用翻拌手法拌匀。

12第一次翻拌后的样子。

13再取1/3的蛋白拌入蛋黄糊中,用同样的手法翻拌均匀。

14第二次翻拌后的样子。

15将翻拌好的蛋黄糊倒入剩下的蛋白中,切拌翻拌均匀。

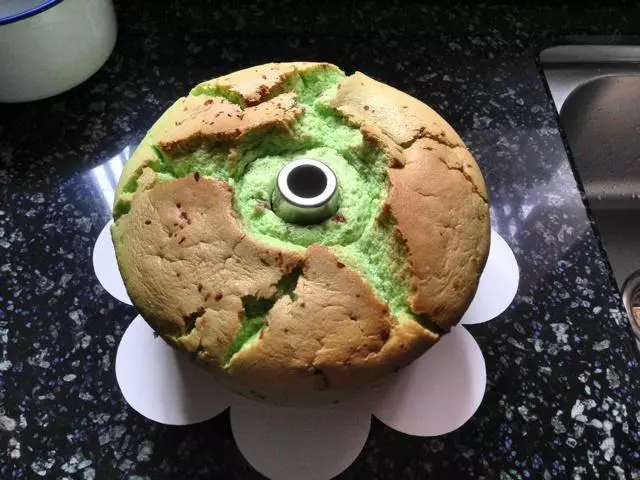
16最后混合好的面糊。

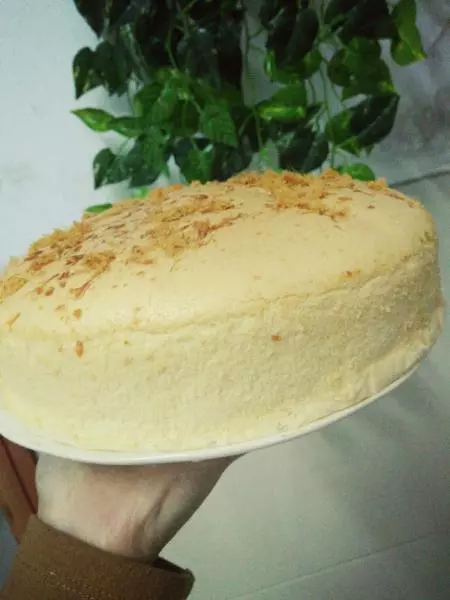
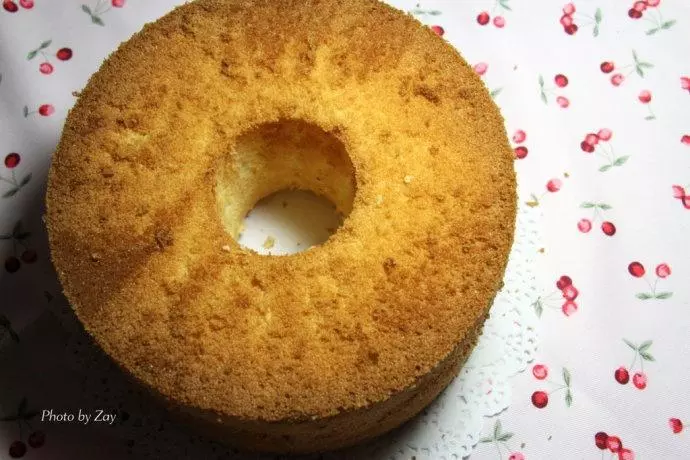
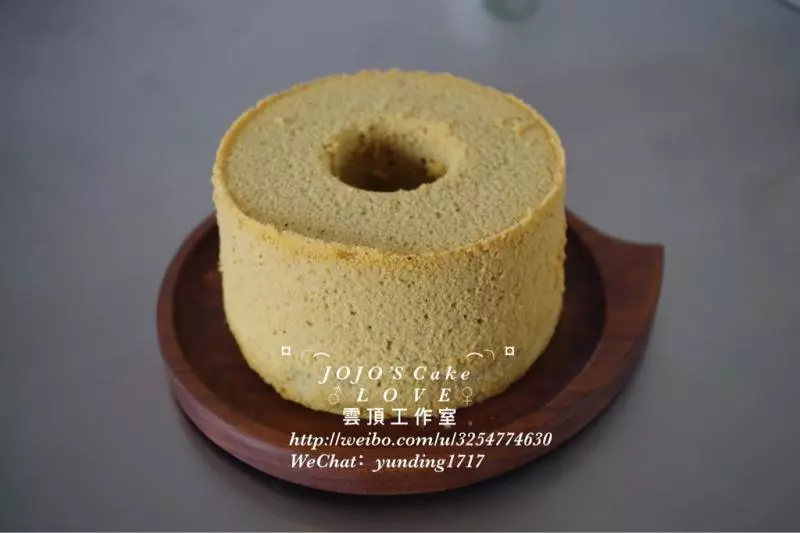
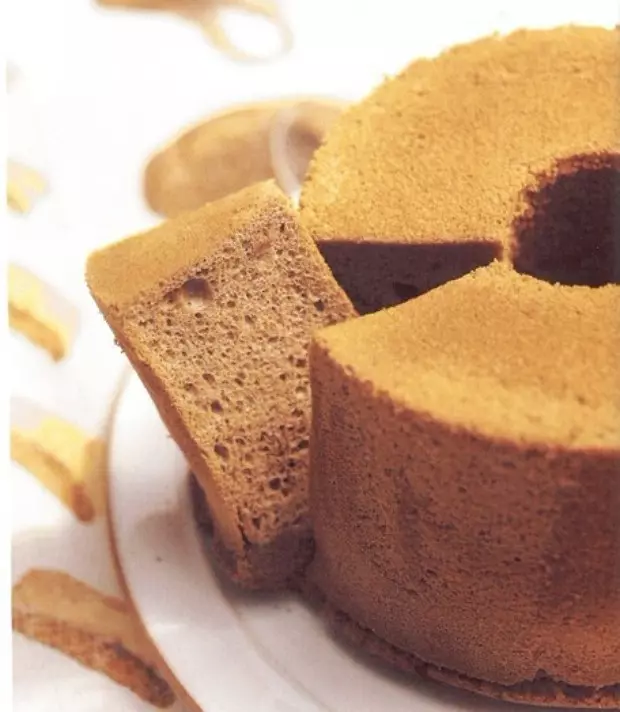
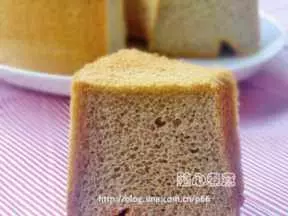
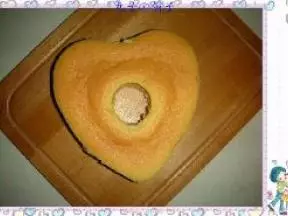
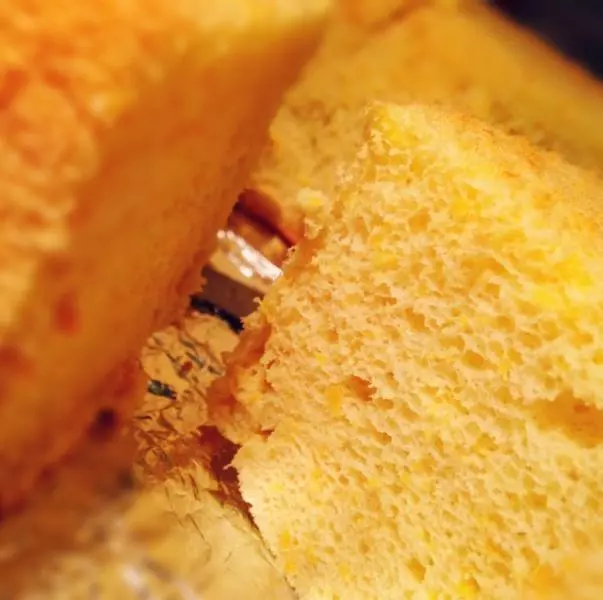
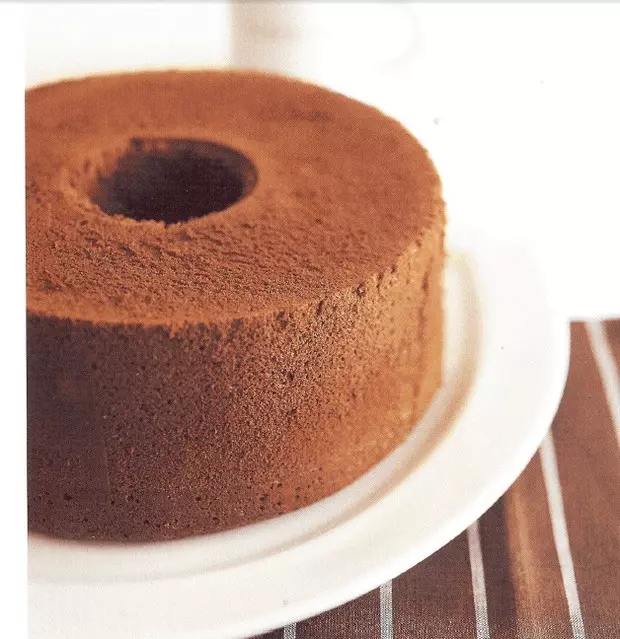
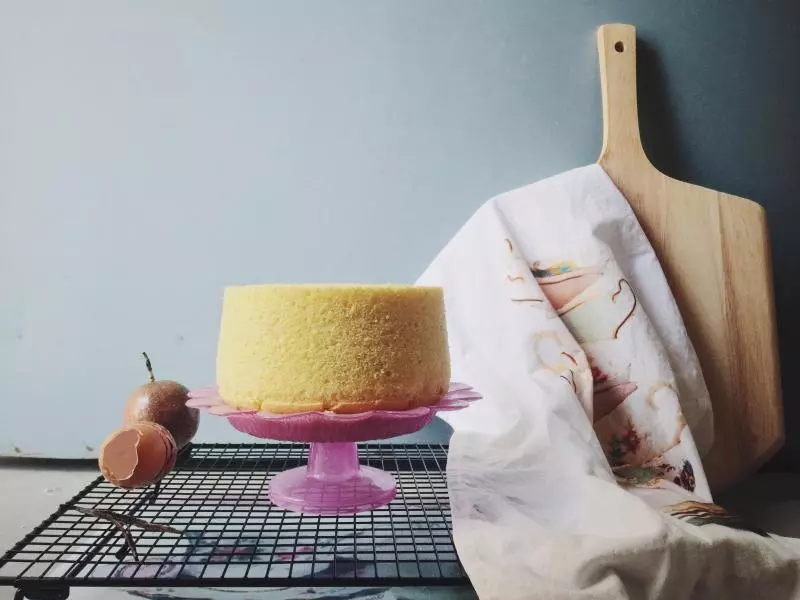
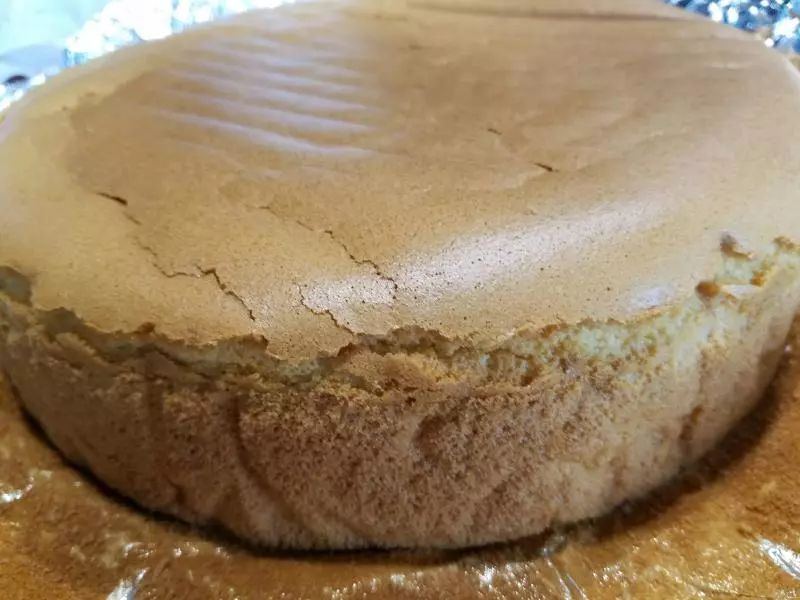
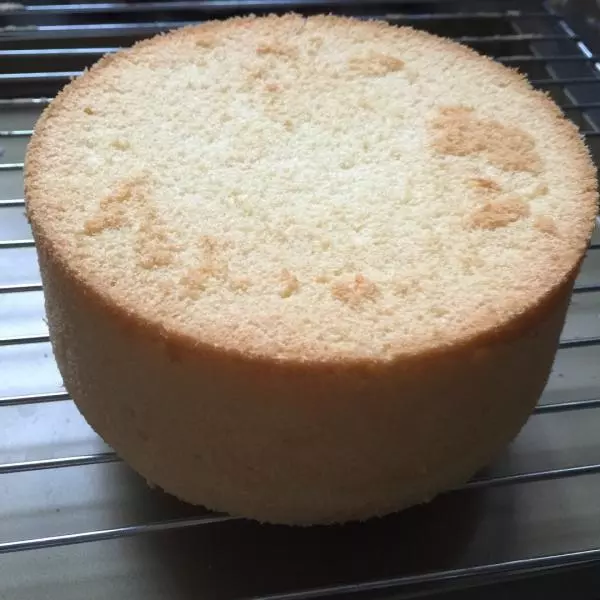
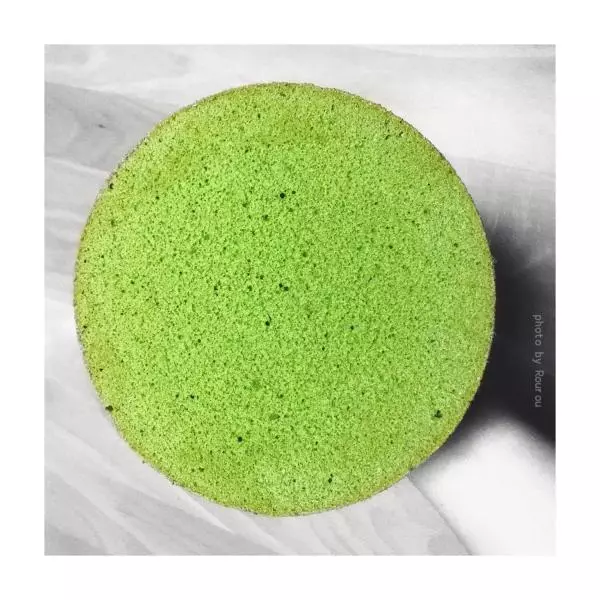
17将面糊从20公分左右的高度慢慢倒入模具,让其自然堆叠,最后震模,放到预热到170度的烤箱,40分钟即可。

18出炉后立即倒扣,彻底凉了再脱模。

19来张脱模后的图~

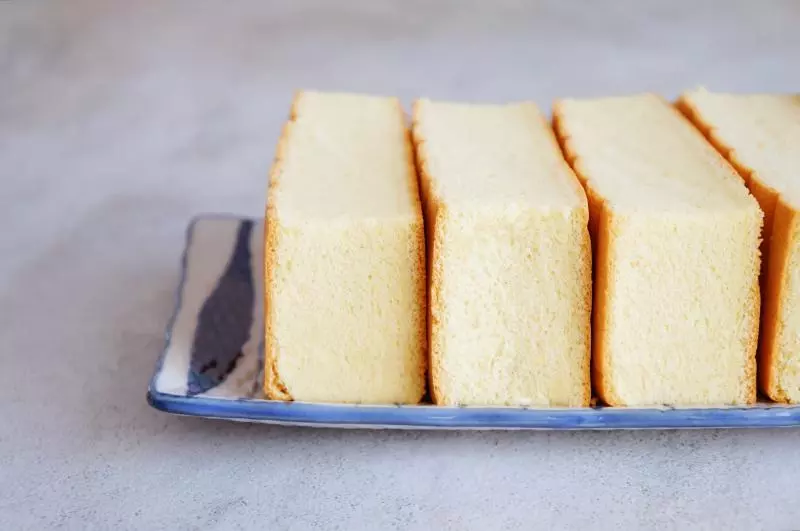
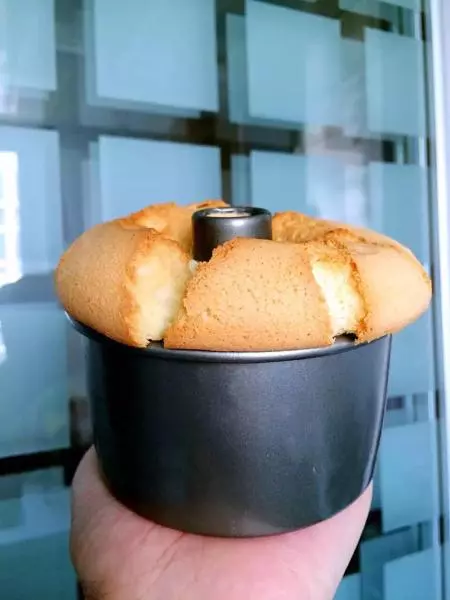
20拍了个小视频,弹性十足呢~今天这个量我面糊没放完,还做了5个杯子蛋糕,所以个子不是很高啦?~

21再来张图~