原料
鸡蛋: 两只, 低筋粉: 65克, 酸奶: 120克, 白砂糖: 30克, 盐: 2克, 泡打粉: 2克
步骤
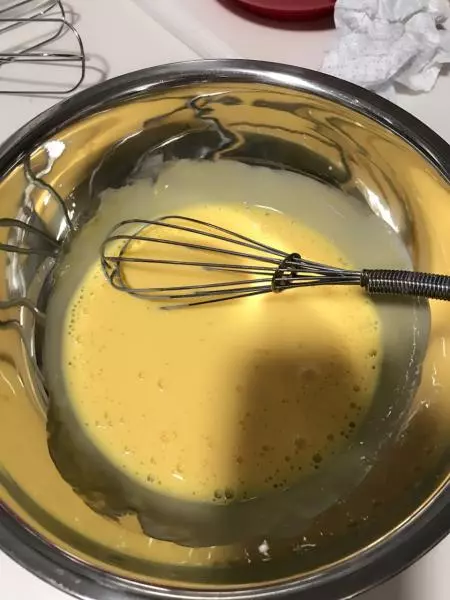
1把120克酸奶过秤到无水无油的干净器皿里面

2鸡蛋蛋白蛋黄分离,蛋黄放到酸奶里面,用手动打蛋器搅拌均匀,蛋清同样放在无水无油干净器皿里面备用
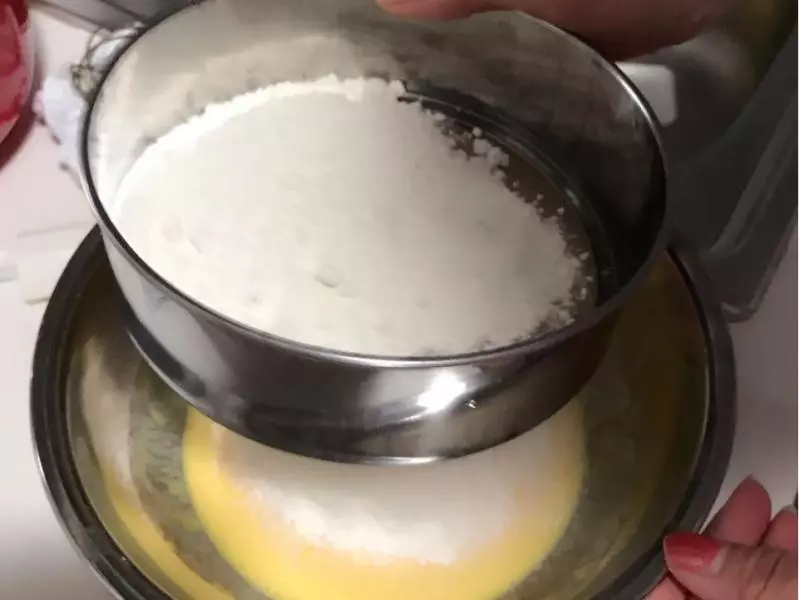
3低筋粉、泡打粉、盐过筛到酸奶蛋黄面糊里面,然后用蛋糕刮刀切拌或者按压均匀,切记不能打圈,否则面会起筋,影响蛋糕口感
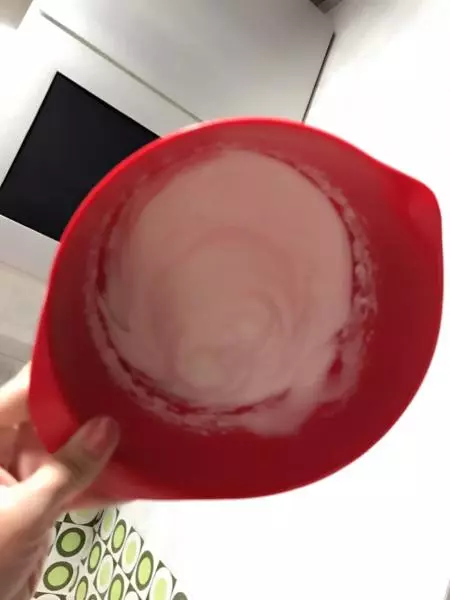
4自动打蛋器将蛋白打发,打发过程中分几次加入糖

5最后蛋白打发到倒扣过来不会掉落为最佳
6蛋白分几次加入到面糊中均匀切拌
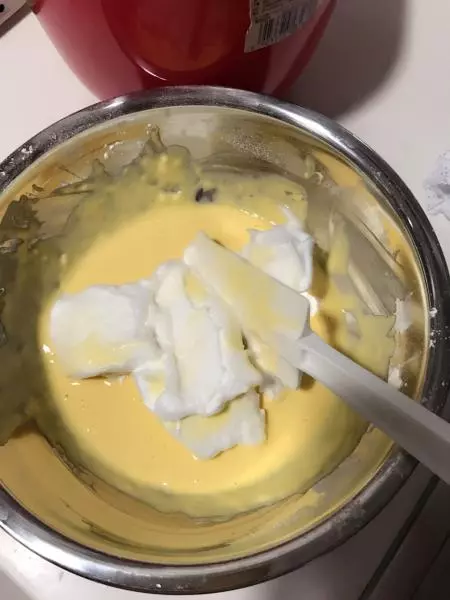
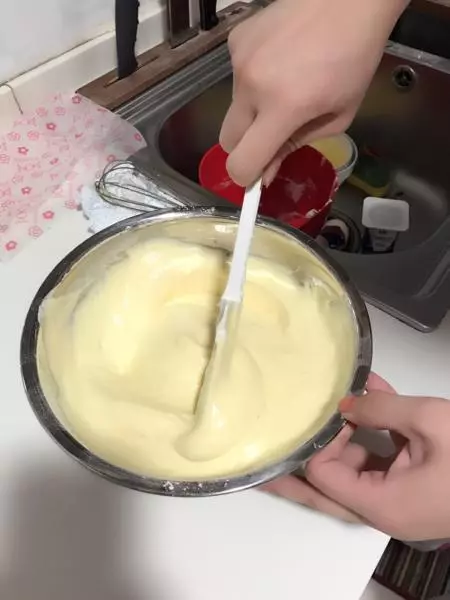
7直到面糊均匀
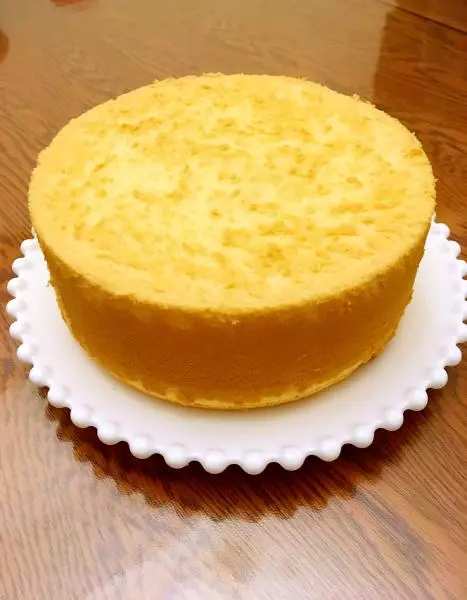
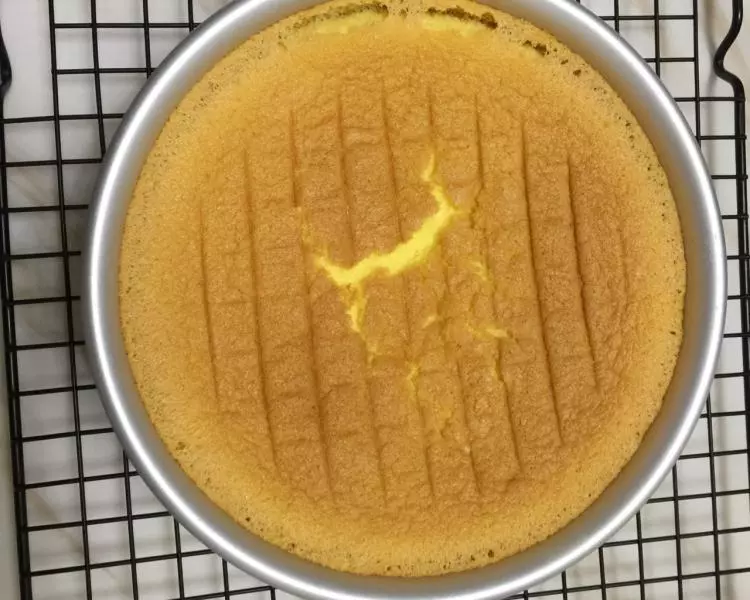
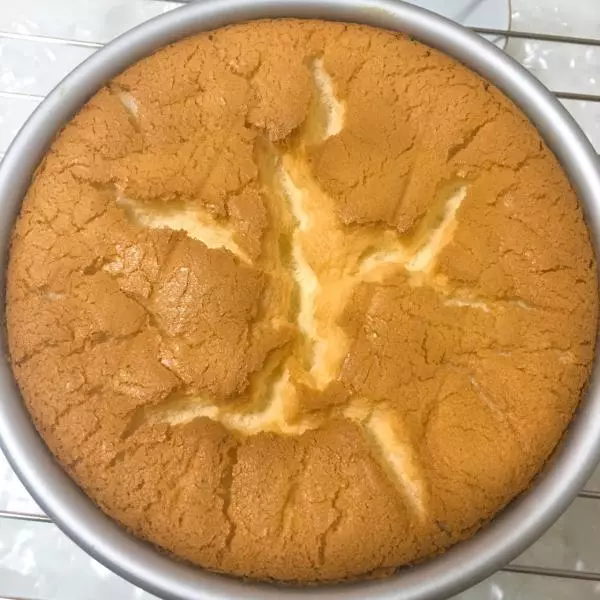
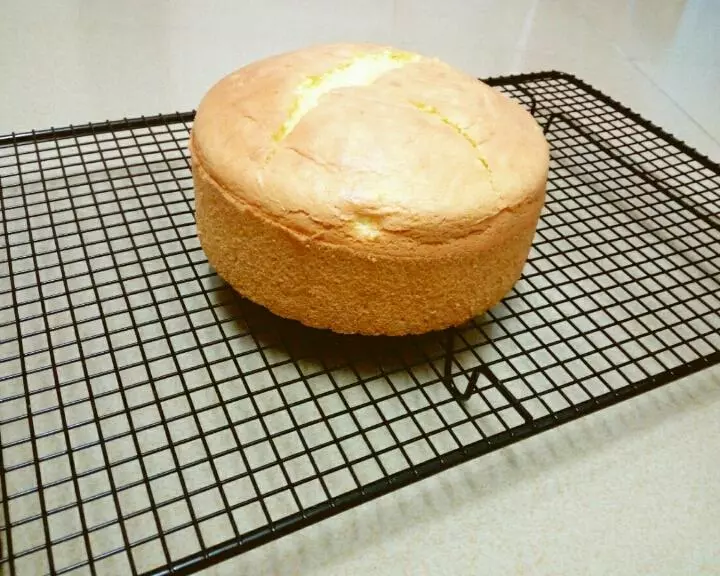
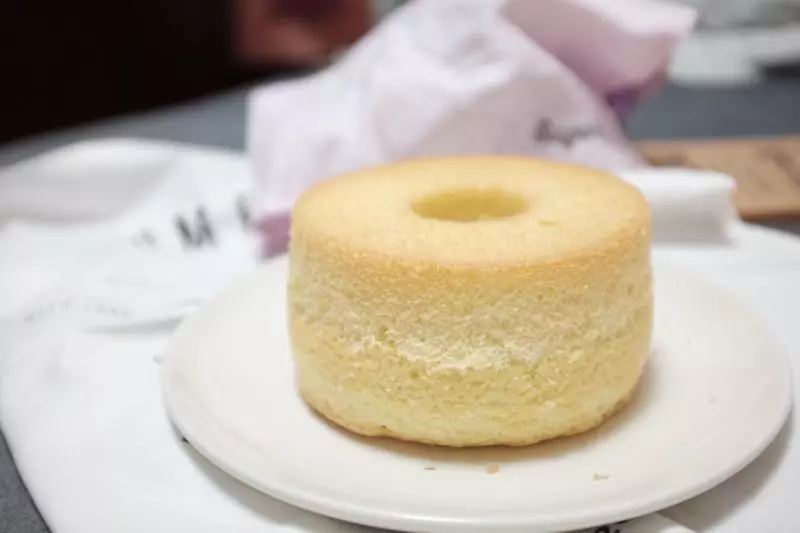
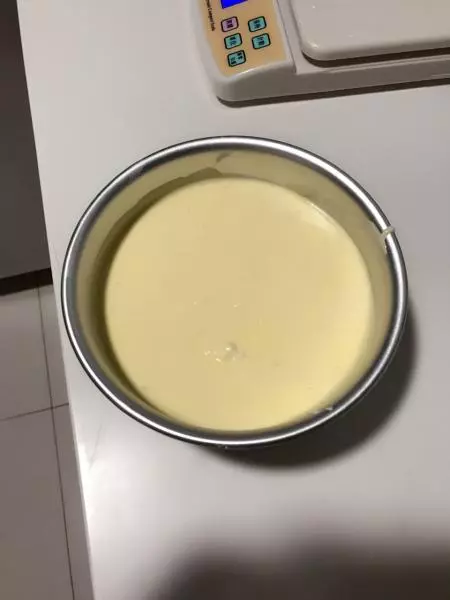
8将面糊倒入蛋糕模具中,我选择的是活底模具,这个对于蛋糕脱模相对简单一些,抹平表面后,用力在桌子上墩几下,排出面糊气体
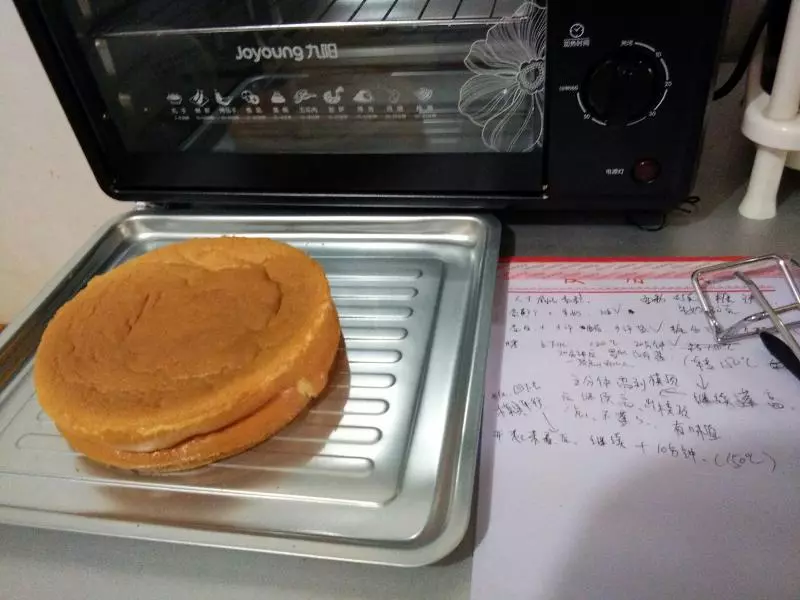
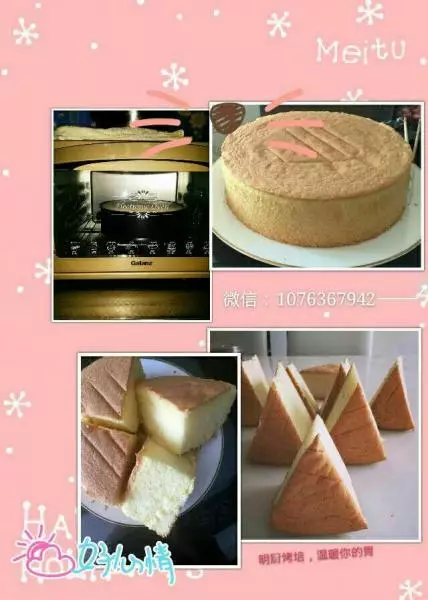
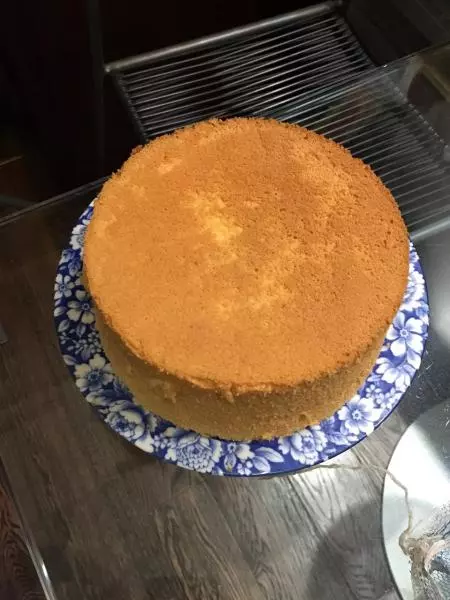
9没有照烤制过程,首先烤箱140预热五分钟,烤盘放80度热水放置在最底层,烤架放在烤盘上就可以,蛋糕放在烤架上进行蒸烤60分钟,随时观察蛋糕着色情况,我选择在45分钟的时候,在蛋糕表面盖了锡纸,因为酸奶蛋糕类似奶酪蛋糕,如果表面上色太重影响品相
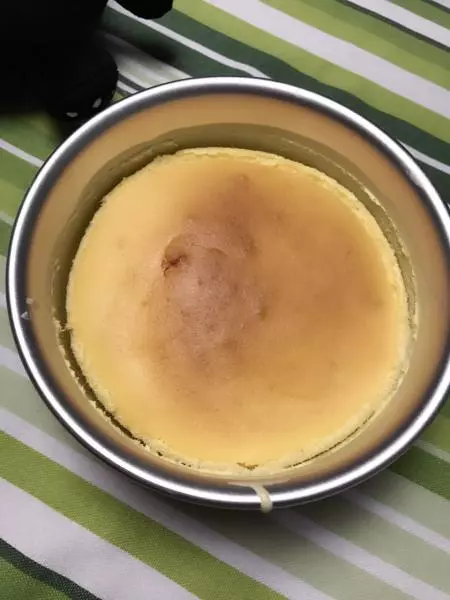
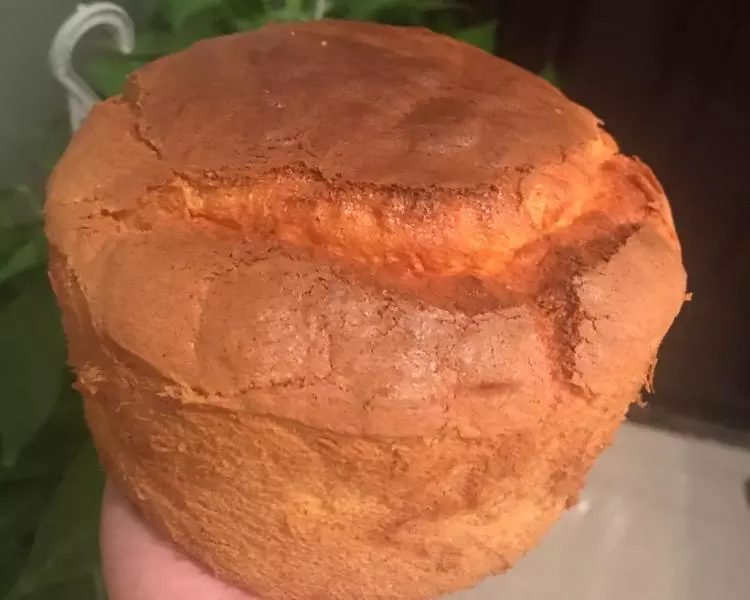
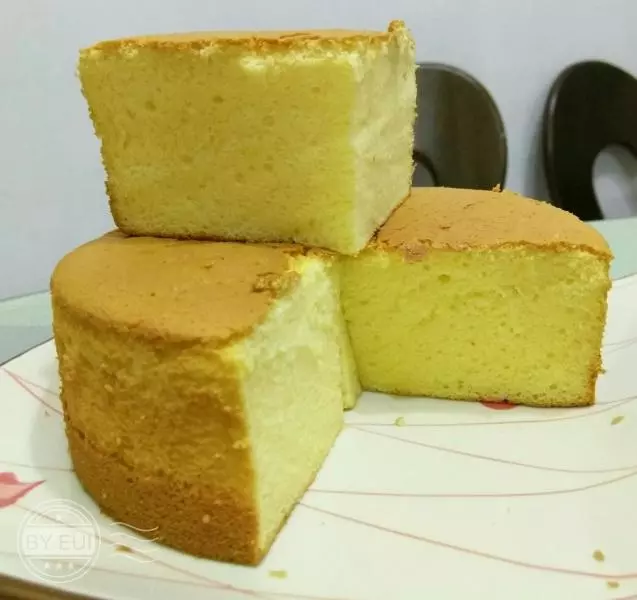
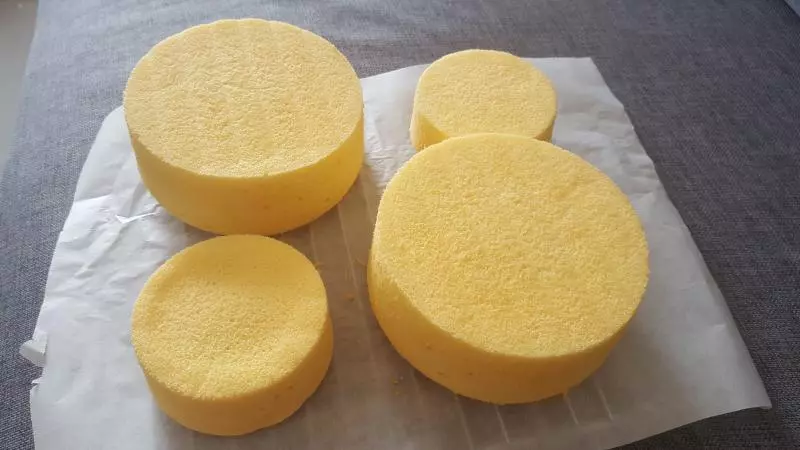
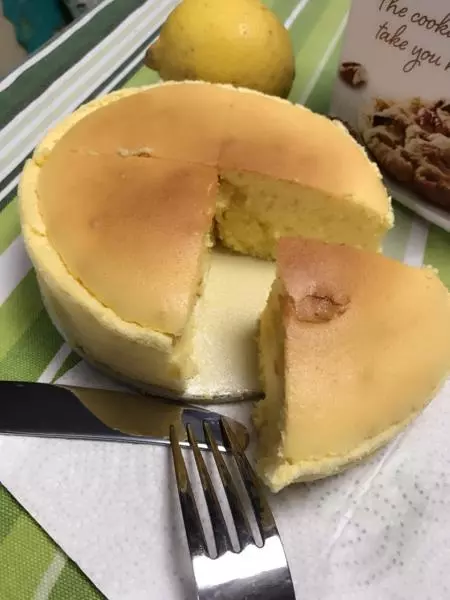
10蛋糕烤制一个小时后,不要立即从烤箱中拿出,需要继续在里面闷40分钟至一个小时左右,时间达到后,蛋糕出炉放置冷却,直接拖底就可以脱模
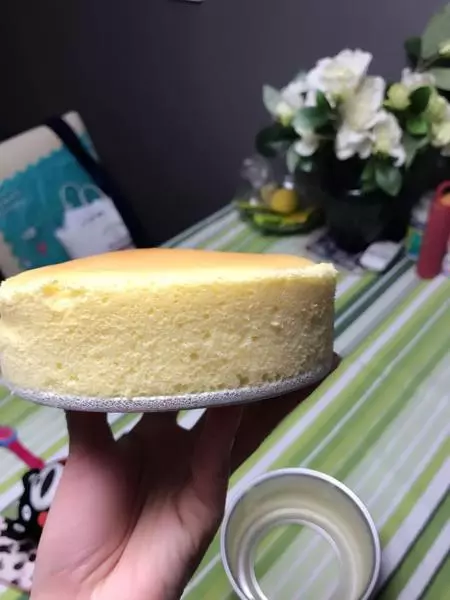
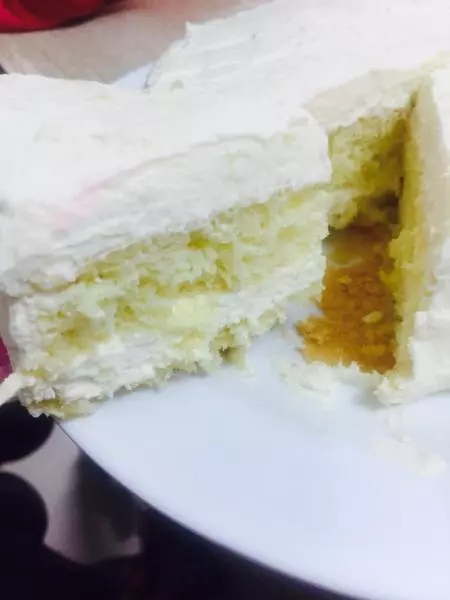
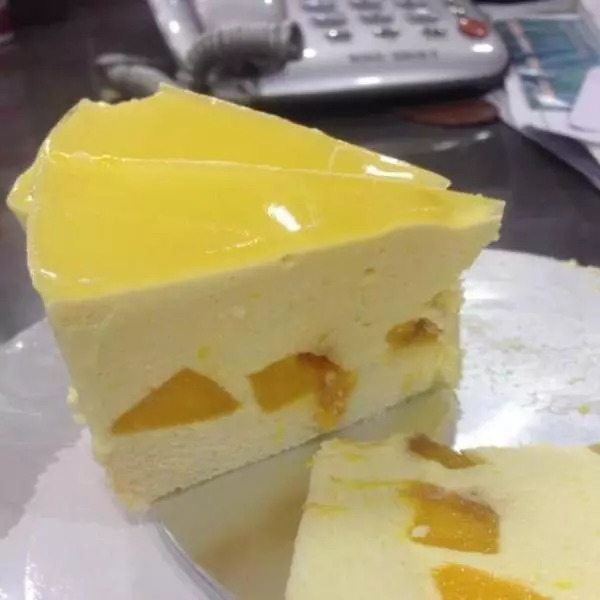
11我选用的是低糖配方,所以蛋糕甜味不是很充足,这个依照个人口味哦,冰箱冷藏口感更佳哦