原料
鸡蛋: 3只, 低筋粉: 45克, 细砂糖A: 20克, 细砂糖B: 45克, 好时可可粉: 10克, 色拉油: 30克, 水: 30克, 奶油奶酪: 75克, 黄油: 75克, 糖粉: 35克, 鲜奶油: 120克
步骤
1准备材料,为了少洗点容器,色拉油可以和水放在一起称重

2蛋黄和蛋清分离(注意蛋清中不能混入蛋黄),蛋黄中加入细砂糖A(20克),搅拌均匀

3加入色拉油和水,稍微搅拌

4用电动打蛋器稍稍打发

5打发蛋清

6分三次加入细砂糖B(45克),打到硬性发泡(提起打蛋头有不倒的尖角)

7蛋黄糊中筛入低筋粉和可可粉,搅拌均匀

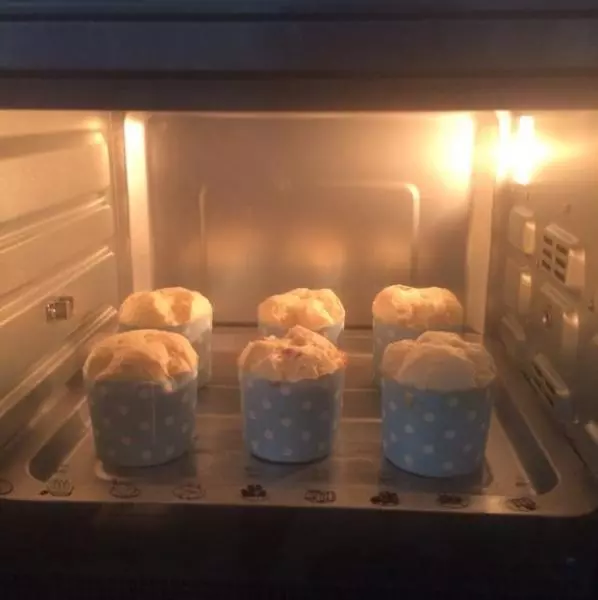
8此时差不多可以先开始预热烤箱,上下火140度

9硅胶刮刀取三分之一蛋清糊加入蛋黄糊中

10翻拌均匀(注意需要切拌或翻拌,以免面糊消泡)

11拌匀的面糊倒回剩余蛋清糊的盆,翻拌均匀

12翻拌完成的样子

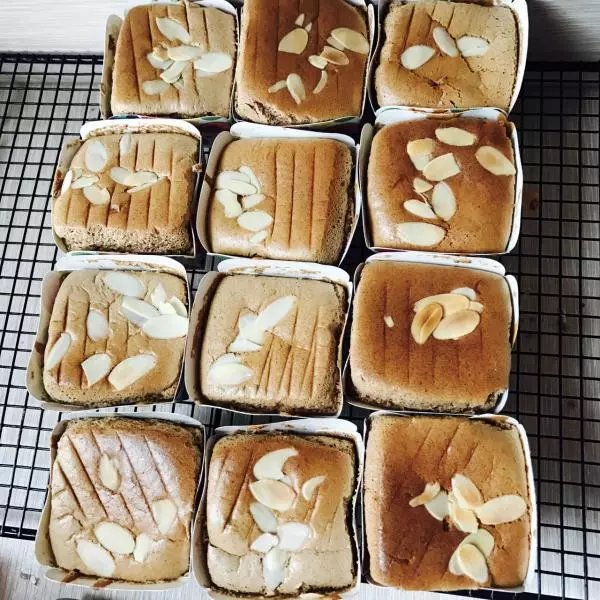
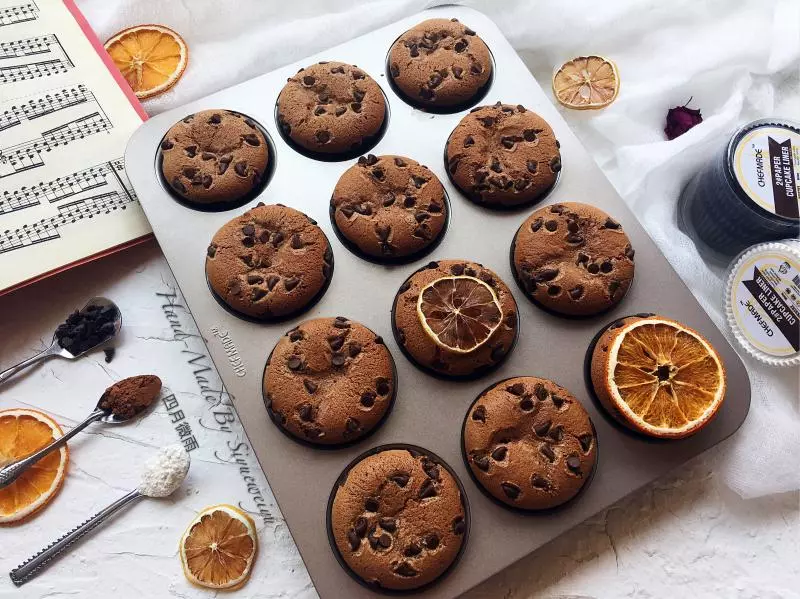
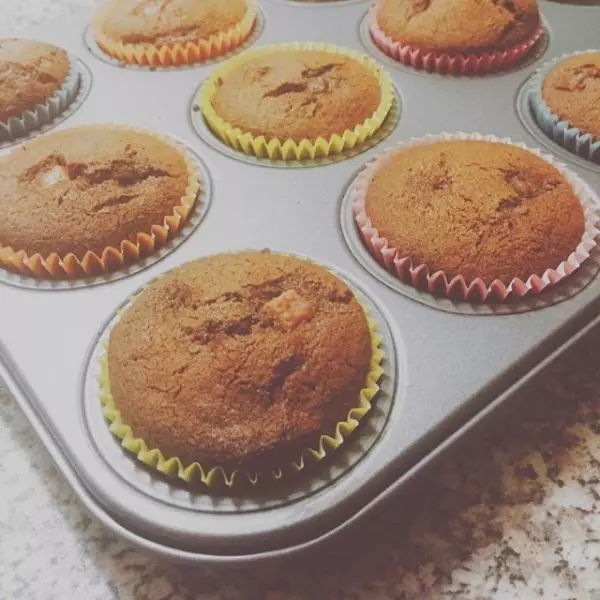
13装入纸杯蛋糕,八分满即可(我还加了点巧克力豆)

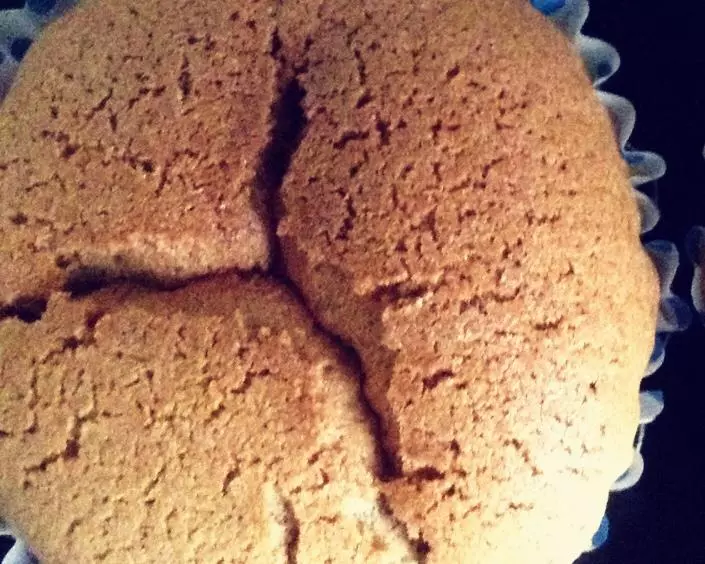
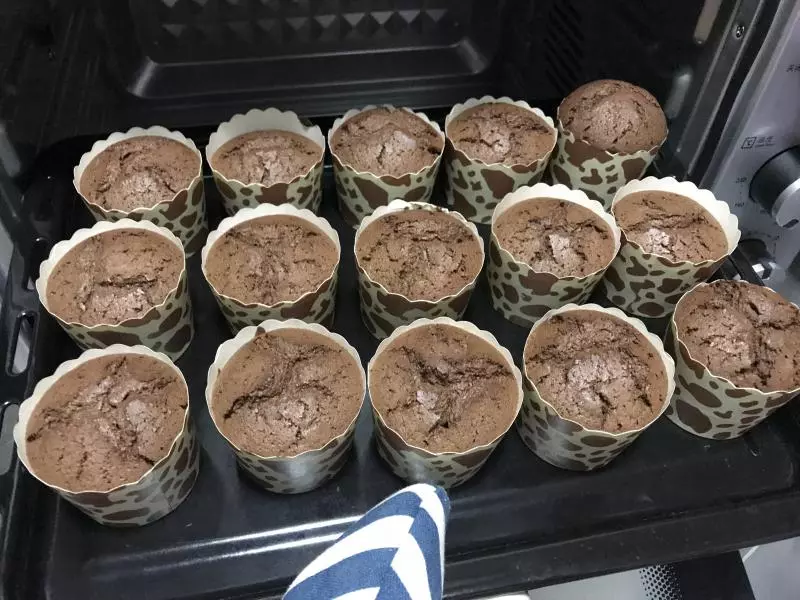
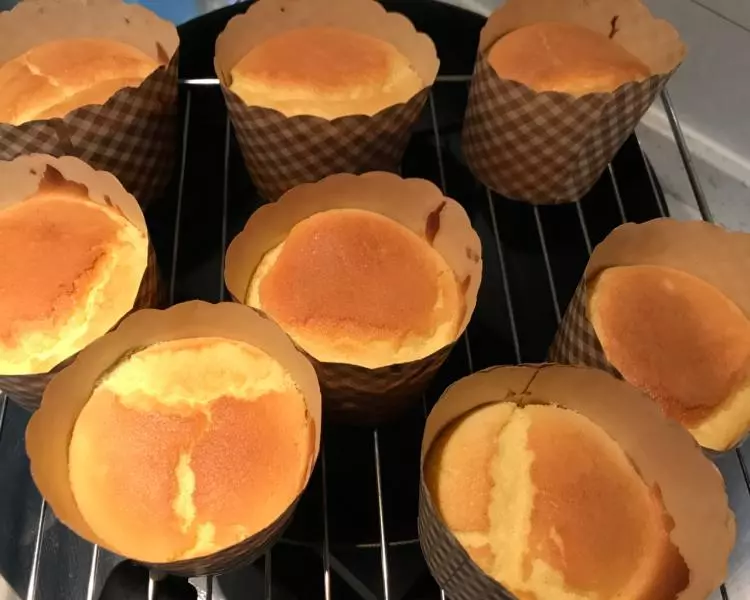
14烤15-20分钟,蛋糕膨胀后稍微回缩一些基本就可以了,可以用牙签戳进蛋糕看看内部是否烤干,牙签取出后还有湿面糊带出来的就再烤几分钟

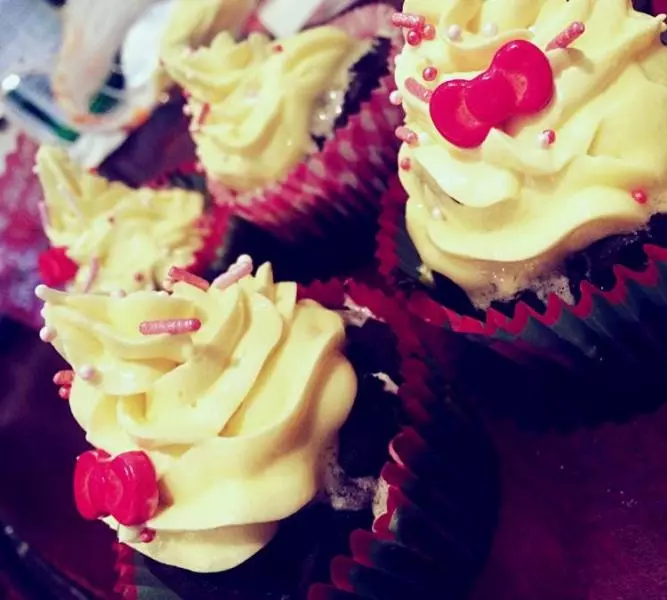
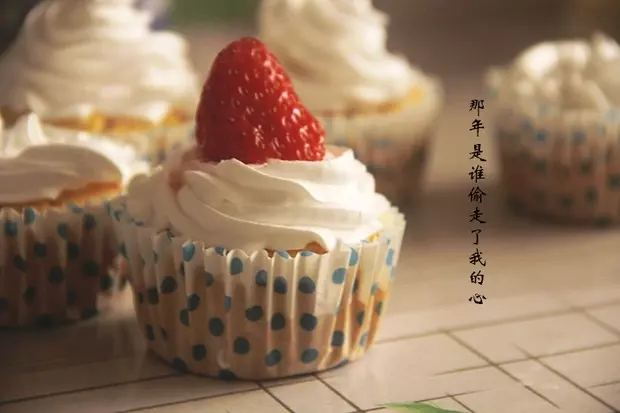
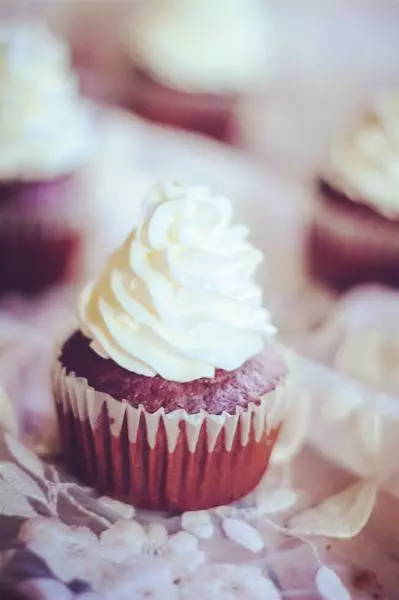
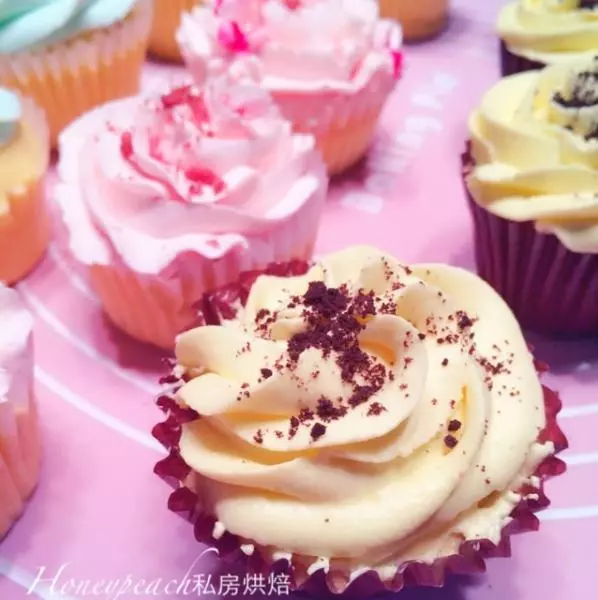
15奶油奶酪、黄油和糖粉搅拌均匀; 加入淡奶油,打发到不流动就可以装袋子裱花了

16跟厨友学来的,裱花袋套在杯子上,装起来超容易

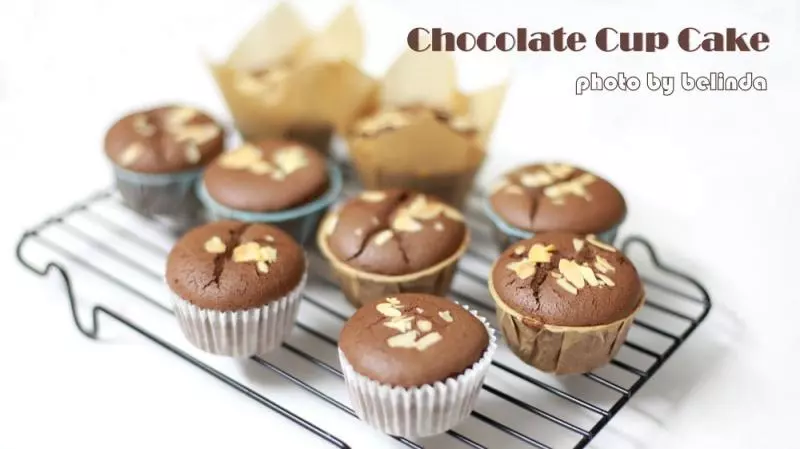
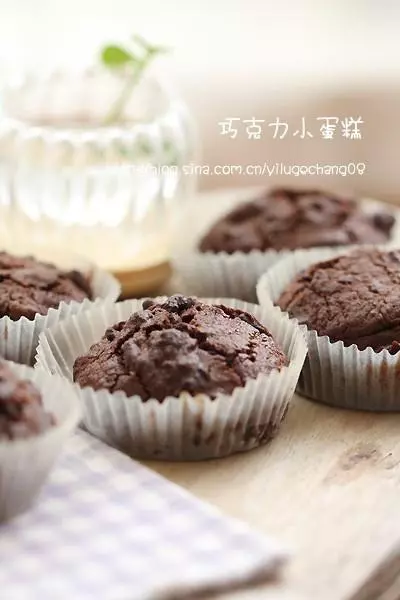
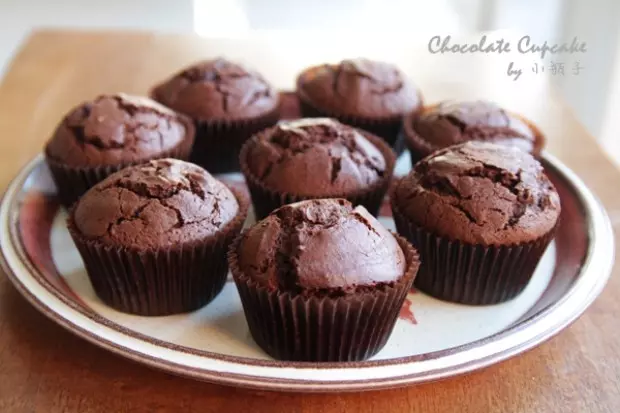
17完成啦

小技巧
- 打发蛋黄和蛋清的盆必须无水无油,擦干; 2. 打完蛋黄后一定要洗干净并擦干打蛋头; 3. 烤箱温度请根据自家烤箱脾气调节,我家是NNN多年的不能调节单下火的小烤箱,温度比较高,烤箱大些的亲也可以150度,需要见机行事?