简介
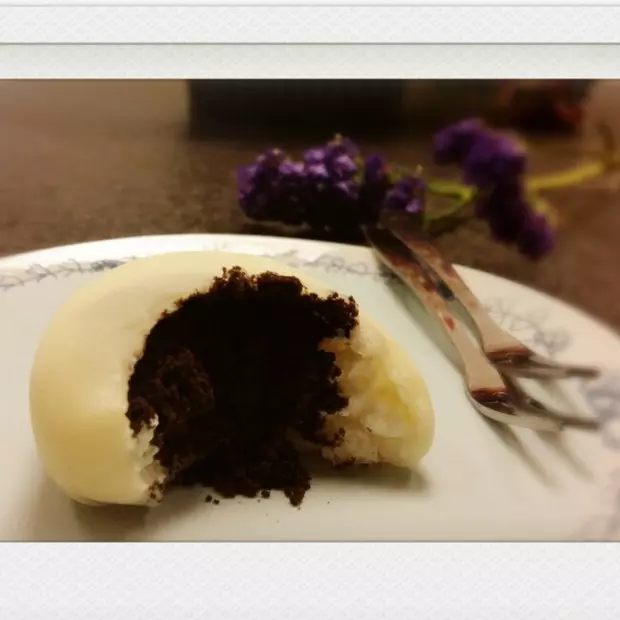
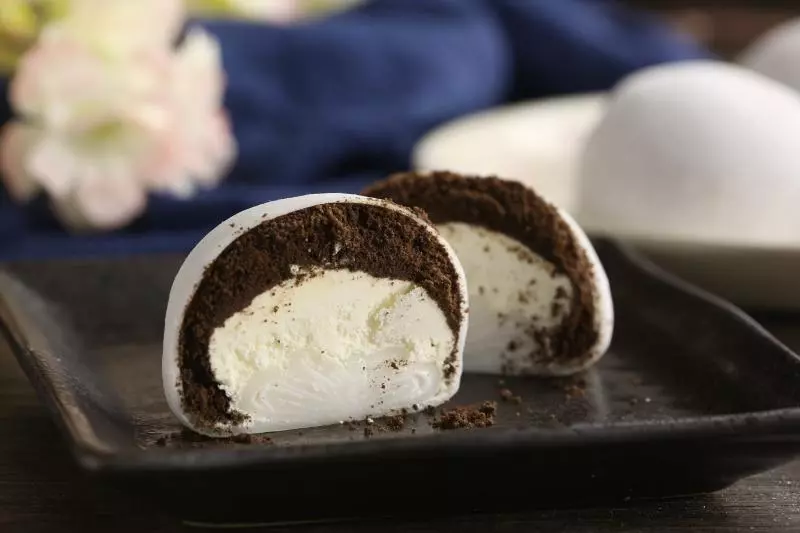
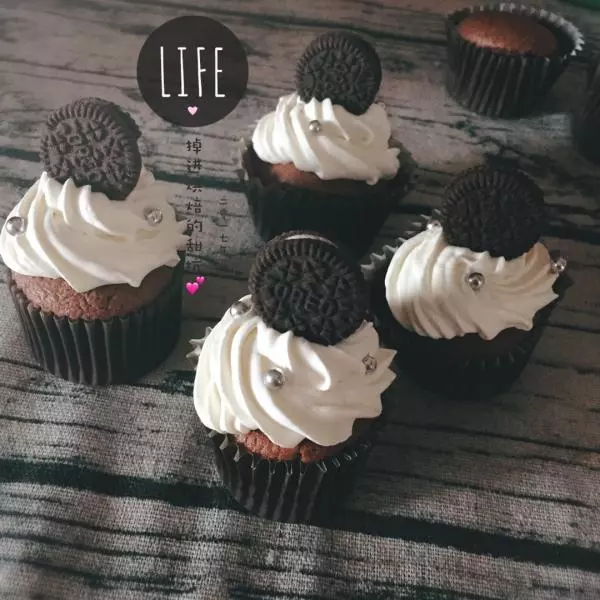
雪媚娘这个小胖子,不知道俘获了多少人的胃。Q弹软糯的外皮包裹着香甜的奶油,让人忘记了负罪感,忘记了减肥大事,就为了这一口 的香甜滋味。今天我做的这款雪媚娘,奶油是采用的奥利奥乳酪盒子的奶油配方,有淡淡的咸味,我喜欢这种配方,吃起来不会感到腻,纯奶油的总是觉得有那么一点点的腻。把奥利奥咸奶油引用到雪媚娘,深受全家人的欢迎,做好的雪媚娘都被吃光光啦
原料
糯米粉100g, 玉米淀粉30g, 纯牛奶175g, 糖30g, 黄油18g, 淡奶油300g, 盐1g, 奥利奥饼干碎50g, 糖24g
步骤
1 先把糖放入牛奶

2 稍微加热,搅拌让糖融化,再晾凉至手温

3 玉米淀粉和糯米粉混合过筛

4 筛入粉类

5 搅拌均匀,会有些许淀粉颗粒

6 过筛,把颗粒过滤出来,但注意这些不用扔掉

7 用刮拌铲来回弄弄,颗粒就可以过滤下去了,这样即不浪费,也不会影响到配方中粉类的量

8 过滤好的面糊很细腻了

9 盖上保鲜膜,扎孔,开水上笼蒸30分钟

10 趁热把黄油放入蒸好的面团中,黄油预热即可融化

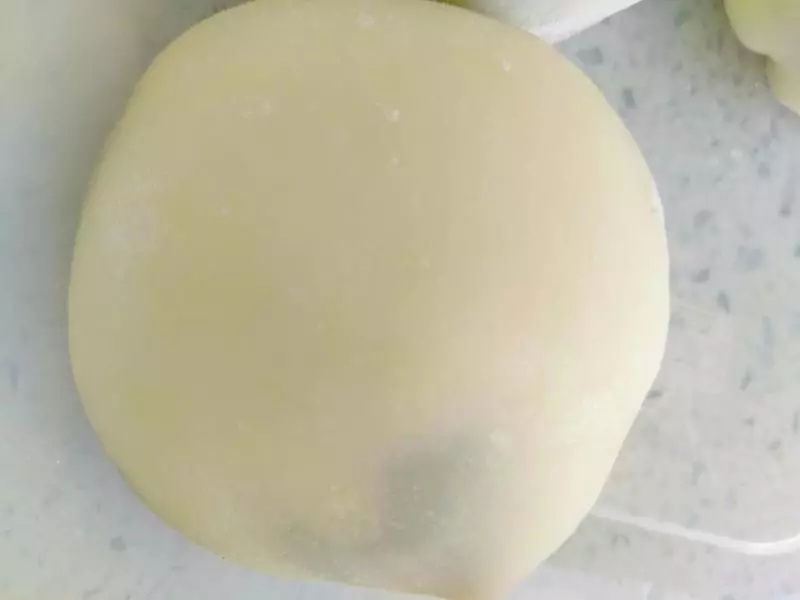
11 用铲子翻拌揉压到黄油完全被面团吸收,晾凉后冷藏一小时左右,雪媚娘的皮就可以用啦

12 淡奶油加入糖和盐

13 搅拌到6份发

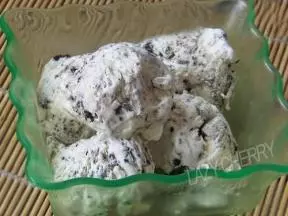
14 加入奥利奥碎,我把饼干碎用料理机搅打成粉的状态了,碎粒的也可以的

15 搅拌均匀就是咸味奥利奥奶油馅了

16 面皮分成大概30克一个的剂子,擀成圆片, 擀皮时稍加些手粉防止沾。手粉就是把糯米粉炒熟的粉。

17 装入约30克的奶油馅

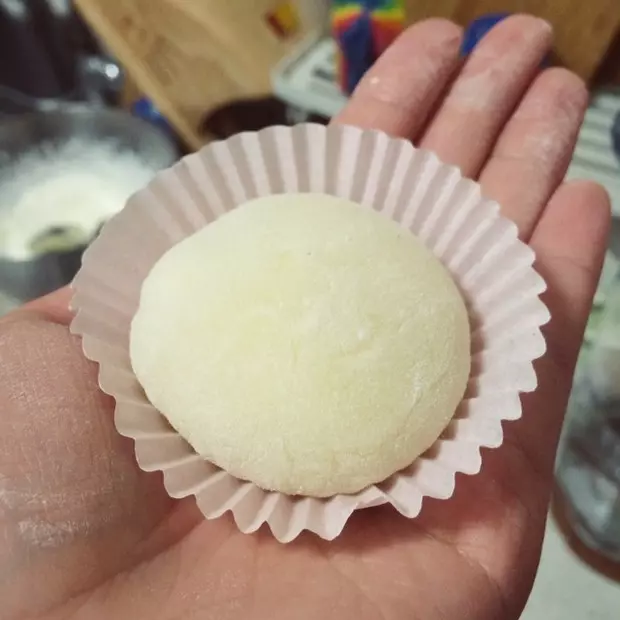
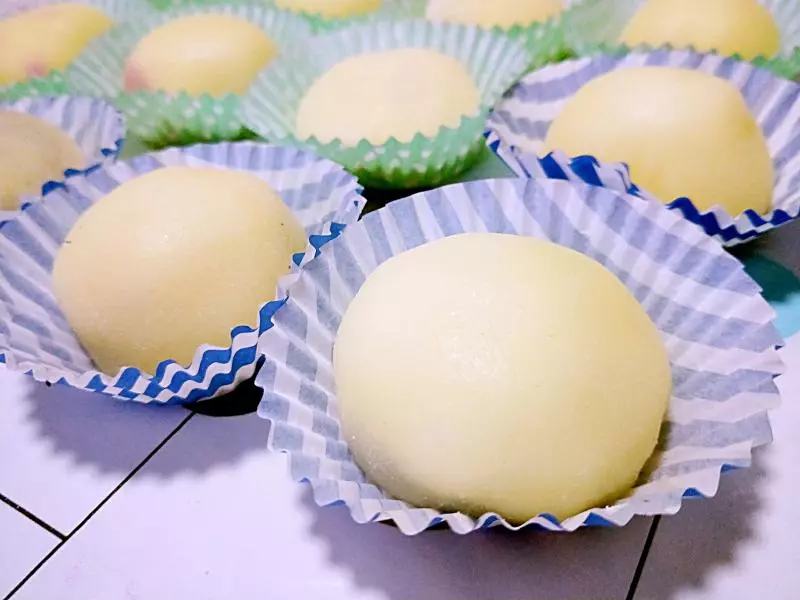
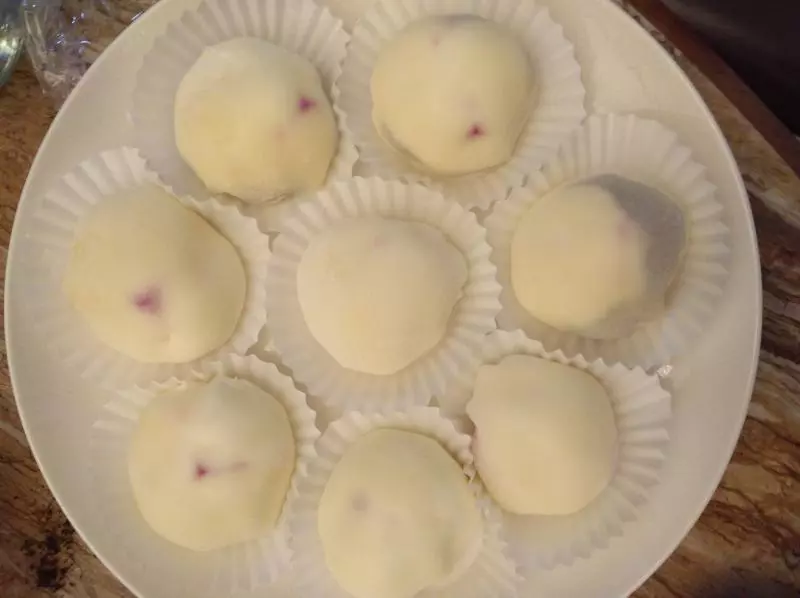
18 像包包子一样包好,记得捏到一起的多余面团揪掉,以免造成底部面皮太厚

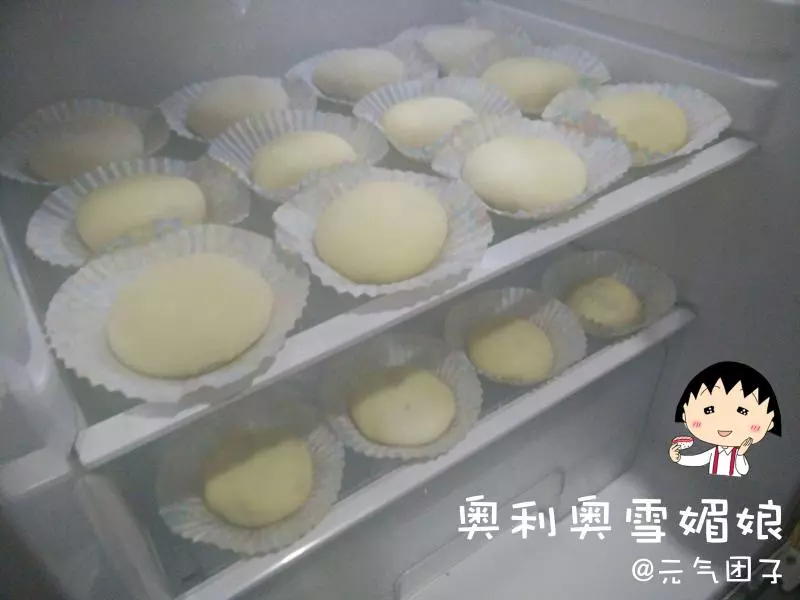
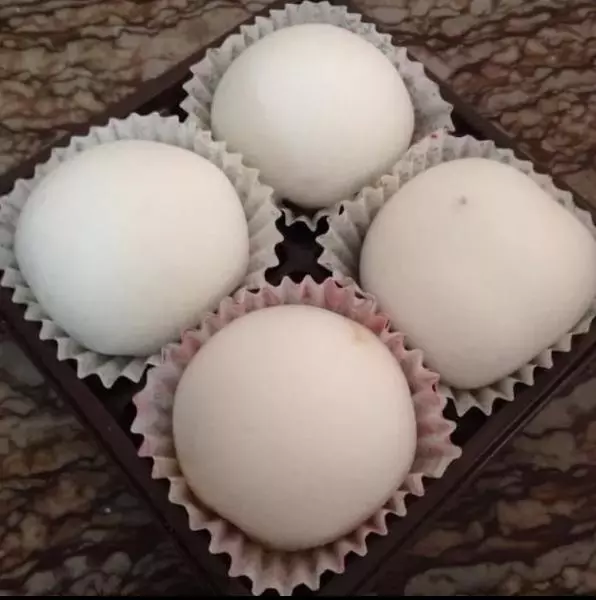
19 放入雪媚娘的盒子,冰箱冷藏后更好吃

20 做好的雪媚娘,还没有冷藏就被吃掉了2个

小技巧
1.这个量总共是做12个雪媚娘。 2.面皮中糖的量我做了减少,不是很甜的,喜欢甜的可以加糖,但我个人认为这个甜度配合馅料很好,而且也不会影响面皮的口感。不喜欢太多糖的可以放心按这个方子做。