原料
雞蛋: 7個, 牛奶: 90g, 玉米油: 75g, 低筋粉: 90g, 細砂糖: 80g, 檸檬汁少許: , 裝飾: , 淡奶油: 200g, 細砂糖: 20g, 草莓果醬: 20g
步驟
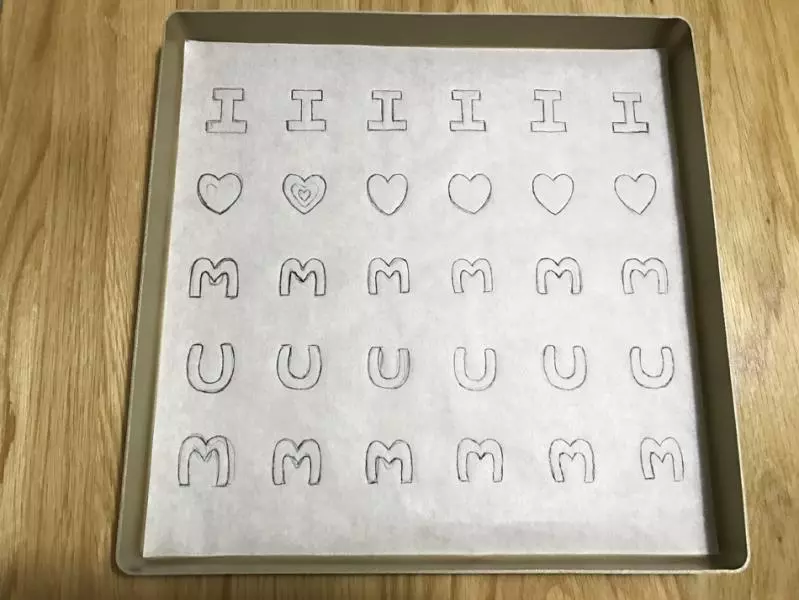
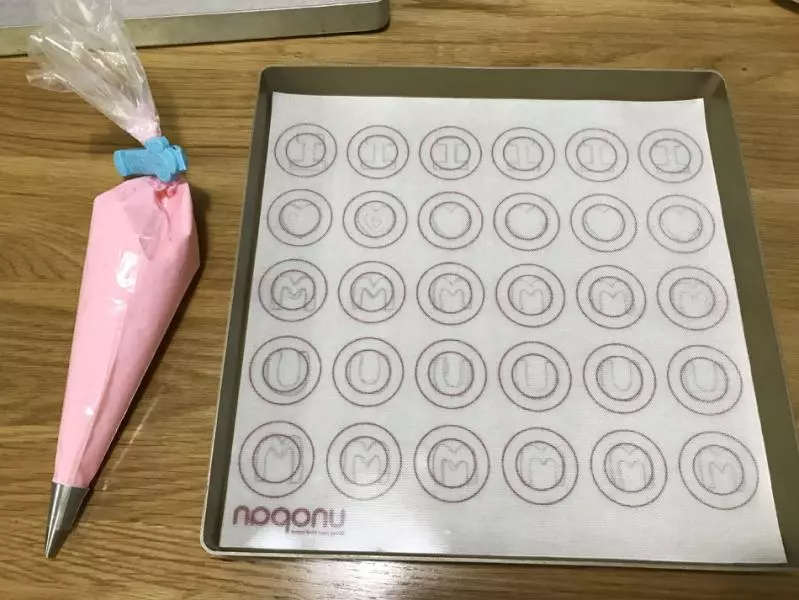
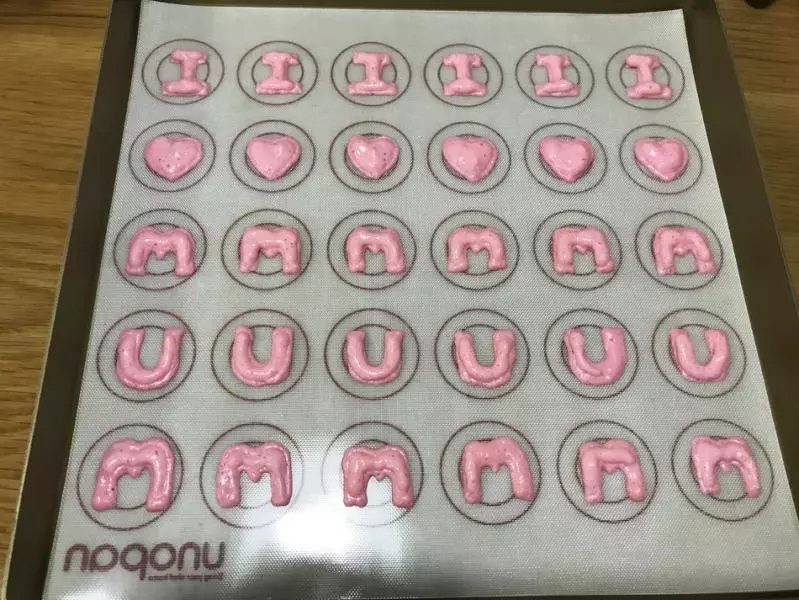
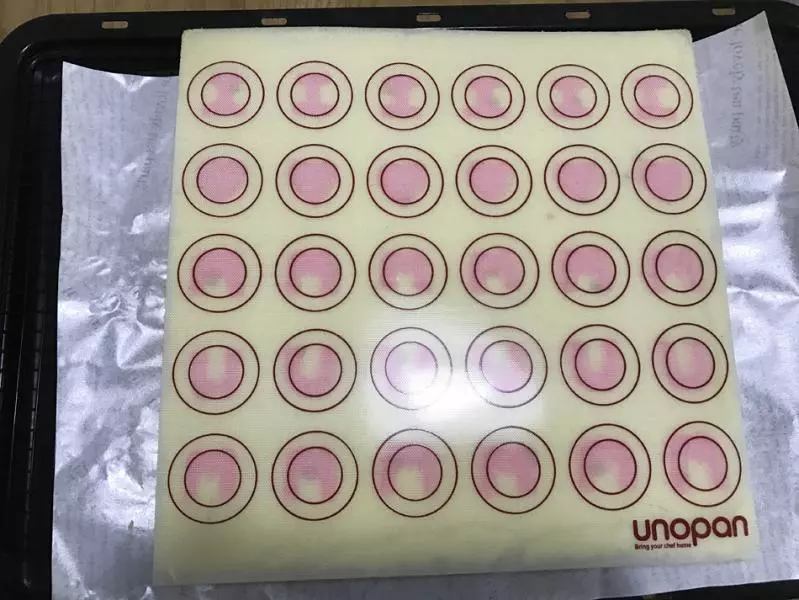
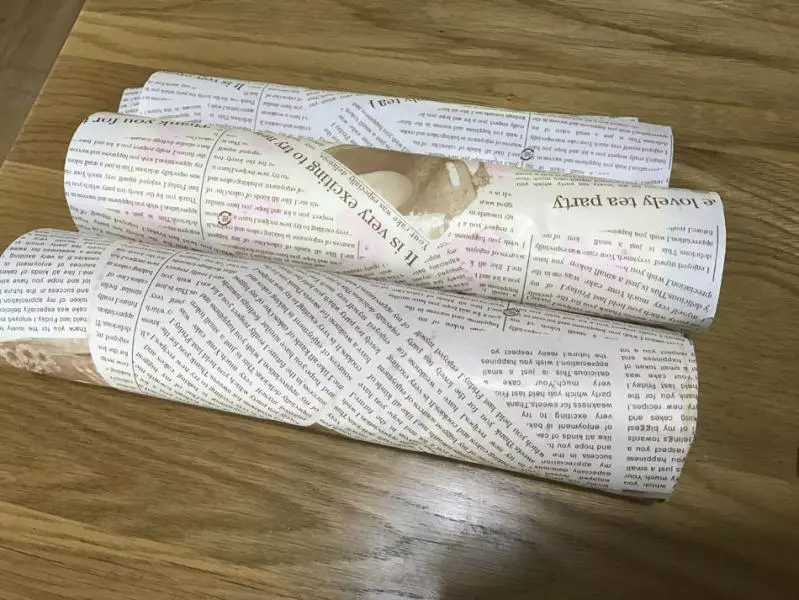
1準備好圖紙,可以自己畫也可以列印,放在烤盤底部
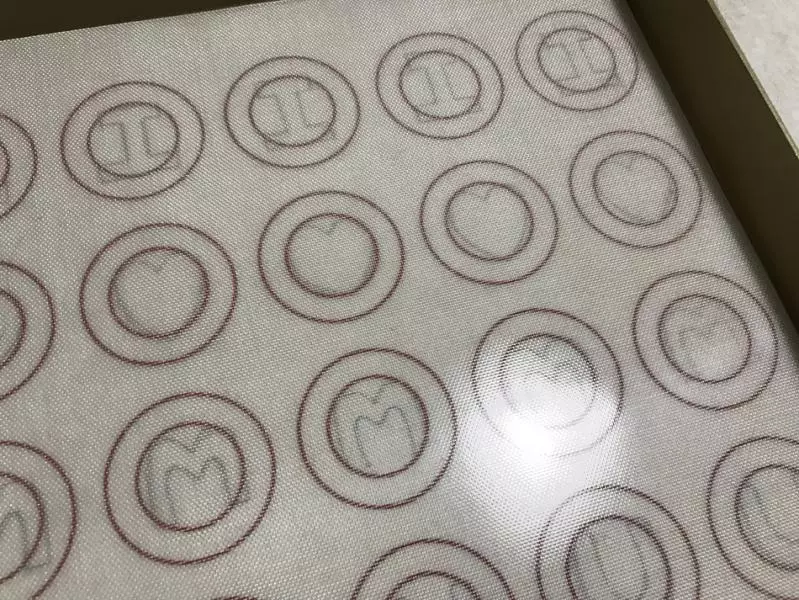
2上面再墊一個矽膠墊或者不粘油紙
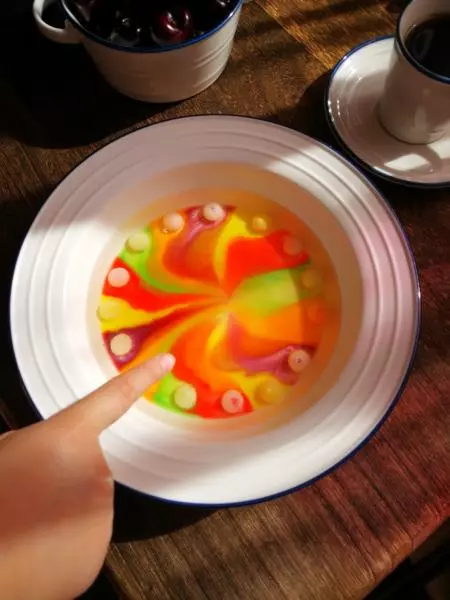
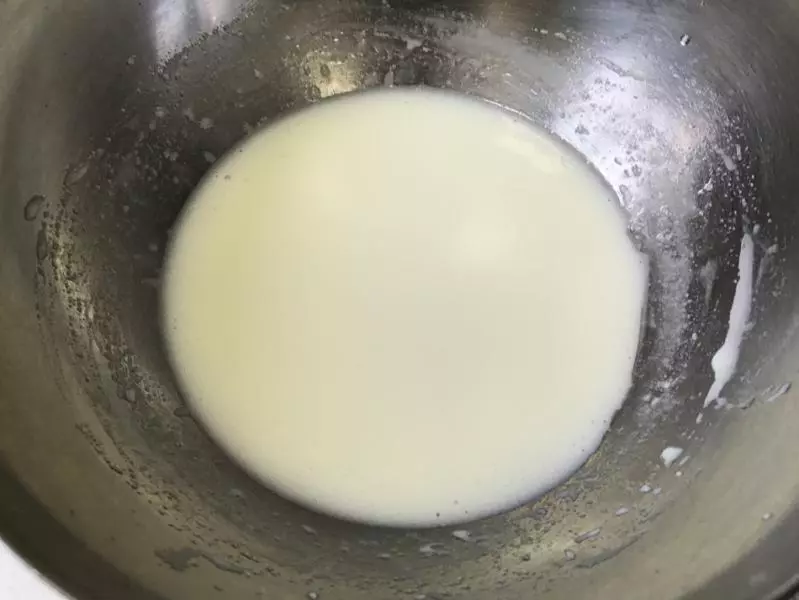
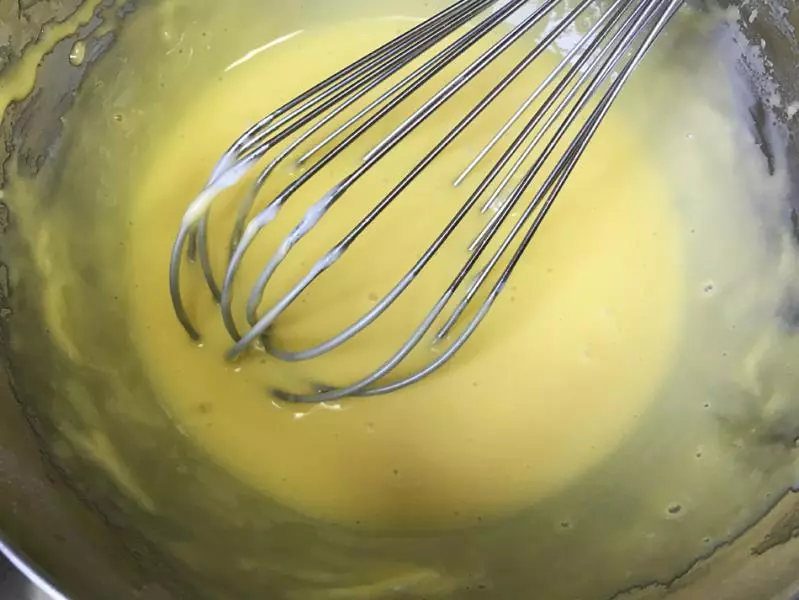
3容器中倒入牛奶和玉米油,攪拌至乳化
4倒入過篩好的低筋粉,Z字形狀攪拌均勻
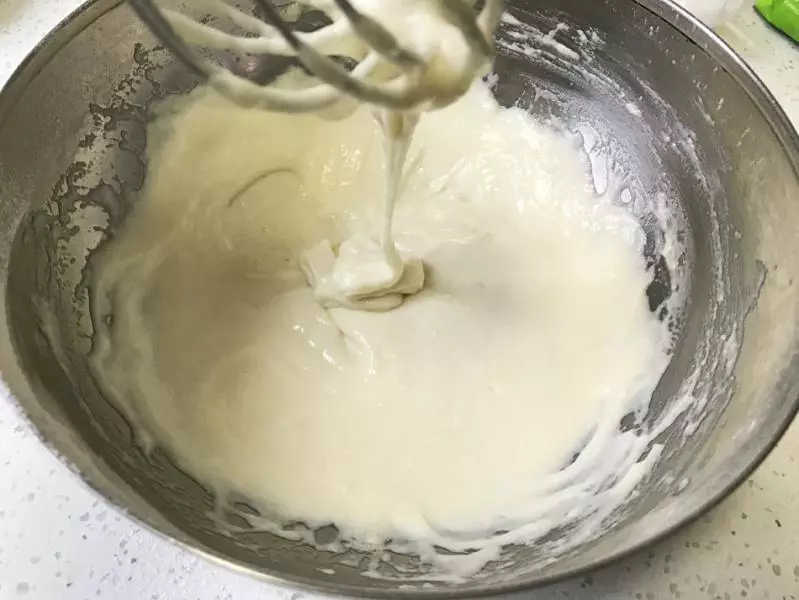
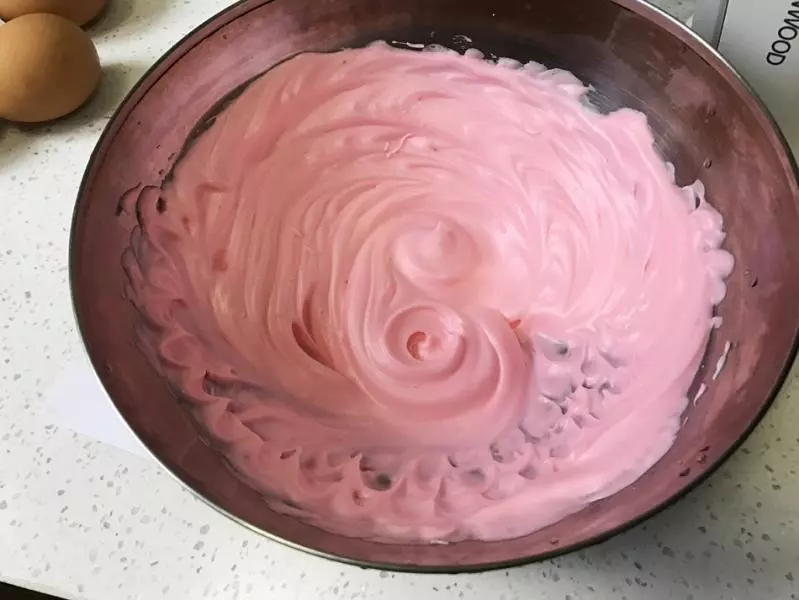
5取一個蛋清,滴入幾滴檸檬汁,打發至魚眼泡,倒入細砂糖15g,打發至濕性發泡

6一滴紅色可食用色素,打入蛋白霜中,再挖取40g牛奶麵糊放入蛋白霜中,拌勻
7將蛋糕糊裝入裱花袋中,在事先準備好的圖案上擠出圖形,圖案是畫好墊在不粘油紙下層或者矽膠墊下層,能看出圖案即可。擠圖形的時候,預熱烤箱175度上下火。
8擠出的是圖案邊緣
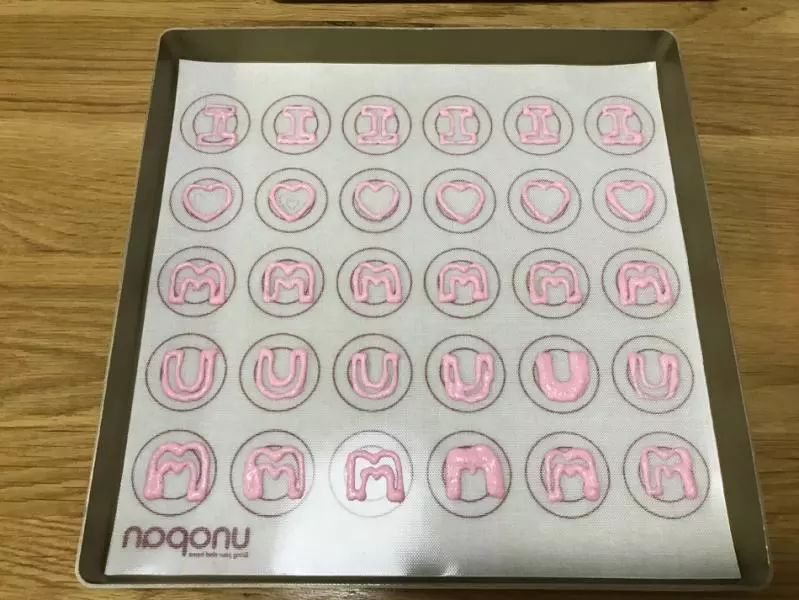
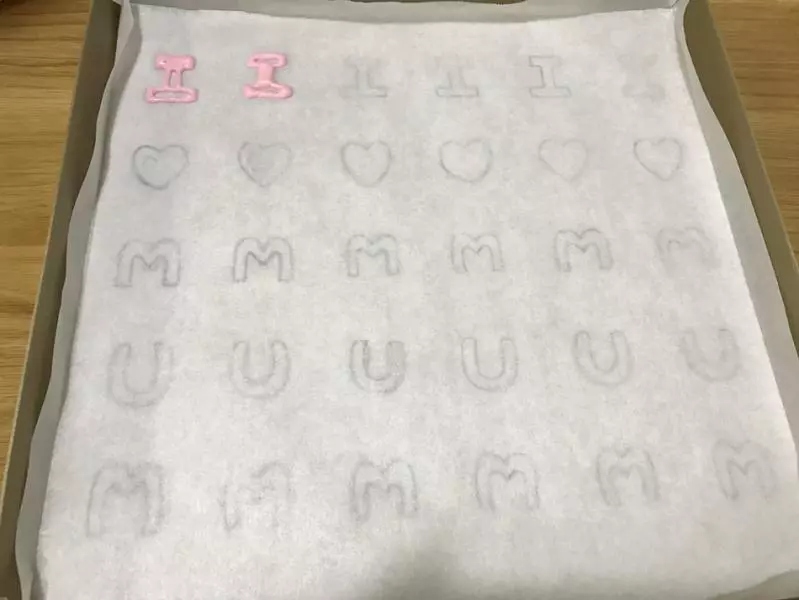
9將擠好的字母圖形放入烤箱烘烤2分鐘。
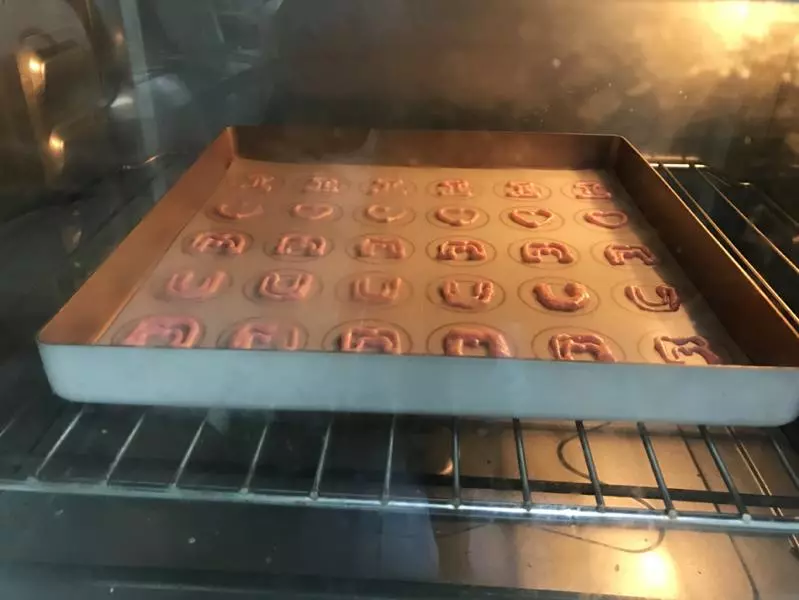
10取出烤盤,將鏤空的字母內填滿蛋糕糊,然後繼續放入烤箱烘烤2分鐘
11不粘油紙也是可以做的
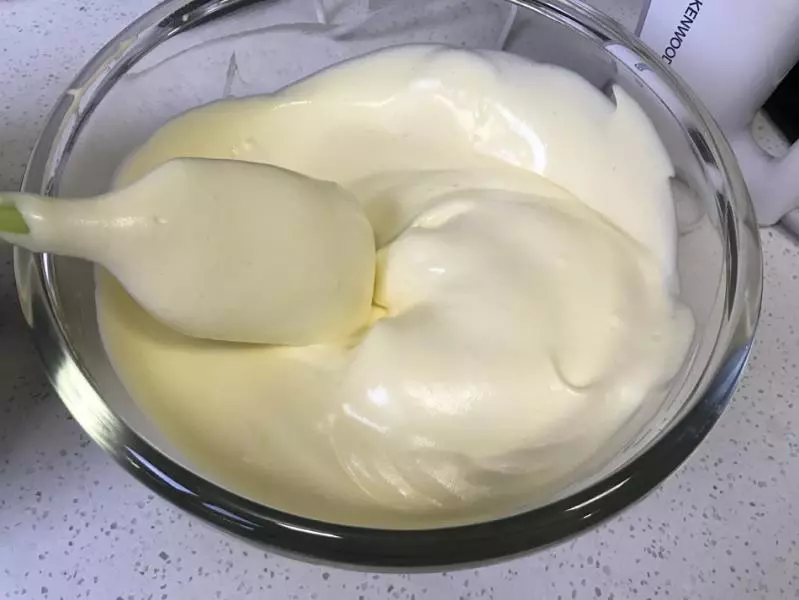
12將剩餘6個雞蛋分離蛋清蛋黃,蛋黃和之前的那個蛋黃全部放入牛奶麵糊中拌勻。
13蛋清滴檸檬汁,分三次放入細砂糖,打發至濕性發泡。
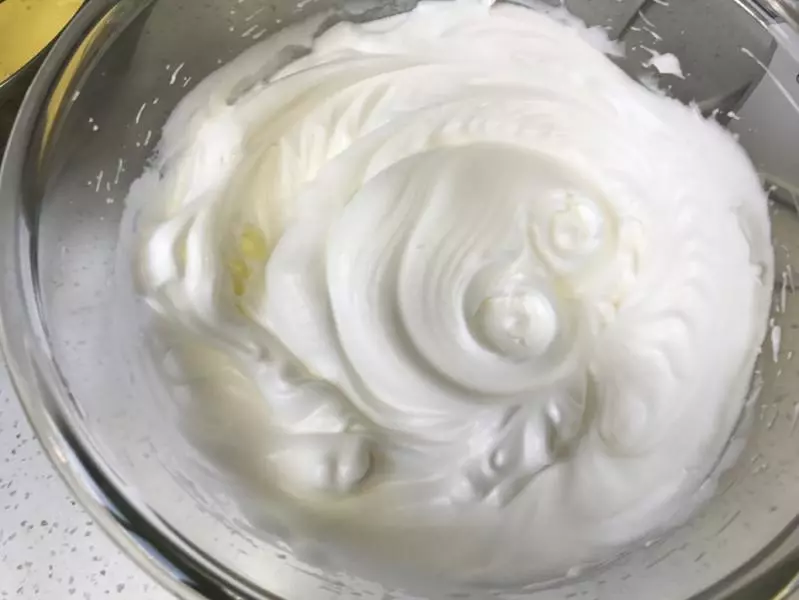
14挖取三分之一蛋白霜到蛋黃麵糊中拌勻,再將麵糊倒入蛋白霜中,翻拌均勻。
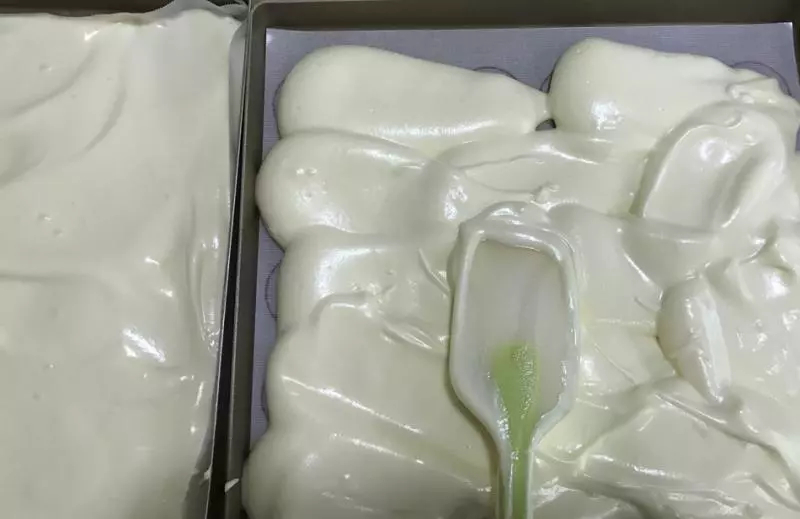
15將蛋糕麵糊裝入裱花袋,袋口直徑1cm,擠入有字母的烤盤中,抹平,震出氣泡。直接倒入的話會產生很多氣泡在字母周圍
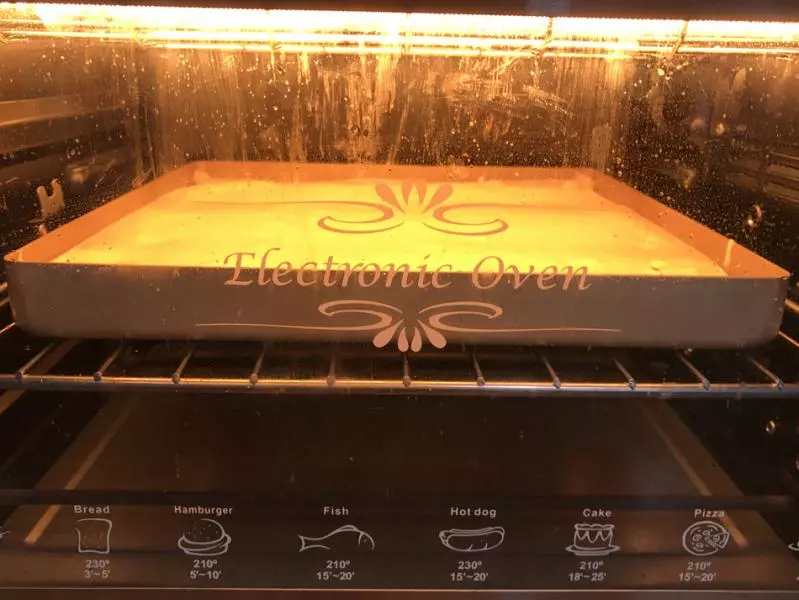
16放入烤箱中,上火170度,下火140度,烘烤20分鐘
17取出烤盤,倒置在晾架上,立即揭開油紙和矽膠墊。再蓋上去防止蛋糕風乾。
18待蛋糕涼至手感溫度,切掉兩側邊緣,,拿油紙輕輕捲起蛋糕卷。做定型用!
19取出蛋糕片,裁切

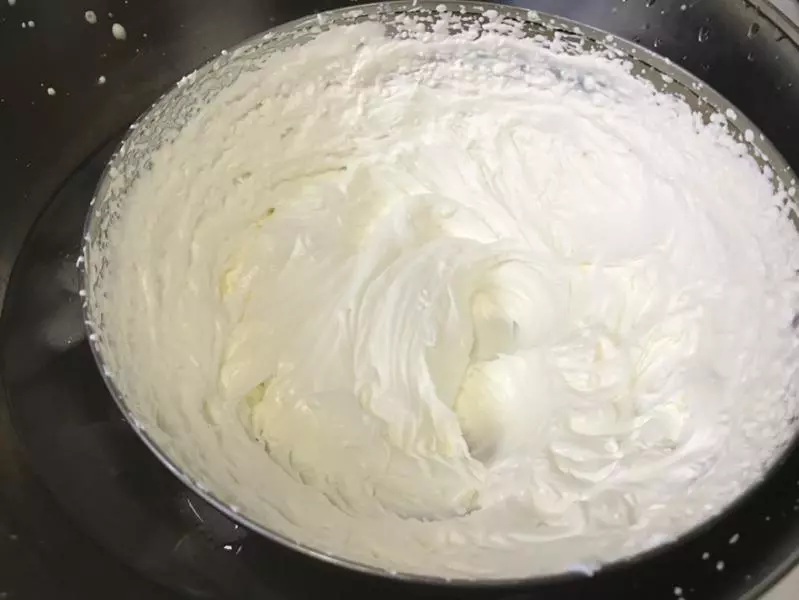
20淡奶油加糖坐冰水打發
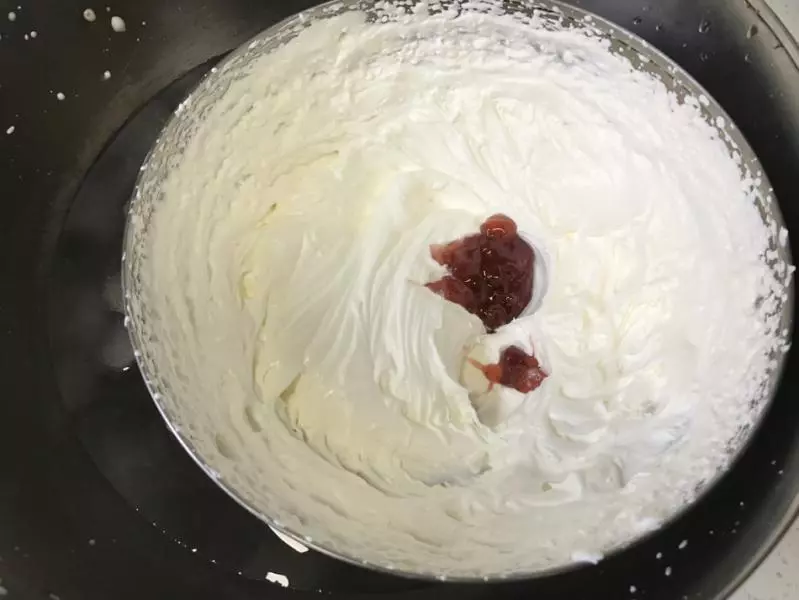
21加入草莓果醬,奶油會更加好吃
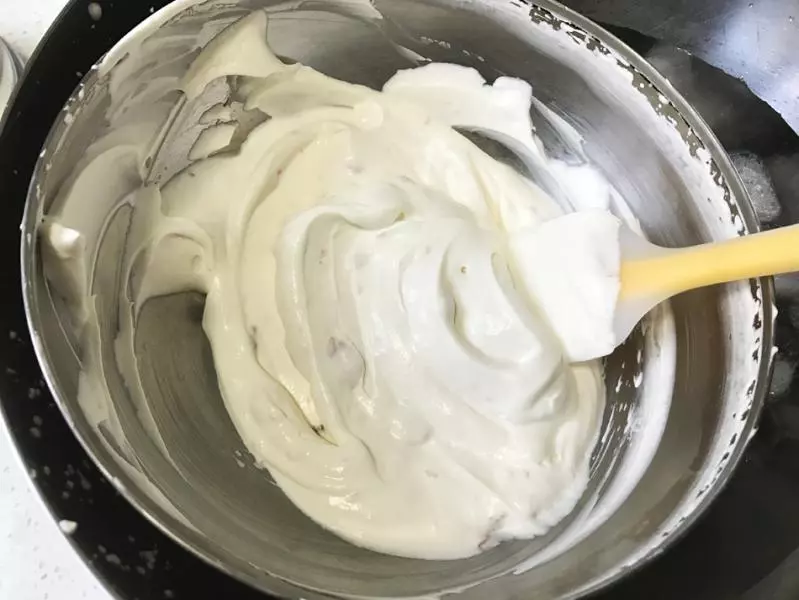
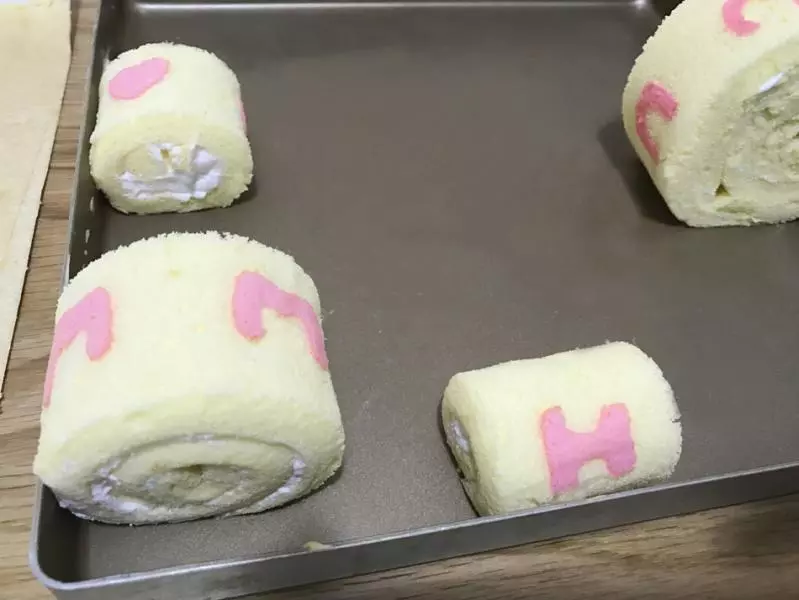
22拌勻
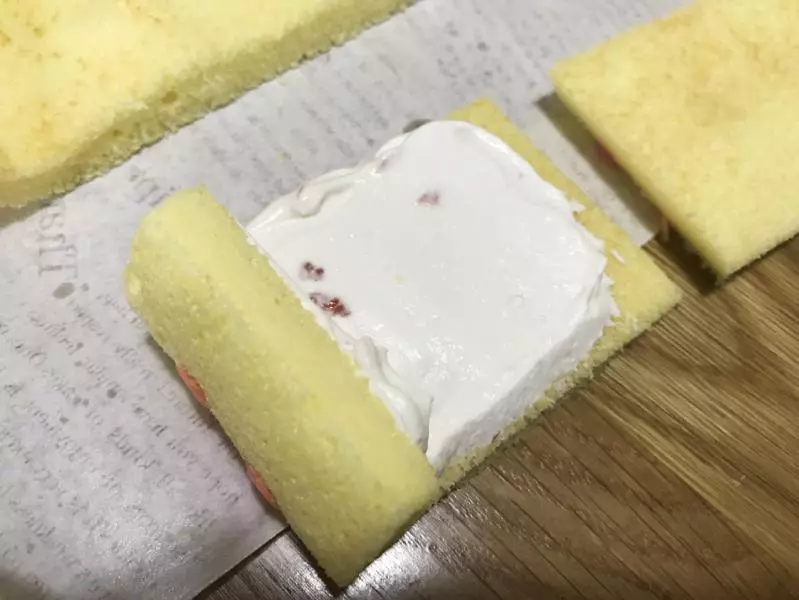
23將奶油抹在蛋糕片上,捲起需要的大小。不夠的拿多餘部分卷在內里。保證外圈的字母圖案。
24卷好的蛋糕卷先放在不粘金盤上固定,並放入冰箱冷藏1小時
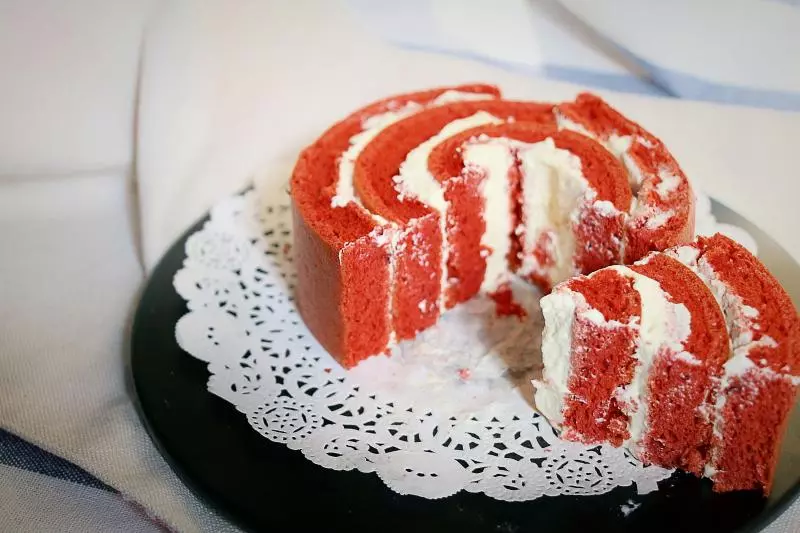
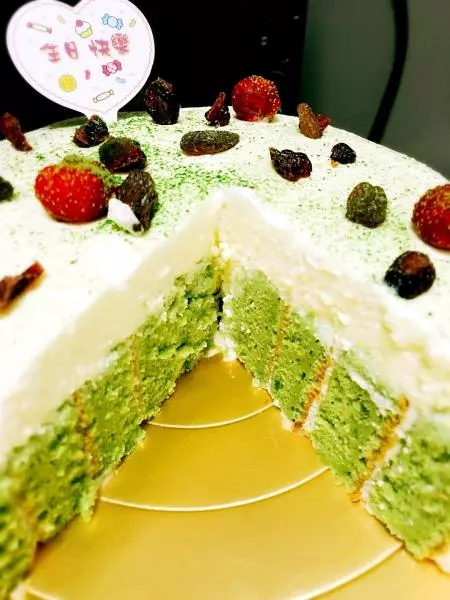
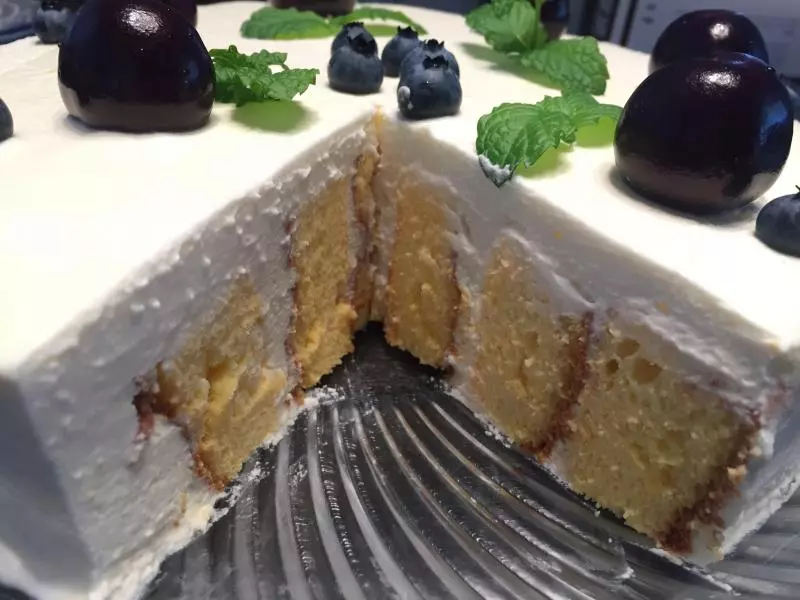
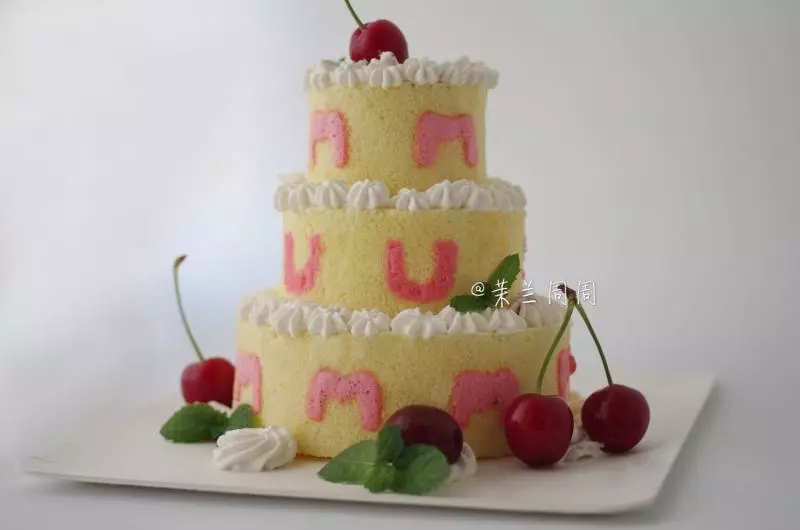
25蛋糕卷切面切平齊,抹奶油,開始堆疊漩渦蛋糕卷
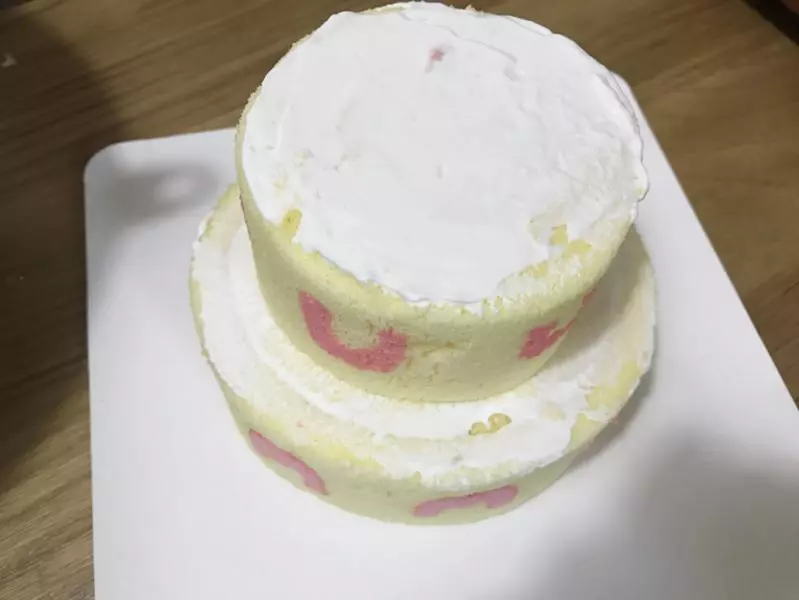
26全部堆疊好之後擠上奶油裝飾!

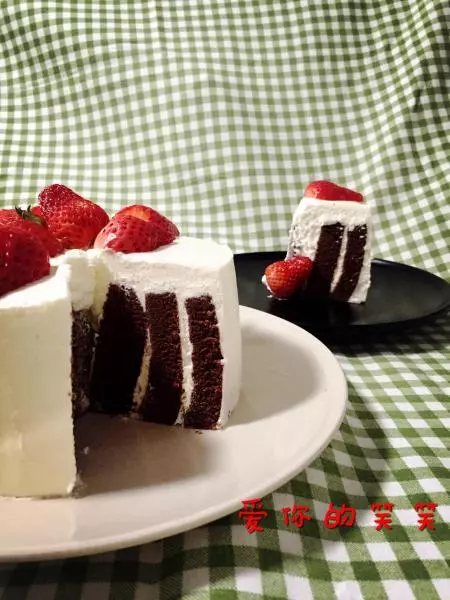
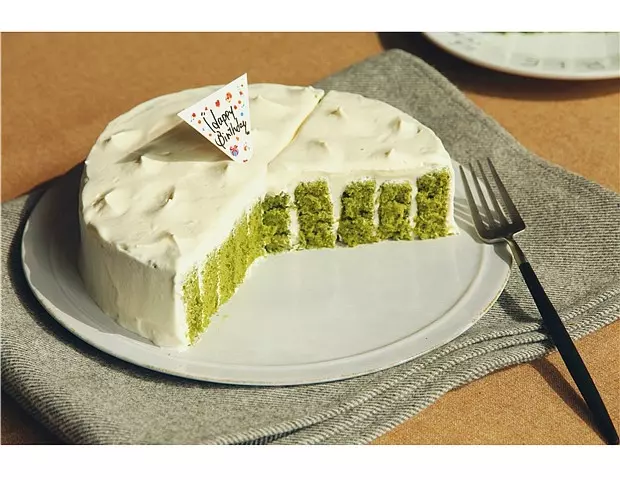
27成品

小技巧
1、注意烤箱溫度,第一次烘烤圖案和第二次烘烤圖案都不能時間太長,烤箱較小需要適當降低溫度烘烤 2、烘烤整個蛋糕卷的時候,下火要降低溫度,防止烘烤圖案顏色變色。 3、建議製作三層漩渦蛋糕卷,底部直徑12-15cm,五層太高穩定性差。 4、蛋糕卷烤好之後需要立即揭開不粘油紙,防止油紙皺縮,蛋糕毛巾面不漂亮。之後也要立即蓋上油紙,防止蛋糕表面乾燥,卷的時候容易裂開。