簡介
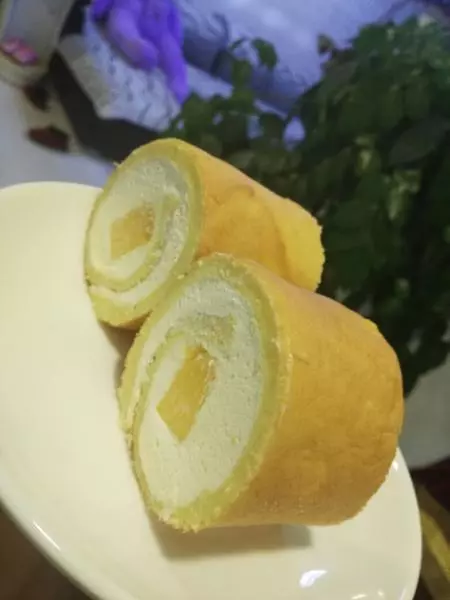
過節這段時間,俺家小美女們放假在家,都喜歡吃奶油蛋糕卷,這段時間俺也對蛋糕卷上癮了,現在是每天做一個蛋糕卷,一天就把它消滅了。
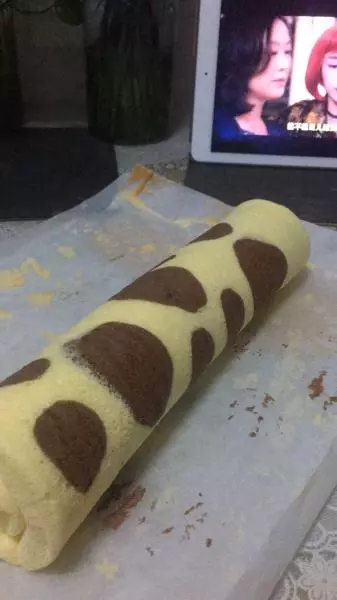
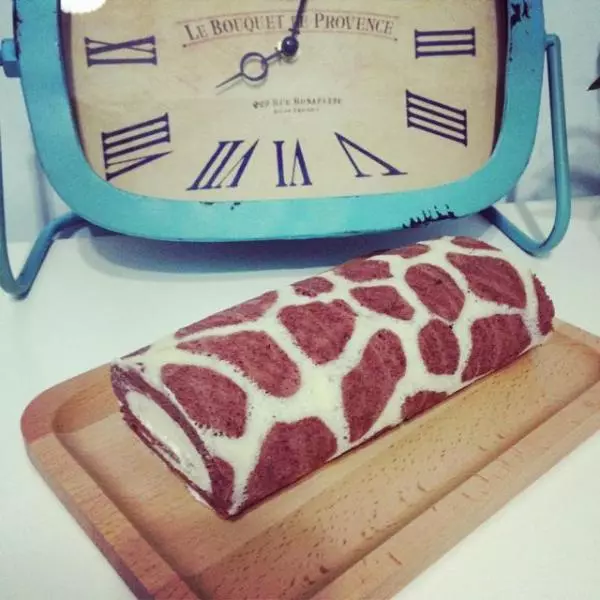
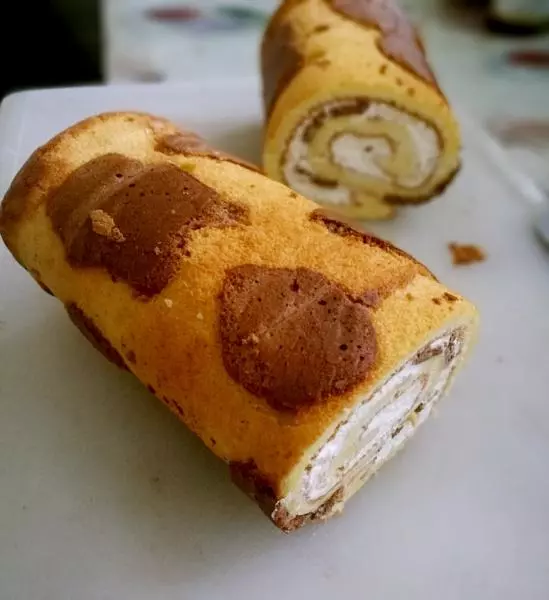
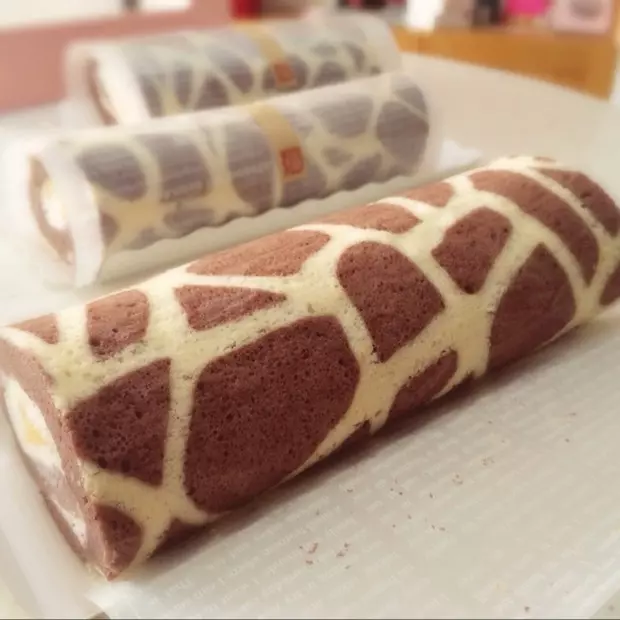
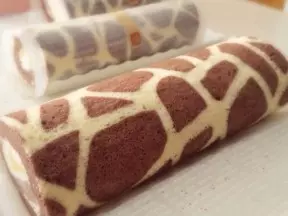
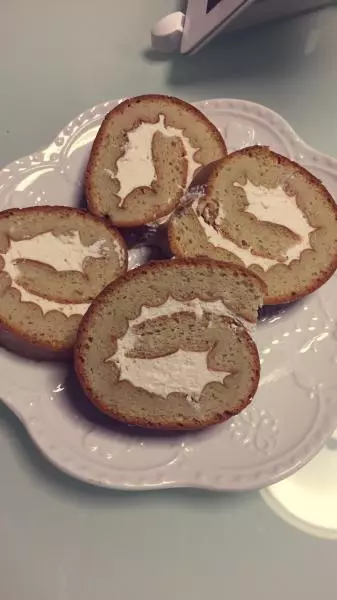
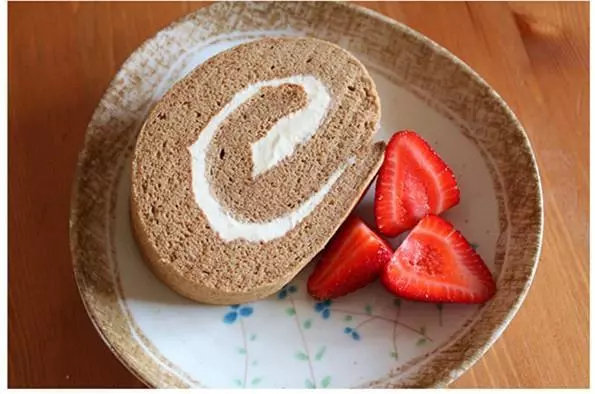
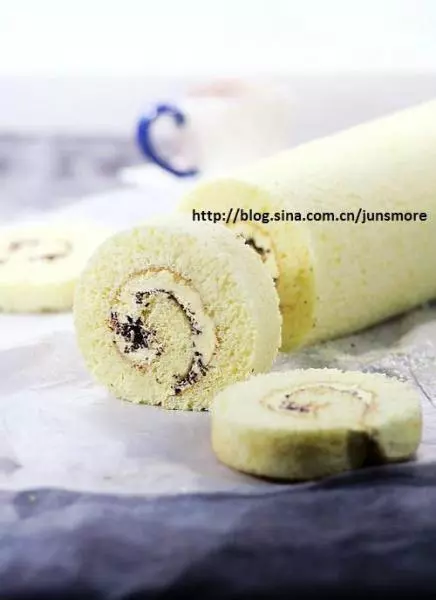
蛋糕卷做多了,就變化著花樣的來做,哈哈,今天做了長頸鹿花紋的奶油蛋糕卷,做好後非常形象,像極了長頸鹿身上的花紋。俺家小美女們都說漂亮呢。
現在,孩子們還放假在家,做個這樣的蛋糕卷吧,不僅好吃,更好看,孩子們肯定會喜歡的。
原料
A:蛋白4顆,檸檬汁5滴,細砂糖50克, B:蛋黃4顆,細砂糖10克,牛奶60克,色拉油50克,低筋麵粉70克,可可粉10克。
步驟
1用分蛋器把蛋白、蛋黃分開。

2蛋黃中加入10克糖。用手動打蛋器攪打均勻,再加50克色拉油攪打均勻,再將60克牛奶倒入,攪打均勻至油水融合,將低粉篩入蛋黃盆中。

3攪拌均勻至無顆粒的漿糊狀。用勺子取20克蛋黃糊於小碗中。

4將10克可可粉篩入蛋黃糊中,切拌均勻成可可糊。

5蛋白放廚師機裡面,加入5滴檸檬汁或白醋,分三次加入40克白糖。繼續攪打,提起打蛋籠的蛋白尖峰長而不挺立,表示已經到了濕性發泡的程度,也就是九分發的程度。做戚風蛋糕卷,蛋白打到這個程度就可以了。

6把蛋白與可可糊分次加入。

7攪拌均勻成蛋糕糊。

8取約為蛋黃糊兩倍的蛋白於小碗內。用勺子翻拌及切拌成蛋黃糊。

9將蛋黃糊倒到裱花袋內。

10在鋪了油紙的烤盤上描繪出長頸鹿斑紋圖案,放入預熱好180度的烤箱1分鐘拿出。

11將可可麵糊倒入烤好斑紋的烤盤,抹平蛋糕糊表面,並拿起烤盤,在桌子上震出大氣泡。

12放入已經預熱好的烤箱中層,180度烤14分鐘。我家烤箱溫度偏高,我用了170度,14分鐘,根據自家烤箱的脾氣調整吧。。

13將烤盤從烤箱取出,倒扣在烤網上。乘熱小心撕開四周的油紙。

14讓蛋糕片涼會兒。

15將揭去油紙的蛋糕再次倒扣在新油紙上。現在蛋糕烤黃的那面向上。將奶油均勻地抹在蛋糕表面。

16把蛋糕捲起來。卷好後放冰箱定型30分鐘。

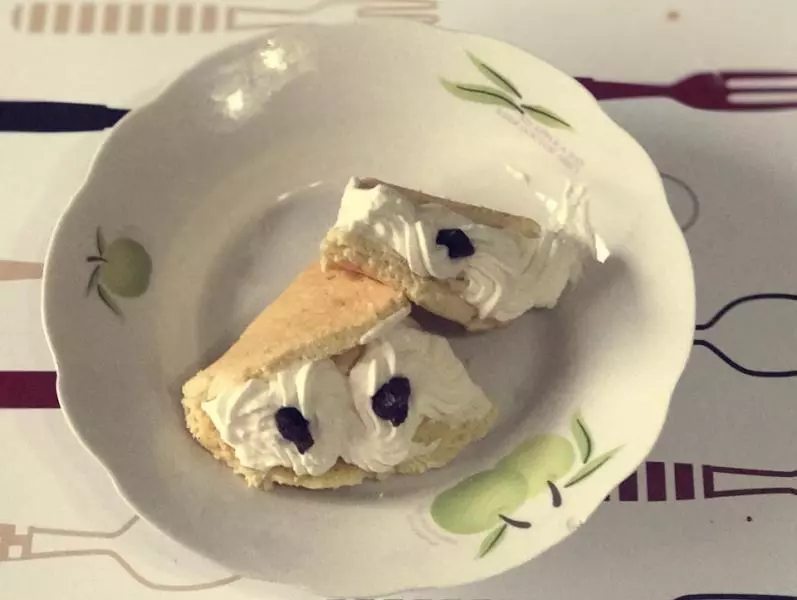
17定型好後,取出,揭去油紙,切塊吃就可以了。

小技巧
如果不好卷,可以在蛋糕體上淺淺划上幾刀,不過,我沒有劃,也可以捲起。