原料
雞蛋: 7隻, 牛奶: 一碗, 植物油: 一碗, 白沙糖: 大半碗, 黃油: 200 克, 煉乳: 30 克, 發酵粉: 5 克
步驟
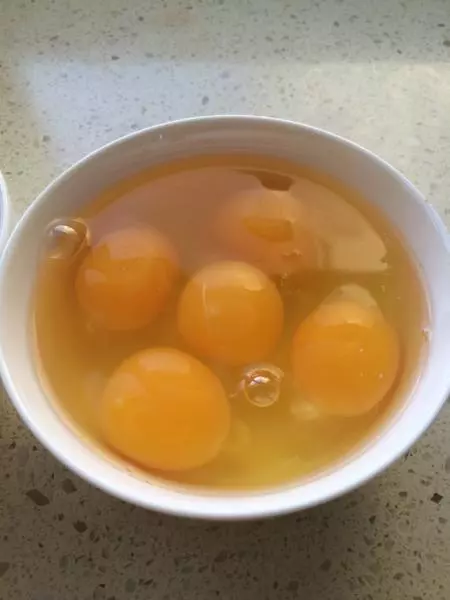
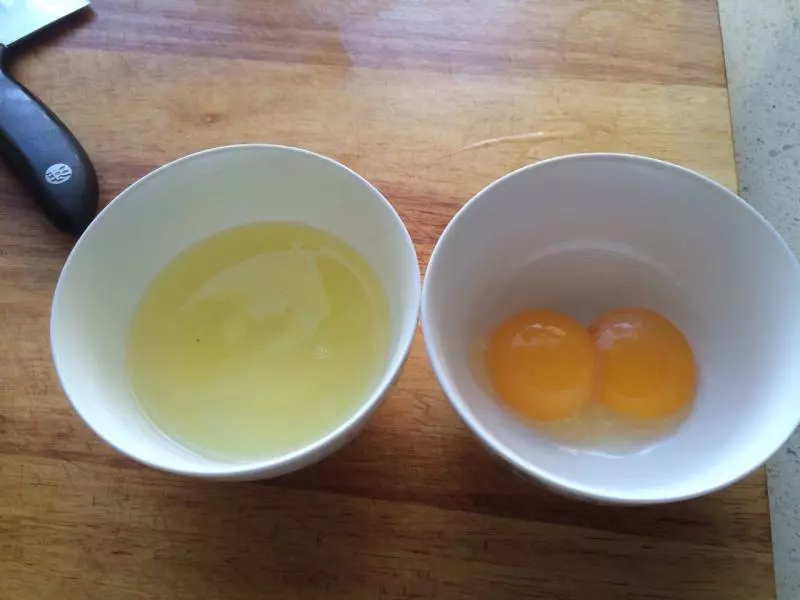
1先把雞蛋打入盆里 ,用打蛋器打散。我實際上打了7個蛋。也可以分出兩個蛋黃 另有用。

2打散的雞蛋 里加入 白糖 植物油 牛奶 黃油 煉乳 這時候的白糖和黃油還是顆粒狀的。可以把煤氣灶打開 火調到最小。把盆放火上加熱。但一定要用手在盆底滑動。讓糖和黃油完全化開。而且整個蛋液也是溫熱的 (這樣也有助麵糰的發酵)
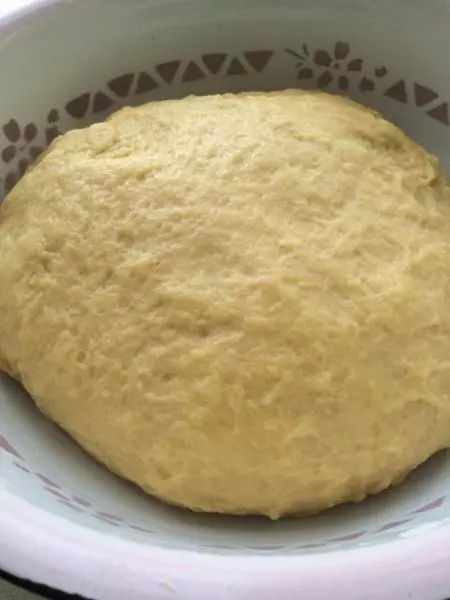
3把發酵粉 用溫水化開。倒在蛋液里。然後就可以加面 活面了。我加了 5 碗面 面活的軟硬適中。活好的麵糰 放在盆里。等待發酵。
4大約發酵 五個小時吧。
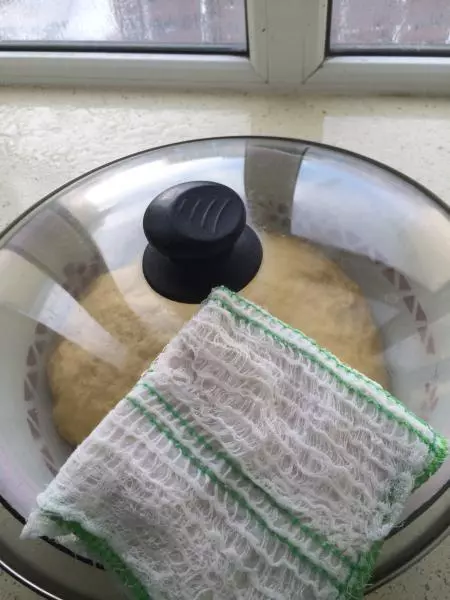
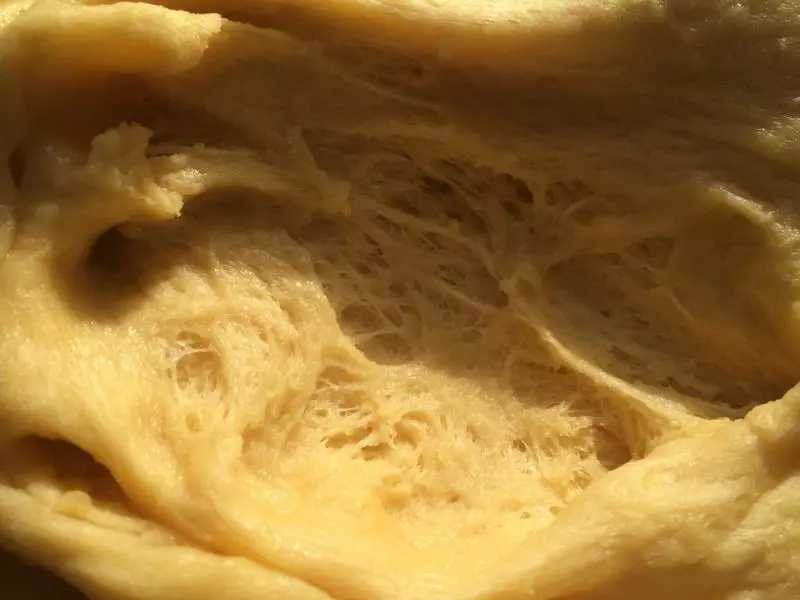
5充分發酵發到最大。我不喜歡發酵粉太多。所以 就放的少讓它滿滿的發酵。
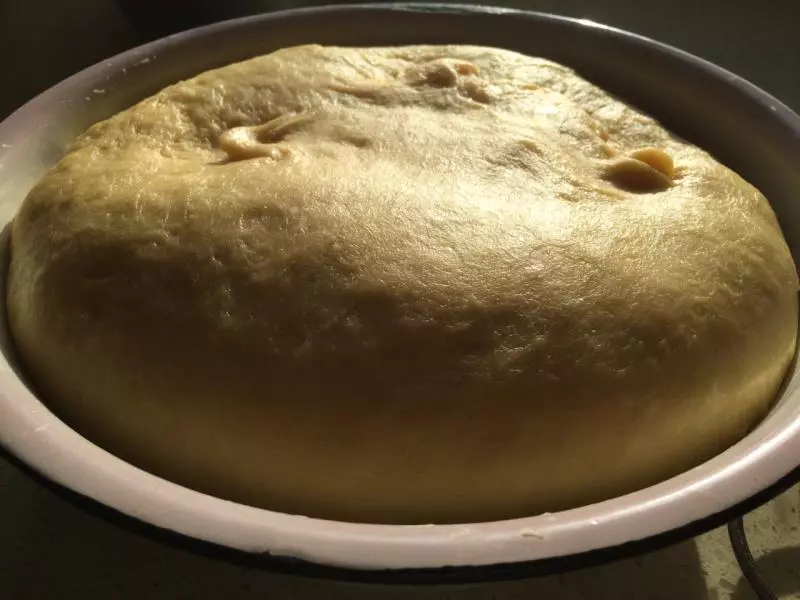
6一定要發酵到最大。
7直接從發酵好的面盆里取出大小適中的麵糰 揉光滑。最好秤一下做到大小一致。我的是160 克一個麵糰。
8揉光滑每個麵糰後。再揉一次。
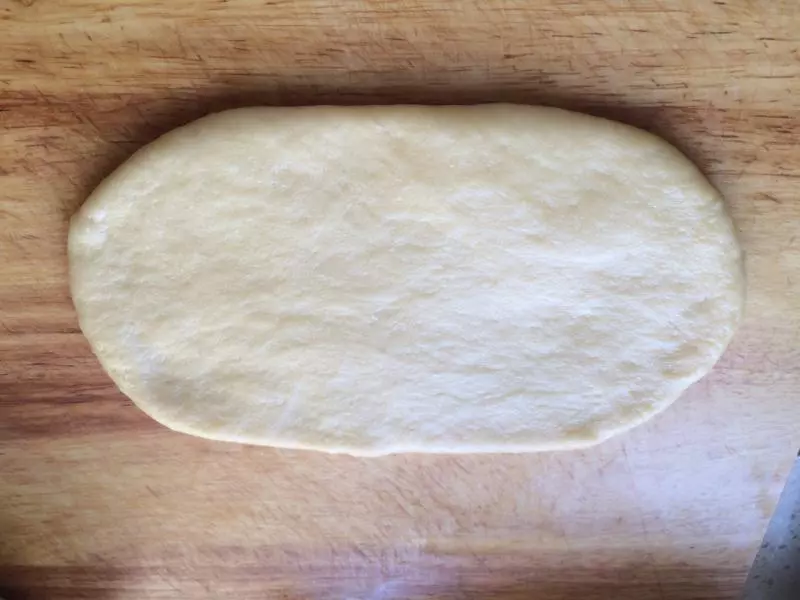
9拿一個麵糰。擀成小橢圓型。大約 有十公分長 六公分寬。
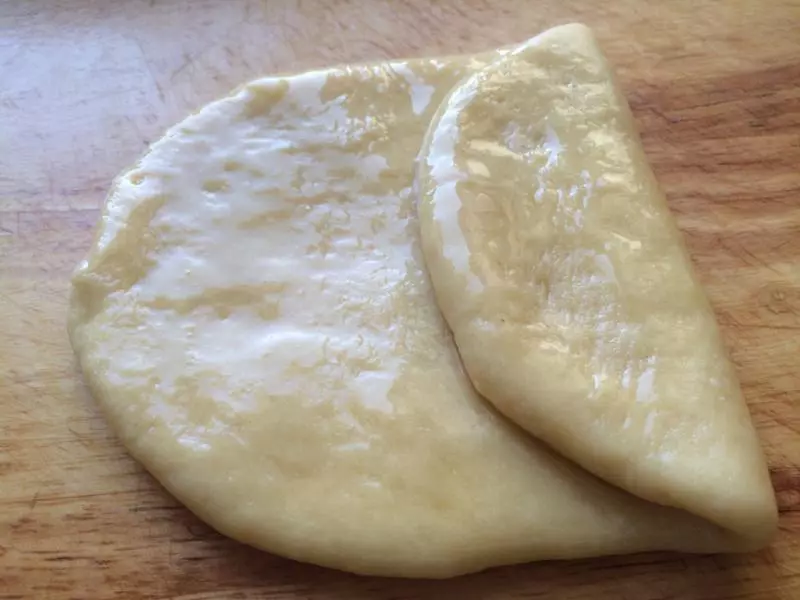
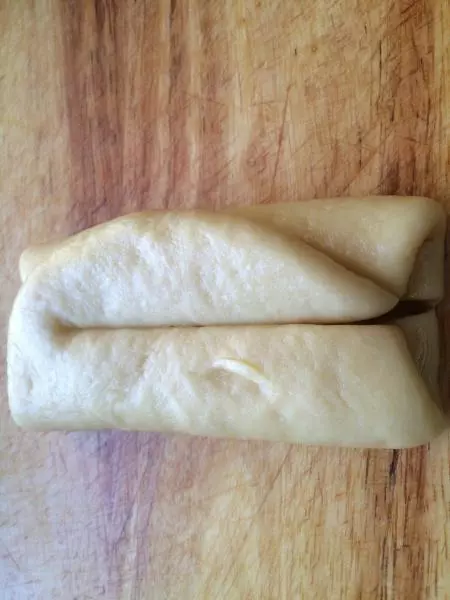
10麵糰上 摸滿油。一定要摸全面。折一層 再折一層 。
11中間靠上 切一刀。
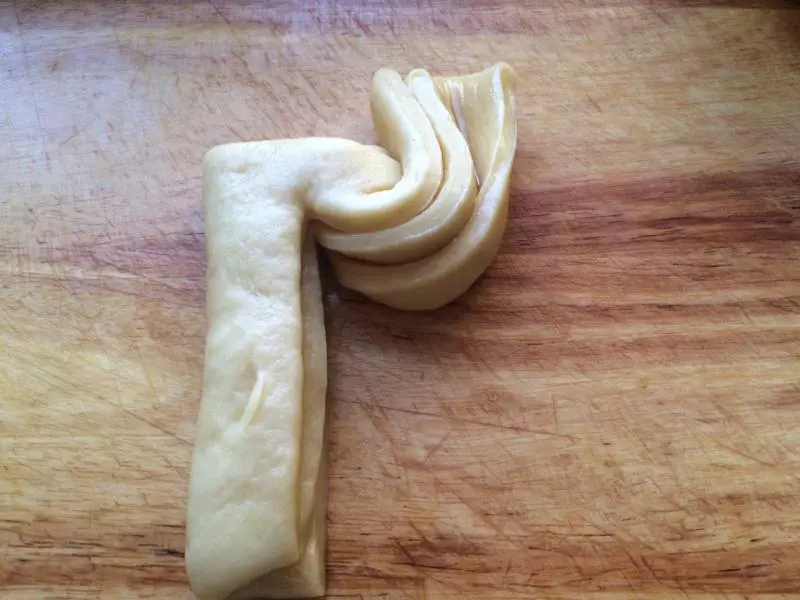
12拿一邊 往外翻。
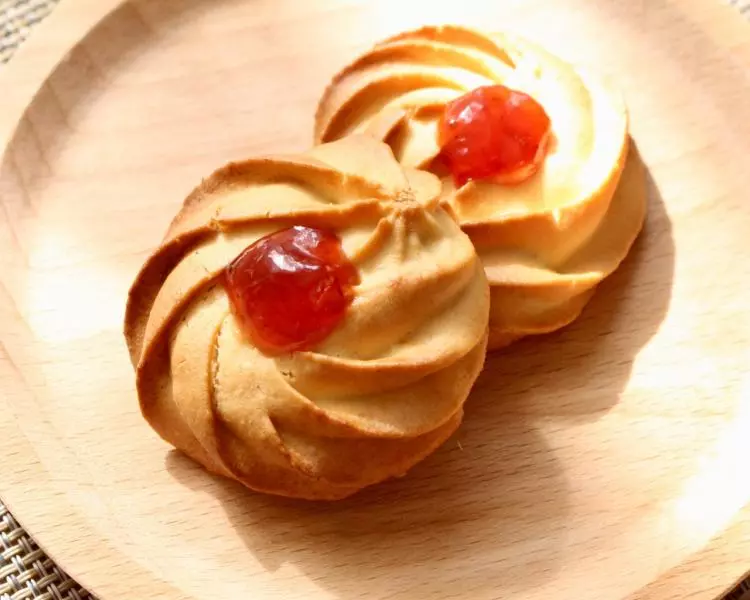
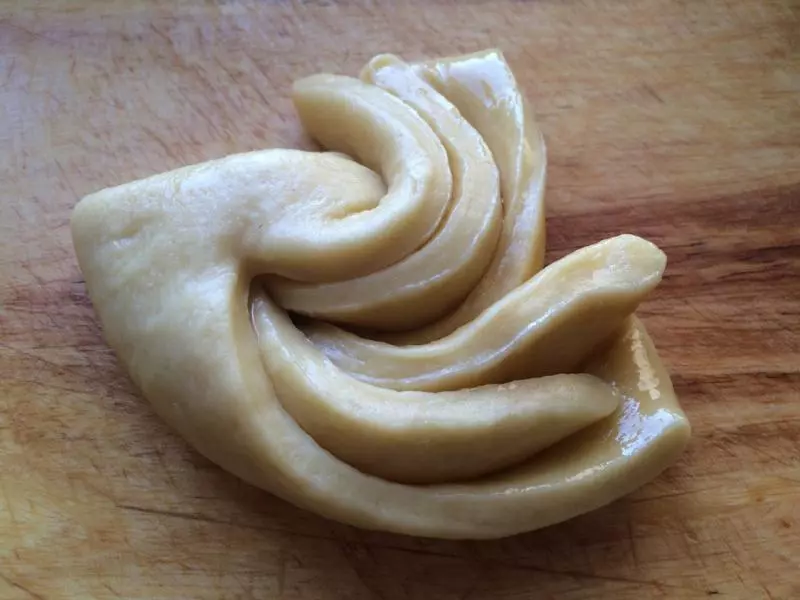
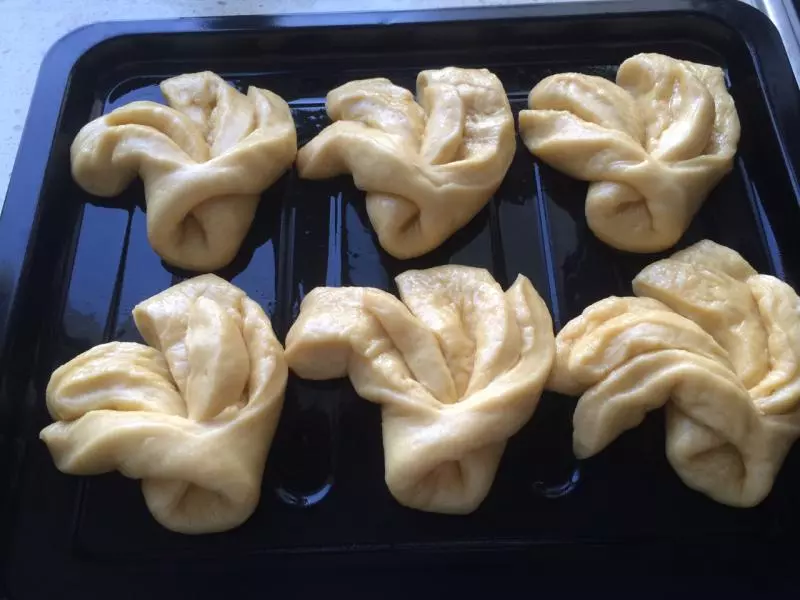
13另一邊朝同一方向翻。整理花型。做出一個百合花花的造型。
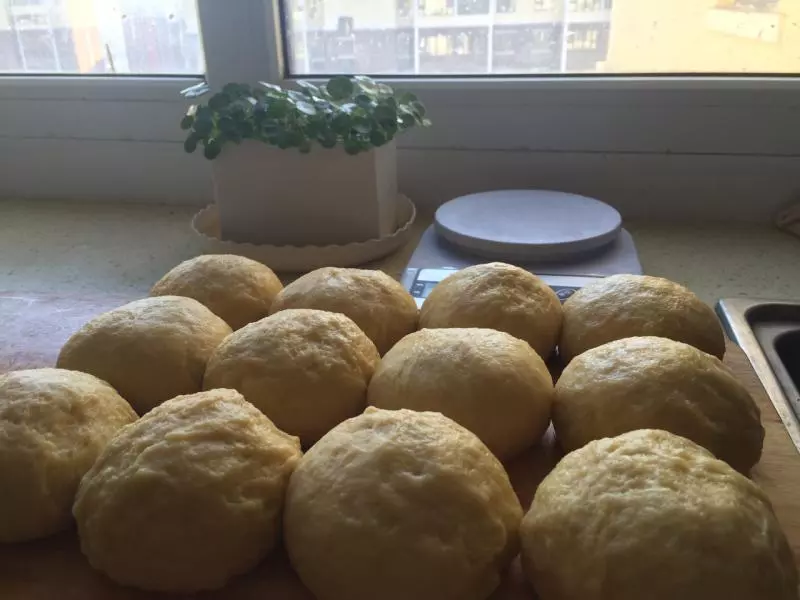
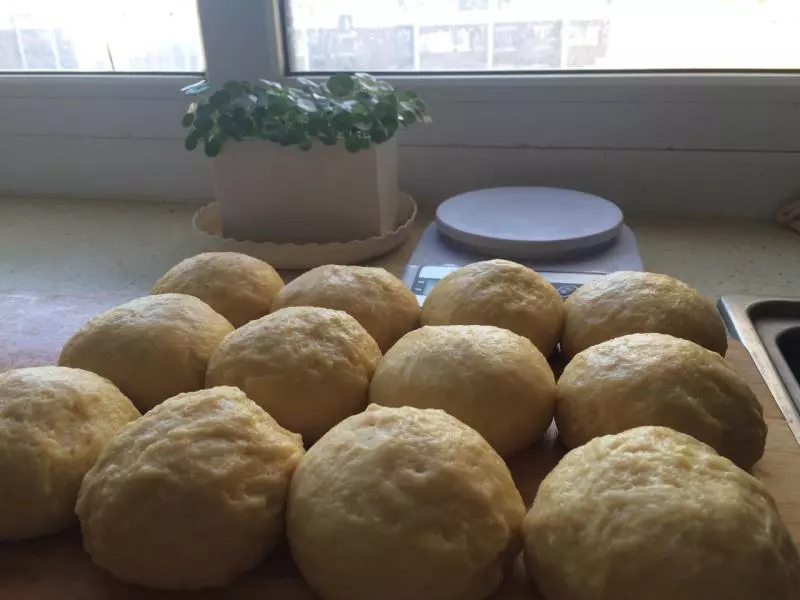
14等十分鐘左右。再一次發酵變大後。
15放入 烤盤中。注意不要連在一起了 。
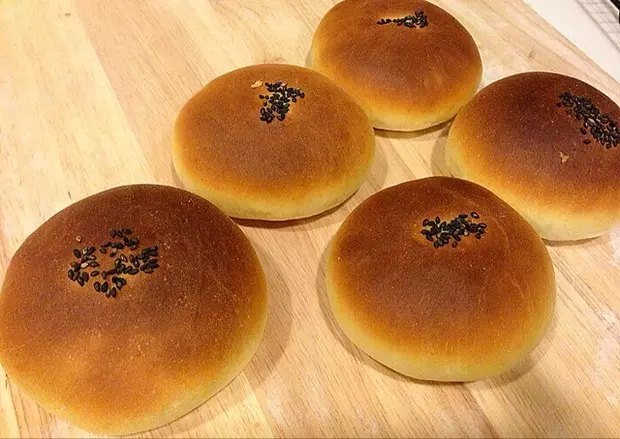
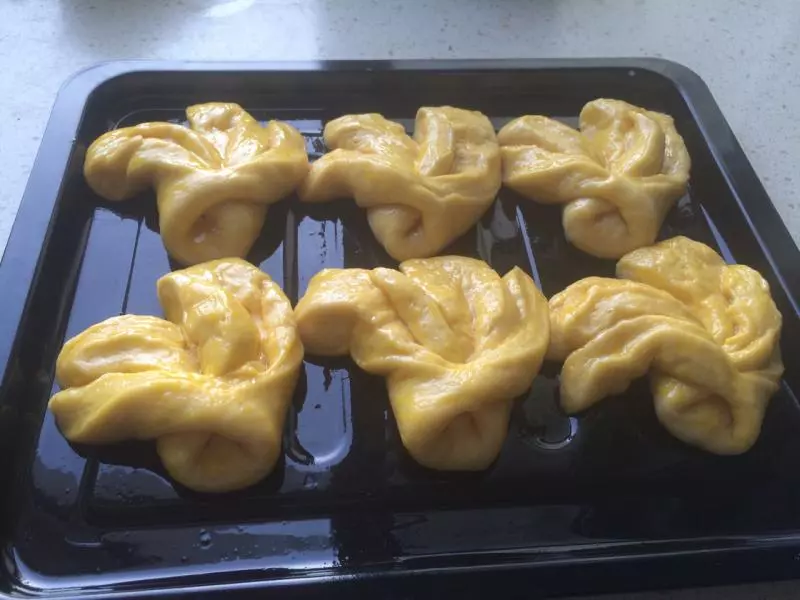
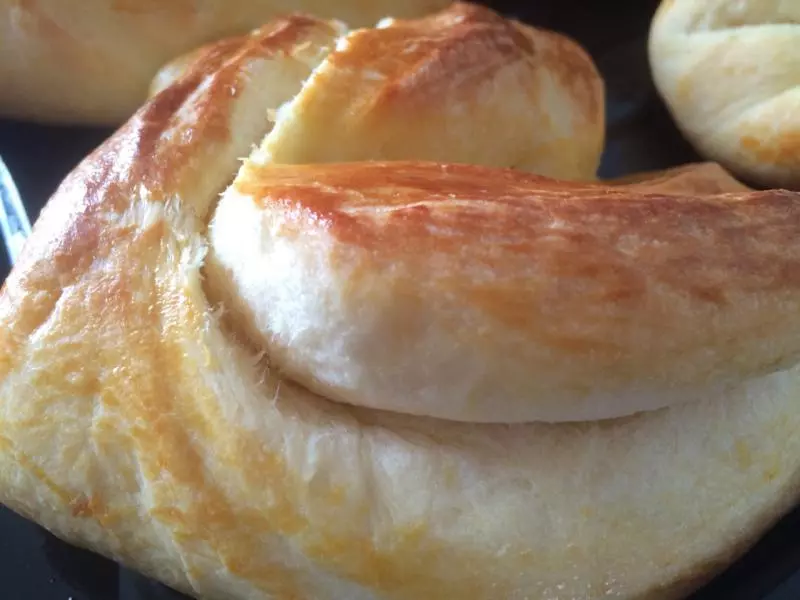
16均勻塗抹上蛋黃液。 注意一定要很均勻的抹在每一邊邊角角。那樣烤出來的才漂亮。
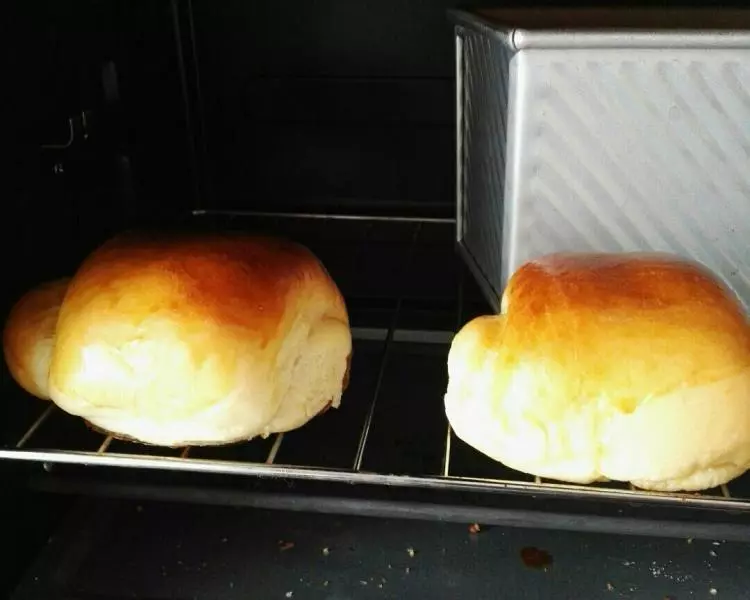
17烤箱開最大火 預熱十分鐘。把烤盤放入烤箱 最好放在中間偏下位置。 上下最大火 烤十分鐘左右。調整火候。這個根據自己的烤箱情況。
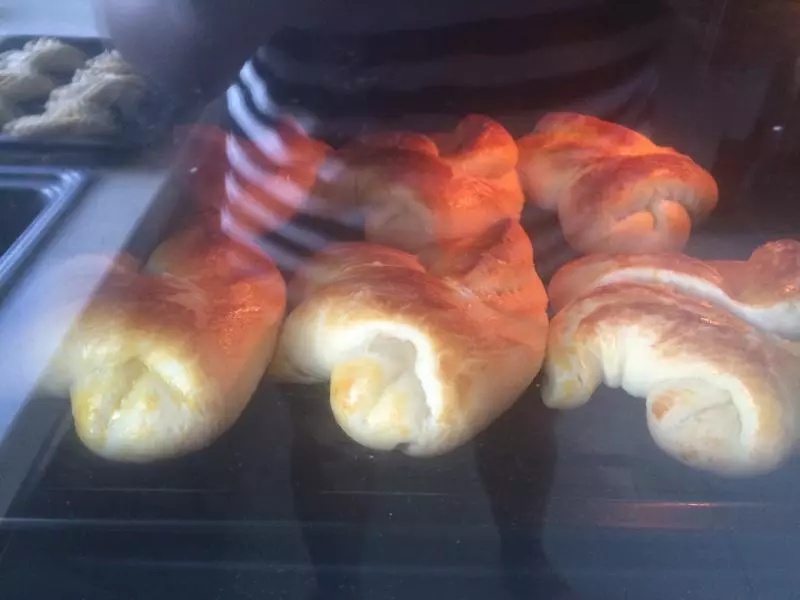
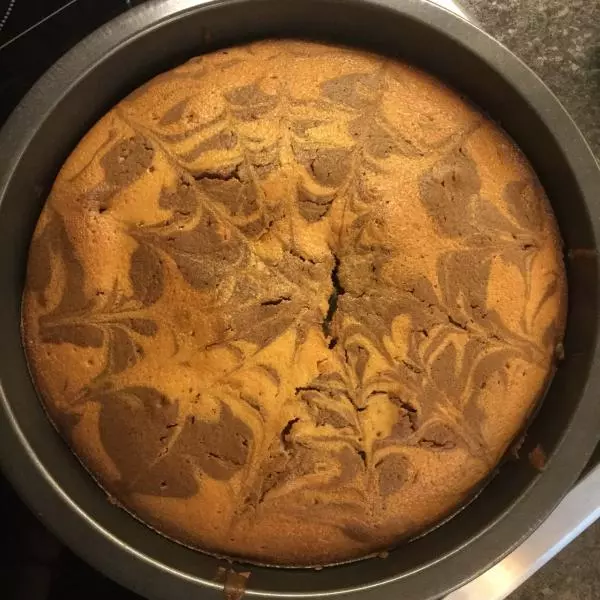
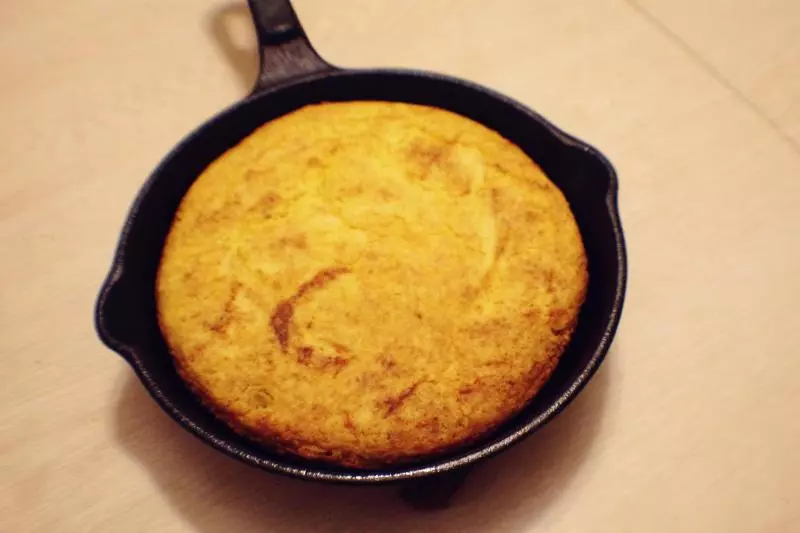
18大約二十分鐘後。就烤好了。
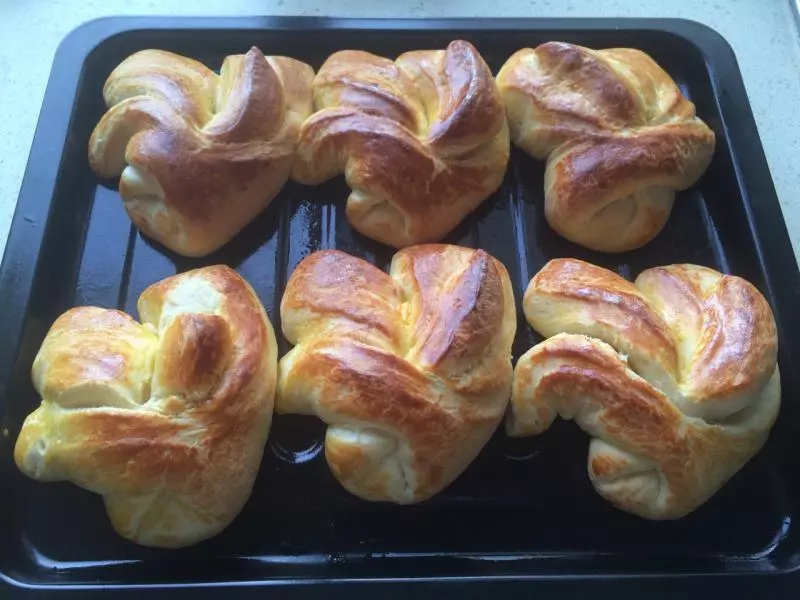
19大火十分鐘左右 一定要調整火候
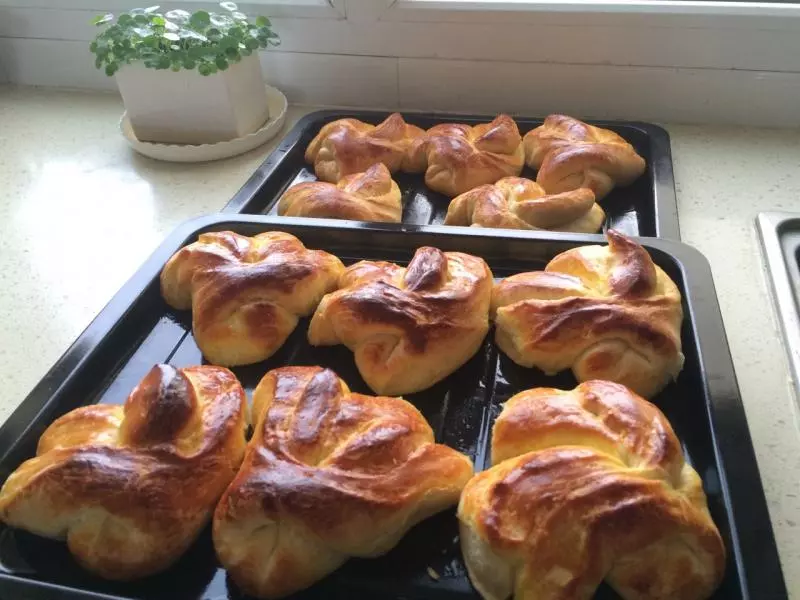
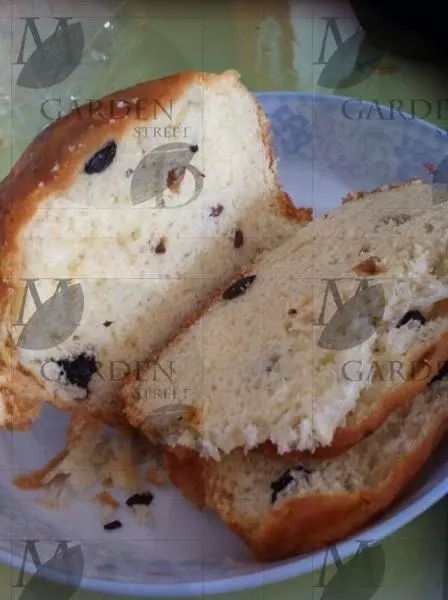
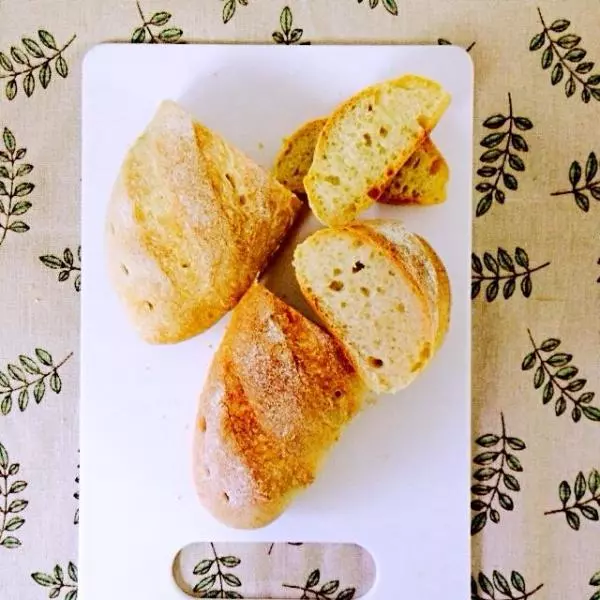
20還不錯吧 怎麼說 自己做的吃著放心。
小技巧
如果想發酵的快一點 也可以多放些發酵粉。 我是不喜歡太多。就放的少。也可以不放黃油和煉乳。