原料
窩瓜: 半個, 中筋粉: 適量, 酵母: 4克, 植物油: 適量, 白糖: 10克(喜歡吃甜可以加糖)
步驟
1半個窩瓜削皮去瓤,切成薄片!

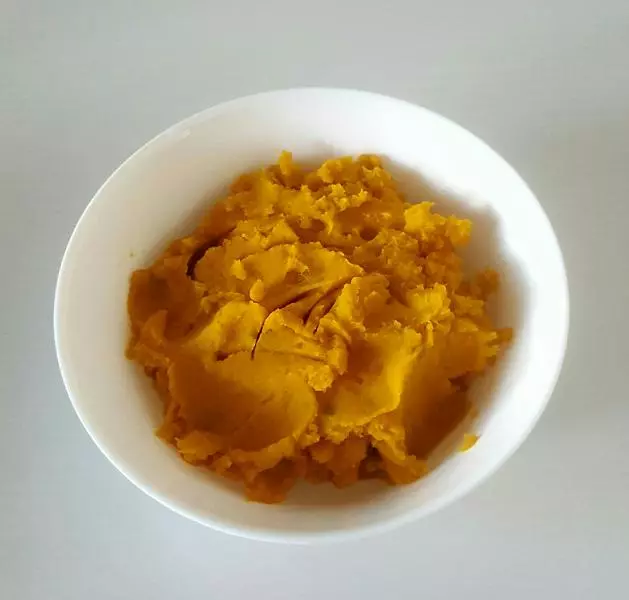
2把切成片的窩瓜蒸熟,搗成窩瓜泥!
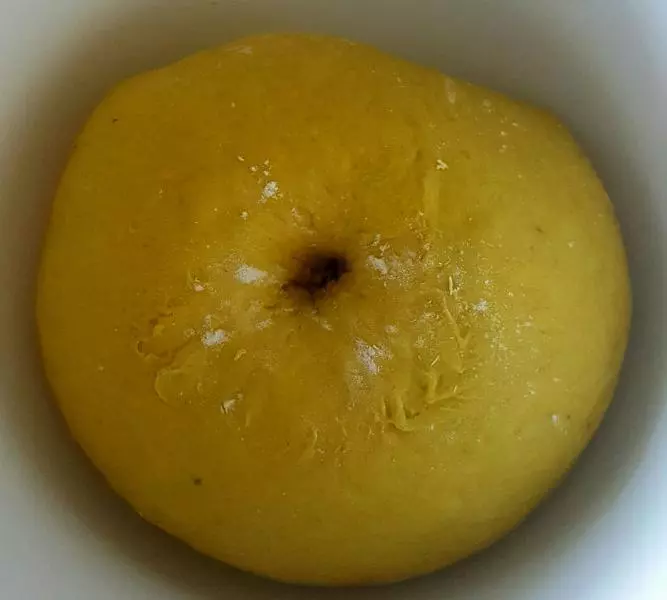
3把熱的窩瓜泥晾溫(溫度太高會殺死酵母,所以得晾溫),加入4克酵母,10克糖,在南瓜泥中加入中筋粉,揉成光滑的麵糰,發酵到兩倍大(手指蘸麵粉按孔不回彈)!
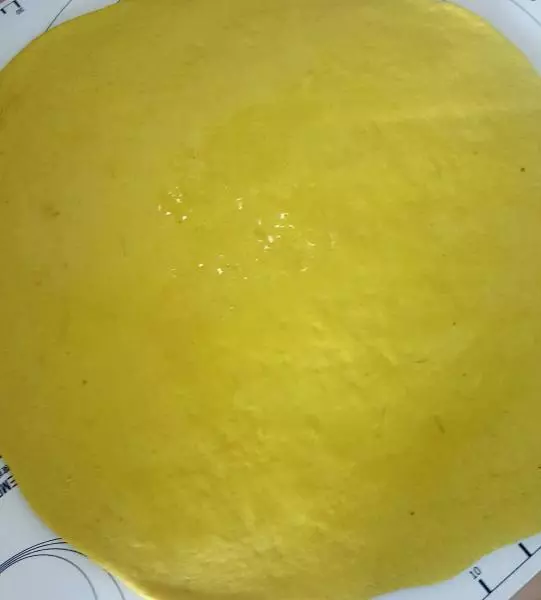
4擀成一元錢幣的厚度,刷上植物油!
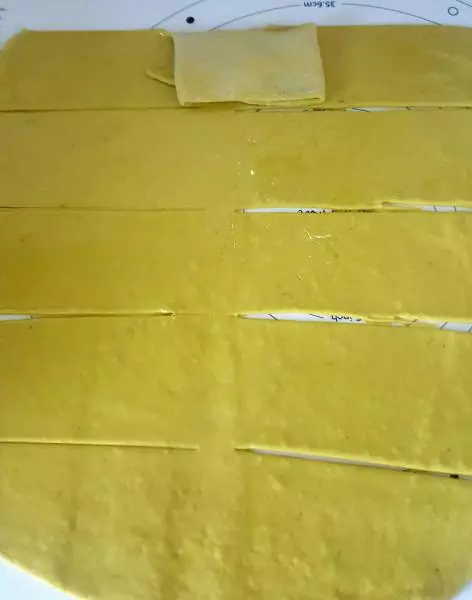
5割成10份,中間不要割斷!按千層餅的折法,開始折!
6一層壓一層,折成長方形或正方形都行!

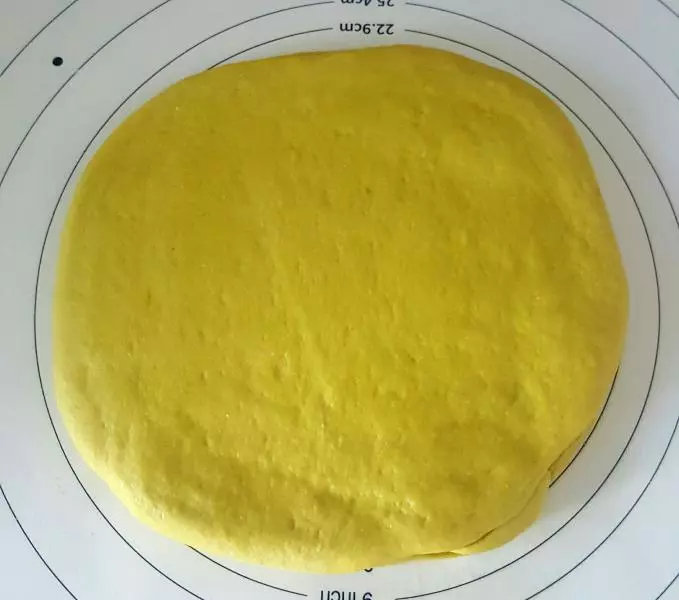
7按壓一下,擀成圓形或者正方形,喜歡什麼型就擀成什麼形狀!
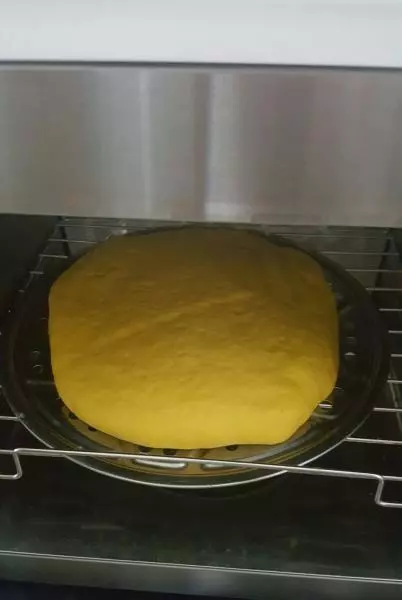
8放到蒸箱或蒸鍋里發酵到兩倍大開始蒸!
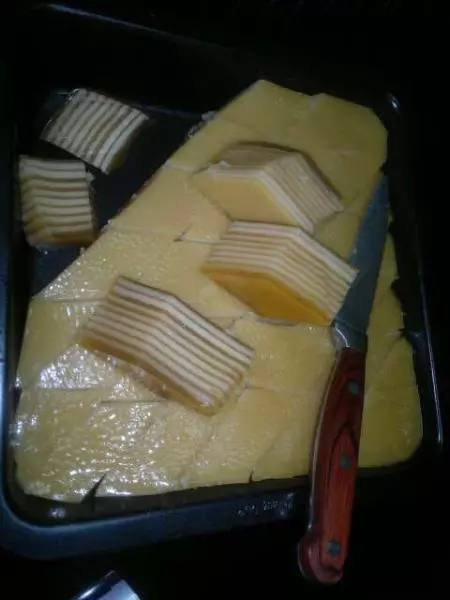
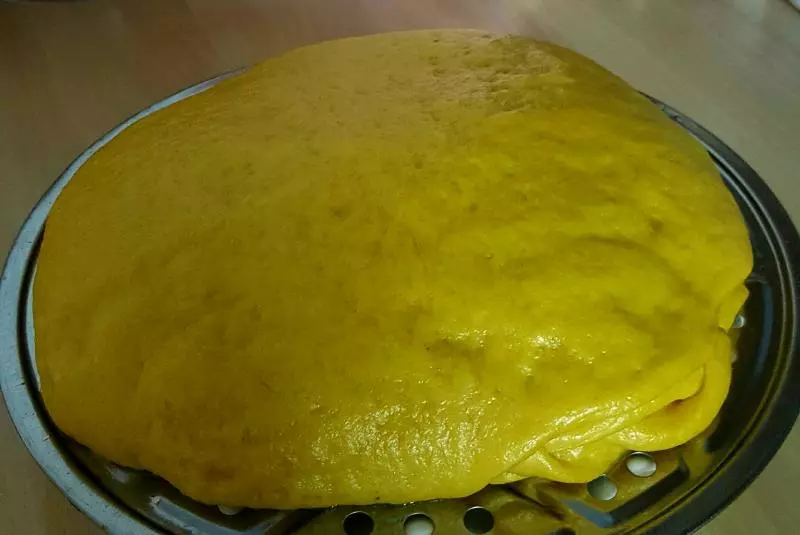
9蒸20分鐘出鍋!
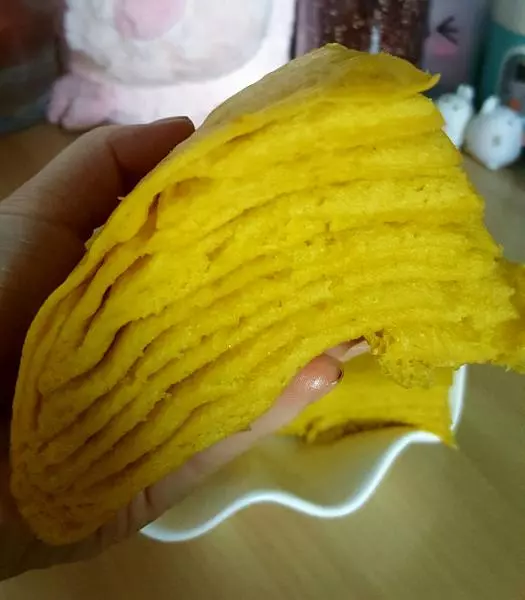
10特別喧軟的窩瓜糕就好了!
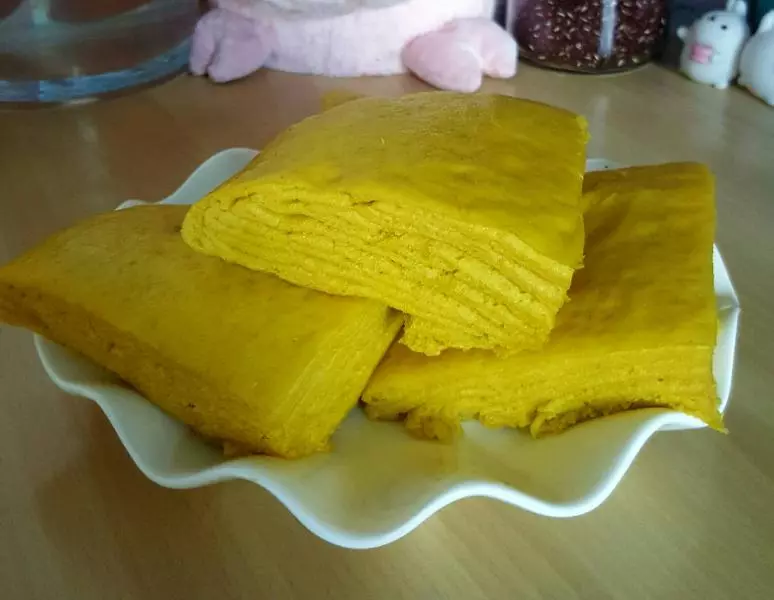
11一層一層,顏色金黃,看著就很有食慾!

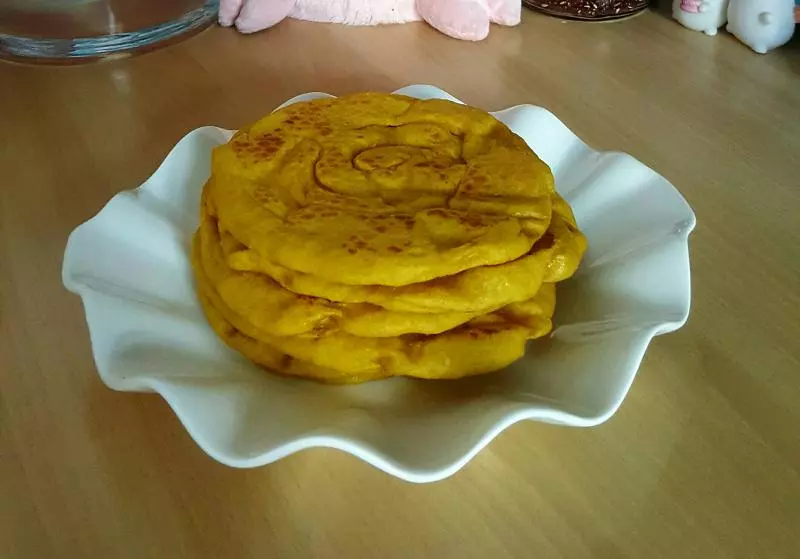
12蒸窩瓜糕剩下的面,分成小麵糰,擀成餅!
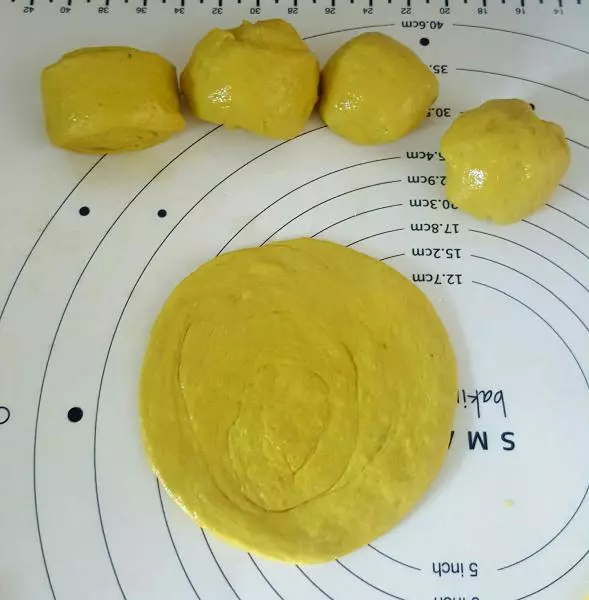
13烙成窩瓜餅,也是很好吃的呦!