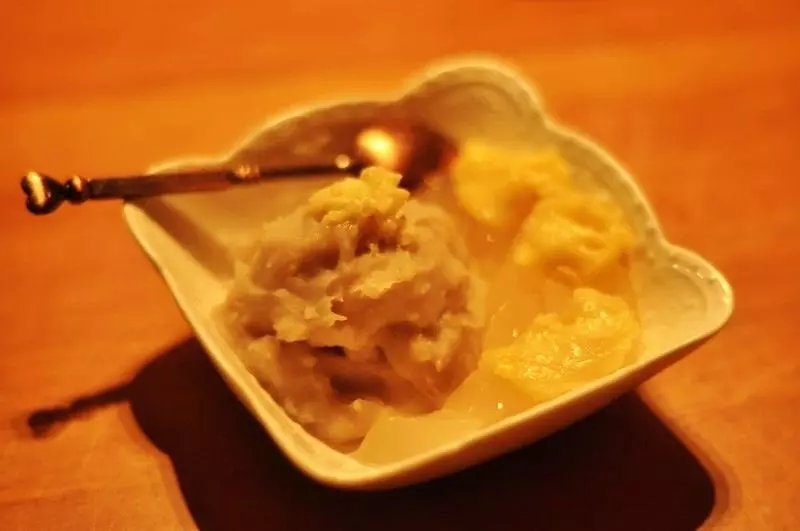
原料
春卷皮: 8张, 荔浦芋头: 500g, 奶粉: 20g, 淡奶油: 100g, 糖: 75g, 黄油: 15g, 紫薯粉/香芋粉: 8g
步骤
1如果没有破壁机,建议用锅蒸熟芋泥,再混合所有材料,过筛,详情可以看这个菜谱的第八到第十步,https://www.xiachufang.com/recipe/102292573/ 此方建议有破壁机的使用,荔浦芋头用水煮熟,把春卷皮以外的所有材料倒入盆中,搅拌均匀。

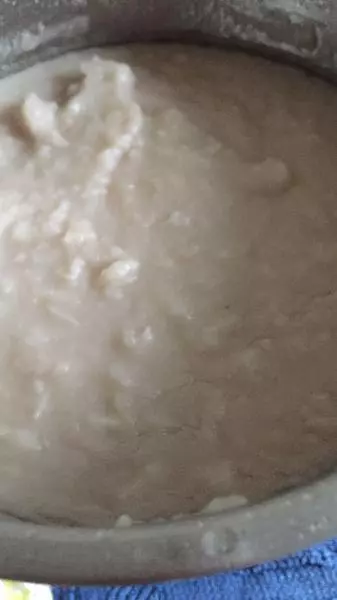
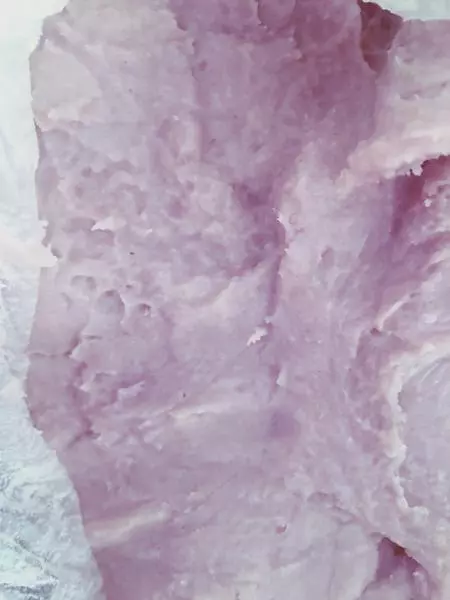
2放入破壁机中打成细腻的面糊。(方子水量放大了,放在机器中很好打,不用自己过筛。)

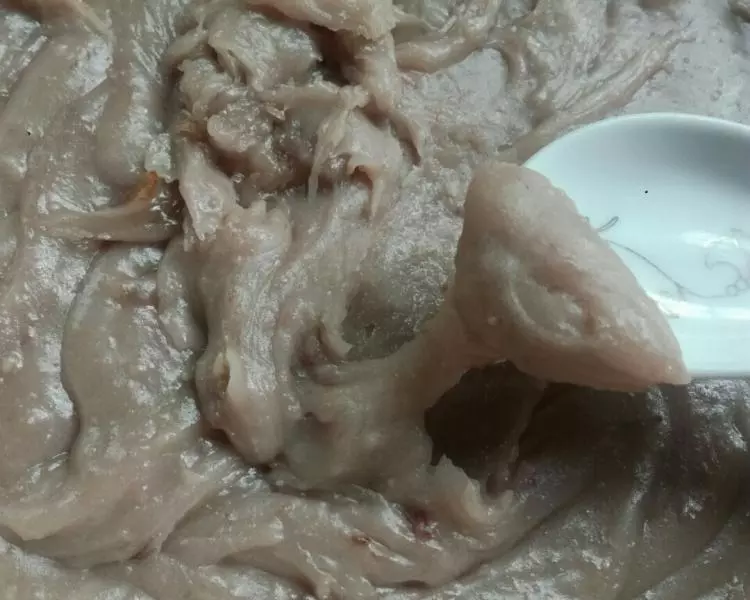
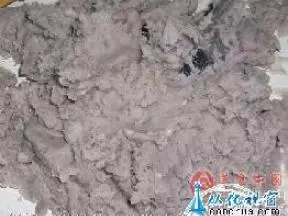
3全部倒入一个不沾底的锅子中,中小火炒馅儿,中途不要离开人,一直搅拌。

4搅拌方法参考这个。

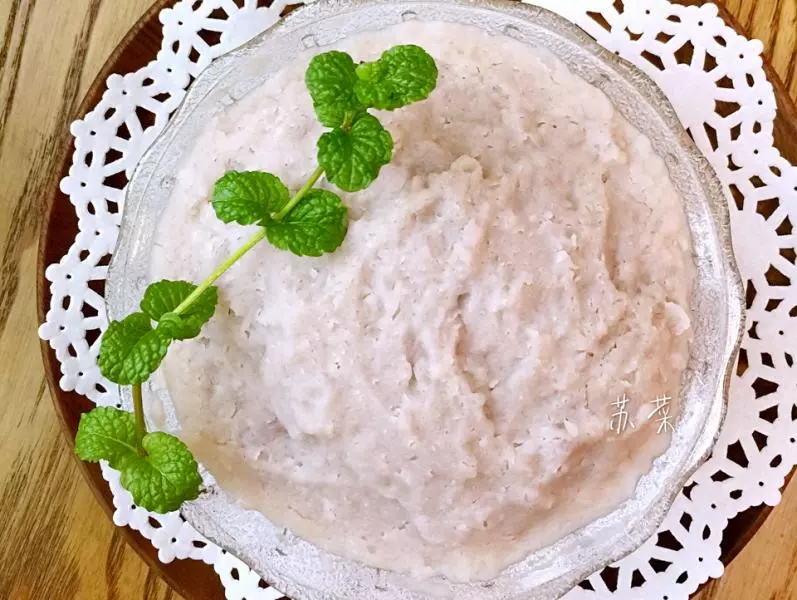
5炒到体积本成原来的一半,变得很粘稠,就是炒好了,可以看出这个方子的馅儿比起自己过筛的是更加细腻的。

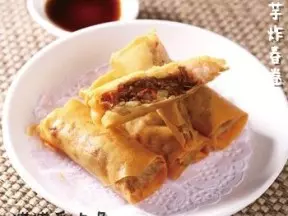
6取一张春卷皮,把馅儿放在靠自己这边1/3的位置,然后把皮子对折上去,把另外三边抹上水,卷起来收口,以此卷好所有的春卷。 我使用的春卷皮子是方的,网上可以购买,皮子比菜市场的圆形的薄一些,大家可以根据个人喜好购买皮子。

7锅内倒入油,比平时炒菜量多一些即可,油热后,改中火,一次把春卷炸到金黄色脆皮状,即可。(因为馅儿是熟的,所以不需要太多油去炸熟它,基本烤煎) 配上一些炼乳一起食用吧,会更好吃,非常香。

8咬开可是会流出馅儿来的