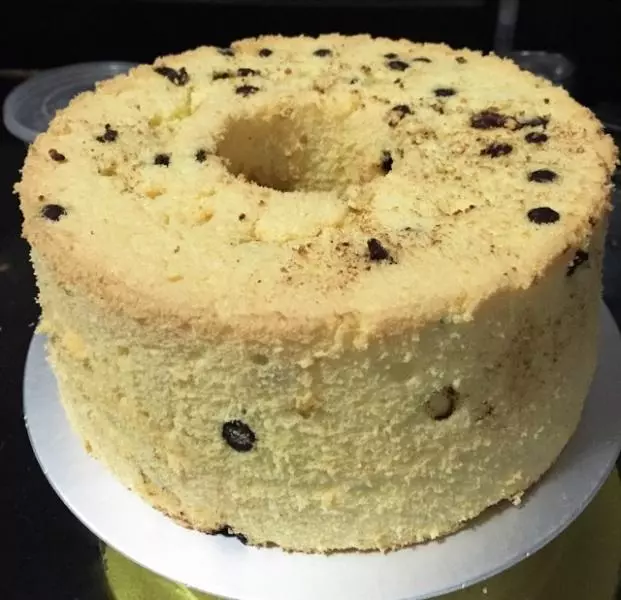
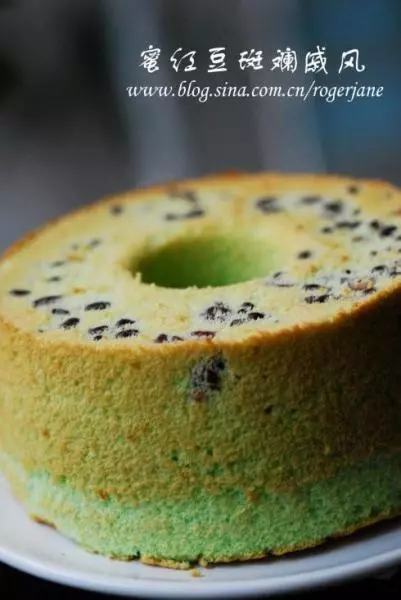
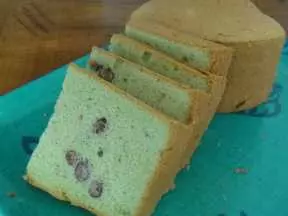
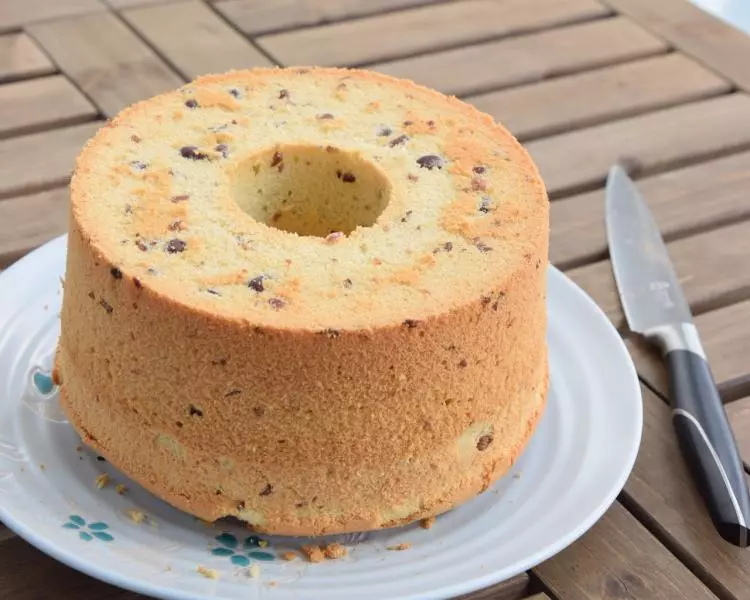
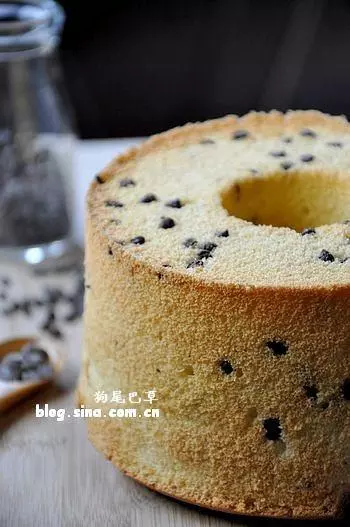
原料
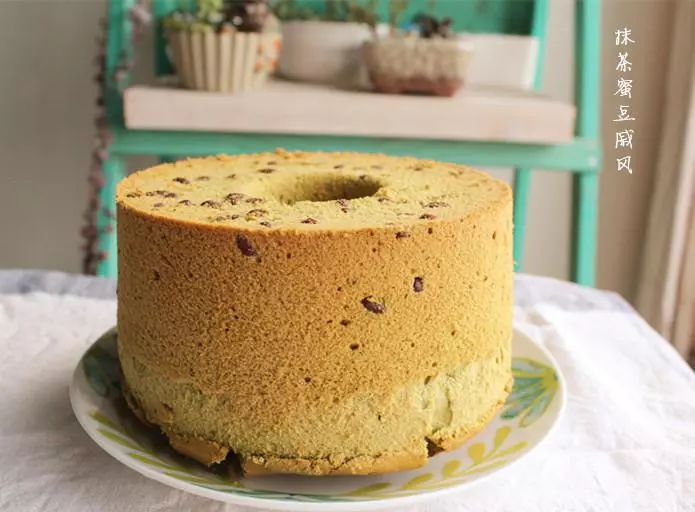
低粉: 55g, 蜜豆: 40g, 鸡蛋: 3个, 糖: 45g(20g+25g), 沙拉油: 30g, 牛奶: 30g, 香草精: 1/4小匙(没有可不加)
步骤
1蛋黄加入20g白砂糖搅拌均匀

2倒入沙拉油,用手动打蛋器搅打均匀

3加入牛奶拌匀

4筛入低粉

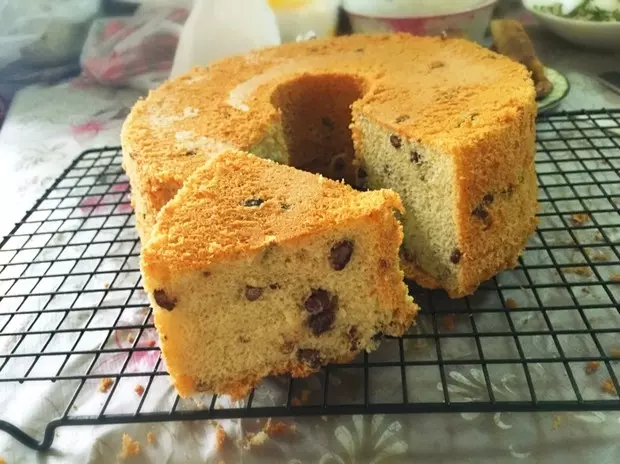
5用手动打蛋器拌合均匀放置一边备用,蜜豆中放入一点点面粉,让蜜豆均匀裹上面粉备用

6蛋白分三次加入剩下的25g白砂糖,用电动打蛋器打发

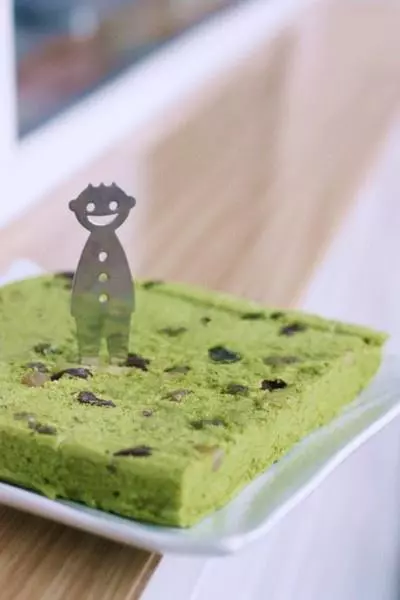
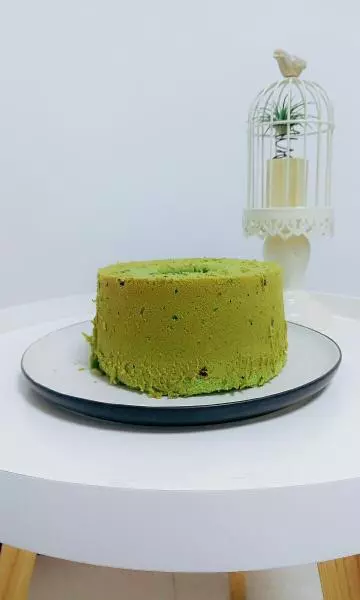
7将蛋白分次加入蛋黄糊中,用刮刀切拌均匀,最后加入蜜豆稍微拌几下

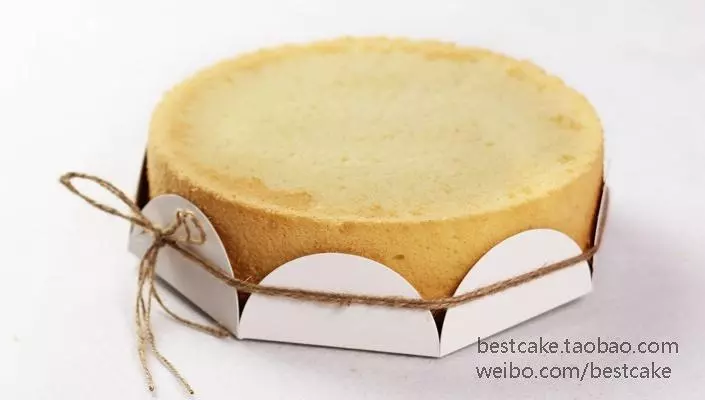
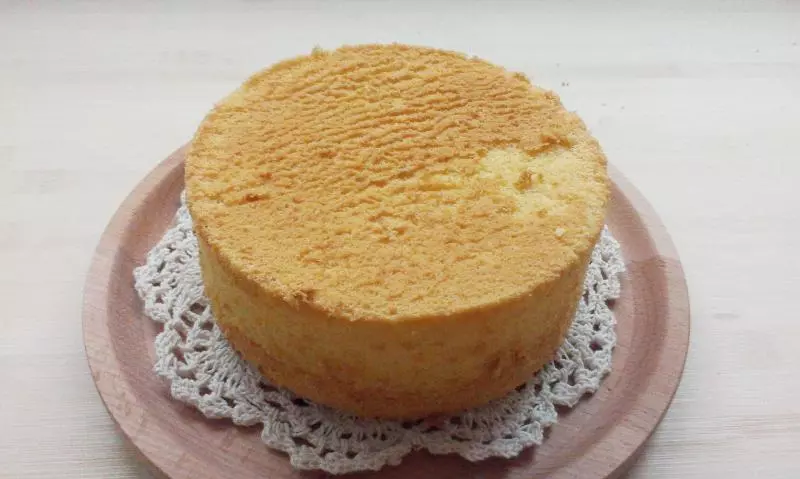
8倒入6寸圆模,表面稍抹平

9烤箱预热175度,中下层,上下火烤约35分钟
小技巧
1.烘烤的时间和温度一定要根据自己家的烤箱温度调节。 2.拌合面糊时,要注意手法,把刮刀从底部捞起来,再切入面糊不容易消泡,不可以用绕圈的方式拌合。 3.很重要的一条哦,鸡蛋的品质也会影响蛋糕。 4.45g的糖量烤出来的蛋糕不是很甜,喜欢甜的可以加到55g。