原料
鸡蛋: 3个, 低筋面粉: 60克, 油: 40克, 白砂糖: 15克, 牛奶或牛奶: 40克, 白砂糖: 45克
步骤
1蛋黄与蛋清分离,蛋清一定要放到无水无油的容器里,便于打发,蛋黄中加入15克白砂糖,用打蛋器打发

2打发至粘稠,颜色变浅

3分三次加入油,每次打发到充分融合后再继续加油

4加入牛奶或水,搅拌均匀

5加入面粉和泡打粉,搅拌均匀,蛋黄糊就做好了

6接下来打发蛋白,用打蛋器高速打发蛋白,出现鱼眼泡时加入一半白砂糖,继续打发至细腻蓬松加入剩下的白砂糖,继续打发至出现明显不易消退的纹路或如图上勾角时打发完成

7奖蛋白和蛋黄糊混合,用炒菜的手法搅拌均匀
8烤箱180度开始预热,同时在烤盘铺上油纸或锡纸,将搅拌好的蛋糕糊倒入烤盘,左右晃动使厚度均匀
9开烤!!!烤箱180度,定时20分钟

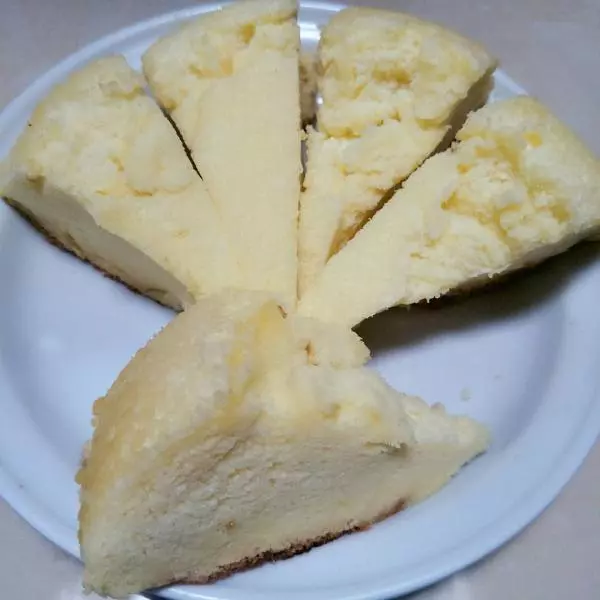
10出锅啦!将蛋糕倒扣在另一张油纸上,然后很容易的撕下底面的油纸
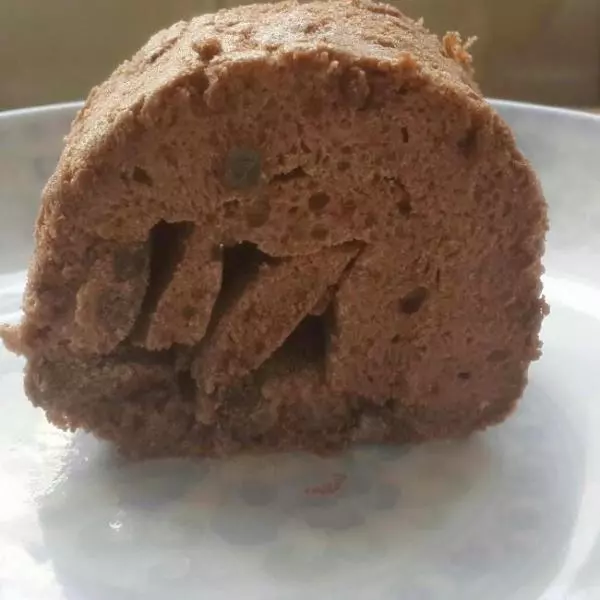
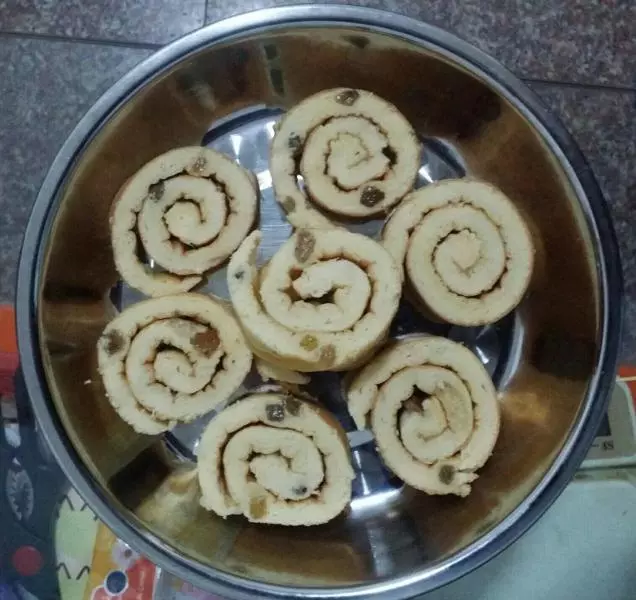
11希望卷起来的面朝上,涂上自己喜欢的果酱,然后像卷寿司一样把蛋糕卷起来,用刚才的油纸包在外面,像糖果一样的包法,然后冰箱冷藏半小时更容易切成自己喜欢的宽度